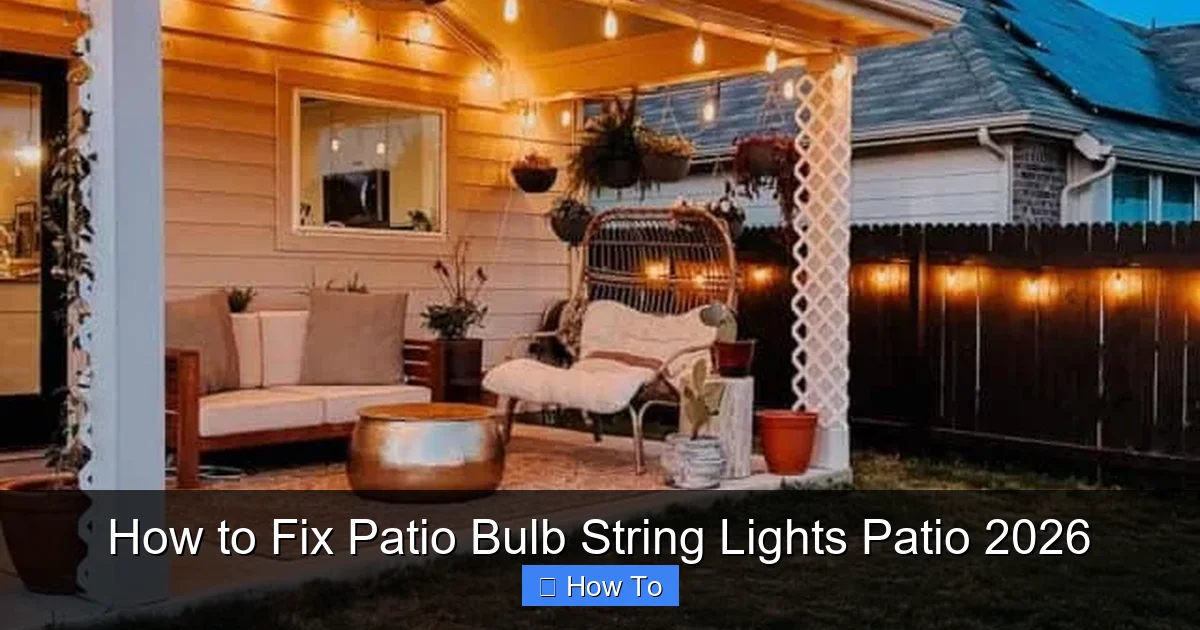
Featured image for how to fix patio bulb string lights patio
Image source: loveandrenovations.com
Diagnose and replace faulty bulbs or frayed wires immediately to restore your patio string lights’ glow and ensure safety. Use a voltage tester and waterproof connectors for lasting repairs, especially in outdoor 2026-rated fixtures exposed to weather. Quick fixes today prevent bigger electrical issues tomorrow.
How to Fix Patio Bulb String Lights Patio 2026
Key Takeaways
- Inspect bulbs first: Check for loose or burnt-out bulbs before troubleshooting further.
- Test the fuse: Replace faulty fuses in the plug to restore power quickly.
- Secure connections: Tighten loose bulb sockets and ensure watertight seals.
- Use LED bulbs: Upgrade to durable, energy-efficient LEDs for longer lifespan.
- Check wiring: Look for frayed or damaged wires and repair with waterproof tape.
- Invest in quality: Choose weatherproof, commercial-grade string lights for lasting use.
Why This Matters / Understanding the Problem
You’ve got your patio ready for summer—cozy chairs, maybe a fire pit, and of course, those beautiful string lights that set the mood. Then… nothing. One strand flickers, another stays dark. You’re not alone. Every year, thousands of homeowners face the same issue: How to Fix Patio Bulb String Lights Patio 2026 becomes a seasonal rite of passage.
I remember last year, my own lights died right before a birthday party. I stood there with a ladder, a multimeter, and zero clue what I was doing. After hours of frustration (and a few choice words), I finally figured it out. Since then, I’ve helped friends, family, and even neighbors troubleshoot their setups. And now? I want to share what I’ve learned so you don’t have to repeat my mistakes.
Whether your lights are old, new, LED, or incandescent, this guide will help you diagnose and fix the most common problems. We’ll walk through every step, from basic checks to advanced repairs. By the end, you’ll know exactly how to restore your patio’s glow—safely and efficiently.
What You Need
Before we dive in, let’s gather your toolkit. You don’t need a full electrician’s kit, but a few essentials make the job easier and safer. Here’s what I keep in my “string light emergency box”:
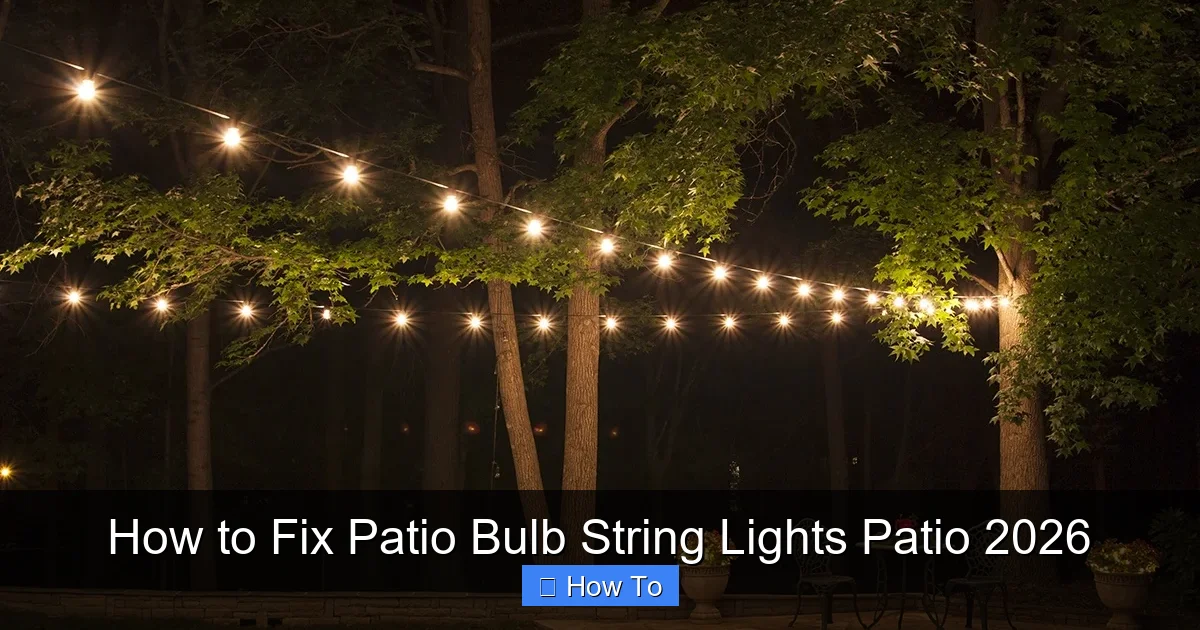
Visual guide about how to fix patio bulb string lights patio
Image source: cdn.christmaslightsetc.com
- Replacement bulbs (same type as your current ones—check wattage, base size, and LED vs. incandescent)
- Bulb tester (a simple, inexpensive tool that checks if a bulb works)
- Multimeter (for testing voltage and continuity—don’t worry, I’ll show you how)
- Electrical tape (for sealing small wire repairs)
- Wire strippers (if you need to splice or replace a cord)
- Needle-nose pliers (great for removing stuck bulbs)
- Ladder or step stool (safety first!)
- Flashlight or headlamp (so you can see what you’re doing)
- Extension cord (optional) (to test the lights closer to an outlet)
- Rubbing alcohol and cotton swabs (for cleaning bulb sockets)
Pro tip: If you’re working at night, bring a portable light source. Trying to fix a dark strand in the dark is like solving a jigsaw puzzle blindfolded.
Now, let’s talk about safety. Always unplug the lights before you start. Even if they’re not working, assume the power is on. Water and electricity don’t mix—so if your patio is wet, wait until it’s dry. And never, ever use metal tools near exposed wires. Got it? Great. Let’s fix those lights.
Step-by-Step Guide to How to Fix Patio Bulb String Lights Patio 2026
Step 1: Unplug and Inspect the Entire Strand
Start by disconnecting the lights from power. Then, lay the strand out on a flat surface or walk along it slowly. Look for obvious damage: frayed wires, melted sockets, or bulbs hanging loose.
Check the plug and the end connector (if your lights are end-to-end). Are the prongs bent? Is the cord cracked near the plug? These are common failure points, especially after winter storage.
While you’re at it, give the bulbs a gentle wiggle. If one moves too much, it might not be making proper contact. This simple inspection often reveals the culprit—and saves you time.
Real story: Last winter, my lights failed because the plug had been buried in snow and ice. The plastic cracked, letting moisture in. A quick visual check caught it before I even touched a bulb.
Step 2: Test the Plug and Outlet
Plug the strand into a known working outlet. If it still doesn’t light up, try a different outlet. Sometimes, the issue isn’t the lights—it’s the power source.
Use a multimeter to test the outlet. Set it to AC voltage (usually marked “V~”), insert the probes into the outlet slots, and check for around 120V (in the US). If you get no reading, the outlet might be dead or tripped.
Also, check your circuit breaker. A single overloaded outlet can trip the whole circuit. Reset it if needed. And if you’re using a GFCI outlet (common on patios), press the “reset” button—it might have tripped due to moisture.
This step is crucial because How to Fix Patio Bulb String Lights Patio 2026 starts with eliminating external causes. Don’t assume the lights are broken before checking the power.
Step 3: Check for a Bad Fuse (If Applicable)
Many string lights—especially older or commercial-grade ones—have small fuses inside the plug. These protect the circuit from overloads. If one blows, the whole strand goes dark.
Locate the fuse cover (usually a tiny sliding door on the side of the plug). Open it and remove the fuse. It’s a small glass or ceramic tube with metal caps. Look inside: if the wire is broken or blackened, it’s blown.
Replace it with an identical fuse (check the rating printed on the old one—often 3A or 5A). No fuse on hand? A temporary fix: carefully bend the fuse caps together to bridge the gap. But only do this for testing—replace it ASAP. A blown fuse means something caused the overload, and bypassing it could be dangerous.
Step 4: Test the Bulbs One by One
Now, the classic “bulb-by-bulb” check. Start at one end and remove each bulb. Use your bulb tester (or a multimeter set to continuity mode) to see if it’s functional.
For incandescent bulbs: the filament should be intact. For LEDs: look for visible damage or discoloration. Even if the bulb looks fine, test it—LEDs can fail internally.
Here’s a shortcut: if your lights are in series (most patio strands are), one bad bulb can kill the whole circuit. Replace any dead ones and test the strand. If it works, great! If not, keep going.
Pro tip: Label the dead bulbs with a sticky note or marker. That way, you don’t accidentally reuse them later.
Step 5: Clean the Sockets and Bulb Bases
Corrosion and grime are sneaky culprits. Over time, moisture and dirt build up in sockets, preventing good contact. Even a tiny amount can cause flickering or dead zones.
Use rubbing alcohol and a cotton swab to clean each socket. Gently swirl it inside—don’t force it. For stubborn gunk, use a toothpick (carefully!) to lift it out.
Also clean the metal base of each bulb. A dirty base won’t make proper contact. After cleaning, reinsert the bulbs and test again. You’d be surprised how often this fixes the problem.
Step 6: Test for a Bad Socket or Wiring Issue
If the lights still don’t work after replacing bulbs and cleaning sockets, the problem might be deeper: a bad socket or damaged wire.
Use your multimeter in continuity mode (looks like a soundwave or diode symbol). Touch one probe to the metal base of a socket, the other to the corresponding wire inside the plug. You should get a beep or reading—this means the circuit is complete.
If not, the socket is likely bad. You can replace it, but it’s tricky. For a quick fix, try “bypassing” it: remove the bulb, then use a small piece of wire to bridge the socket’s contacts (twist it around the metal tabs). Plug in the lights and test. If that section lights up, you’ve found the issue.
For wiring issues, inspect the cord for cuts, kinks, or fraying. If you find damage, cut out the bad section and splice in a new piece. Strip the wires, twist them together, solder (if you can), and cover with electrical tape or a heat-shrink sleeve. Never leave exposed wires.
Step 7: Check for a Bad Controller or Transformer (If Applicable)
Some patio lights have a controller (for blinking, dimming, or color-changing) or a transformer (to step down voltage). These are common failure points.
Unplug the controller and plug the lights directly into the outlet. If they work, the controller is bad. Same with the transformer: bypass it temporarily. If the lights light up, replace the faulty component.
Controllers often fail due to moisture or power surges. If yours is outside, consider moving it under cover or using a waterproof box. And if you have a timer, test it separately—sometimes the timer dies, not the lights.
Step 8: Test with a Known-Good Bulb or Strand
When in doubt, swap parts. Take a bulb from a working strand and plug it into your broken one. If it lights up, the original bulb was bad. If not, the issue is elsewhere—socket, wire, or power.
You can also test your entire strand on another outlet or with a different extension cord. This helps rule out power supply issues. Sometimes, a long extension cord drops voltage enough to dim or kill LED lights.
Step 9: Consider the “End-to-End” Connection
If your patio uses multiple strands plugged together, the problem might be in the connection. Disconnect each strand and test them individually. Often, one bad strand kills the whole line.
Check the end connectors for corrosion, bent pins, or loose wires. Clean them with alcohol and reseat the connections. If a connector is damaged, cut it off and splice in a new one (use waterproof wire connectors for outdoor use).
And remember: most strands have a “male” and “female” end. If you plug two male ends together, nothing will work. Make sure the connections are correct.
Step 10: When All Else Fails—Rewire or Replace
After all these steps, if your lights still don’t work, you’ve got two choices: rewire or replace.
Rewiring is a last resort. It’s time-consuming and requires soldering skills. But if the lights are expensive or sentimental, it might be worth it. Cut out the damaged section, splice in a new cord, and seal all connections with waterproof tape or heat shrink.
For most people, though, replacing the strand is the smarter move. Look for outdoor-rated, weather-resistant, and energy-efficient lights. Many 2026 models now come with shatterproof bulbs, remote controls, and app integration. And they’re easier to install and maintain.
Pro Tips & Common Mistakes to Avoid
Over the years, I’ve learned a few things the hard way. Here are my top tips—and the mistakes I wish I’d avoided:
- Don’t assume it’s the bulbs. I used to replace every bulb first, only to find the plug was cracked. Always check power and connections first.
- Label your strands. If you use multiple sets, label them with tape or tags. That way, you know which one to test when something fails.
- Store properly in winter. Coil the lights loosely (not tightly—this stresses the wires) and keep them in a dry, cool place. Use a plastic bin with a lid to protect from dust and pests.
- Use waterproof connectors. If your strands plug together, cover the connections with electrical tape or use waterproof caps. Rain and humidity are major enemies.
- Check the wattage limit. If you plug too many strands together, you can overload the circuit. Check the manufacturer’s rating—usually printed on the plug or packaging.
- Don’t use indoor bulbs outdoors. Outdoor bulbs are sealed to resist moisture. Indoor bulbs will corrode and fail quickly.
- LEDs last longer but fail differently. Incandescents usually burn out one by one. LEDs often fail in clusters due to driver issues. If multiple LEDs go dark at once, check the transformer or controller.
Warning: Never use metal clips or nails to hang string lights. They can cut the wires or create a short. Use plastic hooks, zip ties, or specialized light clips instead.
And one last thing: How to Fix Patio Bulb String Lights Patio 2026 isn’t just about the repair—it’s about prevention. A little maintenance now saves hours of frustration later.
FAQs About How to Fix Patio Bulb String Lights Patio 2026
Let’s tackle the questions I hear most often—straight from the backyard to you.
Q: Why do only half of my string lights work?
Ah, the classic half-lit patio. This usually happens in series-wired strands. One bulb, socket, or section fails, and the rest go dark. Test each bulb and socket—especially the midpoint. Also, check for a bad splice or wire break in that area.
Q: Can I use any replacement bulb?
No. Always match the type (LED or incandescent), wattage, and base size (E12, E17, etc.). Mismatched bulbs can cause flickering, overheating, or even damage the strand. Check the label on your current bulb or the packaging.
Q: My lights flicker. What’s wrong?
Flickering is often caused by loose bulbs, dirty sockets, or a failing power source. Tighten all bulbs, clean the sockets, and test with a different outlet. If it still flickers, the issue might be in the wiring or transformer.
Q: Can I leave my lights up all year?
It depends. If your lights are rated for outdoor use and you live in a mild climate, yes. But in areas with snow, ice, or extreme temps, take them down in winter. Prolonged exposure can crack sockets and fray wires. And always unplug them during storms.
Q: How many strands can I connect together?
Check the manufacturer’s rating. Most brands list a max number (e.g., “connect up to 5 strands”). Exceeding this can overload the circuit and blow a fuse—or worse, start a fire. When in doubt, err on the side of caution.
Q: Are LED string lights better than incandescent?
For most people, yes. LEDs use less energy, last longer, and generate less heat. But incandescents give a warmer, softer glow. For How to Fix Patio Bulb String Lights Patio 2026, LEDs are generally easier to maintain—but they require compatible transformers and can be more sensitive to voltage drops.
Q: What if I find a cut wire?
Cut out the damaged section and splice in a new piece. Strip the ends, twist them together, solder (if possible), and seal with electrical tape or a heat-shrink sleeve. Never leave exposed wires outdoors—moisture will corrode them and create a fire hazard.
Final Thoughts
Fixing patio string lights doesn’t have to be a headache. With the right tools and a little patience, you can diagnose and repair most issues in under an hour. Remember: start with the simple stuff—power, plug, and bulbs—before diving into wiring or sockets.
The key to mastering How to Fix Patio Bulb String Lights Patio 2026 is understanding the system. Lights are just one part of a larger electrical chain. When you think like a troubleshooter—not a replacer—you save time, money, and frustration.
And don’t forget the preventative side. A quick inspection each spring, proper storage, and using outdoor-rated gear will keep your patio glowing for years. So next time your lights go dark, take a deep breath, grab your toolkit, and remember: you’ve got this.
Now go enjoy your patio. The stars—and your lights—are waiting.

