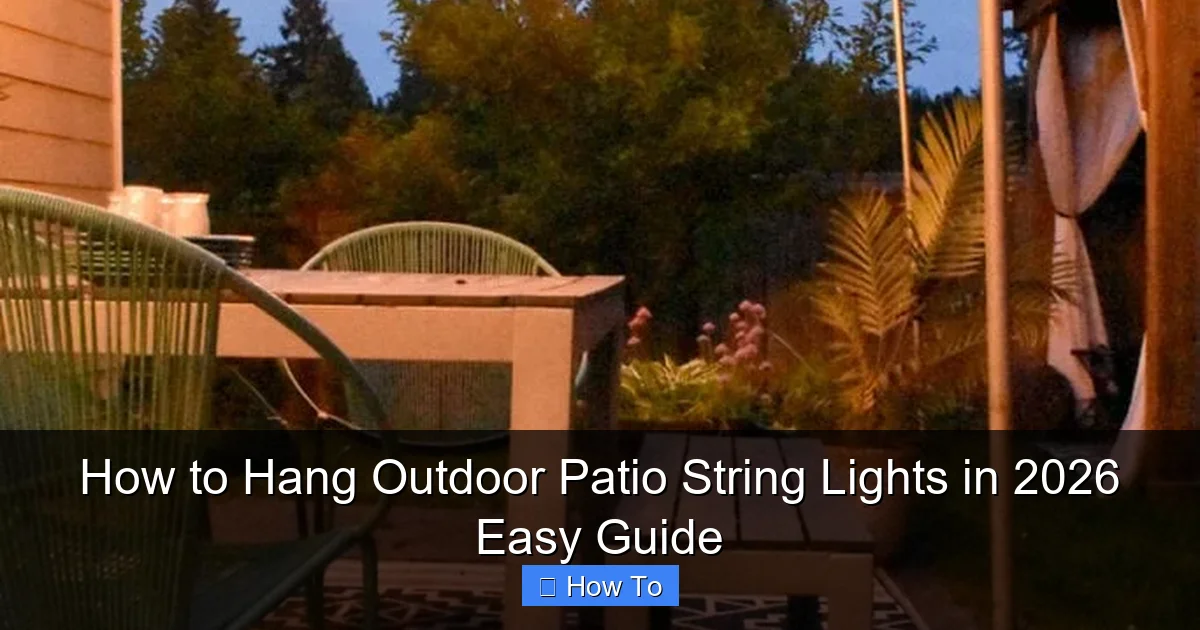
Featured image for how to hang outdoor patio string lights
Image source: jessicawellinginteriors.com
Transform your outdoor space in minutes by securely mounting patio string lights using weather-resistant hooks or tension cables—no professional help needed. This 2026 guide walks you through simple, stylish techniques to hang lights safely across patios, pergolas, or trees, ensuring a stunning glow all year. Choose durable hardware, plan your layout, and enjoy a hassle-free setup that elevates any evening.
“`html
How to Hang Outdoor Patio String Lights in 2026 Easy Guide
Key Takeaways
- Plan your layout first: Sketch light placement to avoid costly adjustments later.
- Use weatherproof hardware: Choose stainless steel or coated hooks for long-term durability.
- Measure twice, hang once: Confirm spacing and height before installing any fixtures.
- Opt for LED bulbs: Save energy and reduce heat with efficient, long-lasting LEDs.
- Secure connections tightly: Prevent sagging by anchoring lights at multiple support points.
- Test lights early: Check functionality before final installation to avoid rework.
Why This Matters / Understanding the Problem
Picture this: It’s a warm summer evening, the grill is still smoking, and your friends are laughing under a sky full of stars. You hit the switch, and—*nothing*. The string lights you hung last year are tangled, half-dead, or sagging like a hammock after one too many naps.
We’ve all been there. Outdoor patio string lights aren’t just about ambiance—they’re about creating a space where memories happen. But hanging them right? That’s the difference between a magical glow and a DIY disaster.
Whether you’re setting up for a wedding, a cozy backyard dinner, or just want to enjoy your patio after sunset, this How to Hang Outdoor Patio String Lights in 2026 Easy Guide walks you through every step. No overhangs? No poles? No problem. We’ll tackle it all—safely, beautifully, and without breaking a sweat.
What You Need
Before we start, let’s gather your gear. Think of this as your “string light survival kit.” You don’t need a contractor—just a few smart tools and a little prep.
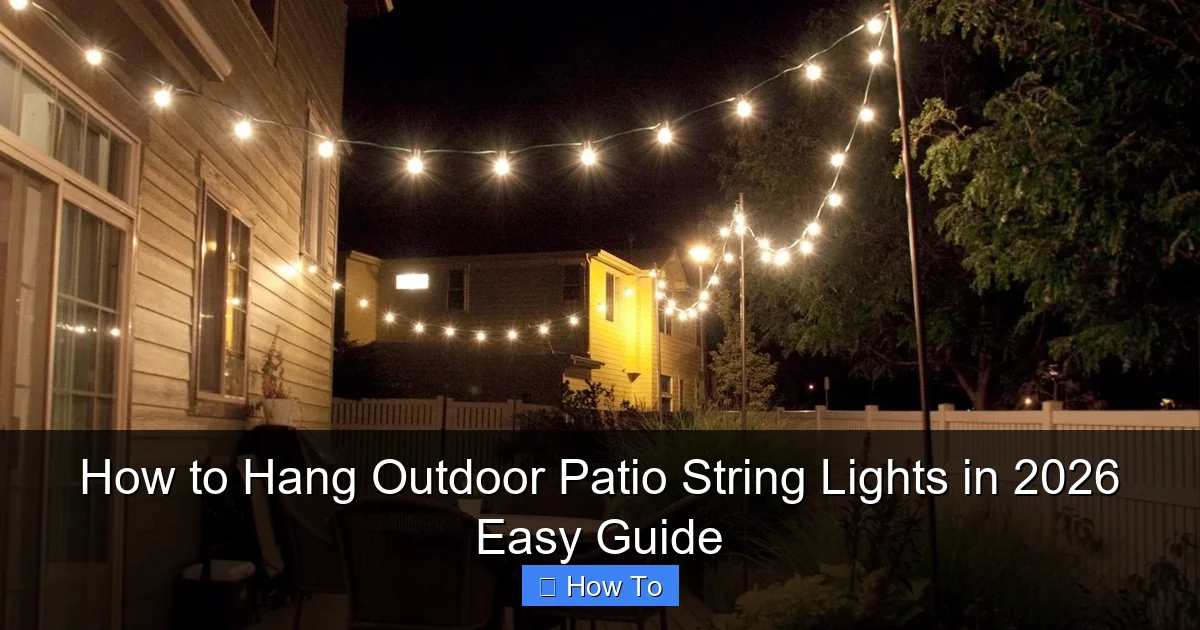
Visual guide about how to hang outdoor patio string lights
Image source: themprojects.com
- Outdoor-rated string lights: Look for “damp” or “wet” rated for rain resistance. LED is best—cool to touch, energy-efficient, and lasts years.
- Measuring tape: To plan spacing and avoid “Oops, that’s too short” moments.
- Drill & screws: For wood, stucco, or brick. Use anchors for masonry.
- Eye hooks or cup hooks: Stainless steel or weather-resistant. These are your light’s anchors.
- Zip ties or light clips: For temporary setups or trees. Reusable and cheap.
- Extension cords: Outdoor-rated, with GFCI protection (safety first!).
- Ladder: Sturdy and tall enough for your highest point.
- Level (optional): For a perfectly straight, pro-looking run.
- Timer or smart plug: So lights turn on automatically at dusk.
Pro insight: I once skipped the GFCI cord and got a “zap” when I touched a wet plug. Learned my lesson: always use a GFCI outlet or extension cord—it could save your life.
Step-by-Step Guide to How to Hang Outdoor Patio String Lights in 2026 Easy Guide
Let’s get into the nitty-gritty. This guide works whether you have eaves, trees, pergolas, or just a blank wall. We’ll keep it simple, safe, and stunning.
Step 1: Plan Your Layout (Measure Twice, Hang Once)
Grab your measuring tape and sketch a rough layout. Ask: Where do you want light? Over the dining table? Along the fence? In a zigzag across the yard?
- Measure the distance between your anchor points (e.g., house to tree, post to post).
- Account for sag: Lights should dip 12–18 inches between anchors for a soft, inviting look.
- Map power sources: Where’s the nearest outdoor outlet? Plan your cord path to avoid tripping hazards.
Real talk: I tried a “freehand” layout once. Ended up with a lopsided “light smiley face.” Measure. It’s worth it.
This step is crucial for the How to Hang Outdoor Patio String Lights in 2026 Easy Guide—because a bad plan leads to a bad hang.
Step 2: Choose Your Mounting Method (Match the Surface)
Different surfaces need different hardware. Here’s the cheat sheet:
- Wood (eaves, pergolas, fences): Use stainless steel eye hooks or cup hooks. Pre-drill holes to avoid splitting.
- Masonry (brick, stucco): Use plastic anchors with screws or masonry screws. A hammer drill helps.
- Trees: Use zip ties, rope clips, or tree-safe straps. Never nail into trees—it harms them.
- Metal poles or railings: Use zip ties or magnetic hooks (if non-porous).
Pro tip: For trees, wrap the trunk with a soft fabric strip before attaching clips. It protects the bark and looks cleaner.
Step 3: Install the Anchors (The Foundation of a Great Hang)
Now, drill and secure your hooks. Here’s how:
- For wood: Pre-drill a pilot hole. Twist the eye hook in by hand until snug.
- For masonry: Drill a hole, insert a plastic anchor, then screw in the hook. Don’t overtighten.
- For trees: Wrap a zip tie or strap loosely around the trunk (leave room for growth). Clip the light socket into it.
Space anchors every 2–3 feet. For long runs (over 20 feet), add extra supports to prevent sagging.
Warning: I once used regular screws on stucco. They pulled out in a storm. Use anchors—your lights will thank you.
Step 4: Hang the Lights (The Fun Part!)
Unroll your lights and plug them in to test. Then:
- Start at the power source. Hang the first socket on the anchor.
- Walk the lights to the next anchor, letting them drape slightly. Clip each socket into the hook or zip tie.
- For zigzag or crisscross patterns, use a second set of anchors. Overlap lights for full coverage.
- Keep tension even—no tight pulls or droopy spots.
Real-life hack: Use a friend to hold the far end while you hang. One person manages the cord, the other clips. Saves time and frustration.
This is where the How to Hang Outdoor Patio String Lights in 2026 Easy Guide shines—literally. A smooth, even hang makes all the difference.
Step 5: Manage the Cords (No Tripping, No Mess)
Exposed cords are a hazard and an eyesore. Here’s how to hide them:
- Along walls: Use adhesive cord clips or run cords under eaves.
- Across the ground: Tuck under mulch, use cord covers, or bury in shallow trenches (with conduit for safety).
- For trees: Wrap cords around branches (gently) or use zip ties to secure to trunks.
Always keep cords away from water sources (pools, sprinklers). And never staple cords into wood—it damages insulation.
Step 6: Test & Adjust (The Final Polish)
Turn on the lights at dusk. Look for:
- Uneven sagging? Tighten or add a support.
- Flickering bulbs? Replace or check connections.
- Cords in the way? Re-route with clips.
Step back and enjoy. Does the glow feel warm and inviting? If yes—you’ve nailed it.
My favorite moment: The first time I lit up my patio with this method. My kids ran outside, “It’s like a fairyland, Dad!” That’s the magic.
Step 7: Automate (Set It and Forget It)
Use a timer or smart plug to turn lights on at sunset and off at bedtime. No more forgetting to flip the switch.
- Timer: Set for 5–6 hours. Cheap and reliable.
- Smart plug: Use an app (like Alexa or Google Home) for voice control or schedules.
Bonus: Some smart plugs work with solar chargers—eco-friendly and off-grid ready.
Pro Tips & Common Mistakes to Avoid
After hanging lights for 15+ years (and learning from my blunders), here’s what I wish I knew:
- Don’t use indoor lights outdoors. They’ll short-circuit in rain. Always check the rating.
- Avoid overloading circuits. One string per 10-amp circuit is safe. More? Use a separate outlet.
- Skip the duct tape. It melts in sun and leaves sticky residue. Use clips or zip ties.
- Don’t hang too tight. Lights expand in heat. Leave a little slack to prevent snapping.
- Check local codes. Some areas require permits for permanent installations. When in doubt, ask.
Personal fail: I once hung lights across a 30-foot gap with no center support. A windstorm turned them into a “light kite.” Now I add extra anchors every 15 feet.
For the How to Hang Outdoor Patio String Lights in 2026 Easy Guide, these tips are your secret weapon. They save time, money, and headaches.
FAQs About How to Hang Outdoor Patio String Lights in 2026 Easy Guide
You’ve got questions. I’ve got answers—straight, no fluff.
Can I hang string lights without drilling holes?
Absolutely! Use zip ties for trees, adhesive clips for smooth walls, or tension rods between posts. For fences, try S-hooks over the top rail. No drill, no damage.
How far apart should I space the hooks?
Every 2–3 feet for straight runs. For long spans (over 20 feet), add a center anchor to prevent sagging. Think of it like a suspension bridge—more supports, less droop.
What if I have no trees or overhangs?
No problem. Use freestanding poles (like shepherd’s hooks or metal stakes) or attach lights to your house, fence, or pergola. You can even create a “light canopy” with poles at each corner.
How do I keep lights from sagging?
Three ways: 1) Space anchors closer (2–3 feet), 2) Use a support cable (run a thin wire between anchors and hang lights on it), 3) Choose heavier-duty lights with thicker cords.
Can I connect multiple light strands?
Yes—but check the wattage. Most outdoor lights can connect 2–3 strands max. Overloading can blow fuses or start fires. Always follow the manufacturer’s limit.
How do I take them down for winter?
If you used hooks or clips, remove them gently. For zip ties, cut the tie (don’t pull the light). Store lights in a cool, dry place—coiled loosely in a bin. Avoid plastic bags (they trap moisture).
Are solar-powered lights worth it?
For small setups, yes. They’re eco-friendly and easy to install (no cords!). But they’re dimmer and need 6+ hours of sun. For big patios, stick with plug-in lights.
Final Thoughts
Hanging outdoor patio string lights isn’t just a chore—it’s an act of love. You’re crafting a space where laughter echoes, stories are told, and quiet moments shine.
This How to Hang Outdoor Patio String Lights in 2026 Easy Guide gives you the tools to do it right: plan smart, anchor strong, hang with care, and automate for joy.
So grab your lights, your ladder, and a friend. In an hour, you’ll have a patio that feels like a dream. And when the sun sets? Flip the switch. Let the glow begin.
One last tip: Take a photo of your setup. It’s your “before” for next year—and a reminder of the magic you created.
“`

