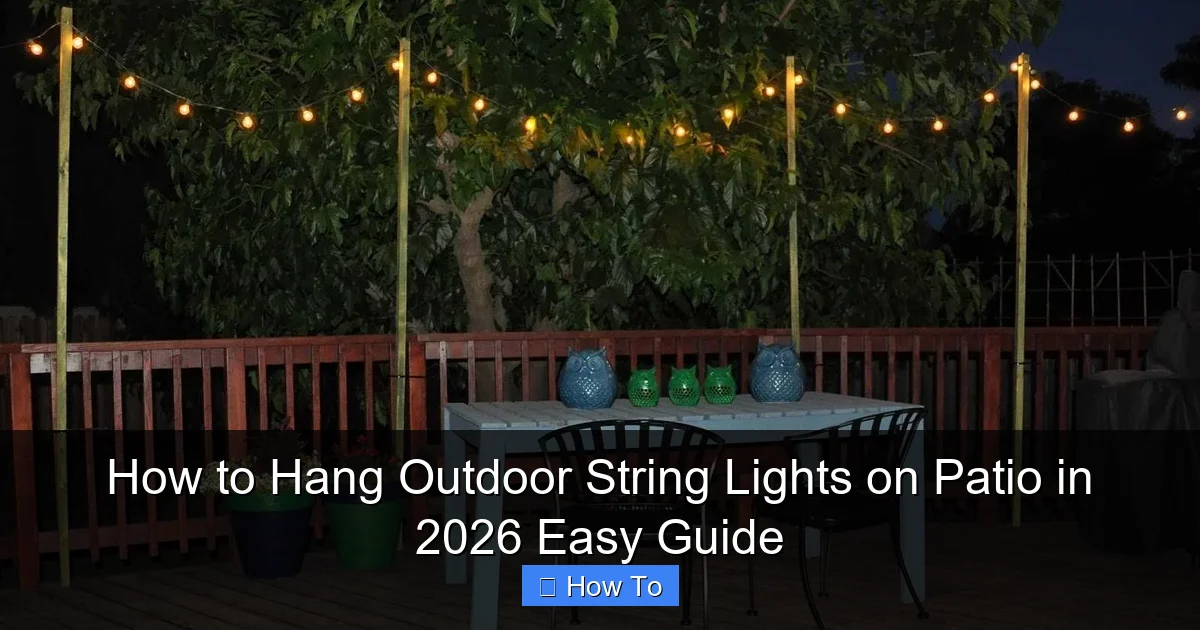
Featured image for how to hang outdoor string lights on patio
Image source: themprojects.com
Transform your patio into a glowing retreat in 2026 with simple, secure outdoor string light installation. Use weather-resistant hooks, tension cables, or existing structures to hang lights safely and stylishly—no professional help needed. Follow spacing guidelines and LED best practices for a dazzling, long-lasting ambiance.
How to Hang Outdoor String Lights on Patio in 2026 Easy Guide
Key Takeaways
- Plan your layout first: Sketch light placement to avoid costly mistakes and ensure even coverage.
- Use durable hardware: Install weatherproof hooks, screws, or clips to secure lights safely.
- Measure string lengths: Buy 10% extra to account for curves, poles, or unexpected gaps.
- Anchor to solid structures: Attach lights to beams, eaves, or posts for maximum stability.
- Test before installing: Check bulbs and connections to avoid mid-project failures.
- Space evenly for balance: Keep 2–3 feet between bulbs for optimal brightness and visual appeal.
Why This Matters / Understanding the Problem
Let’s be honest: there’s something magical about stepping onto your patio at night and being greeted by a warm, twinkling glow. Whether it’s for a quiet evening with your partner, a backyard barbecue, or just a way to make your home feel more inviting, outdoor string lights can transform your outdoor space.
But if you’ve ever tried to install them, you know it’s not always as simple as “just hang them up.” I’ve been there—struggling with tangled cords, sagging lines, or lights that won’t stay put in the wind. That’s why I’ve spent years testing and refining my approach, and now I’m sharing the How to Hang Outdoor String Lights on Patio in 2026 Easy Guide with you—no headaches, no guesswork, just a beautifully lit patio.
The good news? With the right plan and tools, you can do this in a weekend (or less). And in 2026, new tech and smarter mounting solutions make it easier than ever. Whether you have a wooden deck, a concrete patio, or a pergola, this guide covers it all—so you can skip the frustration and get straight to enjoying your space.
“I used to think string lights were just for holidays. Now they’re my go-to for everyday magic.” — Me, after my first successful install
What You Need
Before we dive in, let’s gather your tools and materials. The key to a smooth How to Hang Outdoor String Lights on Patio in 2026 Easy Guide is preparation. No running back to the store mid-project!
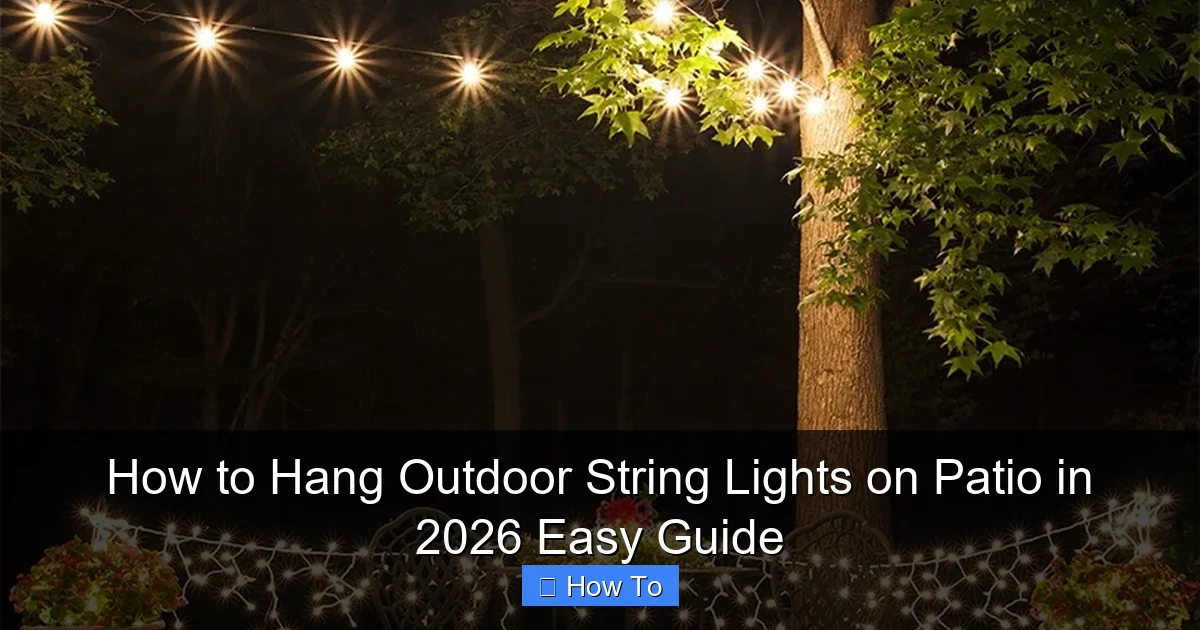
Visual guide about how to hang outdoor string lights on patio
Image source: cdn.christmaslightsetc.com
- Outdoor-rated string lights (LED, weatherproof, preferably with a warm white or soft yellow glow)
- Measuring tape (for spacing and layout)
- Drill and drill bits (for wood, concrete, or masonry, depending on your patio)
- Eye hooks, screw eyes, or J-hooks (stainless steel or coated for rust resistance)
- Zip ties or outdoor-rated cable clips (for securing wires and managing slack)
- Level (optional but helpful for straight lines)
- Extension cord or outdoor-rated power strip (if your outlet isn’t close)
- Ladder (if you’re working above 8 feet)
- Marker or pencil (for marking drill points)
- Wire clips or adhesive outdoor mounts (if you don’t want to drill—great for renters!)
- Timer or smart plug (optional, but a game-changer for automation)
Pro tip: If you’re renting or don’t want to drill, look for adhesive-backed outdoor light clips or use existing structures like railings, pergolas, or trees. I’ve even used tension rods between posts for a no-damage setup!
Step-by-Step Guide to How to Hang Outdoor String Lights on Patio in 2026 Easy Guide
Step 1: Plan Your Layout (Before You Buy or Hang)
Start with a sketch—yes, even if you’re not an artist. Grab a piece of paper or use a simple drawing app. Draw your patio, noting walls, railings, pergolas, and any obstacles (like planters or furniture).
Now, decide on the style of your lighting:
- Straight lines (great for symmetry and modern patios)
- Zigzag or crisscross (adds visual interest and covers large areas)
- Canopy style (lights hung from a central point, like a pergola, to create a “ceiling” effect)
- Rail or fence wrap (ideal for smaller spaces or renters)
Measure the total distance your lights will cover. Add 10–15% extra for slack and connections. This helps you buy the right length of string lights—no frustrating gaps or leftover cords.
“I once bought lights that were 3 feet too short. Now I measure twice, buy once.” — A lesson learned the hard way
Also, plan where the power source will be. If your outlet is on the opposite side of the patio, you’ll need an extension cord or a long enough string set. In 2026, many people use solar-powered string lights for off-grid areas—great for eco-conscious setups!
Step 2: Choose the Right Hanging Method (Match Your Patio Type)
Not all patios are created equal. Your hanging method depends on what your patio is made of and what’s already there.
For wood patios or decks:
- Use stainless steel eye hooks or J-hooks screwed into the wood.
- Space them 4–6 feet apart for straight lines, or 3–4 feet for crisscross.
- Drill pilot holes first to prevent splitting.
For concrete or brick patios:
- Use masonry screws with plastic anchors or concrete screws.
- You can also use adhesive mounts rated for outdoor use (3M VHB tape works great).
- If drilling, a hammer drill is your best friend.
For pergolas or existing structures:
- Use ceiling hooks or zip ties to attach to beams.
- For a canopy, hang a central hook from the pergola’s peak and drape lights outward.
For renters or no-drill options:
- Use adhesive-backed clips (like Command Outdoor Hooks).
- Wrap lights around railings or use tension rods between posts.
- Clip lights to existing outdoor furniture (umbrellas, chairs).
This step is crucial for a successful How to Hang Outdoor String Lights on Patio in 2026 Easy Guide—don’t skip it!
Step 3: Install Your Mounting Points (The Foundation)
Now it’s time to put your plan into action. Start by marking your hook or clip locations with a pencil or marker.
- Use a measuring tape to ensure even spacing.
- For straight lines, snap a chalk line or use a level to keep things straight.
- For crisscross patterns, mark both ends of each diagonal.
Drill pilot holes (if needed), then screw in your hooks or anchors. For adhesive mounts, clean the surface with rubbing alcohol first—this helps them stick better in rain and heat.
Pro tip: If you’re using eye hooks, install them at a slight upward angle (10–15 degrees). This helps the lights hang better and reduces sagging.
“I learned the hard way that flat hooks = droopy lights. A little angle goes a long way.”
Double-check that all hooks are secure. Give each one a gentle tug. You don’t want them pulling out when the lights are up!
Step 4: Hang the Lights (Go Slow and Steady)
Now for the fun part—hanging the lights!
- Start at the power source end. Plug in one light set and drape it toward the first hook.
- Use a zip tie, loop, or the built-in hanging loop (many string lights have these) to secure it to the hook.
- Don’t pull too tight—keep a slight sag (about 6–12 inches between hooks). This prevents tension on the wires and looks more natural.
- For crisscross patterns, alternate directions with each row to avoid tangles.
If your lights are too long, don’t cut them! Instead:
- Loop the excess at the end and secure it with a zip tie.
- Or, use a light reel to store the extra cord neatly.
For multiple light sets, connect them end-to-end (if compatible), or use separate power sources. In 2026, many brands offer plug-and-play connectors that make linking sets easy and waterproof.
“I once pulled too hard and broke a bulb. Now I let the lights ‘breathe’ between hooks.”
Step 5: Manage Cords and Power (Keep It Tidy and Safe)
Nothing ruins a beautiful setup like messy cords. Here’s how to keep things clean:
- Use outdoor-rated cable clips to guide cords along walls or railings.
- Zip tie cords together every 2–3 feet to prevent tangling.
- If using an extension cord, run it along a wall or under a mat (but never in a walkway).
- For long runs, use a weatherproof outdoor power strip with a cover.
Plug everything in and test the lights. Check for dim bulbs, flickering, or sections that aren’t working. If you find an issue, unplug and troubleshoot before finalizing.
Bonus: In 2026, smart plugs with timers are a must. Set your lights to turn on at sunset and off at 10 PM—no fumbling with switches!
Step 6: Adjust and Refine (The Final Touch)
Step back and look at your work. Does it look balanced? Are there any sags, twists, or uneven sections?
- Adjust hooks slightly if needed.
- Straighten any twisted bulbs.
- Add extra clips if the lights are swaying in the wind.
For a professional look, use black zip ties or dark cable clips—they blend in better than white ones.
If you’re going for a “floating” effect (like over a dining table), use a central hook and hang lights in a circular or oval pattern. It’s simple but stunning.
“My neighbor thought I hired a pro. Nope—just patience and a few tweaks.”
Pro Tips & Common Mistakes to Avoid
After years of hanging lights (and making plenty of mistakes), here are the insider tips that make all the difference:
- Use LED lights. They last longer, use less power, and don’t get hot. In 2026, many come with color-changing or dimmable features—perfect for setting the mood.
- Check the IP rating. Look for lights rated IP65 or higher for outdoor use. This means they’re dust-tight and can handle rain and sprinklers.
- Buy a few extra clips. You’ll always need more than you think, especially for windy areas.
- Don’t overhang. Keep lights at least 8 feet above the ground to avoid people walking into them.
- Use a timer or smart plug. It saves energy and makes your life easier. I use mine daily—no more “Did I leave the lights on?” anxiety.
- Test before you commit. Hang one section first and see how it looks at night. Adjust spacing or brightness if needed.
Common mistakes I’ve made (so you don’t have to):
- Not measuring first. I’ve bought lights that were too short or too long—always measure your space!
- Using indoor lights outdoors. They’ll burn out in weeks. Always check the label.
- Pulling too tight. Sagging lights look better than over-stretched ones.
- Ignoring the wind. If your area gets gusts, add extra clips or use stronger hooks.
- Forgetting the power source. Nothing’s worse than lights that can’t reach an outlet.
And remember: the How to Hang Outdoor String Lights on Patio in 2026 Easy Guide isn’t about perfection—it’s about creating a space you love. A little imperfection adds charm!
FAQs About How to Hang Outdoor String Lights on Patio in 2026 Easy Guide
Q: Can I leave my outdoor string lights up year-round?
Yes, if they’re rated for outdoor use and you live in a mild climate. In areas with harsh winters, take them down in late fall. Snow and ice can damage cords and bulbs. If you keep them up, check for wear each spring.
Q: How do I hang lights without drilling into concrete?
Great question! Use adhesive outdoor mounts (like 3M VHB tape) or weighted bases (like light poles). You can also hang them from trees, railings, or even use tension rods between posts. I’ve used all three—no holes, no regrets!
Q: What’s the best spacing between hooks?
For straight lines, 4–6 feet apart works well. For crisscross or canopy styles, go 3–4 feet. The key is to allow a gentle sag—about 6–12 inches between hooks. This looks more natural and reduces strain on the wires.
Q: Can I connect multiple light sets?
Yes, but check the manufacturer’s instructions. Most sets have a max number you can link (usually 3–5). Overloading can blow the fuse or damage the lights. In 2026, many brands offer smart connectors that auto-regulate power—super safe!
Q: How do I keep lights from sagging?
Use more hooks (closer spacing), stronger hooks (like stainless steel), or add center supports (like a tall pole or umbrella stand). For long runs, consider a light cable kit—it uses a steel wire to support the lights.
Q: Are solar-powered lights worth it?
Absolutely—if you have good sun exposure. In 2026, solar lights are brighter and last longer. They’re perfect for off-grid areas or renters. Just remember: they need 6–8 hours of sunlight to charge fully.
Q: How do I hide the cords?
Use outdoor cable clips to run cords along walls, railings, or under planters. You can also paint cords to match your patio (use outdoor spray paint). Or, use a light reel to store excess cord neatly.
Final Thoughts
There you have it—the How to Hang Outdoor String Lights on Patio in 2026 Easy Guide that’s worked for me, my friends, and countless homeowners. It’s not just about lighting up your space; it’s about creating a vibe—a place where you want to linger, laugh, and relax.
The best part? You don’t need to be a DIY expert. With a little planning, the right tools, and a few pro tips, you can transform your patio in a weekend. And in 2026, with smarter lights, better clips, and easier power solutions, it’s never been more doable.
So grab your lights, sketch your layout, and get started. Don’t stress about perfection—just enjoy the process. And when you’re done? Pour yourself a drink, turn on the lights, and take a moment to appreciate what you’ve created.
Because at the end of the day, it’s not about the lights. It’s about the moments they help you create.
Now go light up your life—one string at a time.

