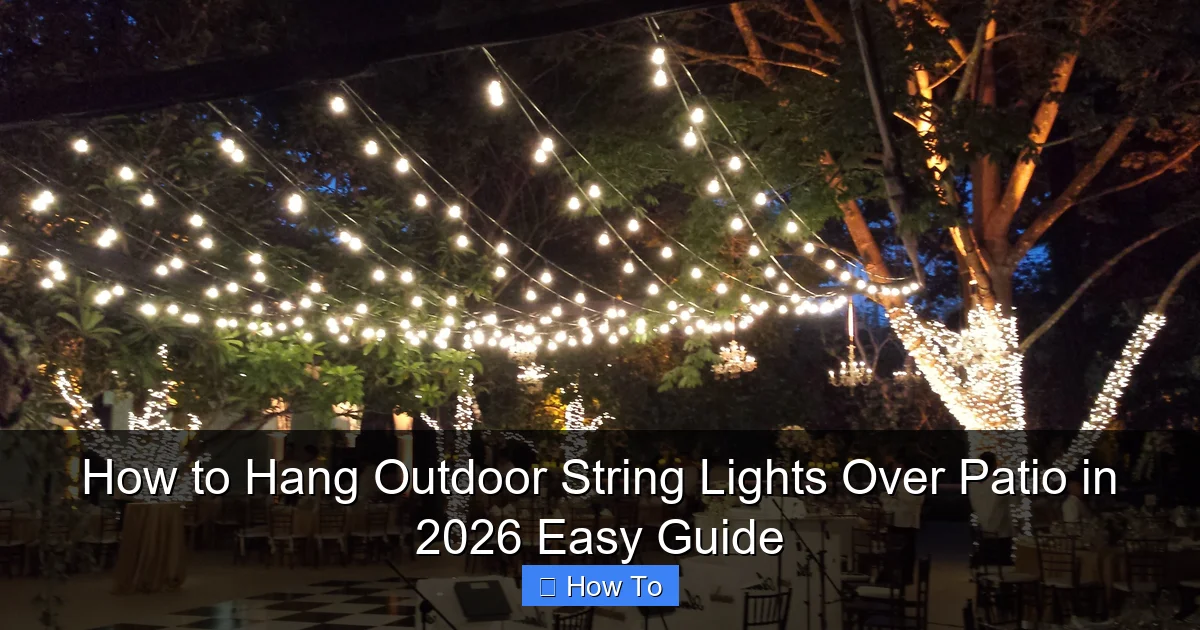
Featured image for how to hang outdoor string lights over patio
Image source: img.yardenvy.com
Transform your patio into a stunning nighttime retreat by strategically hanging outdoor string lights using secure mounting points like eaves, posts, or tension wires. Follow a simple plan—measure, space anchors evenly, and drape lights in a zigzag or parallel pattern for balanced illumination and professional results in under an hour. No electrician needed—just style, safety, and instant ambiance.
“`html
How to Hang Outdoor String Lights Over Patio in 2026 Easy Guide
Key Takeaways
- Plan your layout first: Measure and mark light placement for even coverage.
- Choose weatherproof lights: Opt for UL-listed or IP65-rated for durability.
- Use secure anchors: Install hooks, eye bolts, or zip ties for strong support.
- Keep spacing consistent: Maintain 12–18 inches between bulbs for balanced brightness.
- Test before hanging: Check lights work fully before installation to avoid rework.
- Hide cords neatly: Use raceways or clips to keep wires tidy and safe.
- Follow local codes: Ensure outdoor electrical use complies with safety regulations.
Why This Matters / Understanding the Problem
Let’s be real—there’s nothing quite like a warm summer evening, a cold drink in hand, and the soft glow of string lights overhead. But if you’ve ever tried to hang outdoor string lights over a patio, you know it’s not as simple as just “stringing them up.”
I learned this the hard way. A few years ago, I spent an entire Saturday wrestling with tangled lights, wobbly ladders, and anchors that wouldn’t stay in place. By the end, the lights looked more like a spiderweb than a cozy ambiance—and they were sagging dangerously low.
If you’re searching for how to hang outdoor string lights over patio in 2026 easy guide, chances are you want a solution that’s simple, safe, and stylish—without the frustration. Whether you’re hosting a backyard BBQ, planning a romantic dinner, or just want to enjoy your outdoor space after dark, the right lighting can transform your patio from “meh” to magical.
The good news? With the right tools and a little planning, you can create a stunning, Instagram-worthy setup in just a few hours. This guide walks you through every step—from choosing the right lights to securing them safely—so you can enjoy your space without the headaches.
Pro Insight: The key to success isn’t just hanging the lights—it’s planning the layout, choosing weather-resistant materials, and ensuring everything is secure. A little prep saves a lot of regret later.
What You Need
Before you start, gather your tools and materials. Trust me—running back and forth to the hardware store mid-project kills the momentum. Here’s what you’ll need to hang outdoor string lights over your patio like a pro.
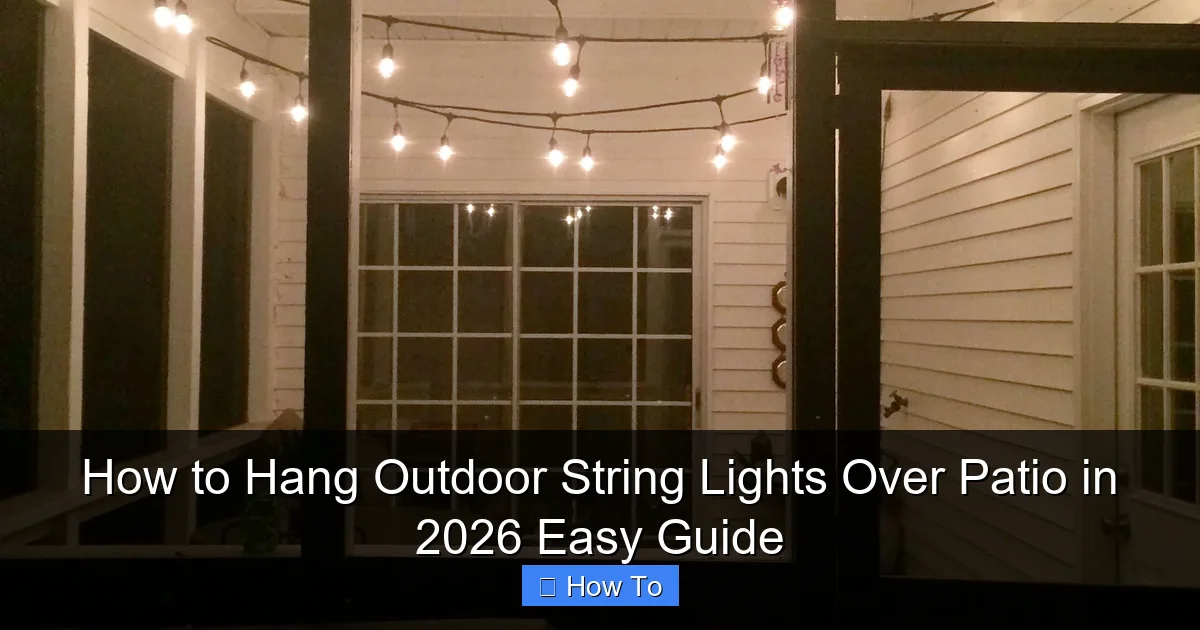
Visual guide about how to hang outdoor string lights over patio
Image source: charlestoncrafted.com
- Outdoor-rated string lights (LED, shatterproof, and weatherproof)
- Measuring tape (to map your space)
- Drill and drill bits (for wood, stucco, or masonry, depending on your patio)
- Eye hooks, screw eyes, or cup hooks (stainless steel or coated to resist rust)
- Turnbuckles or tensioners (for sagging control)
- Zip ties or cable clips (for temporary or low-load setups)
- Ladder (stable and tall enough for your space)
- Level (optional, but helpful for even spacing)
- Anchor points (e.g., existing posts, pergola beams, fascia, or railings)
- Extension cord (outdoor-rated) with GFCI protection
- Timer or smart plug (for automatic on/off)
Warning: Never use indoor lights outdoors. They aren’t built for rain, UV rays, or temperature swings. Also, avoid using nails or staples—they damage wires and create fire hazards.
Step-by-Step Guide to How to Hang Outdoor String Lights Over Patio in 2026 Easy Guide
Step 1: Plan Your Layout Like a Designer (Not a Hacker)
Start with a sketch—yes, even if you’re not an artist. Grab a piece of paper and roughly draw your patio, including posts, railings, rooflines, and any obstacles (like trees or furniture).
Ask yourself: Where do I want the lights to go? Do you want a simple crisscross pattern? A canopy over a dining area? A zigzag between posts?
For most patios, a grid pattern (lights going both directions) looks best. But if you have a long, narrow space, a single line or zigzag can work too.
Use your measuring tape to note distances between anchor points. This helps you choose the right length of string lights. Pro tip: Buy lights that are slightly longer than your longest span—you can always adjust with tensioners.
When planning your how to hang outdoor string lights over patio in 2026 easy guide layout, remember: symmetry matters. Even spacing (about 12–16 inches apart) looks clean and intentional.
Step 2: Choose the Right Anchor Points
Your anchor points are the foundation of your setup. Weak or poorly placed anchors = sagging, falling, or damaged lights.
Good anchor points include:
- Pergola or gazebo beams
- House fascia (the trim under the roofline)
- Fence posts or sturdy railings
- Concrete walls (with proper anchors)
- Existing outdoor structures (like a shed or arbor)
Avoid weak spots like:
- Thin wood trim
- Plastic railings
- Roof shingles (they’re not structural)
- Anything that wobbles when you push it
For wood surfaces, use screw-in eye hooks. For stucco or brick, use masonry anchors with screws. For metal railings, zip ties or magnetic hooks work well—no drilling needed.
Pro Tip: If you’re drilling into stucco, go slow. Stucco cracks easily. Use a masonry bit and a hammer drill on low speed. Pre-drill a small pilot hole first.
Step 3: Install Eye Hooks or Anchors
Now it’s time to install your hardware. Start at one end of your layout and work your way across.
For wood: Use a drill to pre-drill a small hole (slightly smaller than the hook’s screw). Then twist the eye hook in by hand or with pliers. Don’t over-tighten—this can strip the wood.
For stucco or brick: Insert a plastic or metal anchor into the hole. Then screw the eye hook into the anchor. Use a level to keep hooks aligned.
For metal railings: Use zip ties or magnetic hooks. Wrap the tie around the railing, thread it through the light’s loop, and pull tight. Trim the excess.
Space your hooks about 4–6 feet apart. Closer is better for long spans or heavy lights. If you’re using a grid, install hooks in both directions.
This step is crucial for your how to hang outdoor string lights over patio in 2026 easy guide success. Skipping it leads to sagging and stress on the wires.
Warning: Don’t install hooks too close to the edge of a beam or fascia. The wood can split under tension. Aim for at least 1.5 inches from the edge.
Step 4: Hang the Lights—Start at the Power Source
Here’s a golden rule: Always start at the power source. That means the plug end of your string lights should be near your outlet or extension cord.
Why? Because most string lights only have one plug. If you start at the far end, you’ll have to run the cord across the entire span—creating tripping hazards and messy cable runs.
Attach the first loop of the lights to the nearest hook. Then, work your way along the path, looping each end of the bulb sockets onto the hooks.
Don’t pull the lights too tight. You want a slight sag—about 6–12 inches in the middle of a 10-foot span. This prevents stress on the wires and gives a soft, natural look.
If your lights come with built-in hooks or loops, great. If not, you can use small carabiners, zip ties, or even twist ties to secure them.
For long runs, use turnbuckles at key points (like mid-span). They let you adjust tension after installation. Just attach one end of the turnbuckle to the hook, the other to the light string, and twist to tighten.
Step 5: Secure the Cord and Prevent Tripping
The lights are up—now keep the cord out of the way. A dangling cord is not just ugly; it’s a tripping hazard.
Use outdoor-rated cord clips or zip ties to run the cord along railings, beams, or the house. If the cord runs across a walkway, use a cord cover (like a rubber channel) to protect it and keep it flat.
For extra safety, plug the cord into a GFCI outlet (ground fault circuit interrupter). These shut off power if they detect a fault—like water in the plug.
Want to automate? Plug the cord into a smart plug or timer. Set it to turn on at sunset and off at midnight. No more remembering to flip the switch.
This step is often overlooked, but it’s part of a truly easy how to hang outdoor string lights over patio in 2026 easy guide—because safety and convenience go hand in hand.
Pro Tip: If your outlet is far from the lights, use a heavy-duty outdoor extension cord. Don’t daisy-chain cords—this can overload the circuit.
Step 6: Test, Adjust, and Fine-Tune
Turn on the lights. Walk around your patio. Look up. Look from the street. Does everything look balanced? Are the bulbs evenly spaced?
Now adjust:
- Use turnbuckles to fix sagging spans
- Reposition hooks if lights are too tight or too loose
- Tighten zip ties or clips if the cord is drooping
- Check that all bulbs light up (replace any duds)
It’s normal to need a few tweaks. I once had to rehang an entire side because the lights were too low over the grill—safety first!
Once everything looks good, take a photo. You’ll want to remember this setup for next year.
Step 7: Maintain and Store Properly (For Next Season)
When winter comes, don’t just yank the lights down and toss them in a box. That’s a recipe for tangled, broken lights next year.
Instead:
- Turn off and unplug the lights
- Carefully unhook them from the anchors
- Wrap them around a cardboard tube or use a light reel
- Store in a cool, dry place (like a garage or shed)
- Label the box: “Outdoor String Lights – Patio 2026”
If you’re leaving the lights up year-round (great for mild climates), check them monthly. Replace any burnt-out bulbs and tighten loose hooks.
This simple habit keeps your how to hang outdoor string lights over patio in 2026 easy guide system ready for use—year after year.
Pro Tips & Common Mistakes to Avoid
After hanging lights for over a decade (and making every mistake in the book), here are my hard-earned insights.
- Don’t skip the plan. I once hung lights without measuring—ended up with a 3-foot sag over the grill. Not safe, not cute.
- Use LED lights. They last longer, use less power, and don’t get hot. Incandescent bulbs can melt plastic hooks.
- Choose shatterproof bulbs. Kids, pets, wind—stuff happens. Shatterproof bulbs won’t break if they fall.
- Mind the wind. If your patio is exposed, use stronger anchors and shorter spans. Wind can snap wires or pull out hooks.
- Check local codes. Some HOAs or municipalities restrict lighting or require permits. Always better to ask first.
- Use dimmable or warm-white lights. Bright white or blue lights feel clinical. Warm white (2700K–3000K) creates a cozy vibe.
- Don’t overload circuits. Most outdoor outlets can handle one string of 100 LED bulbs. More than that? Use a separate circuit.
Common Mistake: Using duct tape or nails to secure lights. Tape fails in rain. Nails damage wires. Always use proper hooks or clips.
One last tip: Invite a friend to help. It’s faster, safer, and more fun. Plus, they can spot issues you might miss (like a hook that’s too low).
FAQs About How to Hang Outdoor String Lights Over Patio in 2026 Easy Guide
Q: Can I hang string lights without drilling holes?
Absolutely. Use zip ties on railings, magnetic hooks on metal, or adhesive clips (rated for outdoor use) on smooth surfaces. Just avoid anything that blocks drainage or looks messy. For a no-drill how to hang outdoor string lights over patio in 2026 easy guide option, this works great—especially on rental properties.
Q: How high should I hang the lights?
Aim for 7–8 feet minimum above walkways and 9–10 feet over dining or seating areas. This keeps them out of head height and gives a soft glow. Measure from the lowest bulb to the ground.
Q: What if my patio has no roof or posts?
No problem. Install freestanding poles (like shepherd’s hooks or metal poles with ground stakes). Or use a light canopy kit with tension cables. These create anchor points without permanent installation.
Q: Can I use solar-powered string lights?
Yes—but with caveats. Solar lights need direct sun for 6+ hours a day. They’re dimmer and may not last all night. Best for short runs or accent lighting. For a bright, reliable setup, stick with plug-in lights.
Q: How many strings can I connect together?
Check the manufacturer’s rating. Most LED strings let you connect 10–20 sets. But don’t exceed the circuit’s capacity. If in doubt, use separate outlets or a power strip with surge protection.
Q: What if the lights sag after a few weeks?
This happens. Wind, rain, and temperature changes can stretch the wires. Use turnbuckles to tighten them. Or add more anchor points. For long spans, consider using a tension wire (like a thin steel cable) to support the lights.
Q: Are smart string lights worth it?
If you love convenience, yes. Smart lights can be controlled via app, voice (Alexa/Google), or timer. You can change colors, brightness, or set scenes. They cost more, but for a high-tech how to hang outdoor string lights over patio in 2026 easy guide experience, they’re a game-changer.
Final Thoughts
Hanging outdoor string lights over your patio doesn’t have to be a chore. With the right plan, tools, and a little patience, you can create a space that’s inviting, safe, and full of charm.
Remember: It’s not just about the lights—it’s about the experience. The laughter of friends, the quiet of a summer night, the glow that turns your backyard into a retreat.
Follow this how to hang outdoor string lights over patio in 2026 easy guide step by step. Start with a sketch. Use quality materials. Test as you go. And don’t rush the details—like cord management or tension adjustment.
And when you’re done? Pour yourself a drink, turn on the lights, and enjoy. You’ve earned it.
Now go make your patio the place everyone wants to be.
Happy hanging!
“`

