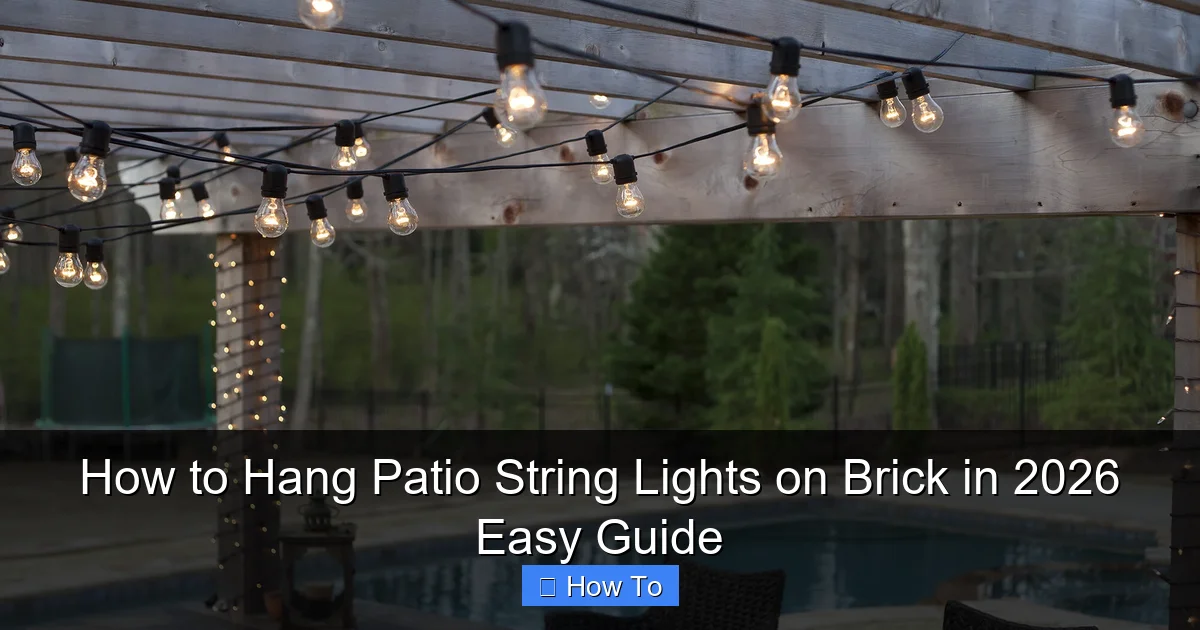
Featured image for how to hang patio string lights on brick
Image source: img.yardenvy.com
Hanging patio string lights on brick is simple and damage-free when you use masonry anchors or outdoor-rated adhesive hooks designed for textured surfaces. For a secure, long-lasting hold in 2026, avoid nails or screws—opt for weather-resistant, removable mounting solutions that preserve your brick while creating a stunning, inviting glow. This guide walks you through tool-free installation, spacing tips, and light placement for maximum ambiance.
“`html
How to Hang Patio String Lights on Brick in 2026 Easy Guide
Key Takeaways
- Use masonry anchors: Ensure secure installation by drilling into mortar, not brick.
- Measure spacing first: Plan light placement to avoid uneven gaps or sagging.
- Choose LED lights: Opt for weatherproof, energy-efficient options for durability.
- Install hooks properly: Twist screw hooks clockwise into pre-drilled holes for stability.
- Test before finalizing: Power lights temporarily to check layout and brightness.
- Seal gaps: Use silicone caulk around holes to prevent moisture damage.
Why This Matters / Understanding the Problem
Let’s be real—there’s nothing quite like the soft glow of string lights turning your patio into a cozy, inviting retreat. But when you’re staring at a solid brick wall, the question isn’t *if* you want the ambiance, it’s *how* to make it happen without damaging your home or turning it into a DIY disaster.
I learned this the hard way. A few years ago, I tried using adhesive hooks on my brick patio. They held for two weeks before the whole setup came crashing down during a light breeze. Ouch.
That’s why I’m here to walk you through the how to hang patio string lights on brick in 2026 easy guide—a method that’s secure, stylish, and won’t leave your neighbors wondering if you’re building a fortress.
Whether you’re prepping for summer BBQs, romantic evenings, or just want to feel like you’re dining under the stars, this guide covers everything you need to know. From tools to troubleshooting, we’ll tackle it all—brick by brick.
And don’t worry: no power tools? No problem. We’ll explore options for every skill level, from renters to seasoned DIYers.
What You Need
Before we dive in, let’s gather your toolkit. The good news? You don’t need a full workshop. Most of this stuff is easy to find at your local hardware store or online.
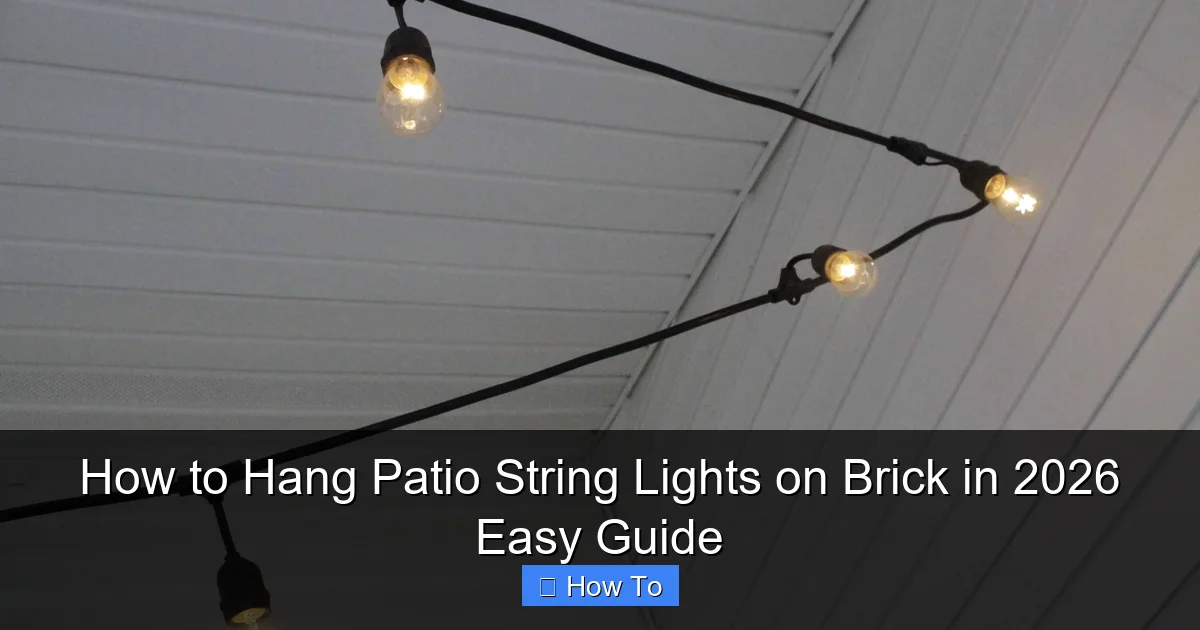
Visual guide about how to hang patio string lights on brick
Image source: charlestoncrafted.com
- String lights (LED, weather-resistant, 20–50 ft, depending on your space)
- Brick anchors or masonry screws (plastic anchors for light loads, metal for heavier setups)
- Drill with masonry bit (a hammer drill works best, but a regular drill with a carbide tip will do)
- Screwdriver (if using hooks that screw in)
- Measuring tape (to space lights evenly)
- Level (optional but helpful for symmetry)
- Pencil or masking tape (for marking drill points)
- Extension cord (outdoor-rated) (if not using battery-powered lights)
- Optional: adhesive hooks rated for brick (great for renters or temporary setups)
- Optional: zip ties or cable clips (for managing excess cord)
Pro tip: If you’re renting or want a no-damage solution, skip the drill and go with heavy-duty brick-safe adhesive hooks. They’re a game-changer for renters or those who don’t want to drill.
For permanent setups, though, the how to hang patio string lights on brick in 2026 easy guide leans toward anchors—they’re safer, longer-lasting, and look more polished.
Step-by-Step Guide to How to Hang Patio String Lights on Brick in 2026 Easy Guide
Step 1: Plan Your Layout (Before You Touch a Tool)
Start with a vision. Where do you want the lights to go? Over the patio? Along a wall? In a crisscross pattern?
Grab a piece of paper or use a phone app to sketch your layout. Measure the distance between anchor points—ideally 3 to 5 feet apart. This keeps the lights from sagging and looking messy.
I once tried hanging lights without a plan and ended up with a lopsided mess. My husband still jokes about the “leaning tower of lights.” Lesson learned: measure twice, drill once.
Also, check where your power source is. If your outlet is 20 feet away, you’ll need an outdoor extension cord. Make sure it’s rated for wet locations—safety first!
Pro Tip: If you’re going for a crisscross “canopy” look, plan diagonal lines from corner to corner. It looks stunning but requires more anchor points. Start simple if it’s your first time.
Step 2: Choose Your Mounting Method
This is where the how to hang patio string lights on brick in 2026 easy guide splits into two paths:
- Permanent (Drill & Anchor): Best for long-term setups, heavy lights, or windy areas.
- Non-Permanent (Adhesive Hooks): Ideal for renters, seasonal use, or if you don’t own a drill.
Let’s break them down:
For Drill Method: Use plastic anchors (like #6 or #8) for lightweight string lights. For heavier commercial-grade lights, go with metal anchors and screws.
For Adhesive Method: Look for hooks labeled “for brick” or “heavy-duty outdoor.” Brands like Command Outdoor or Gorilla Mounts work well. Just make sure the brick surface is clean and dry.
I’ve used both. The adhesive hooks held my 25-foot LED strand for 8 months—until a storm knocked them loose. The drilled version? Still going strong after 3 years.
Choose based on your needs, not just convenience.
Step 3: Clean the Brick Surface
Brick isn’t smooth. It collects dust, grime, and even moss in shady areas. If you’re using adhesive hooks, a dirty surface = instant failure.
Use a stiff brush and soapy water to scrub the area where you’ll be mounting. Rinse and let it dry completely—at least 2 hours, preferably overnight.
For drilled setups, cleaning helps the drill bit grip better and prevents slipping. Plus, it just feels more professional.
Warning: Never skip this step. I once tried to rush it and ended up with hooks that fell off in 48 hours. Clean brick = happy lights.
Step 4: Mark Your Anchor Points
Now, use your measuring tape to mark where each hook or anchor will go. Use a pencil or a small piece of masking tape.
If you’re doing a straight line, a level can help keep everything even. But honestly? A quick eyeball check works too—especially if you’re going for a “relaxed” vibe.
For diagonal or crisscross patterns, measure from corner to corner and mark every 3–4 feet. I like to use different colored tape for start and end points—it keeps me from getting confused.
Pro tip: If you’re using adhesive hooks, mark the *center* of the hook, not the edge. This ensures the light loop has room to hang.
Step 5: Drill Pilot Holes (For Permanent Setup)
Time to break out the drill. But don’t go full speed—brick is tough and can crack if you’re too aggressive.
Use a masonry bit (usually 3/16” or 1/4”) that matches your anchor size. Set your drill to low speed and steady pressure.
Drill about 1/2 inch deep—just enough for the anchor to sit flush. You’ll feel a bit of resistance, then it’ll go smooth. That’s normal.
After drilling, blow out the dust with your mouth or a can of compressed air. Insert the anchor by hand—don’t hammer it. It should sit snug.
Pro Tip: If the drill bit starts getting hot, pause and let it cool. Overheating dulls the bit and makes drilling harder.
Step 6: Install the Hooks or Anchors
Now, screw in the hooks or eye screws into the anchors. Hand-tighten first, then use a screwdriver for the last quarter turn.
Don’t over-tighten—this can strip the anchor or crack the brick.
If you’re using adhesive hooks, remove the backing and press firmly for 30 seconds. Some brands recommend waiting 1 hour before hanging weight. Follow the instructions!
I’ve seen people skip this wait time and wonder why their lights fell. Patience pays off.
Step 7: Test the Hooks
Before hanging the lights, give each hook a gentle tug. If it wobbles or feels loose, remove it and try again.
For adhesive hooks, press again and let them cure overnight if possible. I know it’s tempting to rush, but trust me—this step prevents heartbreak.
For drilled hooks, a wiggle test is enough. If it doesn’t budge, you’re good.
Step 8: Hang the Lights
Now the fun part! Unroll your string lights and plug them in (if electric) to test them first. Nothing worse than hanging a dead strand.
Start at one end and loop the light’s hanging tab or built-in loop over each hook. Most string lights have a loop on every bulb or every few bulbs.
If your lights don’t have loops, use small zip ties or light clips to attach them to the hooks. Just don’t over-tighten—you don’t want to break the bulb.
For a crisscross look, run lights diagonally from hook to hook. Use a ladder if needed, and have a friend help if you’re doing a large area.
Keep the cord taut but not tight. A little sag is natural and looks cozy. Too much sag = tripping hazard.
Step 9: Manage the Cord
This is where most setups go from “charming” to “chaotic.”
Use outdoor cable clips or zip ties to secure excess cord along the wall or railing. Don’t let it dangle—it looks messy and can get damaged.
If you’re using an extension cord, route it away from foot traffic. Tape it down with outdoor-rated tape or use a cord cover.
I once left a cord on the ground and my dog chewed through it. $40 down the drain. Learn from my mistakes.
Pro Tip: For a clean look, paint the cord the same color as your brick or wall. Or use a cord concealer kit from a hardware store.
Step 10: Test & Adjust
Plug in the lights and step back. Do they look even? Is there too much sag in one area?
Adjust the tension by moving the loop on the hook or adding a small twist in the wire. Small tweaks make a big difference.
If a bulb goes out, check the connections. Sometimes a loose plug or water in the socket can cause issues.
And if you’re using a timer or smart plug, now’s the time to set it. I love having my lights turn on at sunset—no fumbling in the dark.
Pro Tips & Common Mistakes to Avoid
After years of trial, error, and a few “why is my patio lit like a crime scene?” moments, here’s what I’ve learned:
- Don’t skip the pilot hole. Drilling directly into brick without one can crack it or make the hole too wide.
- Use the right anchor size. Too small? The hook pulls out. Too big? The anchor won’t grip.
- Avoid overloading hooks. One hook per light strand is plenty. Don’t hang multiple strands from one point.
- Check weather resistance. Not all “outdoor” lights are built equal. Look for IP44 or higher rating for wet locations.
- Think about maintenance. Can you reach the lights to change a bulb? If not, go with LED—they last years.
- Don’t ignore local codes. In some areas, you need permits for permanent installations. Check with your HOA or city.
Personal Insight: I once used regular drywall anchors on brick. They held for a week, then one by one, they popped out like champagne corks. The how to hang patio string lights on brick in 2026 easy guide works because it respects the material—brick needs masonry-specific solutions.
Also, if you’re in a windy area, consider adding a center support—like a pole or pergola crossbeam. Wind can stress the hooks and cause sagging over time.
And for renters: adhesive hooks are your friend, but choose ones with removable adhesive (like Command Outdoor) to avoid leaving residue.
FAQs About How to Hang Patio String Lights on Brick in 2026 Easy Guide
Can I hang string lights on brick without drilling?
Absolutely! Use heavy-duty adhesive hooks rated for brick and outdoor use. Just clean the surface well, press firmly, and wait the recommended curing time. I’ve used Command Outdoor hooks for over a year without issues. Just don’t overload them.
What type of drill bit do I need for brick?
Use a carbide-tipped masonry bit. Regular bits will dull fast or break. A 3/16” or 1/4” bit works for most string light anchors. If you’re drilling into mortar (the space between bricks), a slightly larger bit may be needed.
How do I prevent the lights from sagging?
Space your hooks 3–5 feet apart. Use a level to keep them aligned. For longer runs, add a center support. Also, don’t over-tighten—some sag is natural and looks cozy. Think “relaxed elegance,” not “taut wire.”
Can I leave the lights up year-round?
Yes, if they’re weather-resistant and your anchors are secure. But I recommend taking them down in harsh winter conditions (ice, salt, extreme cold) to extend their life. Or use all-season lights with a higher IP rating.
What if my brick is old or crumbly?
Be gentle. Use smaller anchors and drill slowly. If the brick is too fragile, stick with adhesive hooks or consider mounting on a nearby wooden fence, pergola, or railing instead. Safety over style.
Do I need a permit to hang lights on my brick wall?
Usually not for temporary or decorative lighting. But if you’re running electrical wiring or doing major structural changes, check with your local building department. When in doubt, call them—it’s free advice.
How do I remove the hooks later?
For drilled hooks: Unscrew them. The anchor stays in the brick (it’s fine). For adhesive hooks: Pull straight down slowly—don’t yank. Use a hair dryer to warm the adhesive if it’s stuck. Most leave no residue if removed properly.
Final Thoughts
Hanging patio string lights on brick doesn’t have to be stressful. With the right tools, a little patience, and this how to hang patio string lights on brick in 2026 easy guide, you’ll create a magical outdoor space in a few hours.
Start simple. Maybe just a straight line along one wall. Once you see how it transforms your space, you’ll be inspired to go bigger.
Remember: it’s not about perfection. It’s about ambiance. A little sag? A crooked hook? That’s part of the charm. Your patio isn’t a museum—it’s a place to relax, laugh, and enjoy life.
And if you mess up? No big deal. I’ve had to redo my setup three times. Each time, it got better.
So grab your lights, pick your method, and start hanging. Your dream patio is just a few hooks away. And when those lights glow at sunset? You’ll know it was worth every second.
Now go make your backyard the place everyone wants to be—one string light at a time.
“`

