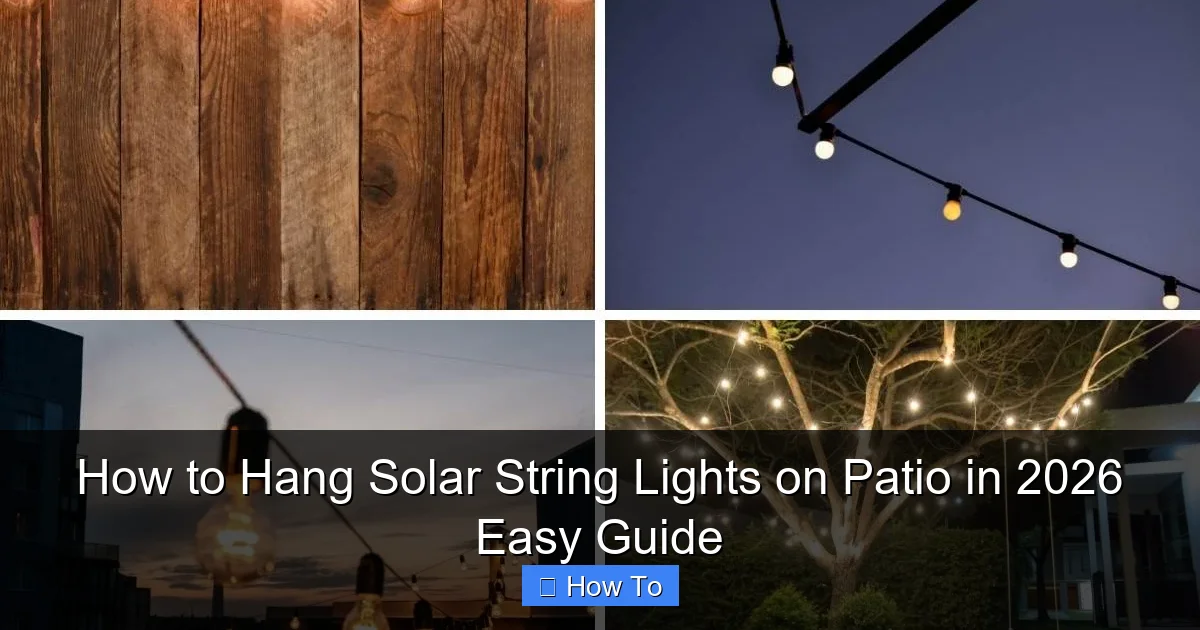
Featured image for how to hang solar string lights on patio
Image source: spheralsolar.com
Transform your patio into a glowing oasis in 2026 by choosing solar string lights with durable, weather-resistant construction and reliable mounting hardware. Effortlessly install them along railings, pergolas, or fences using zip ties, adhesive hooks, or built-in clips—no electrical outlets needed. Maximize sun exposure for all-night brightness and enjoy a stunning, eco-friendly ambiance with minimal setup.
How to Hang Solar String Lights on Patio in 2026 Easy Guide
Key Takeaways
- Plan your layout first: Sketch light placement to maximize coverage and solar panel sun exposure.
- Use weather-resistant hooks: Install stainless steel or plastic clips to secure lights without damaging surfaces.
- Optimize solar panel position: Angle panels south-facing for peak sunlight absorption during the day.
- Test before mounting: Ensure lights function properly before finalizing installation to avoid rework.
- Secure with zip ties: Bundle excess cords neatly to prevent wind damage and tripping hazards.
- Clean panels monthly: Wipe dust and debris to maintain charging efficiency and brightness.
Why This Matters / Understanding the Problem
Let’s be honest—your patio is that one place where you want to feel cozy, safe, and a little bit magical after sunset. Whether it’s a quiet cup of coffee at dusk or a weekend BBQ with friends, lighting sets the mood. But running extension cords? Ugly, unsafe, and a tripping hazard. That’s where how to hang solar string lights on patio in 2026 easy guide comes in.
I remember the first time I tried lighting up my backyard. I bought these beautiful Edison-style string lights, only to realize I had no outdoor outlets. I dragged a 50-foot extension cord across the lawn, tripped twice, and gave up. Then I discovered solar string lights—no wires, no fuss, and they charge themselves. Game changer.
The catch? They’re only as good as their placement and setup. If you hang them wrong, they won’t get enough sun, won’t stay up, or just look messy. That’s why this guide exists: to help you avoid rookie mistakes and create a warm, inviting space—without the headaches. Whether you’re a first-timer or just upgrading your 2026 setup, this how to hang solar string lights on patio in 2026 easy guide will walk you through everything, step by step.
“I used to think solar lights were just for camping. Then I realized they’re perfect for patios—no wiring, no bills, just soft glow.” – Me, after my third failed attempt at permanent outdoor lighting.
By the end of this guide, you’ll know exactly where to place your solar panel, how to secure the lights, and how to make them last through seasons. No fluff, no jargon—just real, practical advice.
What You Need
Before we jump into the steps, let’s gather your supplies. The beauty of solar string lights is that you don’t need a contractor or electrician. But you *do* need the right tools and a little planning.
Visual guide about how to hang solar string lights on patio
Image source: i.pinimg.com
- Solar string lights – Look for ones with a separate solar panel (not integrated into the bulb strand). This gives you flexibility in placement.
- Measuring tape – To map your patio layout and avoid over- or under-hanging.
- Zip ties or outdoor-rated adhesive clips – Zip ties are cheap and strong. Adhesive clips work great on smooth surfaces like vinyl or wood.
- Drill with small drill bit – Only if you’re using screws or anchors (e.g., for wood or masonry).
- Screws, anchors, or hooks – For permanent or semi-permanent mounting. Use stainless steel to prevent rust.
- Ladder – If your patio has high railings or pergolas.
- Stakes or ground mounts – For placing the solar panel where it gets max sunlight.
- Weatherproof sealant (optional) – To protect screw holes or adhesive edges from moisture.
- Marker or chalk – To mark drill or clip positions.
Pro tip: Check your lights before buying. Make sure the solar panel cable is long enough (usually 5–10 feet) to reach a sunny spot from your hanging area. Nothing worse than buying lights that can’t reach the sun!
Also, consider the look. Do you want warm white (cozy, romantic), cool white (modern, crisp), or colored (festive)? And how many bulbs? A 20-foot strand with 20 bulbs might be perfect for a small bistro set, but a 50-foot strand with 50 bulbs works better for large patios.
Step-by-Step Guide to How to Hang Solar String Lights on Patio in 2026 Easy Guide
Step 1: Choose the Right Solar String Lights for Your Space
Not all solar lights are created equal. Before you hang anything, pick the right set for your patio.
- Look for a separate solar panel – This is key. If the solar panel is attached to the bulb strand, you’re limited in where you can place it. Separate panels let you put the panel in full sun and the lights under shade.
- Check the cable length – Measure the distance from your best sunny spot to where you want the lights. The cable should reach with a little slack (1–2 feet extra).
- Choose the right brightness – Lumens matter. For ambient lighting, 100–300 lumens is enough. For task lighting (e.g., over a dining table), go 400+ lumens.
- Weather resistance – Look for IP65 or higher rating. This means it’s dust-tight and protected from water jets. Rain happens.
I once bought lights with a built-in solar panel. The strand hung under a pergola, but the panel was shaded. Result? Lights died by 9 PM. Lesson learned: placement matters more than price.
When shopping, read reviews. Look for phrases like “holds charge all night” or “survived winter.” And avoid anything that says “flickers after a few months.”
Step 2: Map Your Layout and Plan the Path
Grab your measuring tape and walk your patio. Decide where you want the lights to go.
- Overhead (pergola, roof, or trees) – Creates a canopy effect. Great for dining areas.
- Along railings or walls – Adds subtle glow. Works well on balconies.
- Zig-zag or crisscross pattern – For visual interest. Use clips to create diagonal lines.
- Under eaves or awnings – Keeps lights dry but still visible.
Now, sketch a rough plan. Mark where each light or clip will go. Use chalk or tape to test the layout. Stand back and see if it feels balanced.
Pro tip: Leave a little slack between bulbs. Don’t pull the strand too tight—it can strain the wires or pull out clips. Think “draped,” not “strung.”
And remember: the solar panel needs direct sunlight for 6–8 hours a day. Avoid shady corners, under trees, or behind furniture. If your patio is shaded, place the panel on a nearby fence, roof, or ground stake in a sunny spot.
Step 3: Install the Solar Panel in a Sunny Spot
This is the most important step. No sun = no light.
- Find the sunniest spot – South-facing areas get the most sun in the Northern Hemisphere. Use a sun tracker app (like Sun Surveyor) to check exposure.
- Use a ground stake – Most solar panels come with one. Push it into soft soil, or use a hammer for hard ground. Angle it slightly toward the sun (usually 30–45 degrees).
- Mount on a fence or post – If you don’t have ground space, use screws or zip ties to attach the panel to a wooden or metal fence. Make sure it’s secure and not wobbling.
- Use adhesive mounts – For smooth surfaces like vinyl or metal. Clean the surface with alcohol first, then apply the mount. Wait 24 hours before attaching the panel.
Test the panel first. Turn on the lights during the day (cover the panel with your hand to simulate darkness). If they light up, the panel works. If not, check connections or charge for 24 hours.
“I learned the hard way: my ‘sunny’ corner was shaded by a tree at noon. Now I test sun exposure at different times before installing.”
Step 4: Run the Cable to Your Hanging Area
Now, connect the solar panel to the light strand.
- Run the cable along a fence, wall, or under decking – Keep it hidden but accessible. Avoid sharp bends—they can damage the wires.
- Use cable clips or zip ties – Every 12–18 inches, secure the cable. Don’t staple it—it can pierce the insulation.
- Protect from tripping – If the cable crosses a walkway, use a cable cover or run it under a rug or mat.
- Leave slack – Give yourself 6–12 inches of extra cable at both ends. This makes adjustments easier.
I once ran a cable across a stone path. It looked clean—until someone tripped. Now I use a rubber cable cover. It’s ugly, but safe.
Step 5: Hang the Lights (The Fun Part!)
Now for the magic. Hang your lights based on your layout.
For railings or walls:
- Use adhesive clips or zip ties. Place clips every 12–18 inches.
- For wood, use small screws with eye hooks. Pre-drill holes to avoid splitting.
- For masonry, use plastic anchors and screws. Tap the anchor in, then screw in the hook.
For pergolas or roofs:
- Use S-hooks or carabiners to attach to beams. Easy to adjust later.
- For wood, screw in eye hooks. Space them evenly.
- For metal, use magnetic clips or zip ties.
For zig-zag patterns:
- Install clips at opposite corners of your space.
- Run the lights diagonally, then back, like a web.
- Use turnbuckles or adjustable hooks to keep tension even.
Start at one end and work your way across. Don’t pull too hard—bulbs can pop out.
Pro tip: Hang the lights during daylight. You’ll see better, and you can test the glow as you go.
Step 6: Test and Adjust
Once everything’s up, it’s test time.
- Cover the solar panel – Use your hand or a cloth to block sunlight. The lights should turn on.
- Check brightness and pattern – Are all bulbs lit? Is the glow even? Adjust clips if needed.
- Test at dusk – Wait for sunset. See how long they stay on. Most good solar lights last 6–10 hours.
If lights flicker or die early, check:
- The solar panel is clean (dust blocks sunlight).
- The panel gets full sun all day.
- The battery is fully charged (leave it in sun for 2–3 days first).
- No loose connections.
I once had a strand that dimmed after an hour. Turned out, a leaf was covering the panel. A quick wipe fixed it.
Step 7: Maintain and Protect
Good news: solar lights are low-maintenance. But a little care goes a long way.
- Clean the solar panel monthly – Use a soft cloth and water. No harsh chemicals.
- Trim nearby plants – Overgrown branches can shade the panel or damage lights.
- Store in winter (if needed) – In cold climates, remove lights and store indoors. Or use weatherproof covers.
- Check connections – Every few months, inspect for corrosion or loose wires.
And if a bulb goes out? Most solar strings are designed so one dead bulb doesn’t kill the whole strand. But check the manufacturer’s guide—some are replaceable, others aren’t.
Pro Tips & Common Mistakes to Avoid
After hanging solar lights on three patios (and failing on two), here’s what I wish I’d known earlier.
“The cheapest lights aren’t always the worst. But the most expensive aren’t always the best. Read reviews, not just prices.”
- Mistake: Placing the solar panel in shade – Even partial shade cuts charging time. Use a sun app to find the best spot.
- Mistake: Pulling the strand too tight – It looks neat, but it stresses wires and clips. Drape, don’t stretch.
- Mistake: Using indoor clips – Indoor adhesive strips fail in rain or heat. Use outdoor-rated products.
- Mistake: Ignoring cable protection – Exposed cables can fray or trip people. Use covers or tuck them away.
- Mistake: Not testing before permanent mounting – Tape the lights up first. See how they look at night. Adjust before drilling holes.
Pro Tips:
- Use frosted bulbs to reduce glare. They’re softer and more inviting.
- Add motion sensor lights near steps or doors for safety.
- For long spans, use support wires (like fishing line) to prevent sagging.
- Buy extra clips—you’ll need them for repairs or adjustments.
- Consider smart solar lights with remote control or app settings (great for 2026 tech).
And one last thing: don’t overdo it. A few well-placed lights create ambiance. A dozen tangled strands look like a yard sale. Less is more.
FAQs About How to Hang Solar String Lights on Patio in 2026 Easy Guide
Q: Do solar string lights work in winter?
Yes, but with caveats. Cold doesn’t hurt them, but snow and short days do. In winter, the sun is weaker and days are shorter, so charging time drops. To help: place the panel at a steeper angle (to catch low winter sun) and clear snow off it. Some lights come with larger batteries for winter use. If you live in a snowy area, consider storing them or using indoor-rated solar lights (yes, they exist).
Q: How long do solar string lights last?
Most last 2–3 years. The battery degrades over time. After 2 years, you might notice shorter run times. You can replace the battery (if the model allows) or buy new lights. Higher-end models (like those from Brightech or GIGALUMI) often last 4+ years with care.
Q: Can I hang solar lights on a metal roof?
Yes! Use magnetic clips or adhesive mounts designed for metal. Avoid drilling into the roof—it can cause leaks. Magnetic clips are strong and removable. Just make sure the surface is clean and flat.
Q: What if my patio has no sunny spot?
No problem. Use a ground stake or pole mount to place the solar panel in the sunniest area nearby—like a garden bed, fence, or front yard. Run the cable underground (use conduit) or along a wall. Or consider hybrid lights that charge via solar *and* USB.
Q: Are solar lights bright enough for dining?
For ambient lighting, yes. For task lighting (e.g., reading, cooking), they’re a bit dim. I recommend using solar lights for mood and adding a separate LED lantern or plug-in light for tasks. Or choose high-lumen solar lights (400+ lumens).
Q: Can I connect multiple solar strands together?
Only if they’re designed for it. Most solar lights have a plug-and-play end, but connecting them can overload the small solar panel. Better to use separate panels for each strand, or buy a single long strand. If you must connect, use a solar-powered hub (available online).
Q: How do I hide the solar panel?
You don’t have to. But if you want to: place it behind a planter, under a bench, or on a fence facing the yard. Or paint the panel to match its surroundings (use non-conductive paint). Just don’t cover it with plants or objects—it needs sun.
Final Thoughts
Hanging solar string lights isn’t just about lighting up your patio—it’s about creating a space where you actually want to spend time. Whether it’s a quiet evening with a book or a party with friends, the right lights make all the difference.
This how to hang solar string lights on patio in 2026 easy guide is built on real experience, not theory. I’ve tripped over cables, dealt with flickering bulbs, and learned that patience pays off. The key? Plan first, install second, and test everything.
Start small. Hang one strand, see how it looks, then add more. Use the tools and tips here to avoid common pitfalls. And remember: the solar panel is the heart of the system. Treat it well, and it will reward you with years of glow.
So grab your lights, pick a sunny day, and get started. Your patio deserves to shine—literally. And when you see those lights come on at dusk, you’ll know it was worth it.
Now go make your outdoor space magic. You’ve got this.

