Featured image for how to hang string lights on covered patio stucco
Image source: media.blitsy.com
Hanging string lights on a covered patio with stucco walls is easiest and safest using adhesive-backed, outdoor-rated mounting clips designed for textured surfaces. Avoid drilling into stucco when possible—opt for high-quality, weather-resistant clips that grip securely without damaging the finish, and always check weight limits to prevent sagging. For a polished 2026 look, pair LED string lights with smart controls and space clips every 12–16 inches for even, professional results.
“`html
How to Hang String Lights on Covered Patio Stucco in 2026
Key Takeaways
- Use removable hooks: Protect stucco with damage-free, adhesive-backed hooks for easy installation.
- Check weight limits: Ensure hooks support your string light weight to avoid sagging or falls.
- Plan layout first: Measure and mark light spacing before hanging for a balanced, professional look.
- Weatherproof connections: Use outdoor-rated lights and seal plug connections to prevent moisture damage.
- Secure loose cords: Tuck wires under eaves or use clips to keep them tidy and safe.
- Test before finalizing: Power on lights early to troubleshoot placement or bulb issues.
Why This Matters / Understanding the Problem
Let’s be real—there’s nothing quite like a covered patio at sunset, wrapped in the warm glow of string lights. It’s where you sip your morning coffee, host impromptu dinner parties, or just unwind after a long day. But if you’ve got stucco walls, hanging those lights can feel like trying to stick a Post-it on a boulder. The rough, uneven surface makes nails slide, screws pop, and adhesive strips fail—fast.
I learned this the hard way last summer. I bought the cutest vintage-style Edison bulbs, excited to string them across my patio. Two hours later, I had three holes in the stucco, a crooked line of lights, and a ladder that nearly toppled over. That’s when I realized: how to hang string lights on covered patio stucco in 2026 isn’t just about looks—it’s about smart, damage-free, long-lasting solutions.
The good news? With the right tools and techniques, you can transform your outdoor space without wrecking your walls. Whether you’re going for a cozy bistro vibe or a festive holiday glow, this guide walks you through every step—no handyman required.
What You Need
Before you start, gather these essentials. Trust me, skipping one of these is how you end up with a half-hung mess and a sore back.
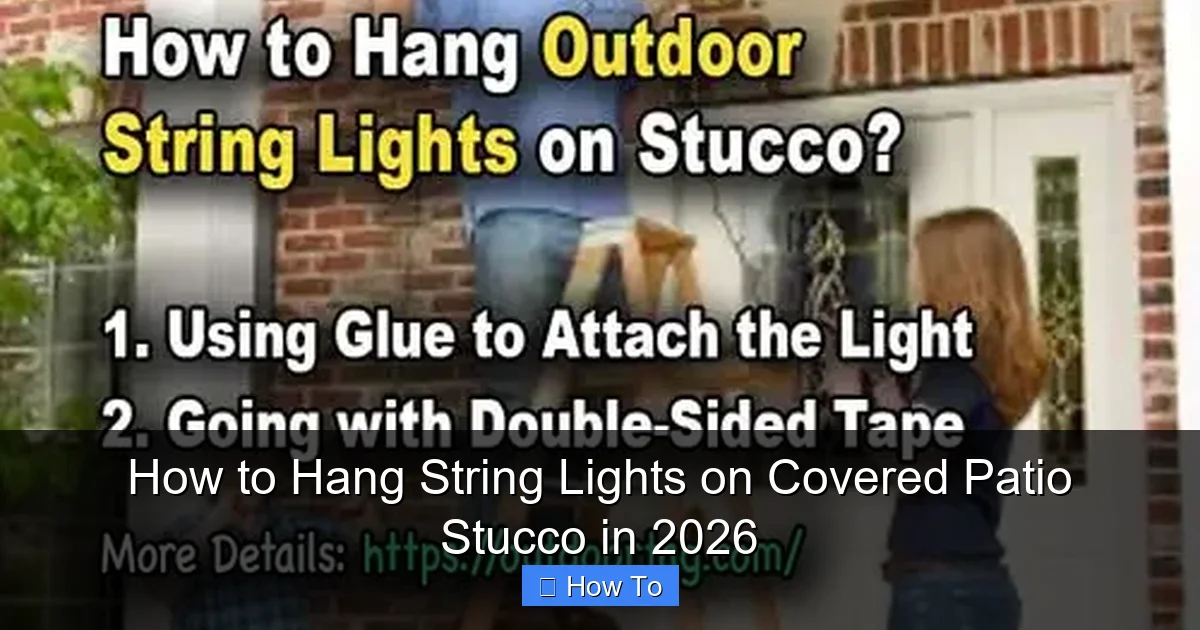
Visual guide about how to hang string lights on covered patio stucco
Image source: outdoortag.com
- String lights – LED or incandescent, but go for weather-resistant (IP44 or higher). I like the ones with replaceable bulbs.
- Stucco anchors – Plastic or metal anchors designed for masonry (not drywall!). These are your best friend.
- Stucco screws – Tapcon screws or similar masonry screws (usually 1–1.5 inches long).
- Drill with masonry bit – A hammer drill is ideal, but a regular cordless drill with a carbide-tipped masonry bit works in a pinch.
- Measuring tape & level – Because crooked lights are a vibe killer.
- Pencil or washable marker – For marking drill points.
- Extension ladder – Make sure it’s stable on your patio surface.
- Optional but helpful:
- Adhesive stucco hooks (for lightweight strings)
- Zip ties or cable clips
- Gutter hooks (if your patio has eaves or gutters)
- Power strip with GFCI (for outdoor outlets)
Pro tip: If you’re not using a hammer drill, go slow. Stucco is tough, and rushing can crack it or break your bit. I once cracked a 6-inch hole by pushing too hard—lesson learned.
Step-by-Step Guide to How to Hang String Lights on Covered Patio Stucco in 2026
Step 1: Plan Your Layout (Before You Drill!)
Don’t just start drilling holes like you’re playing whack-a-mole. Take 10 minutes to sketch your layout on paper or use painter’s tape to mark where the lights will go.
- Decide if you want a straight line (along the roof edge), a zigzag, or a grid pattern.
- Measure the distance between anchor points—ideally 16–24 inches apart. Too far and the lights sag. Too close and you’re over-drilling.
- Mark where each anchor will go with a pencil. Use a level to keep lines straight. I use a laser level for big patios—game changer.
- Check for obstacles: vents, outlets, windows, or decorative stucco textures.
Tip: If you’re unsure, lay the lights on the ground first and trace their path with tape. This helps visualize spacing and avoids mid-install regret.
Step 2: Choose the Right Mounting Method for Your Lights
Not all string lights are created equal. The mounting method depends on the weight and design of your lights.
- Lightweight string lights (under 5 lbs per 10 ft): Use adhesive stucco hooks or gutter clips. These stick to the surface and don’t require drilling.
- Medium to heavy lights (5–10 lbs): Use stucco anchors and screws. These support the weight and prevent sagging.
- Commercial-grade or long runs (over 10 lbs): Combine anchors with zip ties or metal cable clips for extra support.
I use adhesive hooks for my fairy lights (they’re barely there) and anchors for my heavier Edison bulbs. The key is matching the method to the load.
Step 3: Drill Pilot Holes (If Using Anchors)
This is where many people go wrong. Stucco isn’t like drywall—it’s a hard, brittle layer over wire mesh or concrete. You need a pilot hole to avoid cracking.
- Use a carbide-tipped masonry bit (usually 3/16″ to 1/4″ diameter).
- Drill slowly and steadily. Let the bit do the work—don’t force it.
- Drill to the depth of the anchor (usually 1–1.5 inches).
- Blow out the dust with your mouth or a straw (or use a vacuum nozzle).
Warning: If you hit metal lath under the stucco, stop. You’re too deep. Back out and try a different spot. Hitting lath can weaken the wall.
Step 4: Install the Anchors and Screws
Now that you have clean pilot holes, insert the anchors.
- Push the plastic anchor into the hole until it’s flush with the surface.
- Use a screwdriver or drill to drive the stucco screw into the anchor. Tighten just enough—over-tightening can crack the anchor or strip the hole.
- Leave the screw head exposed about 1/4″ so you can hang the lights.
I like to test each anchor with a small weight before hanging the full string. Better safe than sorry.
Step 5: Hang the String Lights
Time for the fun part—hanging the lights!
- Start at one end and work toward the other.
- Hook the light’s hanging loop or clip onto the screw head.
- If your lights don’t have built-in hooks, use zip ties or small S-hooks.
- Keep tension even—don’t pull too tight, but avoid sagging.
- Use a ladder with a spotter if you’re working high.
Pro tip: For a zigzag pattern, use a second set of anchors and run the lights diagonally. It looks more dynamic and hides imperfections in spacing.
Step 6: Secure the Cord and Manage Power
Nothing ruins the look like a dangling power cord. Keep it clean and safe.
- Run the cord along the roof edge or down a post.
- Use cable clips or zip ties to secure it every 12–18 inches.
- Plug into a GFCI-protected outdoor outlet—this prevents shocks in wet weather.
- If you don’t have an outlet nearby, use a heavy-duty outdoor extension cord (rated for 15+ amps).
- Hide the cord with a cord cover or tuck it behind trim.
I once used a regular indoor extension cord—big mistake. It overheated and tripped the breaker. Outdoor-rated is non-negotiable.
Step 7: Test and Adjust
Before you call it a night, test the lights.
- Turn them on. Check for flickering, dim bulbs, or gaps.
- Adjust any sagging sections with extra clips or zip ties.
- Use a timer or smart plug to automate on/off times.
I love setting mine to turn on at sunset. It’s like the patio knows when I’m ready to relax.
Pro Tips & Common Mistakes to Avoid
After years of trial, error, and a few stucco casualties, here’s what I wish I’d known sooner.
✅ Do: Use the Right Anchor
Not all anchors are created equal. For stucco, go with plastic expansion anchors or tapered metal anchors. Avoid drywall anchors—they’ll pull right out.
✅ Do: Space Anchors Properly
Too close and you’re overworking the stucco. Too far and the lights sag. 16–24 inches is the sweet spot. For heavy lights, go 12–18 inches.
✅ Do: Check for Moisture
Stucco can trap moisture. If you notice efflorescence (white powder) or cracking, fix it before hanging lights. Water damage worsens with added weight.
❌ Don’t: Use Nails or Staples
They’ll bend or pop out. Stucco is too hard for standard fasteners. I tried once—ended up with bent nails and a bruised ego.
❌ Don’t: Overload Adhesive Hooks
They’re great for fairy lights, but not for 10-pound strings. I once had a whole section fall during a party. Not my finest moment.
❌ Don’t: Ignore the Weather
High winds can pull lights down. If your patio is exposed, add extra clips or use heavier-duty anchors. I use hurricane-rated clips for my Florida home.
✅ Do: Think About Removal
If you rent or plan to sell, consider removable options. Adhesive hooks or gutter clips are easy to take down without leaving holes.
Personal insight: I once drilled into a stucco wall only to realize I was 3 inches from a hidden vent. Always check your home’s blueprint or ask a pro if you’re unsure. Better to wait than regret.
FAQs About How to Hang String Lights on Covered Patio Stucco in 2026
Q: Can I use command strips on stucco?
Short answer: yes, but only for very lightweight lights. Command strips work best on smooth stucco (rare). For rough stucco, the adhesive won’t grip well. I’d only use them for fairy lights or paper lanterns. For anything heavier, go with anchors.
Q: How do I hang lights without drilling into stucco?
Great question. If you hate the idea of drilling, try:
- Gutter hooks – clip onto eaves or gutters.
- Adhesive stucco hooks – rated for outdoor use.
- Free-standing poles – place on the ground and run lights overhead.
- Fence or post mounts – if your patio has railings or pillars.
Just remember: no-drill options have weight limits. Always check the manufacturer’s specs.
Q: What if my stucco is cracked or crumbling?
Don’t hang lights on damaged stucco. It’s not safe and could worsen the problem. Fix the crack first with stucco patching compound, then let it cure for 24–48 hours before installing anchors. I learned this after a screw pulled out during a windstorm—yikes.
Q: Can I use a staple gun to attach lights to stucco?
Please, don’t. Staple guns are for wood, not masonry. You’ll bend the staples or crack the stucco. Use anchors or clips instead. Your stucco (and your wallet) will thank you.
Q: How do I prevent lights from sagging?
Even with perfect spacing, gravity wins. To prevent sagging:
- Use more anchor points.
- Add zip ties at midpoints to lift the string.
- Choose heavier-duty light strings with built-in support wires.
- For long runs, use a support wire (like picture wire) behind the lights and hang both.
I use this trick for my 30-foot run—no sagging after two years.
Q: Are LED string lights better for stucco?
Yes, and not just because they’re energy-efficient. LEDs run cooler, which means less risk of melting adhesive hooks or warping plastic anchors. They’re also lighter, so they put less strain on your stucco. Win-win.
Q: How long do stucco anchors last?
With proper installation, stucco anchors can last 10–15 years or more. I’ve had some in my patio since 2018—still solid. Just avoid over-tightening and check them annually for loosening.
Final Thoughts
Hanging string lights on a covered patio with stucco walls doesn’t have to be a headache. With the right tools, a little planning, and patience, you can create a magical outdoor space that feels like a retreat—without damaging your home.
Remember: how to hang string lights on covered patio stucco in 2026 is about balance. Balance between beauty and function, between permanence and flexibility, between doing it yourself and knowing when to call a pro.
Start small. Test one section. Get comfortable with the process. And most importantly—enjoy the glow. Because at the end of the day, it’s not about perfection. It’s about creating a space where you want to be.
So grab your drill, pick out those lights, and make your patio the place everyone wants to hang out. Just don’t forget the coffee. Or the wine. You’ve earned it.
“`

