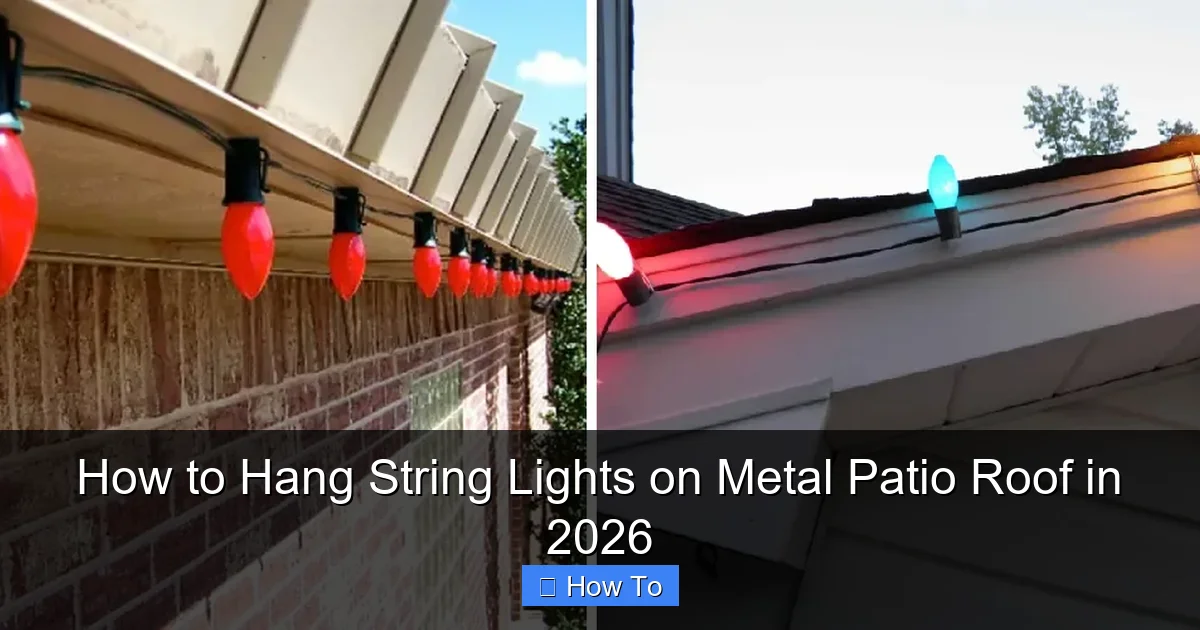
Featured image for how to hang string lights on metal patio roof
Image source: lightenify.com
Hanging string lights on a metal patio roof in 2026 is easiest and safest using magnetic hooks or adhesive-backed mounting clips designed for metal surfaces—no drilling required. Ensure the roof is clean and dry before installation, and choose weather-resistant, LED string lights with a secure grip to withstand wind and rain. For a seamless look, plan your layout first and connect lights to a nearby outlet using outdoor-rated extension cords.
“`html
How to Hang String Lights on Metal Patio Roof in 2026
Key Takeaways
- Use magnetic hooks: Secure lights firmly without drilling into metal roofs.
- Check roof compatibility: Ensure materials won’t rust or degrade over time.
- Plan light spacing: Measure distances to avoid sagging or overstretching wires.
- Opt for LED lights: Reduce heat and energy use for safer, longer-lasting glow.
- Weatherproof connections: Seal plugs and joints to withstand rain and wind.
- Test before finalizing: Verify brightness and stability before completing installation.
Why This Matters / Understanding the Problem
Let’s be real—there’s nothing quite like a warm, glowing patio at night. The soft flicker of string lights transforms a simple outdoor space into a cozy retreat, perfect for late-night chats, family dinners, or just unwinding after a long day. But if your patio has a metal roof, you’ve probably hit a wall: how do you hang those lights without drilling, damaging the roof, or making your setup look like a temporary eyesore?
This is where the challenge lies. Metal roofs are durable, yes, but they’re slippery, hard to grip, and often not designed with lighting in mind. You can’t just hammer nails into them, and adhesive hooks? They might work for a week—until a summer storm rips them off. That’s why knowing how to hang string lights on metal patio roof in 2026 isn’t just about aesthetics—it’s about doing it right, safely, and for the long term.
I learned this the hard way. A few years ago, I tried using zip ties and cheap plastic clips. The lights sagged, the ties melted in the sun, and after one strong wind, half the strand ended up tangled in a tree. Since then, I’ve tested nearly every method out there—and I’ve finally cracked the code. Whether you’re a DIY newbie or a seasoned pro, this guide will walk you through a clean, secure, and weather-resistant setup that lasts.
What You Need
Before you start, gather these tools and materials. Trust me—having everything on hand saves you from mid-project trips to the hardware store.
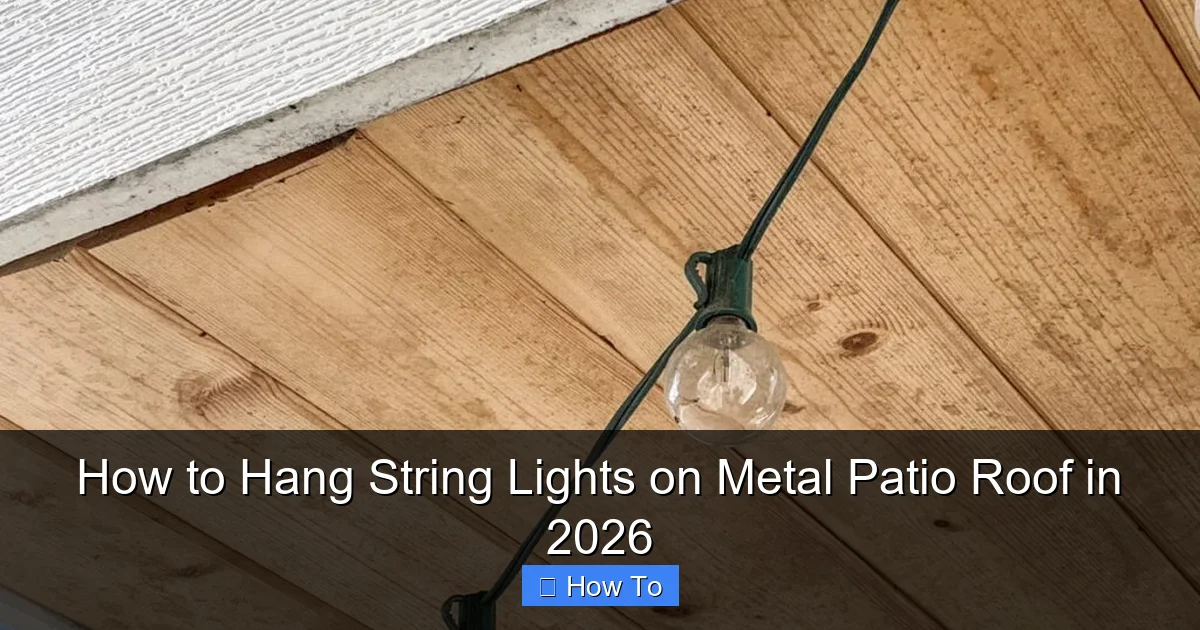
Visual guide about how to hang string lights on metal patio roof
Image source: jessicawellinginteriors.com
- String lights with weatherproof rating (IP65 or higher) – Look for LED, shatterproof bulbs. I prefer 25–50 ft strands for flexibility.
- Metal roof-safe mounting clips – Magnetic clips, S-hooks, or specialized metal roof gutter hooks (more on these below).
- Measuring tape and painter’s tape – To plan spacing and avoid guesswork.
- Extension ladder with stabilizer bar – Safety first! A stabilizer prevents the ladder from scratching the roof.
- Drill with magnetic bit (optional) – For metal roofs with seams, a magnetic bit helps secure temporary anchors.
- Silicone sealant (if drilling) – Only if you’re okay with minor, sealable holes. More on this later.
- Zip ties (UV-resistant) – For extra security, but use sparingly.
- Outdoor-rated power source – A GFCI outlet or outdoor timer for energy savings.
- Work gloves and safety glasses – Metal edges can be sharp!
Pro tip: If your roof has standing seams (raised ridges), you’re in luck—many clips are designed specifically for these. No seams? No problem. We’ll cover alternatives.
Step-by-Step Guide to How to Hang String Lights on Metal Patio Roof in 2026
Step 1: Plan Your Layout (Before You Climb)
Grab a notepad and sketch your patio. Where do you want light? Over the dining area? Along the edges? A zigzag pattern? Planning saves time and frustration.
- Measure the roof’s perimeter and key spans. Note where seams, vents, or gutters are.
- Decide on light density. For a soft glow, space lights 12–18 inches apart. For brightness, go 8–12 inches.
- Use painter’s tape to mark clip locations on the ground. This gives you a visual guide before climbing.
“I once skipped this step and ended up with a lopsided ‘U’ shape. My wife still teases me about the ‘artistic lighting.’ Plan first—it’s worth it.”
Step 2: Choose the Right Mounting Method
This is where most people get stuck. The best method depends on your roof type and how permanent you want the setup.
Option A: Magnetic Clips (Best for Flat or Slightly Sloped Roofs)
- Ideal for roofs with smooth, non-porous surfaces.
- Clips attach via strong neodymium magnets (rated for outdoor use).
- No drilling, no damage. Just snap them on.
- Use 2–3 clips per light socket for stability.
Option B: Standing Seam Clips (For Roofs with Ridges)
- These grip the raised seams like a clamp. No tools needed.
- They’re low-profile and blend in when lights are on.
- Available in stainless steel or aluminum—avoid plastic; it degrades in UV.
Option C: Gutter Hooks (If You Have Gutters)
- Hook over the front lip of the gutter. Great for edge lighting.
- Use non-scratch rubber-coated hooks to protect the gutter.
- Pair with a support clip every 10–12 feet to prevent sagging.
Option D: Drill & Anchor (For Permanent Installations)
- Only if you’re comfortable with minor holes. Use self-tapping screws with rubber washers.
- Seal each hole with silicone to prevent leaks.
- Add a small metal bracket or eyelet to hang lights from.
“I used magnetic clips on my flat metal roof. After a year, they’re still holding strong—no rust, no slipping. But if your roof has seams, skip magnets and go for seam clips. They’re a game-changer.”
Step 3: Install Mounting Clips
Now, climb up (safely!) and install your clips. Here’s how:
- For magnetic clips: Wipe the roof surface with alcohol to remove dust. Attach clips every 10–12 inches. Press firmly—you should hear a ‘click’.
- For seam clips: Slide them over the seam. They should grip tightly. Test by tugging gently.
- For gutter hooks: Hook over the gutter lip. Space them every 12 inches. Use painter’s tape to mark positions first.
- For drilled anchors: Drill pilot holes, insert screws with washers, then seal. Let silicone cure for 24 hours before hanging lights.
Pro tip: Install clips before the lights. It’s easier to adjust spacing without a strand in the way.
Step 4: Hang the String Lights
Time for the fun part! Unroll your lights and hang them:
- Start at the power source. Plug in the first socket to test—make sure it works before going further.
- Hang each light socket on its clip. For magnetic clips, use the built-in hook. For seam clips, loop the wire through the clip’s eye.
- Keep tension even. Avoid pulling too tight—this can damage sockets or clips.
- For long runs, use a ‘zigzag’ pattern between clips to prevent sagging.
- Secure the end socket with an extra clip or zip tie (if needed).
“I learned to test the lights first after hanging a whole strand… only to find a dead section. Now, I plug in as I go. Saves so much time!”
Step 5: Manage the Power Cord
Don’t let the power cord dangle. It’s a tripping hazard and looks messy.
- Route the cord along the roof edge or gutter, using clips or zip ties.
- Keep it 6+ inches from the roof surface to prevent heat buildup (especially with older incandescent bulbs).
- Use a weatherproof extension cord with a GFCI plug. This cuts power if it gets wet.
- Plug into an outdoor timer for automatic on/off. I set mine for dusk to 10 PM—perfect for evening ambiance.
Step 6: Test and Adjust
Turn on the lights and walk around. Look for:
- Sagging wires – Add more clips or tighten existing ones.
- Uneven spacing – Adjust clip positions.
- Glare – Tilt lights slightly downward to soften the beam.
- Shadows – Add a second strand for coverage.
Make adjustments now—it’s much easier than taking everything down later.
Step 7: Weatherproof and Maintain
Your setup needs to survive rain, wind, and sun. Here’s how to keep it in top shape:
- After storms, check clips for loosening. Re-tighten if needed.
- Clean bulbs and clips every 3–6 months with a damp cloth. Remove pollen, dust, and bird droppings.
- Inspect wires for fraying. Replace damaged strands immediately.
- For winter: If you live in a snowy area, consider removing lights or using heavy-duty clips rated for ice.
“I left my lights up through a harsh winter. The clips survived, but the wires got stiff. Now I take them down in November. It’s worth the extra effort.”
Pro Tips & Common Mistakes to Avoid
Pro Tip #1: Use a ‘Dummy Strand’ for Testing
Before hanging the real lights, use a cheap, broken strand to test your clip spacing and layout. This saves you from redoing everything.
Pro Tip #2: Mix Clips for Extra Security
For long runs (30+ ft), combine magnetic clips with a gutter hook at the midpoint. This prevents sagging and distributes weight.
Pro Tip #3: Go LED, Not Incandescent
LEDs run cooler, use less power, and last longer. Plus, they’re safer on metal roofs—no risk of overheating clips.
Common Mistake #1: Overloading Clips
Don’t hang multiple strands from one clip. This stresses the mount and can cause failure. Use one clip per socket.
Common Mistake #2: Ignoring Wind Load
Metal roofs amplify wind noise. If your clips aren’t wind-rated, they’ll rattle or pop off. Look for clips labeled “wind-resistant” or “storm-safe.”
Common Mistake #3: Poor Power Management
Using indoor extension cords outside? Big no-no. They’re not waterproof and can short. Always use outdoor-rated cords with GFCI.
Common Mistake #4: Forgetting the ‘Off’ Switch
Leaving lights on all night wastes energy. Use a timer or smart plug. I love the Kasa outdoor timer—it’s affordable and app-controlled.
FAQs About How to Hang String Lights on Metal Patio Roof in 2026
Q: Can I use regular adhesive hooks on a metal roof?
Not recommended. Most adhesives fail in heat, cold, or rain. They might hold for a week, but then—pop!—your lights fall. Use magnetic, seam, or gutter clips instead.
Q: Will magnetic clips damage my roof?
High-quality neodymium magnets won’t scratch if used properly. Always clean the surface first, and avoid dragging clips across the roof. I’ve used them for 3 years with zero damage.
Q: What if my metal roof has no seams or gutters?
Go with magnetic clips or consider a freestanding light pole nearby. Another option: attach a thin metal strip to the roof (with silicone sealant) and clip to that.
Q: How many clips do I need?
For a 25-ft strand, use 12–15 clips (every 10–12 inches). Add more for sagging-prone areas or heavy bulbs.
Q: Are solar-powered string lights a good option?
They’re convenient, but not always bright enough for large patios. I use solar lights for accent areas (like planters), but rely on plug-in strands for main coverage.
Q: Can I hang lights from the roof’s underside (inside the patio)?
Only if the roof is flat and accessible. Use ceiling hooks or adhesive mounts rated for metal. But be cautious—some metal roofs have sharp edges underneath.
Q: How do I remove clips without damaging the roof?
For magnetic clips, twist and pull gently. For seam clips, slide them off. Drilled anchors? Remove screws and seal holes with silicone. No permanent damage!
Final Thoughts
Hanging string lights on a metal patio roof in 2026 doesn’t have to be a headache. With the right clips, a solid plan, and a little patience, you can create a stunning outdoor space that’s both functional and beautiful. Whether you choose magnetic clips for a no-drill setup or go for seam clips for a seamless look, the key is preparation and quality materials.
Remember: this isn’t just about lighting—it’s about crafting moments. That first night you flip the switch and see your patio glow? Pure magic. So take your time, follow the steps, and don’t skip the test run. Your future self (and your guests) will thank you.
Now, grab those lights, climb up safely, and make your patio shine. And if you run into a snag? Don’t stress. Even I’ve had a strand or two end up in a tree. What matters is getting back up there—and getting it right.
Happy hanging!
“`

