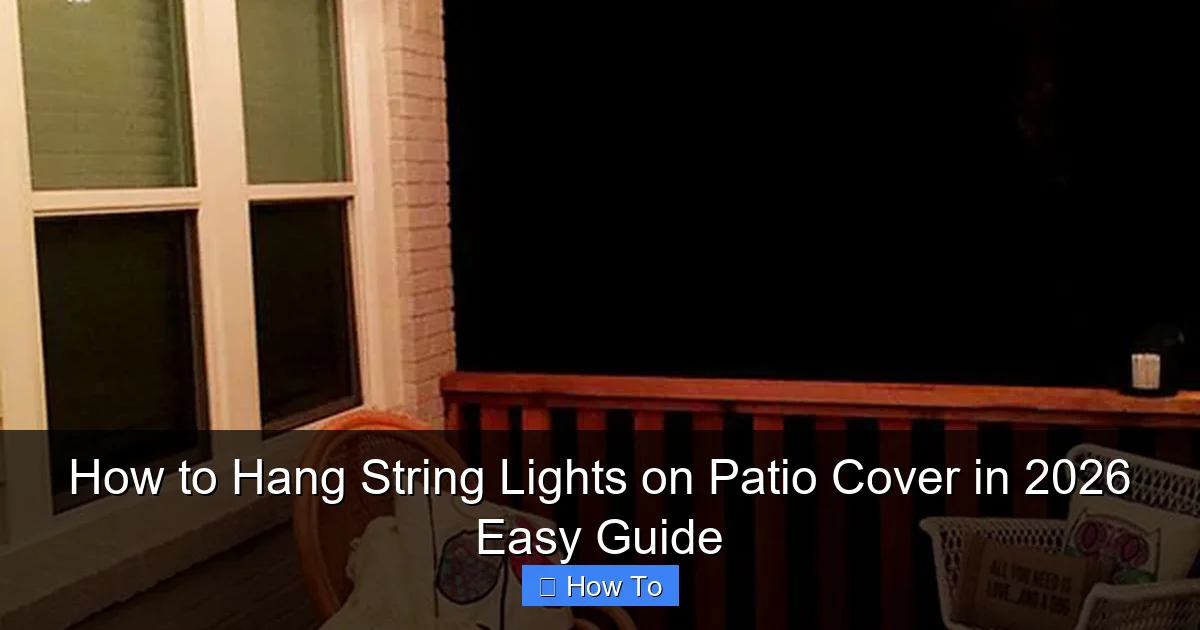
Featured image for how to hang string lights on patio cover
Image source: homemydesign.com
Transform your patio cover into a glowing oasis in 2026 with simple, secure string light installation techniques. Whether you’re using clips, hooks, or adhesive mounts, always measure spacing and check power source accessibility for a seamless, professional look. With weather-resistant lights and proper tension, you’ll create year-round ambiance in under an hour.
How to Hang String Lights on Patio Cover in 2026 Easy Guide
Key Takeaways
- Plan spacing first: Measure and mark light positions for even, balanced coverage.
- Use outdoor-rated clips: Secure lights safely without damaging patio cover materials.
- Start from the power source: Hang nearest lights first to avoid cord tension.
- Choose LED string lights: Save energy and reduce heat for safer, longer use.
- Test before finalizing: Check brightness and connections before securing all clips.
- Weatherproof connections: Use waterproof tape or covers to protect outdoor outlets.
- Adjust for ambiance: Drape or zigzag lights to create ideal mood lighting.
Why This Matters / Understanding the Problem
Picture this: you’re hosting a backyard BBQ, the sun’s setting, laughter fills the air, but the moment it gets dark, your patio turns into a dim, uninviting cave. You want that warm, glowing ambiance—like a cozy outdoor living room—but you’re not sure how to hang string lights on your patio cover without making it look messy or risking damage. Sound familiar?
Hanging string lights on a patio cover isn’t just about aesthetics. It’s about creating a space where memories happen—late-night chats, family dinners, or quiet evenings with a glass of wine. But here’s the catch: patio covers come in all shapes and materials—wood, metal, pergolas, aluminum—and each needs a slightly different approach. Plus, you don’t want to drill into your house, risk electrical hazards, or spend hours untangling lights.
That’s why this How to Hang String Lights on Patio Cover in 2026 Easy Guide is your go-to resource. I’ve tried nearly every method—from zip ties to adhesive hooks—and I’ll share what works, what doesn’t, and how to do it safely, beautifully, and with minimal fuss. Whether you’re a DIY newbie or a weekend warrior, this guide will help you get it right the first time.
What You Need
Before we dive in, let’s gather the tools and materials. Don’t worry—most of these are easy to find at your local hardware store or online. Here’s your checklist:
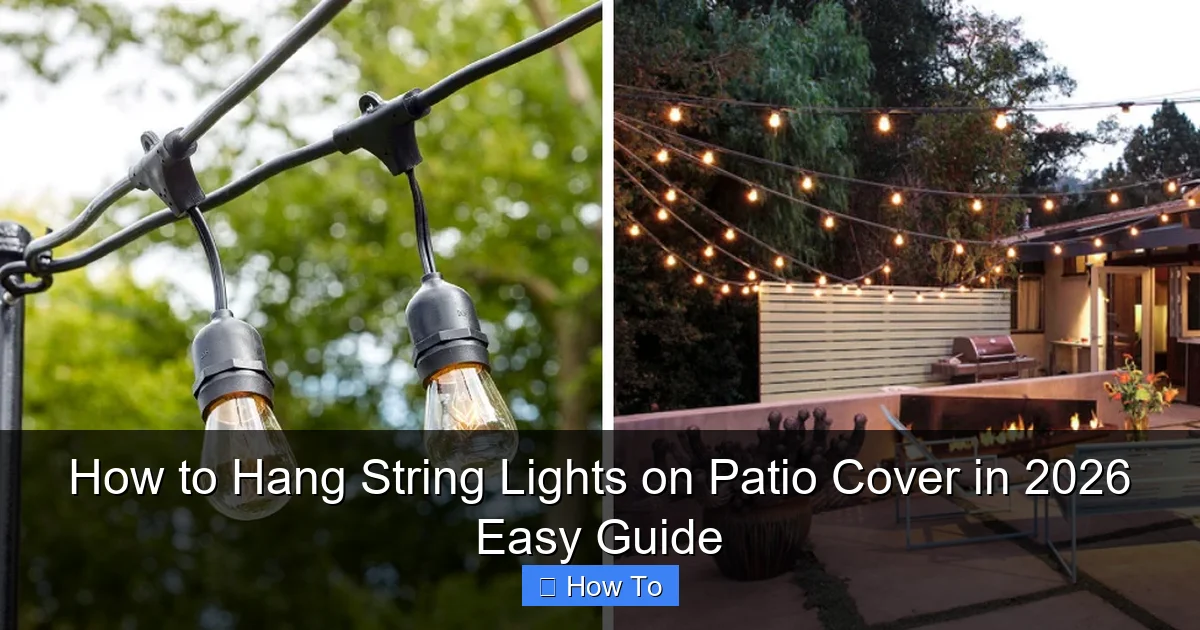
Visual guide about how to hang string lights on patio cover
Image source: brightlighthub.com
- String lights (LED, weather-resistant, and long enough for your space—measure your patio cover first)
- Measuring tape (to plan spacing and avoid guesswork)
- Extension cords (outdoor-rated, GFCI-protected)
- Light clips or hooks (choose based on your patio cover material—more on this below)
- Zip ties (for metal or pergola covers; reusable and strong)
- Adhesive hooks (for smooth surfaces like aluminum or vinyl—look for outdoor-rated)
- Drill and screws (only if your cover is wood and you’re okay with permanent mounting)
- Ladder (stable, non-slip—safety first!)
- Helper (optional, but great for holding the other end of long strings)
- Timer or smart plug (so your lights turn on at sunset without you lifting a finger)
Pro tip: Always test your lights before hanging them. I learned this the hard way after spending an hour mounting a string—only to find one bulb out and the whole thing flickering.
Step-by-Step Guide to How to Hang String Lights on Patio Cover in 2026 Easy Guide
Step 1: Plan Your Layout and Measure Your Space
Before you touch a single light, take 10 minutes to plan. This step saves you from frustration later.
- Use your measuring tape to find the perimeter of your patio cover. If it’s a pergola, measure the top beams and crossbars.
- Decide on the hanging style: straight lines, zigzag, crisscross, or draped (like a canopy). For a clean, modern look, I prefer parallel lines. For romance, try a crisscross pattern.
- Sketch a quick diagram. Mark where your power source is (outlet or timer) so you know where to start and end your lights.
Real talk: I once skipped this step and ended up with lights that were too short on one side. Now, I always measure twice and plan my power source first.
Step 2: Choose the Right Mounting Method for Your Patio Cover
Not all patio covers are created equal. Your mounting method depends on the material:
- Wooden patio covers or pergolas: Use cup hooks or screw-in hooks. Drill small pilot holes first to avoid splitting the wood. These are sturdy and blend in nicely.
- Metal or aluminum covers: Use magnetic clips or zip ties. Magnetic clips are easy to move and won’t damage the surface. Zip ties are strong and cheap—just trim the ends with scissors.
- Smooth vinyl or composite: Use outdoor-rated adhesive hooks. Look for ones that can hold at least 5 lbs and are UV-resistant. I like the 3M Command Outdoor Hooks—they’ve held up through rain and heat.
- No structure? (e.g., open patio): Use ceiling hooks on the house or install light poles at the corners. For a temporary fix, try tension rods between walls or trees.
This is the heart of your How to Hang String Lights on Patio Cover in 2026 Easy Guide—matching the right hardware to your cover type. Don’t skip this step!
Step 3: Install Your Mounting Hardware (Without Damaging Your Cover)
Now it’s time to put up your clips, hooks, or ties. Work methodically—don’t rush.
- Start at one end of your layout. Place your first clip or hook every 12–18 inches. This spacing prevents sagging and keeps the lights taut.
- For screw-in hooks: Pre-drill a small hole, then screw in by hand (or with a screwdriver, not a drill, to avoid over-tightening).
- For adhesive hooks: Clean the surface with rubbing alcohol first. Press each hook firmly for 30 seconds, then wait 1 hour before hanging lights.
- For zip ties: Wrap them around the beam, pull tight, and cut the tail. Use reusable zip ties if you plan to adjust later.
Warning: Don’t over-tighten zip ties on metal covers—it can dent or warp the frame. And never use nails or screws on vinyl—it can crack.
Step 4: Hang the Lights (The Fun Part!)
Now for the magic. Unpack your lights, plug them in, and test them on the ground before hanging.
- Start at the power source. Attach the first light to the first hook or clip.
- Work your way across, draping the lights over each mount. Keep the spacing consistent.
- For crisscross patterns: Use a helper to hold the opposite end. Tie a loose knot at each intersection to keep it tidy.
- If your lights have built-in clips, snap them into place. If not, use zip ties or small hooks to secure the cord at each mount.
- Let the lights hang naturally—don’t pull them too tight. A little sag adds charm.
Personal insight: I once hung my lights too tight and the bulbs cracked in the summer heat. Now I leave a slight curve—like a smile—between hooks.
Step 5: Secure the Power Source and Manage Cables
Nothing ruins a cozy vibe like a dangling cord. Tidy up your power setup.
- Use a GFCI-protected outdoor outlet (if you don’t have one, hire an electrician—safety first).
- Route the cord along the edge of your cover or behind furniture. Use adhesive clips or zip ties to keep it off the ground.
- Plug in a timer or smart plug. Set it to turn on at sunset and off at bedtime. I use a smart plug—I can control it from my phone, even when I’m not home.
- For long runs, use an extension cord rated for outdoor use. Tuck it under a rug or along the baseboard.
Step 6: Test, Adjust, and Enjoy
Step back and admire your work—but don’t celebrate yet. Do a final check.
- Turn on the lights at night. Walk around and look for dark spots, sagging, or flickering.
- Adjust any loose clips or tighten zip ties.
- Trim any long cord ends or zip tie tails with scissors.
- Invite a friend over for a “test run.” Their fresh eyes will catch things you missed.
Pro tip: If your lights flicker, check the connections. Sometimes a loose plug or a single dead bulb can cause the whole string to act up.
Pro Tips & Common Mistakes to Avoid
After hanging lights on dozens of patio covers, here are the lessons I wish I knew from the start:
- Buy extra clips. You’ll lose one or break it. Having backups saves a trip to the store.
- Use LED lights. They last longer, use less power, and don’t get hot—perfect for summer.
- Label your strings. If you have multiple sets, label them with tape (e.g., “Left Side,” “Back Beam”) so you don’t mix them up next year.
- Don’t daisy-chain too many strings. Most manufacturers recommend no more than 25–30 feet of lights on one circuit. Overloading can trip breakers or cause fires.
- Check local codes. Some areas require permits for permanent outdoor electrical work. When in doubt, consult an electrician.
- Store lights properly. Wrap them around a cardboard tube or light reel. Never ball them up—it causes tangles.
- Think about removal. If you use adhesive hooks or zip ties, plan how to take them down without damage. I keep a small tool kit for quick fixes.
Common mistake: Hanging lights in direct sunlight without UV protection. I learned this when my plastic clips cracked after one summer. Now I use metal or UV-resistant plastic.
Another thing: don’t forget the ambiance factor. Play with spacing and patterns. I once hung lights in a zigzag and my guests said it felt like a fairy tale. Small tweaks make a big difference in your How to Hang String Lights on Patio Cover in 2026 Easy Guide outcome.
FAQs About How to Hang String Lights on Patio Cover in 2026 Easy Guide
Can I hang string lights on a metal patio cover without drilling?
Absolutely! Use magnetic clips or zip ties. Magnetic clips are easy to move and won’t damage the finish. Zip ties are strong and cheap—just make sure they’re UV-resistant so they don’t degrade in the sun.
What’s the best way to hang lights on a pergola?
For pergolas, I love using screw-in hooks on the top beams. Space them every 12 inches for a clean line. For a romantic look, drape the lights between beams or crisscross them. Just avoid blocking the view or creating trip hazards.
How do I keep my lights from sagging?
Spacing is key. Don’t go more than 18 inches between hooks or clips. Use a helper to hold the other end while you hang, and let the lights have a slight curve—not a straight pull. If they sag later, add a few extra clips.
Are adhesive hooks safe for outdoor use?
Only if they’re rated for outdoor use. Look for “outdoor,” “weatherproof,” or “UV-resistant” on the packaging. I’ve used 3M Command Outdoor Hooks for years—they hold up to wind, rain, and heat. But avoid cheap, off-brand hooks—they’ll fall off in a week.
Can I leave my string lights up year-round?
It depends on the lights. If they’re labeled “all-weather” or “year-round,” yes. But if they’re only for summer, take them down in winter to prevent damage from snow and ice. I store mine in a labeled bin with the clips—makes next year’s setup a breeze.
What if I don’t have an outdoor outlet?
You have a few options. Run a heavy-duty outdoor extension cord from an indoor outlet (tuck it under a door or window). Or, install an outdoor outlet—this is a job for a licensed electrician, but it’s worth it for long-term use. Never use an indoor extension cord outside—it’s a fire hazard.
How do I hang lights if my patio cover has no beams?
No problem! Use ceiling hooks on the house, install light poles at the corners, or use tension rods between walls. For a temporary fix, hang lights from trees or fence posts. I’ve even used tall planters with hooks on top—creative and functional!
Final Thoughts
Hanging string lights on your patio cover isn’t just a DIY project—it’s a way to transform your outdoor space into a place where you want to be. Whether you’re after a cozy nook for two or a festive spot for gatherings, the right lighting makes all the difference.
Remember, this How to Hang String Lights on Patio Cover in 2026 Easy Guide is about more than just the steps. It’s about doing it safely, beautifully, and in a way that fits your lifestyle. Take your time. Plan your layout. Use the right tools. And don’t be afraid to tweak things until it feels just right.
And when it’s all done? Pour yourself a drink, turn on those lights, and enjoy your handiwork. You’ve earned it.
Now go make your patio the place everyone wants to be—this summer and beyond.

