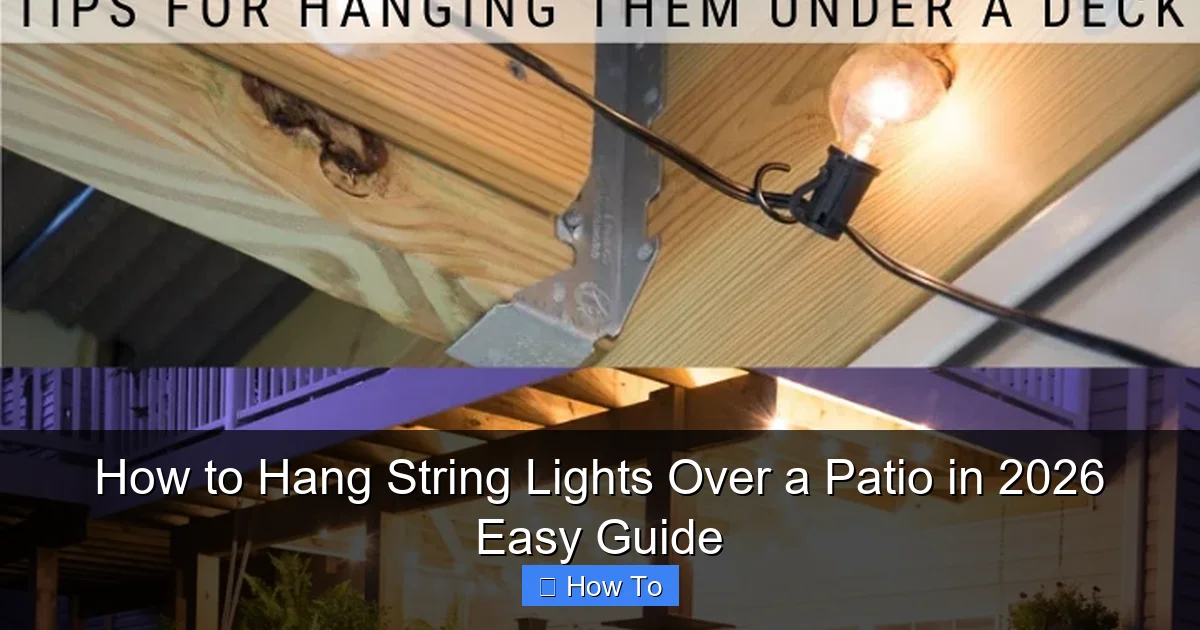
Featured image for how to hang string lights over a patio
Image source: i.pinimg.com
Transform your patio into a magical evening retreat by securely mounting string lights using weather-resistant hardware and strategic anchor points. Whether you’re attaching to walls, pergolas, or freestanding poles, this 2026 guide walks you through simple, safe installation techniques—like using eye hooks, zip ties, and tension cables—for a professional, long-lasting glow. No electrician needed—just plan your layout, check bulb spacing, and enjoy ambient lighting in under an hour.
“`html
How to Hang String Lights Over a Patio in 2026 Easy Guide
Key Takeaways
- Plan your layout first: Sketch light placement for balanced coverage and minimal sagging.
- Choose weather-resistant lights: Ensure durability with UL-rated outdoor string lights.
- Use secure mounting hardware: Install hooks, eye bolts, or tension cables for strong support.
- Measure twice, hang once: Confirm spacing and height before installing fixtures.
- Test before finalizing: Check brightness and connections before completing the install.
- Hide cords creatively: Use conduit or trim clips for a clean, professional look.
Why This Matters / Understanding the Problem
Let’s be honest—there’s nothing quite like a warm summer evening on the patio, sipping iced tea under a canopy of twinkling string lights. But if you’ve ever tried how to hang string lights over a patio in 2026 easy guide and ended up with sagging lines, tangled cords, or lights that won’t stay put, you’re not alone.
I remember my first attempt: I used duct tape (yes, really), and by the next morning, half the lights were dangling like sad Christmas ornaments. It looked more like a haunted house than a cozy outdoor retreat. The problem? I skipped the basics—planning, proper hardware, and understanding my space.
Whether you’re setting the mood for a backyard BBQ, a romantic dinner, or just want to enjoy your patio after sunset, hanging string lights the right way transforms your outdoor space. This guide walks you through how to hang string lights over a patio in 2026 easy guide with practical, no-nonsense steps—no contractor needed.
What You Need
Before you start, gather your gear. You don’t need a toolbox full of fancy gadgets, but having the right materials makes all the difference. Here’s a quick checklist based on my own trial-and-error (and a few lessons learned from my neighbor, who’s a DIY pro).
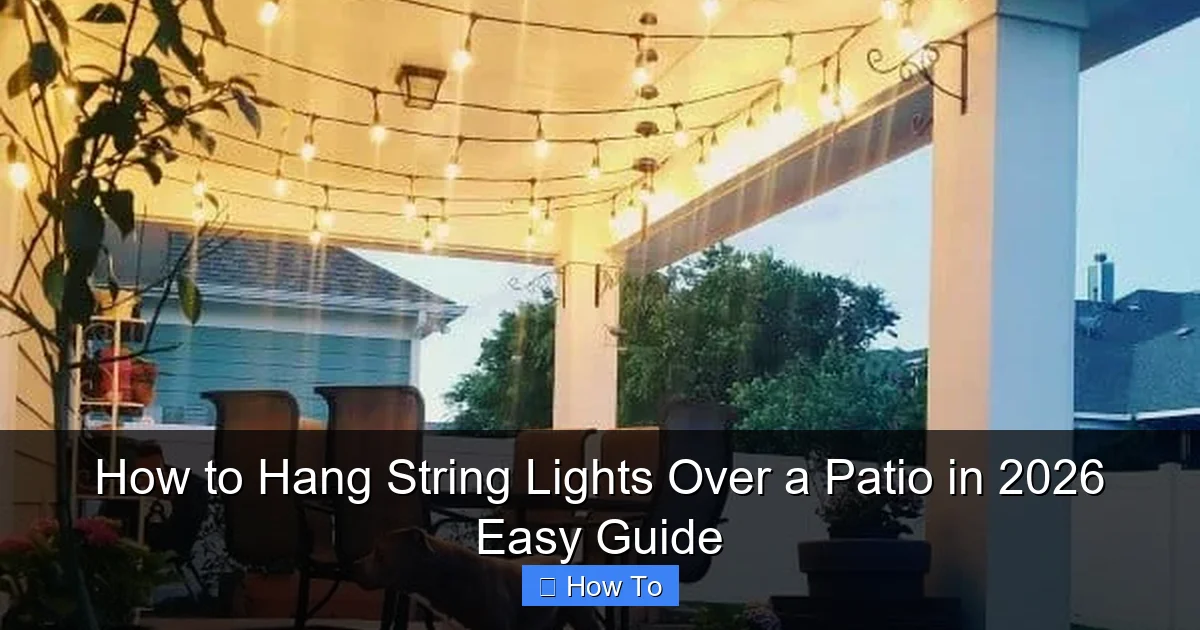
Visual guide about how to hang string lights over a patio
Image source: nextluxury.com
- String lights (outdoor-rated, weatherproof) – Look for LED, 120V, and UL-listed for outdoor use. Solar options work too, but wired is brighter and more reliable.
- Measuring tape – Don’t eyeball it. Precision matters.
- Pencil or masking tape – For marking anchor points.
- Drill and drill bits – For wood or masonry, depending on your patio surface.
- Screw-in hooks or eye screws – Stainless steel or zinc-coated to resist rust.
- Toggle bolts or wall anchors – If you’re attaching to drywall or stucco.
- Zip ties or light clips – For securing cords and managing slack.
- Extension ladder (if needed) – Safety first, folks.
- Level (optional but helpful) – Keeps your lines straight and professional-looking.
- Timer or smart plug – So your lights turn on automatically at dusk.
Pro Tip: Buy 10–20% more lights than you think you need. You’ll want some extra for loops, curves, or future repairs. And always check the max wattage or amperage your circuit can handle—especially if you’re daisy-chaining multiple strands.
Step-by-Step Guide to How to Hang String Lights Over a Patio in 2026 Easy Guide
Step 1: Plan Your Layout and Measure the Space
Before you even touch a drill, take a walk around your patio. Ask yourself: Where do I want the lights to shine? Over the dining table? Along the perimeter? In a canopy above?
Measure the distance between your anchor points—walls, posts, pergola beams, or eaves. Use a measuring tape and jot down the lengths. This helps you choose the right number of light strands and avoid mid-project panic.
Sketch a quick diagram on paper or use a phone app (I like SketchAR for this). Mark where each hook or anchor will go. For a how to hang string lights over a patio in 2026 easy guide approach, simplicity wins: a single loop or grid pattern is easier than a zigzag maze.
Warning: Don’t assume your lights will stretch across a 20-foot span. Most string lights have a max length per run (usually 20–30 feet). Going beyond that can overload the circuit or cause dimming.
Step 2: Choose Your Mounting Method
How you attach the lights depends on your patio’s structure. Here are the most common setups:
- Pergola or covered patio: Use screw-in hooks or eye screws into the wood beams. Easy and sturdy.
- Open patio with no overhead structure: Install hooks on the house wall and opposite fence, or use freestanding poles (like shepherd’s hooks or metal posts).
- Masonry or stucco walls: Use masonry anchors or toggle bolts. Drill slowly to avoid cracking.
- Concrete or stone patio: If you can’t drill into the floor, use heavy-duty stakes or weighted bases for poles.
I once tried to hang lights between two trees—great idea, until the wind knocked them down. Lesson: if you’re using natural anchors like trees, use bungee cords or tree-friendly straps (not nails or screws) to protect the bark and allow for movement.
For a modern, clean look in 2026, consider recessed hooks or hidden mounting clips that blend into the structure. These are especially popular in minimalist patio designs.
Step 3: Mark and Install the Anchor Points
Now it’s time to get your hands dirty. Start by marking your anchor points with a pencil or masking tape. Use a level to keep lines straight—crooked lights are a dead giveaway of a DIY fail.
For wood surfaces: drill a pilot hole slightly smaller than your screw hook, then twist it in by hand (or with pliers). This prevents splitting.
For masonry: use a masonry bit, insert the anchor, then screw in the hook. If you’re unsure, drill into mortar joints, not the brick itself—it’s easier to patch later.
Space your anchors 4–6 feet apart. Too close, and you’re overdoing it. Too far, and the lights will sag. If you’re creating a grid, use a chalk line to snap straight guidelines.
Pro Tip: If you’re renting or can’t drill, use adhesive hooks rated for outdoor use (like 3M Outdoor Heavy Duty). Just make sure the surface is clean and dry. I’ve used these on my apartment balcony—no damage, no fuss.
Step 4: Hang the First Strand and Test the Lights
Unpack your first string of lights and plug it in—before hanging. You don’t want to go through the whole process only to find a dead bulb or faulty wire.
Attach one end to the first hook using a zip tie or the light’s built-in loop. Then, gently stretch the strand to the next anchor, leaving a slight sag (about 6–12 inches in the middle). This “catenary curve” prevents tension and wind damage.
Don’t pull it tight like a clothesline. String lights are meant to drape, not strain.
Once the first strand is up, step back and check: Is it level? Is the sag consistent? Does it block any doors or pathways?
If you’re adding multiple strands, connect them end-to-end (if the manufacturer allows) or run them side by side. For a grid, cross the strands at right angles—this creates a starry-sky effect.
Warning: Never connect more than 3–5 strands unless the packaging says otherwise. Overloading can trip breakers or melt sockets. I learned this the hard way during a Fourth of July party—lights went out, and the guests went home early.
Step 5: Secure the Cords and Manage Slack
This is where most people skip steps and regret it later. Loose cords are tripping hazards and can pull out sockets.
Use zip ties, light clips, or adhesive cord clips every 2–3 feet to keep wires snug against walls or beams. If you have excess cord, coil it neatly and secure it with a zip tie—don’t just let it dangle.
For a clean look, run cords along edges or behind furniture. I like to hide them behind planters or along the base of a pergola.
If your lights plug into an outlet, use a weatherproof outlet cover or outdoor extension cord box. These prevent water damage and keep connections dry.
For a truly 2026 upgrade, consider smart string lights with app control. You can dim, change colors, or schedule them—all from your phone. Pair with a smart plug, and your lights turn on at sunset automatically.
Step 6: Add Finishing Touches and Test Again
Now the fun part: styling. Use zip ties to create gentle loops or cascades. Tuck bulbs into planters or wrap them around railings for a layered look.
If you’re using warm white lights, they’ll give a cozy, romantic glow. For a festive vibe, try multicolor or color-changing LEDs (great for holidays).
Plug in the full setup and walk around. Check for:
- Even brightness (no dim spots)
- Secure connections (no wobbly bulbs)
- Clear pathways (no tripping hazards)
- Weatherproofing (all plugs covered)
Adjust any sags or loose ends. A little tweaking now saves headaches later.
Pro Tip: Take a photo at dusk. This helps you see how the lights look in real lighting conditions—not just in the garage.
Step 7: Maintain and Store (If Needed)
String lights aren’t just a one-season wonder. With care, they can last years.
After the season (or if a storm hits), unplug and inspect each strand. Look for:
- Frayed wires
- Corroded sockets
- Broken bulbs
Replace damaged strands. Store them in a cool, dry place—coil them loosely around a piece of cardboard or use a storage reel. I keep mine in labeled bins with silica gel packs to prevent moisture.
If you’re leaving lights up year-round, check them every few months. Tighten loose hooks, replace burnt-out bulbs, and clean off leaves or debris.
For a how to hang string lights over a patio in 2026 easy guide mindset, think long-term: invest in quality lights and hardware, and they’ll pay off in durability.
Pro Tips & Common Mistakes to Avoid
Over the years, I’ve made every mistake in the book. Here’s what I wish I knew earlier:
- Don’t use indoor lights outdoors. They’re not weatherproof and can short out. Always choose outdoor-rated string lights.
- Avoid overloading circuits. Use a circuit checker or consult your breaker panel. If lights flicker or dim, you’re pushing it.
- Skip the nails and screws in wood. They can split the wood and damage the lights. Use screw-in hooks instead.
- Don’t forget the timer. Leaving lights on all night wastes energy and annoys neighbors. A $15 timer is a game-changer.
- Plan for wind. If your patio is exposed, use stronger anchors and add extra clips. Wind can snap cords or pull out hooks.
- Think about accessibility. Place outlets and switches where you can reach them without a ladder.
Real Talk: I once hung lights between two posts, but didn’t account for the slope of my yard. One side sagged so much it touched the ground. A quick fix: I added a third hook in the middle. Lesson learned: always level your lines, even on uneven terrain.
For 2026 trends, minimalist lighting and smart integration are big. Think: fewer, brighter bulbs, app control, and solar-powered options. But don’t overcomplicate it—your patio should feel inviting, not like a tech demo.
FAQs About How to Hang String Lights Over a Patio in 2026 Easy Guide
Q: Can I leave string lights up all year?
A: Yes—if they’re rated for outdoor use and properly installed. Check for weatherproof seals, UV-resistant cords, and rust-proof hardware. I leave mine up from spring to fall, and they’ve lasted five years. Just inspect them regularly.
Q: How do I hang lights without drilling into my house?
A: Use adhesive hooks (3M Outdoor), tension rods, or freestanding poles. For fences, try fence-mounted clips. I used adhesive hooks on my vinyl siding—no damage, and they held strong through winter.
Q: What’s the best spacing for hooks?
A: 4–6 feet apart is ideal. Closer for heavy strands or windy areas, farther for lightweight lights. Use a level to keep lines straight. I space mine every 5 feet—it’s the sweet spot for most setups.
Q: Can I connect multiple strands?
A: Only if the manufacturer says so. Most allow 3–5 strands max. Exceeding this can overload the circuit. I use a smart plug with overload protection—it shuts off if I accidentally connect too many.
Q: How do I fix a sagging line?
A: Add a support in the middle—a hook, pole, or zip tie loop. Or tighten the existing hooks slightly. For long spans, use a support wire (like a thin cable) and attach the lights to that. It’s like a hidden backbone.
Q: Are solar string lights worth it?
A: They’re great for low-light areas or renters, but not as bright as wired lights. They also need direct sun to charge. I use solar for accent lighting (like around planters) and wired for the main canopy.
Q: How do I make my patio lights look professional?
A: Plan your layout, use consistent spacing, and hide cords. A grid or canopy pattern looks polished. And always test at night—what looks good in daylight might look chaotic after dark.
Final Thoughts
Hanging string lights over your patio isn’t just about lighting—it’s about creating a mood, a moment, a memory. Whether you’re following this how to hang string lights over a patio in 2026 easy guide for the first time or refining your setup, remember: it’s supposed to be fun.
Start simple. Use the right tools. Test as you go. And don’t stress about perfection—your guests won’t notice a tiny sag. They’ll notice the warm glow, the laughter, the stars above.
So grab your lights, call a friend, and get to work. Your patio is waiting. And when the sun sets and the first light twinkles on, you’ll know it was worth it.
Now go make your backyard the place everyone wants to be. You’ve got this.
“`

