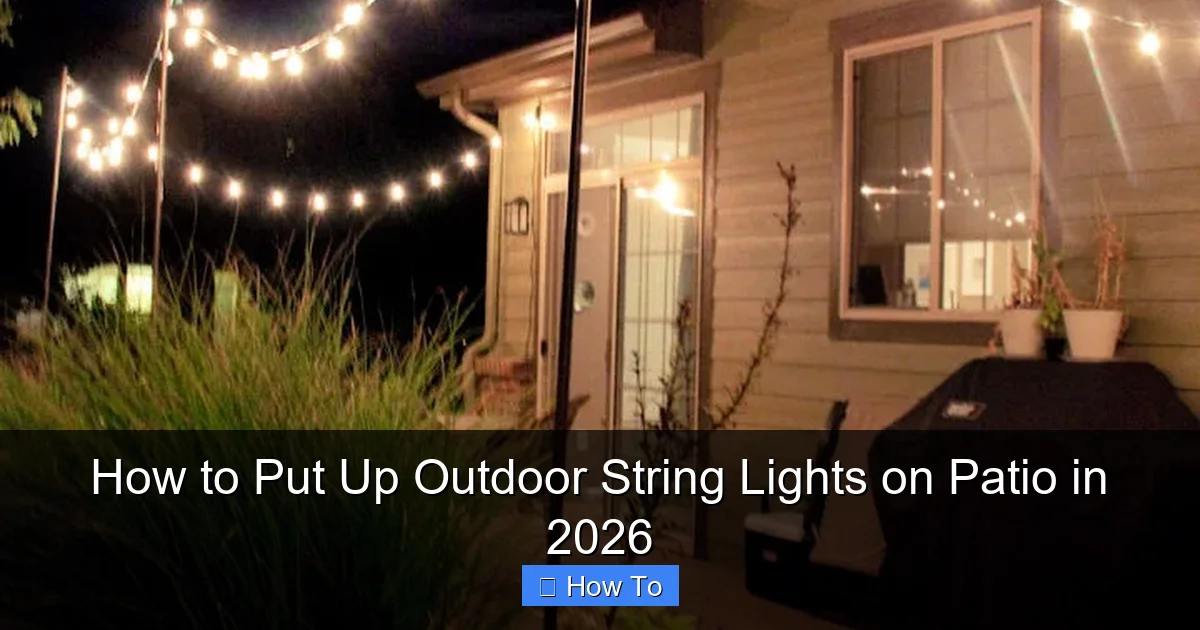
Featured image for how to put up outdoor string lights on patio
Image source: blitsy.com
Transform your patio into a glowing retreat in 2026 by securely mounting outdoor string lights using weather-resistant hooks or tension cables—no drilling required. Choose LED, solar-powered, or smart string lights for energy efficiency and easy control via app or voice assistant. Ensure lights are spaced evenly and anchored to stable structures like railings, posts, or eaves for a safe, professional look that lasts all season.
How to Put Up Outdoor String Lights on Patio in 2026
Key Takeaways
- Plan your layout first: Measure and sketch your patio to optimize light placement.
- Use weatherproof lights: Ensure all bulbs and cords are rated for outdoor use.
- Secure with durable hardware: Install hooks, screws, or clips designed for outdoor tension.
- Check power access: Position lights near outlets or use outdoor-rated extension cords.
- Test before finalizing: Turn on lights early to spot gaps or wiring issues.
- Space bulbs evenly: Maintain consistent distance for a professional, balanced look.
Why This Matters / Understanding the Problem
Let’s be honest: there’s nothing quite like a warm summer evening, a cold drink in hand, and the soft glow of outdoor string lights turning your patio into a cozy oasis. But if you’ve ever tried to put up outdoor string lights on patio spaces, you know it’s not always as simple as it looks. I’ve been there—standing on a wobbly ladder, tangled wires everywhere, and a partner giving me that “you promised this would be easy” look.
The truth is, installing outdoor lighting can feel overwhelming. Where do you hang them? How do you keep them secure in wind and rain? And how do you avoid making your patio look like a carnival gone wrong? That’s why I’ve spent the last few summers refining my method. Whether you’re planning a romantic dinner nook, a party-ready backyard, or just want a little ambiance, knowing how to put up outdoor string lights on patio in 2026 means you can do it safely, beautifully, and without stress.
In this guide, I’ll walk you through everything—from choosing the right lights to avoiding the most common pitfalls. No fluff, no overpriced “smart” gadgets you don’t need. Just real, tested advice that works in 2026’s weather, tech, and lifestyle trends.
What You Need
Before we dive in, let’s gather your gear. You don’t need a contractor or a degree in electrical engineering—just a few basic tools and materials. Think of this as your “patio lighting starter kit.”
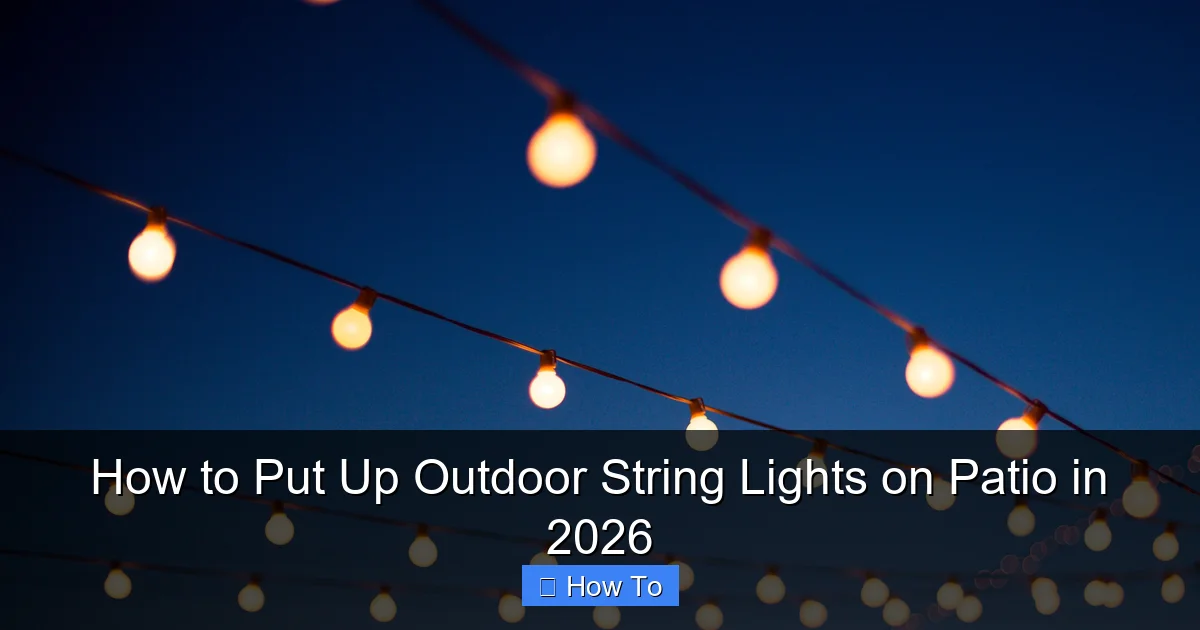
Visual guide about how to put up outdoor string lights on patio
Image source: thespruce.com
- Outdoor-rated string lights (LED is best—energy-efficient, long-lasting, and cool to the touch)
- Mounting hardware (s-hooks, eye screws, zip ties, or commercial light clips)
- Measuring tape (a 25-foot tape works for most patios)
- Drill with masonry bits (if attaching to stucco, brick, or concrete)
- Ladder (a sturdy, non-slip step ladder or extension ladder)
- Level (to keep lines straight—trust me, it matters)
- Gloves (protect your hands from sharp edges or splinters)
- Extension cord (outdoor-rated) (with a GFCI outlet for safety)
- Timer or smart plug (optional, but great for automation)
- String light guide wire or tension system (for longer spans or windy areas)
Pro Insight: I once skipped the GFCI outlet and ended up with a tripped breaker during a dinner party. Not fun. Always use a GFCI-protected outlet for outdoor electrical work—it’s a safety must.
Step-by-Step Guide to How to Put Up Outdoor String Lights on Patio in 2026
Now, let’s get into the nitty-gritty. This method has worked for me in everything from small city patios to sprawling backyard decks. It’s adaptable, durable, and designed for 2026’s climate and tech expectations.
Step 1: Plan Your Layout (Before You Touch a Light)
Start with a sketch. Grab a notebook or use a free app like Google Keep or Canva. Draw your patio and mark where you want lights—over a dining table, along a fence, in a zigzag across open space. This is the blueprint for your outdoor string lights setup.
- Measure distances between anchor points (e.g., house wall to pergola, tree to fence).
- Decide on the pattern: straight lines, crisscross, canopy, or perimeter.
- Account for power access—don’t let your lights dangle 10 feet from the outlet.
Here’s a tip: Don’t just eyeball it. I once hung lights that looked great at night… but during the day, they sagged like a hammock. Measure twice, hang once.
Warning: Avoid running lights over high-traffic areas unless you use a tension wire system. A loose string can be a tripping hazard—especially after a few drinks.
Step 2: Choose the Right Type of Lights for Your Patio
Not all string lights are created equal. For 2026, the best options are:
- LED Edison bulbs: Classic look, low heat, long lifespan (50,000+ hours).
- Solar-powered lights: Great for remote areas, but less reliable on cloudy days.
- Smart string lights: Can be controlled via app, change colors, or sync with music (fun for parties, but overkill for everyday use).
- Weatherproof (IP65 or higher): Look for this rating—it means they can handle rain, snow, and UV exposure.
I personally use LED Edison bulbs with a warm 2700K color temperature. They give that golden-hour glow without being too bright or too dim. Plus, they use about 80% less energy than incandescent.
For how to put up outdoor string lights on patio in 2026, I recommend sticking with wired LED unless you’re in a very sunny area. Solar lights are improving, but they still struggle with consistent brightness and battery life in winter.
Step 3: Install Anchor Points (The Backbone of Your Setup)
This is where most people rush—and regret it later. Your anchor points are what hold everything together. Skip this, and your lights will sag, fall, or look uneven.
Here’s how I do it:
- On wood (fence, pergola, deck railing): Use stainless steel eye screws. Drill a pilot hole first to avoid splitting the wood. Twist in the screw, leaving about 1 inch exposed.
- On brick, stucco, or concrete: Use masonry anchors and eye screws. Drill a hole with a masonry bit, insert the anchor, then screw in the eye hook. Use a level to keep them aligned.
- On gutters or metal roofs: Use magnetic hooks or gutter clips. Avoid drilling into gutters—it can cause leaks.
- On trees: Use wide nylon straps (not wire or rope) to avoid damaging bark. Attach an S-hook to the strap.
Pro Tip: I mark anchor points with painter’s tape first. That way, I can step back, look at the spacing, and adjust before drilling. It’s saved me from crooked lines more than once.
Step 4: Add Tension (If Needed) for Longer Spans
If your patio is wider than 20 feet, or you’re running lights between two structures (like house to tree), don’t rely on the string alone. The weight of the bulbs will cause sagging—especially in heat.
Here’s my fix: I use a light-duty guide wire (available at hardware stores). Think of it like a clothesline for your lights.
- Run the wire between anchor points using turnbuckles for tension.
- Attach the string lights to the wire with small zip ties or light clips every 12–18 inches.
- Adjust the turnbuckles until the wire is taut but not pulling the anchors loose.
This method works wonders in windy areas. I live near the coast, and my lights stayed put during a 40 mph gust last summer—all thanks to the guide wire.
Step 5: Hang the Lights (The Fun Part)
Now it’s time to hang. Start from one end and work your way across. Use S-hooks or commercial light clips to attach the lights to your anchor points or guide wire.
- Don’t stretch the string—let it hang naturally with a slight dip (about 6–8 inches between anchor points).
- Use zip ties to secure loose cords or excess length.
- If using a guide wire, clip the lights every 12–18 inches for even spacing.
- For a crisscross pattern, use a second set of anchor points and cross the strings like an “X.”
I like to plug in the lights as I go to test each section. That way, if a bulb is out or a wire is frayed, I catch it early—not after the whole thing is up.
Common Mistake: I once tried to hang 50 feet of lights in one go. The middle sagged so much it looked like a rollercoaster. Now I hang in 10–15 foot segments and test each one.
Step 6: Connect to Power (Safely and Neatly)
Power is the lifeline—but it’s also the biggest safety hazard. Here’s how to do it right:
- Use an outdoor-rated extension cord with a GFCI outlet.
- Keep the plug off the ground—use a weatherproof outlet cover or a cord hanger.
- Route the cord along a wall, under a deck, or through a cable raceway to avoid tripping.
- For a cleaner look, bury the cord under mulch or use a cord cover (if it’s not a high-traffic area).
I also recommend a smart plug with a timer. Set it to turn on at sunset and off at midnight. No more fumbling with switches—and no wasted electricity.
Step 7: Test and Adjust
Step back. Plug it in. Turn it on. Does it look even? Are there dark spots? Is the cord visible?
- Use a level to check if lines are straight.
- Adjust S-hooks or clips for symmetry.
- Trim excess zip ties or hide cords behind plants.
- If using a guide wire, fine-tune the tension with turnbuckles.
I once spent 20 minutes adjusting one string because the middle bulb was slightly brighter. My partner thought I was nuts. But the result? A perfectly balanced glow that made the whole patio feel intentional.
Step 8: Weatherproof and Maintain
Your outdoor string lights will face sun, rain, wind, and maybe even snow. Protect them:
- Use silicone sealant around any drilled holes to prevent water damage.
- Inspect bulbs and wires every 3–6 months. Replace any that are cracked or flickering.
- During winter, consider removing lights if you get heavy snow or ice. Or, choose lights rated for sub-zero temps.
- Store spare bulbs and extra clips in a labeled bin—you’ll thank yourself next season.
I leave my lights up year-round, but I do a quick check every spring. I’ve had the same set for 5 years—still going strong.
Pro Tips & Common Mistakes to Avoid
After years of trial and error, here’s what I wish I’d known from day one:
Pro Tip #1: Buy lights with replaceable bulbs. Some cheap sets have sealed sockets—when one bulb goes, the whole strand dies. Look for “E12” or “E26” socket types—they’re standard and easy to find.
Pro Tip #2: Use a laser level for long runs. It projects a straight line across your patio, so your lights stay perfectly aligned. I use the Bosch GCL 2-160—it’s a game-changer.
Pro Tip #3: Mix bulb shapes for visual interest. I use round bulbs on the main lines and globe bulbs over the dining table. It adds depth without being too busy.
Common Mistake #1: Overloading the circuit. Most outdoor outlets can handle 15 amps. If you’re running multiple lights, a heater, and a speaker, you might trip the breaker. Use a power meter to check.
Common Mistake #2: Hanging lights too low. Aim for 8–10 feet above the ground. Lower than that, and people will bump their heads (or worse, get tangled).
Common Mistake #3: Ignoring the weather. In 2026, extreme weather is more common. Use UV-resistant cords, and avoid hanging lights under eaves where water drips. I lost a set last winter to ice buildup—lesson learned.
And one last thing: Don’t go overboard. A few well-placed strands create ambiance. Ten tangled strings look like a yard sale. Less is more.
FAQs About How to Put Up Outdoor String Lights on Patio in 2026
Q: Can I leave outdoor string lights up all year?
A: Yes, but only if they’re rated for year-round outdoor use (look for IP65 or higher). In areas with heavy snow or ice, I recommend taking them down or using a protective cover. Also, check the manufacturer’s warranty—some void it if left up in freezing temps.
Q: Do I need a permit to install outdoor lighting?
A: Usually not for temporary or decorative lighting like string lights. But if you’re hardwiring into your home’s electrical system, check local codes. In most places, low-voltage or plug-in setups are fine.
Q: What’s the best way to hang lights on a concrete wall?
A: Use masonry anchors and eye screws. Drill a pilot hole with a masonry bit (size depends on the anchor), insert the anchor, then twist in the screw. Use a level to keep it straight. For a no-drill option, try heavy-duty outdoor command hooks—they work surprisingly well.
Q: How do I prevent lights from sagging in the middle?
A: Use a guide wire system. Run a thin steel or nylon wire between anchor points, then attach the lights to it with clips or zip ties. For shorter spans (under 15 feet), a slight dip is fine—just don’t let it touch the ground.
Q: Can I use solar-powered string lights on a shady patio?
A: It’s tricky. Solar lights need at least 4–6 hours of direct sunlight to charge fully. If your patio is under trees or an overhang, they’ll be dim or flicker. I’d recommend wired LED instead—they’re more reliable and brighter.
Q: How do I clean dirty string lights?
A: Unplug them first. Use a damp microfiber cloth to wipe down bulbs and wires. For stubborn grime, mix mild soap and water. Avoid pressure washers—they can damage sockets. Let them dry completely before turning them back on.
Q: Are smart string lights worth it?
A: If you love tech and want color-changing or app control, yes. But for everyday use, I prefer simple warm-white LED. Smart lights cost more, use more power, and the apps can be buggy. For how to put up outdoor string lights on patio in 2026, I’d say go smart only if you’ll use the features.
Final Thoughts
Putting up outdoor string lights on patio spaces isn’t just about lighting—it’s about creating a vibe. A place where you want to linger. Where memories are made. And in 2026, with more of us spending time at home, that matters more than ever.
You don’t need to be an electrician or a designer. You just need a plan, the right tools, and a little patience. Follow these steps, and you’ll have a setup that’s safe, stylish, and built to last.
Start small. Test your layout. Use quality materials. And most importantly—have fun with it. I still smile every time I flip the switch and see that golden glow spread across my patio. It’s the little things, right?
So grab your ladder, your lights, and a friend. In a few hours, you’ll have a space that feels like a vacation—right in your own backyard. And that’s the real magic of how to put up outdoor string lights on patio in 2026.

