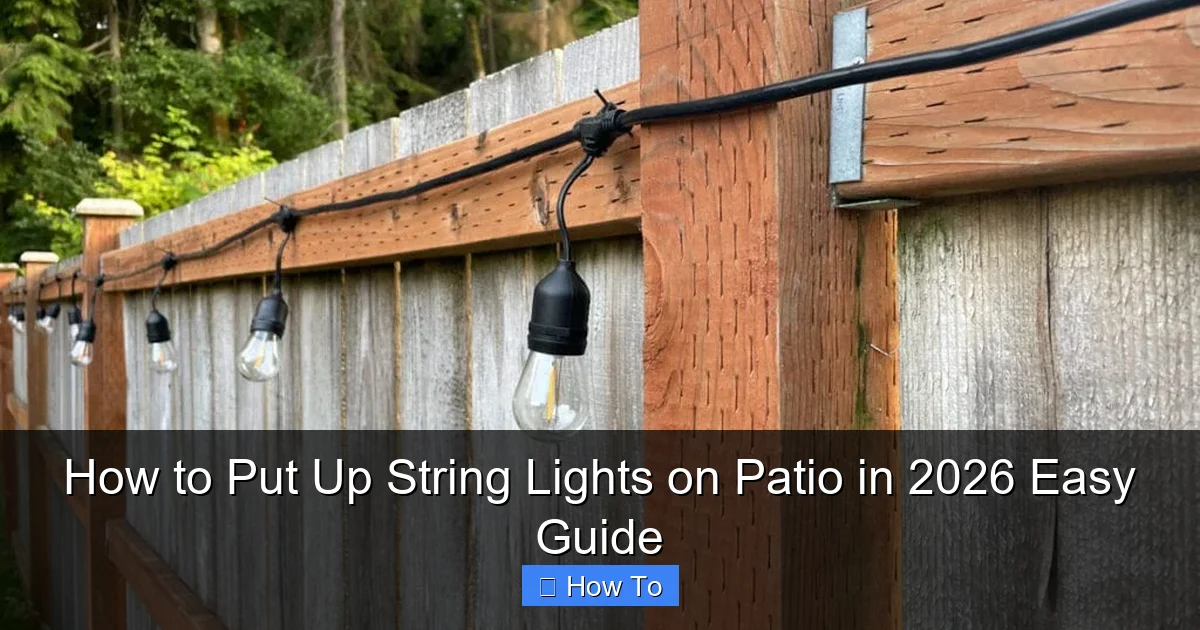
Featured image for how to put up string lights on patio
Image source: jessicawellinginteriors.com
Transform your patio into a dazzling nighttime retreat in 2026 with our simple, step-by-step guide to installing string lights like a pro. From choosing weather-resistant lights to securing them with durable, damage-free hardware, we cover the fastest, safest methods for a stunning glow. No tools? No problem—achieve a professional look in under an hour using innovative mounting solutions designed for renters and homeowners alike.
How to Put Up String Lights on Patio in 2026 Easy Guide
Key Takeaways
- Plan your layout first: Measure patio dimensions to ensure proper string light coverage.
- Use sturdy anchors: Install hooks or clips rated for outdoor weight and weather.
- Prioritize safety: Turn off power when using ladders or working near electrical sources.
- Choose weatherproof lights: Opt for IP65-rated or higher for long-term outdoor use.
- Test lights before hanging: Check for defects to avoid mid-installation troubleshooting.
- Secure wires properly: Prevent tripping hazards and sagging with tensioners or zip ties.
Why This Matters / Understanding the Problem
Let’s be honest: nothing beats a warm evening on your patio, sipping lemonade under a canopy of twinkling lights. But if you’ve ever tried setting up string lights, you know it’s not always as simple as it seems. I remember my first attempt—lights tangled, hooks pulled out of wood, and one dramatic fall off a chair trying to reach a high corner. It was more circus than ambiance.
That’s why this How to Put Up String Lights on Patio in 2026 Easy Guide exists. Whether you’re hosting a summer barbecue, creating a cozy nook for two, or just want to enjoy your outdoor space after sunset, string lights can transform your patio into a magical retreat. But only if they’re installed correctly.
The good news? With the right approach, you can avoid the frustration and get it right the first time. No more duct tape, no more broken hooks, and definitely no more dangling lights that look like they survived a tornado. This guide walks you through a modern, safe, and stylish method—perfect for 2026, when durability, ease, and aesthetics matter more than ever.
We’ll cover everything from choosing the right lights to securing them safely, with tips I’ve learned the hard way (and a few I borrowed from pros). By the end, you’ll know exactly how to put up string lights on your patio without stress, mess, or wasted money.
What You Need
Before you start, gather your gear. Trust me, having everything on hand makes the process go smoothly—no last-minute trips to the hardware store mid-project.
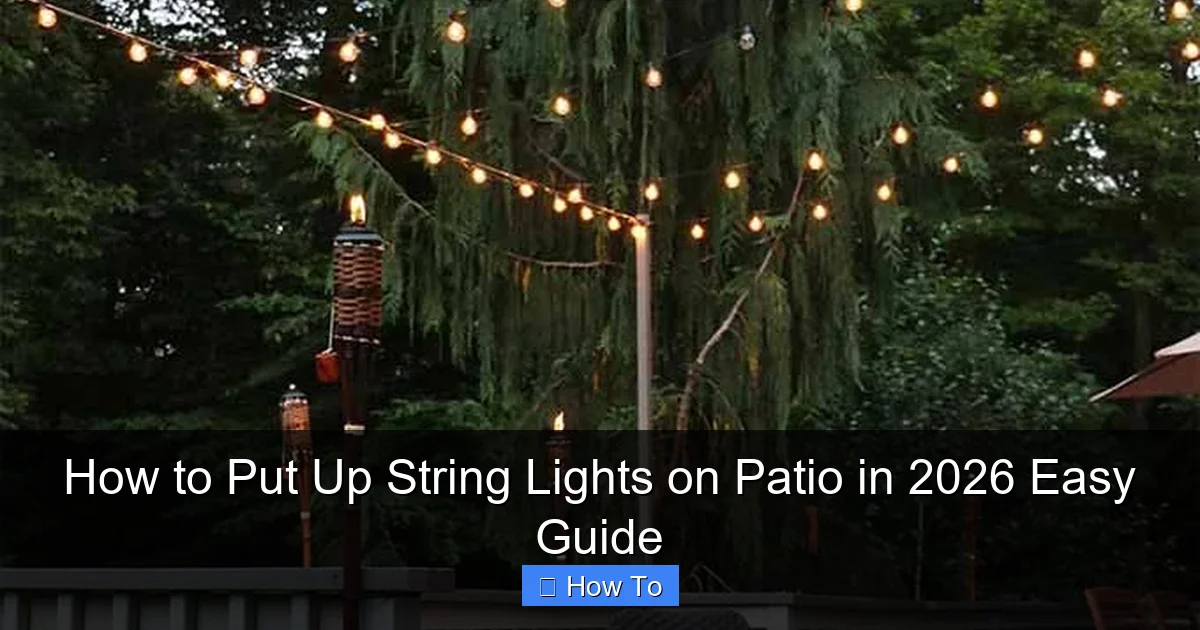
Visual guide about how to put up string lights on patio
Image source: woohome.com
- String lights (LED recommended): Look for weatherproof, commercial-grade LED bulbs. They last longer, use less energy, and handle rain and heat better than incandescent.
- Measuring tape: You’ll need this to plan spacing and avoid running short.
- Outdoor-rated extension cords (if needed): Use GFCI-protected cords for safety, especially near water.
- Mounting hardware: This depends on your patio type:
- For wood: Stainless steel hooks, eye screws, or cup hooks
- For stucco or brick: Masonry anchors with plastic sleeves
- For metal or railings: Adjustable zip ties, rubber-coated hooks, or magnetic mounts
- For concrete: Concrete screws or expansion anchors
- Drill and appropriate drill bits: For pre-drilling holes in wood or masonry.
- Ladder (if needed): A stable, non-slip ladder—safety first!
- Marker or chalk: To mark hook locations before drilling.
- Level (optional but helpful): Keeps your lights straight, not wavy.
- Timer or smart plug (optional): Automate on/off times—great for ambiance without effort.
Pro insight: I once skipped the measuring tape and “eyeballed” my layout. Result? Lights too short, had to buy a second set. Measure twice, install once. It’s worth the 5 minutes.
Bonus: If you’re using a smart system, consider Wi-Fi-enabled string lights. They’re pricier but let you change colors, brightness, or schedule from your phone. Perfect for the 2026 tech-savvy homeowner.
Step-by-Step Guide to How to Put Up String Lights on Patio in 2026 Easy Guide
Step 1: Plan Your Layout (The Foundation of Success)
Before you touch a drill, stand on your patio and visualize the final look. Do you want a classic “canopy” over the seating area? A “zig-zag” across the ceiling? Or a “perimeter” around the edges?
Grab your measuring tape. Measure the length and width of your patio. Then, sketch a simple layout on paper or use a phone app (like SketchUp Free or even Notes). Mark where you want each light strand to start and end.
For a canopy effect:
- Plan parallel lines, 2–3 feet apart.
- Keep them centered over your main seating or dining area.
For a perimeter look:
- Run lights along the edges of the patio roof, fence, or railing.
- Use shorter strands or connect multiple ones with a weatherproof connector.
Pro insight: I once installed lights only over the grill area. Big mistake. The rest of the patio felt dark and disconnected. Always plan for ambient lighting, not just task lighting.
Also, check your light strands. Most are 25–48 feet long. If your patio is 15×20 feet, you’ll likely need 2–3 strands. Overlap them slightly for full coverage. This step is crucial for the How to Put Up String Lights on Patio in 2026 Easy Guide to work flawlessly.
Step 2: Choose the Right Mounting Method (Match Hardware to Surface)
Your patio surface dictates what hardware to use. Don’t force a wood hook into concrete—it won’t hold, and you’ll damage the material.
Wood (deck, pergola, fence):
- Use stainless steel eye screws or cup hooks.
- Pre-drill a small hole first to prevent splitting.
- Space hooks 3–4 feet apart for even tension.
Stucco or brick:
- Use masonry anchors with plastic sleeves.
- Drill pilot holes with a masonry bit.
- Insert anchor, then screw in a small eye bolt or hook.
Metal (railings, pergola beams):
- Use rubber-coated hooks or adjustable zip ties.
- Avoid metal-to-metal contact—it can cause buzzing in wind.
Concrete (patio walls, posts):
- Use concrete screws or expansion anchors.
- Clean dust from the hole before inserting.
Warning: I once used regular screws in stucco. They pulled out after two weeks. Always use anchors rated for your surface type. It’s not worth the risk.
For a no-drill option (great for renters or delicate surfaces):
- Use adhesive outdoor hooks (like 3M Outdoor Mounting Tape).
- They hold up to 5 lbs per hook—perfect for lightweight strands.
- Clean the surface first with rubbing alcohol.
Step 3: Mark and Drill Hook Locations
Now, transfer your layout plan to the patio. Use a marker or chalk to mark each hook spot. If you’re doing parallel lines, use a level to keep them straight. A crooked line is the fastest way to ruin the look.
For wood:
- Pre-drill holes slightly smaller than the hook shaft.
- Screw in hooks by hand—don’t over-tighten, or they’ll strip.
For masonry or concrete:
- Drill the pilot hole to the depth of the anchor.
- Tap in the plastic sleeve (if needed).
- Screw in the eye bolt or hook.
Pro tip: If you’re mounting on a pergola, space hooks so the lights form a gentle “V” or “U” shape between points. This creates a draped effect and hides any sagging.
Pro insight: I use painter’s tape to temporarily mark spots, then step back 10 feet to check the alignment. If it looks off, I adjust before drilling. Saved me from a crooked line disaster.
Step 4: Install the Lights (Start from the Power Source)
Here’s a key tip: Start at the power source. Plug your first strand into an outdoor outlet or extension cord. Then, work outward. This way, you avoid dangling plugs and messy overlaps.
Hang the lights:
- Loop the light strand’s end hook (or built-in ring) over the first hook.
- Stretch it to the next hook, but don’t pull too tight—leave a slight sag (about 6–12 inches between hooks).
- Too tight = stress on wires and hooks. Too loose = droopy, unprofessional look.
If using multiple strands:
- Connect them with a weatherproof connector (not just twist-on caps).
- Seal the connection with electrical tape or a silicone sleeve.
For zig-zag or criss-cross patterns:
- Use a “figure-eight” loop on each hook to allow movement.
- This prevents tension when wind blows.
Common mistake: I once pulled my lights too tight across a 10-foot span. The wire stretched, and one bulb died. Now I always leave a little slack—it’s safer and looks better.
Step 5: Secure and Protect the Wiring
Exposed wires are an eyesore and a hazard. Here’s how to keep them tidy and safe:
Use cable clips or raceways:
- Attach clips every 1–2 feet along walls or beams.
- For stucco or brick, use adhesive clips rated for outdoor use.
Route cords away from walkways:
- Don’t let cords dangle where people trip.
- Use cord covers (like outdoor cord channels) if they cross a path.
Protect connections:
- Elevate plugs off the ground—don’t let them sit in puddles.
- Use a weatherproof outlet cover if the outlet is exposed.
For smart systems:
- Place the hub or receiver in a dry, ventilated area.
- Use a surge protector if connecting to a smart plug.
Pro insight: I use colored zip ties to blend cords into wood beams. Matches the wood tone and hides them from view. Small detail, big impact.
Step 6: Test and Adjust
Before you celebrate, test the lights. Turn them on at night. Walk around the patio. Check for:
- Uneven sagging (adjust tension)
- Flickering bulbs (replace or reseat)
- Exposed wires (add clips or covers)
- Glare (angle bulbs downward or use diffusers)
Make small adjustments:
- Loosen a hook slightly to reduce tension.
- Move a bulb to a more visible spot.
- Add a dimmer if the lights are too bright.
This step ensures your How to Put Up String Lights on Patio in 2026 Easy Guide delivers a polished, professional result.
Step 7: Automate (Optional but Highly Recommended)
In 2026, why turn lights on manually? Automate for convenience and energy savings.
Timer:
- Set it to turn on at dusk, off at 10 PM.
- No more forgetting to turn them off.
Smart plug or Wi-Fi lights:
- Control from your phone or voice assistant.
- Schedule different modes: “Dinner,” “Party,” “Cozy.”
- Integrate with other smart devices (e.g., turn on when you unlock the back door).
Motion sensor:
- Great for security—lights turn on when someone approaches.
Pro insight: I use a smart plug with a sunset-to-10 PM schedule. My neighbors think I’m always home. Bonus: it saves energy.
Pro Tips & Common Mistakes to Avoid
After years of trial and error, here’s what I’ve learned:
Tip 1: Buy one extra strand. I always run short by 2–3 feet. Having a backup avoids last-minute stress.
Tip 2: Use commercial-grade lights. They cost more but last 3–5 years. Cheap ones burn out in a season.
Tip 3: Install in dry weather. Wet surfaces make adhesives fail. Wait for a sunny, low-humidity day.
Tip 4: Label your strands. If you use different colors or styles, mark them with tape. Saves time when replacing bulbs.
Tip 5: Clean bulbs annually. Dust and bugs dim the glow. Wipe with a dry microfiber cloth.
Common Mistakes:
- Overloading circuits: Don’t plug 5 strands into one outlet. Check the amperage rating.
- Ignoring local codes: Some areas require permits for permanent outdoor wiring. Check first.
- Using indoor lights outside: They’ll short-circuit. Always choose weatherproof or outdoor-rated.
- Skipping GFCI protection: Prevents shocks near water. Use GFCI outlets or cords.
- Installing at noon: Test lights at night. You’ll spot glare and shadows you can’t see in daylight.
These tips are the secret sauce to a flawless setup. They make the How to Put Up String Lights on Patio in 2026 Easy Guide truly “easy.”
FAQs About How to Put Up String Lights on Patio in 2026 Easy Guide
Q: Can I leave string lights up year-round?
A: Only if they’re weatherproof and rated for outdoor use. Even then, extreme cold (below 0°F) can crack bulbs. I take mine down in winter and store them in a dry bin. If you’re in a mild climate, just check them monthly for damage.
Q: How do I hide the cords?
A: Use cable clips, raceways, or run cords behind furniture. For a seamless look, paint clips to match your wall or beam. I also use potted plants or outdoor rugs to cover floor cords.
Q: What if my patio has no roof or overhang?
A: Use a freestanding pergola, umbrella, or tension cables. I installed a simple 10×10 pergola kit and strung lights from the beams. No drilling, no damage.
Q: Can I connect multiple strands?
A: Yes, but check the maximum connection limit on the packaging. Most LED strands let you connect 10–15. Use a weatherproof connector and seal it with silicone. Never exceed the limit—it can overload the circuit.
Q: What’s the best way to store string lights?
A: Wrap them around a cardboard rectangle or a light reel. This prevents tangles. I use old shoeboxes with notches cut in the sides. Label the box with the strand type and length.
Q: How do I replace a burned-out bulb?
A: Most LED strands use replaceable bulbs. Twist out the dead one, insert a new one. Keep a few spares. If the whole strand fails, check the fuse in the plug (if it has one).
Q: Are smart string lights worth it?
A: For the How to Put Up String Lights on Patio in 2026 Easy Guide, absolutely. They offer color changes, dimming, and automation. But they cost 2–3x more. If you use lights weekly, the convenience pays off. If only for holidays, stick to basic LED.
Final Thoughts
Putting up string lights on your patio isn’t just about decoration—it’s about creating a space where memories happen. Whether it’s a quiet evening with a book or a lively gathering with friends, the right lighting sets the mood.
This How to Put Up String Lights on Patio in 2026 Easy Guide gives you the tools, steps, and insights to do it right. No more tangled wires, no more wobbly ladders, and no more “almost” perfect setups. Just a beautiful, safe, and long-lasting glow.
My final advice? Start small. Try a single strand first. Get comfortable with the process. Then expand. And don’t rush—enjoy the moment. Because when you finally step back and see your patio lit up, you’ll know it was worth every minute.
So grab your tools, measure your space, and start tonight. Your dream patio is just a few hooks and lights away.

