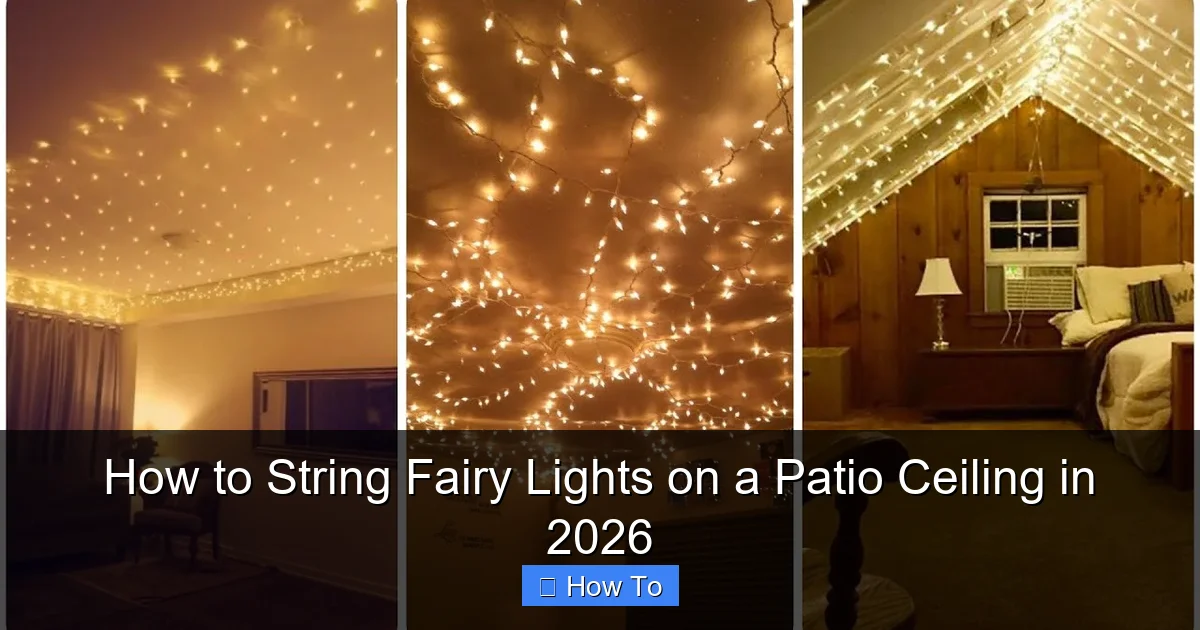
Featured image for how to string fairy lights on a patio ceiling
Image source: i.ytimg.com
Transform your patio into a magical retreat in 2026 by securely mounting fairy lights along ceiling beams using adhesive hooks or cable clips—no drilling required. Ensure even spacing and a cascading effect by planning your layout first, then connect weatherproof, energy-efficient LED strands for a dazzling, long-lasting glow. With smart timers and dimmers, you can automate ambiance and save power effortlessly.
“`html
How to String Fairy Lights on a Patio Ceiling in 2026
Key Takeaways
- Plan your layout first: Sketch light placement to avoid gaps or overhangs.
- Use weatherproof lights: Ensure durability with IP65-rated or outdoor-safe fairy lights.
- Anchor with hooks or clips: Install removable hooks for secure, damage-free hanging.
- Measure twice, install once: Confirm spacing and length before final setup.
- Opt for smart timers: Automate on/off times to save energy and effort.
- Check power access: Use extension cords or solar lights for hard-to-reach areas.
Why This Matters / Understanding the Problem
Picture this: It’s a warm summer evening. You’ve got friends over, drinks are flowing, and the mood is just right—until you look up and realize your patio feels a little… flat. No ambiance. No magic. Just darkness.
That’s where fairy lights come in. They’re not just for Christmas trees anymore. In 2026, how to string fairy lights on a patio ceiling has become one of the most popular backyard upgrades—simple, affordable, and instantly transformative.
But here’s the catch: if you’ve ever tried it, you know it’s easier said than done. Tangled cords, sagging wires, lights falling mid-party—it’s frustrating. And with new weather-resistant tech, smart lighting options, and ceiling materials evolving, the process isn’t what it used to be.
Whether you’re lighting up a covered porch, an open pergola, or a modern outdoor room, getting the job done right means more than just hanging lights. It’s about how you do it—safely, stylishly, and so they last through rain, wind, and seasons.
So let’s walk through the real, nitty-gritty of how to string fairy lights on a patio ceiling in 2026. No fluff. No gimmicks. Just what works—based on trial, error, and a few late-night “why won’t this stay up?!” moments.
What You Need
Before we dive in, let’s talk gear. You don’t need a contractor or a degree in electrical engineering. But you do need the right tools and materials to make this easy, safe, and long-lasting.

Visual guide about how to string fairy lights on a patio ceiling
Image source: festoonhouse.com.au
- Fairy lights (LED, outdoor-rated): Choose weatherproof, shatterproof, and preferably solar or low-voltage. In 2026, smart LEDs with app control are a game-changer.
- Ceiling anchors or hooks: Use stainless steel screw-in hooks, adhesive clips (for smooth surfaces), or tension cables depending on your ceiling type.
- Measuring tape: For spacing and layout—don’t eyeball it.
- Ladder (stable, non-slip): Safety first. A wobbling ladder is a disaster waiting to happen.
- Zip ties or cable clips: For securing loose cords and preventing sagging.
- Drill (optional): If you’re using screw-in hooks on wood or concrete.
- Extension cord (outdoor-rated, GFCI-protected): If your lights plug in. Never use indoor cords outside.
- Timer or smart plug (highly recommended): Automate on/off times—no more forgetting to turn them off at 2 a.m.
Pro Insight: I once tried using Command strips on a pergola beam. They held for two weeks—then one gust of wind sent half my lights crashing down. Lesson? Know your ceiling. Wood? Screw-in hooks. Vinyl? Adhesive clips rated for outdoor use. Concrete? Anchors or tension cables. Match the hardware to the surface.
Step-by-Step Guide to How to String Fairy Lights on a Patio Ceiling in 2026
Step 1: Choose the Right Type of Fairy Lights
Not all fairy lights are created equal. In 2026, you’ve got more options than ever—but that means more decisions.
Start by asking: Are these going to be permanent or seasonal? If permanent, go for outdoor-rated, shatterproof, and UV-resistant LEDs. Look for an IP rating of at least 65 (dust-tight and water-resistant).
- Smart lights: Brands like Philips Hue Outdoor or Govee offer color-changing, app-controlled, and voice-activated options. Perfect if you want to switch from romantic white to party pink with a tap.
- Solar-powered: Great for off-grid areas, but make sure they get 6+ hours of direct sunlight. In cloudy climates, they may not last all night.
- Plug-in (low-voltage): Most reliable for consistent brightness. Use a GFCI outlet and weatherproof cover.
Pro tip: Buy 10–20% more lights than you think you need. You’ll thank yourself when you realize the last 10 feet of your patio is in shadow.
And remember: how to string fairy lights on a patio ceiling in 2026 starts with picking lights that can handle the environment—not just look pretty in a store.
Step 2: Measure and Plan Your Layout
Here’s where most people skip ahead and regret it later. Planning your layout saves time, avoids tangles, and ensures even coverage.
First, measure your patio ceiling. Note the length, width, and any obstacles (beams, fans, speakers).
Now, sketch a rough layout. Think about the pattern:
- Grid pattern: Lights spaced evenly in rows and columns. Great for symmetry.
- Zigzag or crisscross: Lights run diagonally across the space. Adds visual interest.
- Perimeter-only: Lights along the edges. Cozy, but may leave the center dark.
- Cluster or canopy: Lights concentrated in the center, fanning out. Ideal for intimate gatherings.
Use painter’s tape to mark anchor points on the ceiling. This lets you visualize spacing without committing to hardware.
For a grid, space hooks every 2–3 feet. For a zigzag, plan anchor points at opposite corners, then every 18–24 inches along the path.
Real Talk: I once strung lights without measuring. The result? One side was blinding, the other was barely lit. Now, I always tape out the pattern first. It’s like a dress rehearsal—no surprises.
Step 3: Install Anchors or Hooks (Match the Surface)
This is where how to string fairy lights on a patio ceiling in 2026 gets technical—but don’t panic. The right anchor for your ceiling type makes all the difference.
Here’s how to handle the most common surfaces:
- Wood (beams, pergolas, soffits): Use stainless steel screw-in hooks. Drill pilot holes if needed to prevent splitting. Space every 2–3 feet.
- Vinyl, aluminum, or smooth composite: Use outdoor-rated adhesive clips or 3M outdoor mounting tape. Avoid screws—they can damage the material.
- Concrete or stucco: Use plastic anchors and screws. A hammer drill helps. For temporary setups, tension cables with rubber ends work well.
- Metal roofs or corrugated panels: Use magnetic hooks or tension cables with rubber grips. Avoid drilling unless you’re sure of the structure.
Install anchors at your pre-marked points. Make sure they’re level and secure. Give each one a gentle tug—nothing should wiggle.
For long runs, consider a tension cable system. Run a stainless steel cable from one end to the other, then clip lights to it. This prevents sagging and looks super clean.
Step 4: String the Lights (Avoid Tangles & Sagging)
Now for the fun part—but also the most frustrating if you’re not careful.
Start at the power source. Unroll the lights slowly, keeping them taut but not stretched. Use zip ties or clips every 2–3 feet to attach the cord to the anchors or tension cable.
- For grid patterns: Run lights horizontally first, then vertically. Secure each intersection.
- For zigzag: Start at one corner, loop the string over each anchor point, and work diagonally.
- For clusters: Gather lights in the center, then fan them out to perimeter hooks.
Keep the cord flat against the ceiling. Avoid loops or dangles—they catch wind and look messy.
If your lights have a transformer or plug, make sure it’s accessible and protected. Use a weatherproof outlet cover or a small plastic box.
Warning: Don’t pull the lights too tight. LED strings can stretch and break. Also, never use staples, nails, or tape—they damage the cord and create fire hazards.
Pro move: Leave a small loop near the plug. This absorbs tension if someone bumps the string later.
Step 5: Secure Cords and Hide Wires
Even the best layout looks amateur if wires are dangling everywhere. In 2026, clean cable management is non-negotiable.
- Use black or white zip ties to bundle cords along beams or under eaves.
- For visible runs, use wire channels or conduit (available in outdoor-rated versions).
- On smooth surfaces, adhesive cord clips keep wires flat and hidden.
Run the power cord along the wall or under furniture. If it’s on the ground, use a cord cover to prevent tripping.
For smart lights, place the hub or receiver in a dry, shaded area—like a covered outlet box or a waterproof enclosure.
This step is often skipped, but it’s what turns a “meh” setup into a magazine-worthy glow. And it’s a key part of how to string fairy lights on a patio ceiling in 2026—because aesthetics matter.
Step 6: Test, Adjust, and Automate
Plug in the lights. Do they all work? Are there dark spots? Is the pattern balanced?
If a bulb is out, check the connections. Most fairy lights have replaceable bulbs or modular sections—swap them out if needed.
Adjust spacing if the pattern looks uneven. Move hooks or clips slightly. A little tweaking goes a long way.
Now, automate. In 2026, there’s no excuse for manual on/off switches.
- Use a smart plug (like TP-Link Kasa or Wemo) to control lights via app or voice.
- Set a timer to turn on at sunset and off at 11 p.m.
- For smart LEDs, use scene modes: “Dinner Party,” “Movie Night,” “Relax.”
Bonus: Connect to your home assistant (Alexa, Google Home, Siri) for voice control. “Hey Google, patio lights on.” Magic.
Personal Hack: I set my lights to turn on 30 minutes before sunset. It’s like the patio knows when to get cozy. My guests always notice.
Step 7: Weatherproof and Maintain (For Longevity)
Outdoor lights face rain, wind, UV rays, and temperature swings. In 2026, durability is key.
- Seal connections: Use silicone sealant on plug joints or transformer housings. Prevents moisture damage.
- Check annually: Before summer and winter, inspect for frayed wires, loose hooks, or dead bulbs.
- Clean gently: Wipe bulbs with a dry cloth. Never use water or harsh cleaners.
- Take down if not in use: For seasonal setups, store lights in a cool, dry place. Coil them loosely—no tight knots.
If you live in a snowy or stormy area, consider removable hooks or quick-release clips. Makes seasonal take-down a breeze.
And remember: how to string fairy lights on a patio ceiling in 2026 isn’t a one-time job. It’s a long-term upgrade—so treat it like one.
Pro Tips & Common Mistakes to Avoid
After 15+ patio light installations (some successful, some… educational), here’s what I wish I knew from the start.
Pro Tips
- Use a buddy: One holds the ladder, one strings lights. Safety + efficiency.
- Buy extra clips: You’ll lose or break a few. Always have backups.
- Go modular: Use connectable light strings. Easier to replace sections if one fails.
- Think about shadows: Lights too high? They cast shadows. Too low? They blind people. Aim for 7–8 feet above the floor.
- Mix light types: Pair warm white fairy lights with a few color-changing strands for depth.
Common Mistakes
- Ignoring the power source: Running a 100-foot extension cord across the yard? Not safe. Use GFCI outlets or solar lights.
- Overloading circuits: Too many lights on one outlet can trip breakers. Check wattage limits.
- Using indoor lights outside: They’ll short out. Always verify outdoor ratings.
- Skipping the plan: Randomly stringing lights leads to uneven coverage and frustration.
- Forgetting maintenance: A few dead bulbs can ruin the effect. Check regularly.
Hard Truth: I once used regular zip ties on a metal beam. They corroded in six months. Now I only use stainless steel or UV-resistant plastic. Small detail, big impact.
FAQs About How to String Fairy Lights on a Patio Ceiling in 2026
Can I leave fairy lights up all year?
Yes—but only if they’re outdoor-rated, weatherproof, and installed correctly. Check the manufacturer’s specs. If it says “indoor use only,” don’t risk it. For permanent setups, use UV-resistant lights and seal all connections.
How do I hide the power cord?
Run it along a wall, under furniture, or through a wire channel. Use cord covers on the ground. For a clean look, bury the cord in a shallow trench (with conduit) or run it through a downspout.
What if my patio has no ceiling?
No problem. String lights between posts, trees, or a freestanding frame. Use tension cables or shepherd’s hooks. You can even hang them from a pergola or awning.
Are solar fairy lights worth it?
For sunny areas, absolutely. They’re eco-friendly and eliminate cords. But in shady or cloudy climates, they may not charge fully. Test them for 2–3 days before committing.
Can I use smart lights with voice control?
Yes! Brands like Philips Hue, Govee, and LIFX offer outdoor smart strings that work with Alexa, Google Assistant, and Siri. Just make sure the hub is protected from weather.
How many lights do I need?
As a rule, aim for 10–15 bulbs per linear foot for a cozy glow. For larger patios, go up to 20. Use a string light calculator online, or buy a few extra and return what you don’t use.
What’s the best spacing for fairy lights?
For ambient lighting, space anchor points every 2–3 feet. For dramatic effect (like a canopy), go closer—18 inches apart. Avoid gaps wider than 4 feet, or the effect fades.
Final Thoughts
Lighting your patio isn’t just about visibility—it’s about feeling. The right fairy lights turn a plain outdoor space into a sanctuary. A place where stories are shared, laughter echoes, and memories are made.
And now, you know how to string fairy lights on a patio ceiling in 2026—the smart, safe, and stylish way. From choosing weatherproof LEDs to automating with smart tech, every step matters.
Start small. Test your layout. Adjust as needed. And don’t rush. This isn’t just a weekend project—it’s an investment in your home’s atmosphere.
So grab your ladder, your lights, and your favorite drink. When the sun sets and your patio glows, you’ll know it was worth every minute.
And hey—if you run into a snag? That’s okay. Even the best of us have had lights fall at midnight. The key is to keep going. Because the magic isn’t in perfection. It’s in the glow.
“`

