Featured image for how to string outside patio lights height
Image source: shunshelter.com
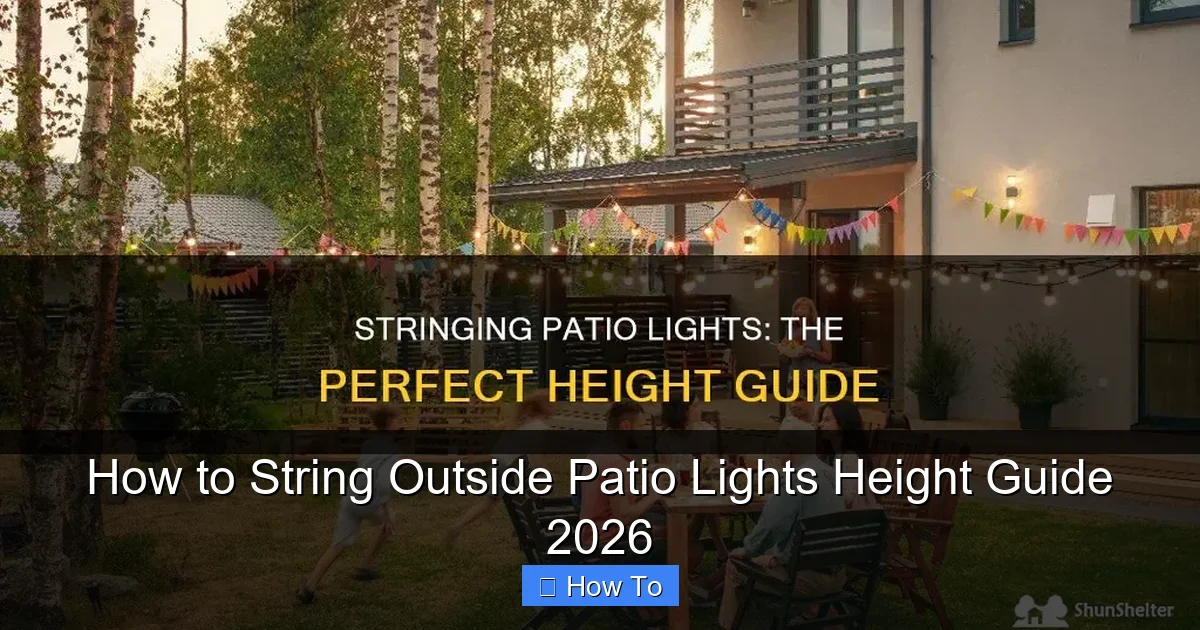
Hang your patio lights 7 to 8 feet above the ground for optimal visibility, safety, and ambiance—this height prevents head bumps while casting a warm, inviting glow. Adjust slightly lower (6.5–7 ft) in dining zones or higher (9+ ft) for open spaces to match your layout and lighting goals. Always secure cables at consistent intervals for a clean, professional look.
“`html
How to String Outside Patio Lights Height Guide 2026
Key Takeaways
- Measure first: Always check ceiling and furniture height before installing.
- Standard height: Hang lights 7–8 feet high for optimal safety and visibility.
- Adjust for space: Lower lights in intimate areas, higher in open zones.
- Use anchors: Secure wires to walls or poles for long-term durability.
- Test spacing: Ensure bulbs are 12–18 inches apart for even illumination.
- Weatherproof gear: Choose IP65-rated lights and connectors for outdoor use.
Why This Matters / Understanding the Problem
Let’s be real: you’ve probably stood in your backyard, holding a string of patio lights, wondering, “How high should these go?” You don’t want to trip on them, but you also don’t want them floating like UFOs. It’s a Goldilocks situation—just right is the goal.
Stringing outside patio lights isn’t just about aesthetics. It’s about safety, functionality, and creating that cozy vibe for late-night chats, weekend BBQs, or just unwinding after work. But if the height’s off? You’re either in a cave or a spotlight.
That’s where this How to String Outside Patio Lights Height Guide 2026 comes in. It’s not just about numbers. It’s about practical, real-world advice based on years of trial, error, and a few “why did I do that?” moments. Whether you’re lighting up a pergola, a fence, or open space, this guide helps you get it right the first time.
And don’t worry—no engineering degree needed. We’ll keep it simple, safe, and stylish.
What You Need
Before you start, let’s gather your tools and materials. You don’t need a full workshop, just a few essentials. Think of this as your backyard lighting toolkit.

Visual guide about how to string outside patio lights height
Image source: i.pinimg.com
- Patio lights (LED string lights, globe lights, or fairy lights—your pick)
- Measuring tape (a 25-foot retractable one works great)
- Step ladder (or a sturdy chair if you’re not tall)
- Eye hooks or screw-in hooks (stainless steel or outdoor-rated)
- Drill with a small bit (for wood or masonry, depending on your surface)
- Twist ties, zip ties, or light clips (to secure wires)
- Extension cords (outdoor-rated, GFCI-protected)
- Level (optional, but helpful for even lines)
- Marker or pencil (for marking drill spots)
- Work gloves (because safety first)
Pro tip: Buy lights with built-in clips or hooks. It saves you from buying extra hardware. And always check the maximum wattage or string length on the packaging—daisy-chaining too many can trip your breaker.
Now, let’s get to the heart of the How to String Outside Patio Lights Height Guide 2026.
Step-by-Step Guide to How to String Outside Patio Lights Height Guide 2026
Here’s the step-by-step process I’ve refined over 10+ years of backyard makeovers. It’s not rocket science, but attention to detail makes all the difference.
Step 1: Plan Your Layout & Identify Anchor Points
Start with a plan. Sketch your patio or yard on paper (or use a napkin—no judgment). Mark where you want lights: along the roofline, between trees, across a pergola, or along a fence.
Then, identify anchor points—these are where you’ll attach the lights. They could be:
- Roof eaves or fascia boards
- Tree branches (if sturdy and at least 2” thick)
- Fence posts
- Pergola beams
- Wall-mounted hooks (on siding, stucco, or brick)
For open areas with no natural anchors, consider light poles or freestanding posts. I once used repurposed metal conduit pipes—worked like a charm and cost $12.
Measure the distance between anchor points. This tells you how many lights you need and where to place hooks. Use your measuring tape and mark spots with a pencil.
Pro tip: Always leave a little slack—about 6–12 inches between anchor points. Lights sag slightly under their own weight, and you don’t want them too tight.
Step 2: Determine the Ideal Height (The 7-Foot Rule)
Here’s the big question: How high? The magic number is 7 feet (84 inches) from the ground. Why?
- Most adults are under 6’5”, so 7 feet keeps lights safely overhead.
- It prevents tripping, especially in dim light.
- It creates a cozy, intimate glow—like a canopy, not a floodlight.
But—there are exceptions:
- Over seating areas? Go 6.5–7 feet. You want light above eye level, not in your face.
- Along pathways or steps? Lower to 5–6 feet to guide the way.
- High pergola or roof? 8–9 feet is fine, but add vertical drops (like curtain lights) to bring light down.
- Over a dining table? 7–7.5 feet is perfect. Any lower, and you’ll bump your head when reaching for the guac.
Use your measuring tape and a step ladder to mark the 7-foot line at each anchor point. I use blue painter’s tape—it’s removable and won’t damage surfaces.
Warning: Never string lights under 5 feet. It’s a tripping hazard, especially for kids or older guests. Safety first!
Step 3: Install Anchor Hooks or Mounts
Now, install your hooks. The type depends on your surface:
- Wood (fascia, fence, pergola): Use eye hooks. Drill a pilot hole, then screw in by hand. Tighten with pliers.
- Brick or stucco: Use masonry anchors or screw-in wall mounts. Drill slowly to avoid cracking. Use a masonry bit.
- Metal (gutters, poles): Use magnetic hooks or clamps. No drilling needed!
- Trees: Use tree-friendly straps or bungee cords. Never nail into bark—it harms the tree.
Space hooks every 2–3 feet for even tension. For longer runs, go every 2 feet to prevent sagging.
Double-check each hook is secure. Give it a gentle tug. If it wiggles, tighten or reposition.
Pro tip: Use a level to keep hooks aligned. A crooked line kills the vibe. Trust me—I learned this after a friend said, “Looks like your lights are fleeing!”
Step 4: String the Lights (With Tension & Slack)
Time to hang the lights! Start at the power source. This is usually the end with the plug. Why? So the plug stays on the ground, not dangling in the air.
Here’s how to do it right:
- Unplug the lights first. Safety first, always.
- Attach one end to the first hook. Use a zip tie or built-in clip.
- Walk the lights to the next hook, leaving 6–12 inches of slack. Don’t pull tight—sag looks natural and prevents strain.
- Secure at each hook. Use twist ties, zip ties, or clips. Wrap loosely—don’t crush the wires.
- Continue until the end. The last light should have a small loop (not a plug).
For curves or angles (like around a tree), use bungee cords or adjustable hooks. They allow flexibility.
If you’re using multiple strings, connect them end-to-end before hanging. But never exceed the max number on the package. I once daisy-chained 10 strings—lights dimmed and the breaker tripped. Oops.
Warning: Avoid wrapping lights around branches or poles. It stresses the wires and can cause shorts. Use clips or hooks instead.
Step 5: Test & Adjust for Safety & Aesthetics
Plug in the lights. Do they work? Great! Now, look for issues:
- Sagging? Add more hooks or tighten slightly.
- Too bright or harsh? Lower the lights (if safe) or use frosted bulbs or diffusers.
- Too dim? Raise slightly or add more strings.
- Tripping hazard? Raise to 7+ feet.
Walk under the lights. Can you move freely without ducking? If yes, you’re golden.
Check for electrical safety:
- Extension cords should be outdoor-rated and GFCI-protected.
- Keep plugs and connections off the ground (use a plastic box or hang them).
- Never run cords under rugs or furniture.
Pro tip: Use a timer or smart plug. Lights turn on at dusk and off at bedtime—no fumbling in the dark.
Step 6: Secure Wires & Protect Connections
Now, tidy up. Loose wires look messy and are a tripping hazard.
- Use zip ties or clips to secure wires to beams or poles.
- For long runs, use wire clips every 3–4 feet.
- Protect connections with weatherproof covers or electrical tape.
- For trees, use tree-friendly straps—they expand as the tree grows.
If you’re using extension cords, elevate them with hooks or clips. Never leave them on damp grass.
Warning: Don’t staple wires to wood. It damages insulation and creates a fire risk. Use clips or hooks instead.
Step 7: Seasonal Maintenance (Yes, It’s a Thing)
Patio lights aren’t “set it and forget it.” A little upkeep keeps them safe and beautiful.
- Spring: Check for damage, loose hooks, or frayed wires. Replace any broken bulbs.
- Summer: Wipe bulbs with a damp cloth to remove dust. Trim overhanging branches.
- Fall: Before winter, take down lights if you live in a snowy area. Store in a dry, cool place.
- Winter (if left up): Use all-weather LED lights. Check after storms for wind damage.
I leave mine up year-round in California, but in Minnesota? Nope. Snow and ice are brutal on wires.
Pro Tips & Common Mistakes to Avoid
After years of trial and error, here’s what I’ve learned the hard way.
Pro Tips
- Use LED lights. They’re brighter, last longer, and use 80% less energy than incandescent. I switched 5 years ago—never looked back.
- Buy lights with replaceable bulbs. If one burns out, you don’t have to replace the whole string.
- Mix bulb types. Try globe lights over dining, fairy lights in trees, and rope lights along railings. Layering adds depth.
- Use a dimmer. Adjust brightness for mood. Bright for parties, soft for romance.
- Go solar. No wires, no outlets. Just hang and let the sun charge them.
Common Mistakes (And How to Fix Them)
- Hanging lights too low. Fix: Raise to 7+ feet. Use a ladder and measuring tape.
- Ignoring sag. Fix: Add more hooks or use heavier-duty strings.
- Overloading circuits. Fix: Use a power strip with a built-in breaker. Or run multiple strings to different outlets.
- Using indoor lights outside. Fix: Buy outdoor-rated lights with a weatherproof rating (IP44 or higher).
- Forgetting the power source. Fix: Plan your layout so the plug reaches an outlet. Use a GFCI outlet for safety.
Personal insight: I once hung lights over a fire pit. Big mistake. The heat melted the wires. Now, I keep lights at least 5 feet from flames.
FAQs About How to String Outside Patio Lights Height Guide 2026
How high should patio lights be above a dining table?
Aim for 7–7.5 feet. This keeps lights above eye level but close enough to feel cozy. I have a 7-foot table setup—perfect for reaching for the chips without bumping my head.
Can I hang patio lights from trees?
Yes, but use tree-friendly straps or bungee cords. Never nail or screw into the bark. And avoid wrapping—it can girdle the tree.
What’s the safest way to connect multiple light strings?
Check the packaging for the max number of connectable strings. Usually, it’s 3–5. Use a GFCI outlet and keep connections off the ground. I use a plastic storage box to protect plugs.
How do I prevent lights from sagging?
Add more anchor points (every 2–3 feet). Or use heavier-duty lights with thicker wires. For long runs, consider light poles or support cables.
Are solar patio lights worth it?
Absolutely—especially if you hate running extension cords. Modern solar lights are bright, durable, and last 8–12 hours. I use them in my garden and love them.
Can I leave patio lights up year-round?
It depends. If you live in a mild climate, yes. But in areas with snow, ice, or high winds, take them down in winter. Or use all-weather lights designed for year-round use.
What if I have no anchor points?
No problem! Use light poles (like shepherd’s hooks), freestanding posts, or stakes in the ground. I once used repurposed metal pipes—worked great and looked industrial-cool.
Final Thoughts
Stringing outside patio lights isn’t just a chore—it’s a chance to create magic in your backyard. With the right height, you get safety, style, and that perfect glow for every occasion.
Remember: 7 feet is your baseline, but adjust for your space. Use quality lights, secure them properly, and maintain them seasonally. And most importantly—have fun with it.
This How to String Outside Patio Lights Height Guide 2026 is your go-to resource. Whether you’re lighting a tiny balcony or a sprawling patio, these steps work. No fluff, no hype—just real, practical advice.
So grab your measuring tape, pick your favorite lights, and start stringing. Your perfect outdoor oasis is just a few hooks away.
And when your friends ask, “How’d you do that?”—just smile and say, “It’s all in the height.”
“`

