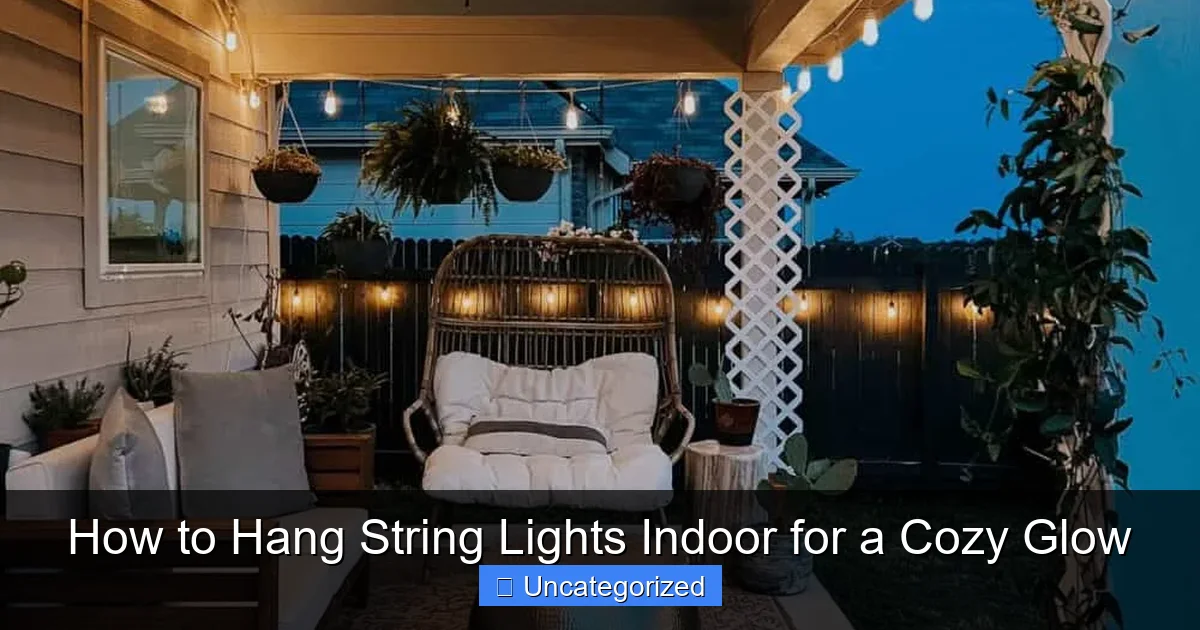
Featured image for how to hang string lights indoor
Image source: loveandrenovations.com
Transform any indoor space into a warm, inviting retreat by strategically hanging string lights using adhesive hooks, tension rods, or discreet nails to highlight architectural features or create a canopy effect. Prioritize safety and style by measuring your space, choosing battery-powered or low-heat LED lights, and layering placements—along shelves, headboards, or windows—for maximum cozy ambiance.
Key Takeaways
- Plan your layout: Sketch the design before hanging to ensure even spacing and coverage.
- Use adhesive hooks: Secure lights with damage-free hooks for easy, tool-free installation.
- Measure twice, hang once: Confirm light strand length matches your space to avoid gaps.
- Highlight focal points: Drape lights around mirrors, headboards, or windows for maximum coziness.
- Layer with care: Combine string lights with other lighting for balanced, inviting ambiance.
- Test before fixing: Plug in lights during setup to check brightness and connections.
📑 Table of Contents
- How to Hang String Lights Indoor for a Cozy Glow
- 1. Choosing the Right String Lights for Your Space
- 2. Planning Your Layout for Maximum Impact
- 3. Tools and Materials for Damage-Free Installation
- 4. Step-by-Step Installation Techniques
- 5. Safety, Maintenance, and Smart Lighting Upgrades
- 6. Creative Design Ideas and Inspirations
How to Hang String Lights Indoor for a Cozy Glow
Imagine stepping into a space that feels like a warm embrace, where soft, twinkling lights dance along the ceiling, walls, or furniture, transforming an ordinary room into a sanctuary of comfort and style. Indoor string lights have become a staple in home decor, offering a simple yet powerful way to elevate your ambiance. Whether you’re aiming for a romantic dinner setting, a relaxing bedroom retreat, or a festive holiday vibe, the gentle glow of string lights adds a magical touch to any environment. Their versatility makes them perfect for apartments, dorm rooms, living rooms, and even home offices.
But how do you hang string lights indoor without damaging your walls or creating a tangled mess? The answer lies in thoughtful planning, the right tools, and a bit of creativity. From choosing the perfect lighting style to executing a seamless installation, this guide walks you through every step to achieve that coveted cozy glow. Whether you’re a DIY novice or a seasoned decorator, you’ll discover practical solutions, safety tips, and design inspiration to help you create a luminous, inviting space that reflects your personality. Let’s dive into the art of hanging string lights indoors and unlock the secrets to a beautifully illuminated home.
1. Choosing the Right String Lights for Your Space
Before you start hanging, it’s essential to select the right type of string lights for your indoor environment. With so many options available—from classic incandescent to modern LED, battery-powered to plug-in—making the right choice ensures both aesthetic appeal and functionality. Consider your room’s purpose, decor style, and lighting needs to find the perfect match.
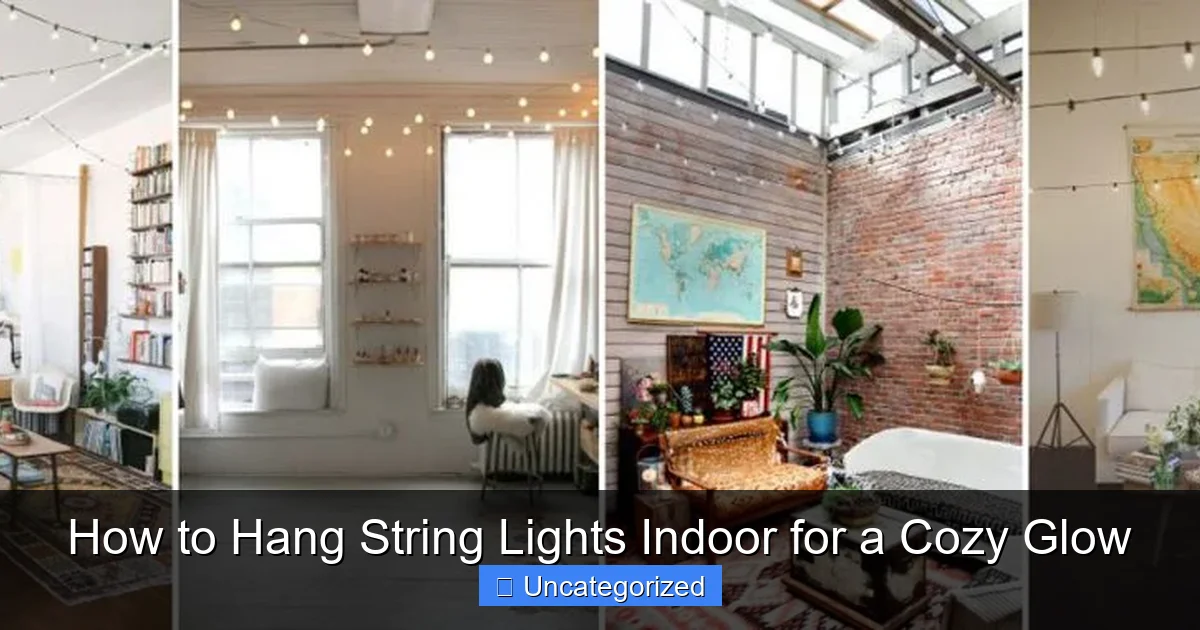
Visual guide about how to hang string lights indoor
Image source: christmasdesigners.com
Types of String Lights
- LED String Lights: Energy-efficient, cool to the touch, and long-lasting, LED lights are ideal for indoor use. They come in various colors, including warm white (2700K–3000K) for a cozy feel and cool white (4000K–5000K) for a modern look. Some models offer color-changing or twinkling effects.
- Incandescent String Lights: These emit a warm, nostalgic glow but consume more energy and generate heat. Best suited for occasional use or short-term decor, such as holiday displays.
- Battery-Powered Lights: Perfect for areas without nearby outlets. Look for models with timers or remote controls for convenience. Ideal for bedrooms, closets, or temporary setups.
- Plug-in String Lights: Offer continuous power and brighter illumination. Great for living rooms, kitchens, or spaces with accessible outlets. Consider extension cords or power strips if outlets are limited.
Bulb Styles and Spacing
The bulb design and spacing significantly impact the overall effect. Globe lights with evenly spaced bulbs create a balanced, elegant look—perfect for dining areas or above a bed. Fairy lights with tiny, closely spaced bulbs offer a delicate, starry-night effect, ideal for draping over headboards or wrapping around mirrors. Edison-style bulbs with exposed filaments add industrial charm, while twinkling or color-changing bulbs bring a playful, dynamic vibe.
Length and Power Source
Measure the area you plan to decorate before purchasing. For example, a 20-foot string may be perfect for outlining a headboard, but too short for wrapping around a room’s perimeter. Always add 10–15% extra length to account for overlaps or curves. If using plug-in lights, map out outlet locations to avoid extension cord tangles. For large rooms, consider connecting multiple strands (check the manufacturer’s maximum connection limit).
2. Planning Your Layout for Maximum Impact
Great lighting starts with great planning. A well-thought-out layout ensures your string lights enhance the room’s architecture, highlight focal points, and create a harmonious glow. Rushing into installation without a plan can lead to uneven coverage, awkward spacing, or even safety hazards.
Identify Focal Points
Ask yourself: What do you want to draw attention to? Common focal points include:
- The bed in a bedroom (draped over the headboard or along the ceiling)
- The dining table (hung above for intimate dinners)
- A reading nook (wrapped around a bookshelf or hung in a canopy)
- An accent wall (outlined to define the space)
For open-concept rooms, use string lights to visually separate areas, such as hanging them between the living and dining zones.
Choose Your Hanging Style
Different styles create different moods:
- Canopy or Ceiling Drape: Create a romantic, dreamy effect by draping lights from the ceiling in gentle waves. Ideal for bedrooms or nurseries.
- Wall Outline: Trace the edges of a wall to add depth and definition. Use this technique in small rooms to make them feel larger.
- Grid or Diamond Pattern: For a modern, geometric look, attach lights in a grid using hooks or clips. Great for above a workspace or in a hallway.
- Wrap or Spiral: Wrap lights around bedposts, stair railings, or columns for a whimsical touch.
- Floating Shelves or Mirrors: Drape lights along the edge of a mirror or shelf to amplify natural light and create a gallery effect.
Sketch your layout on paper or use a digital design tool to visualize the result before installation.
Consider Light Direction and Shadows
Directional lighting can cast beautiful shadows or highlight textures. For example, placing lights behind a sheer curtain creates a soft, diffused glow. Hanging lights slightly below eye level (e.g., on a headboard) reduces glare and enhances intimacy. Avoid placing lights directly above seating areas unless using dimmable bulbs.
3. Tools and Materials for Damage-Free Installation
One of the biggest concerns when hanging string lights indoors is avoiding wall damage—especially in rentals or delicate surfaces. The good news? You can achieve a secure, professional-looking installation without nails, screws, or permanent adhesives. Here’s a breakdown of the best tools and materials for different scenarios.
Damage-Free Hanging Solutions
- Adhesive Hooks and Clips: Brands like 3M Command™ offer removable hooks in various sizes. Use mini adhesive clips for lightweight fairy lights or larger hooks for heavier globe lights. Always clean the surface with rubbing alcohol before applying.
- Picture Rail Hooks: If your room has a picture rail (common in older homes), use S-hooks or rail clips to hang lights without drilling.
- Ceiling Hooks with Tension Rods: For ceiling drapes, use tension rods between walls and attach hooks at intervals. This creates a “floating” effect with zero damage.
- Washi Tape or Painter’s Tape: For temporary setups (e.g., holiday decor), use tape to secure light strands along edges. Leaves no residue and is easy to remove.
- Command™ Wire Clips: These small, transparent clips grip light wires securely and blend into the background. Ideal for outlining windows or baseboards.
Tools for Precision and Safety
- Measuring Tape: Measure distances between hooks to ensure even spacing.
- Level: Use a small level (or a level app on your phone) to keep lines straight.
- Ladder or Step Stool: For ceiling or high wall installations. Always have someone spot you if working at height.
- Extension Cord or Power Strip: If outlets are far from your layout, use a heavy-duty indoor extension cord. Avoid daisy-chaining more than three strands.
- Wire Ties or Zip Ties: Neatly bundle excess cord behind furniture or along baseboards to prevent tripping hazards.
Surface-Specific Tips
- Plaster or Drywall: Use adhesive hooks rated for at least 5 lbs. Avoid overloading.
- Wood or Trim: Adhesive hooks work well, but for a more secure hold, consider small finish nails (if allowed). Cover with wood filler later.
- Tile or Glass: Use suction cup hooks or adhesive clips designed for smooth surfaces.
- Concrete or Brick: If permitted, use removable adhesive strips rated for masonry. Avoid drilling in rentals.
4. Step-by-Step Installation Techniques
Now that you’ve planned your layout and gathered your tools, it’s time to install your string lights. Follow these step-by-step techniques to ensure a smooth, professional result.
Method 1: Ceiling Canopy (Bedroom or Dining Area)
- Measure and Mark: Use a measuring tape to mark points on the ceiling where hooks will go. For a 4’x6’ canopy, space hooks 12–18 inches apart in a grid.
- Install Hooks: Press adhesive hooks firmly into place. Wait 1 hour for maximum adhesion.
- Attach Lights: Starting at one corner, drape the light strand over each hook in a gentle wave. Avoid pulling too tight—allow slight sagging for a soft look.
- Secure Excess Cord: Use wire ties to bundle extra cord behind a curtain rod or along a baseboard.
- Test and Adjust: Turn on the lights. Adjust hook positions if the drape looks uneven.
Tip: For a “starry night” effect, use a mix of LED fairy lights and a few larger bulbs.
Method 2: Wall Outline (Accent Wall or Headboard)
- Plan the Path: Use a pencil to lightly outline the wall’s perimeter or headboard shape.
- Apply Adhesive Clips: Place clips every 6–8 inches along the outline. For curves, use smaller intervals.
- Thread the Lights: Slide the light strand through each clip, following the outline. For headboards, start at the top and work down.
- Hide the Cord: Tuck the power cord behind the headboard or under a rug.
- Dim for Ambiance: Use a dimmer switch or smart plug to control brightness.
Method 3: Floating Shelf or Mirror Edge
- Clean the Surface: Wipe the shelf or mirror edge with alcohol to ensure adhesion.
- Attach Clips: Use mini adhesive clips along the front or top edge.
- Drape Lights: Hang the strand so bulbs face outward (for shelves) or downward (for mirrors).
- Create Depth: For mirrors, place lights behind the frame to cast a soft glow on the wall.
Method 4: Wrap or Spiral (Bedposts or Columns)
- Start at the Top: Secure the end of the light strand with a small clip or tape.
- Wrap Evenly: Spiral the lights downward, keeping tension consistent. Use wire ties every 12 inches to prevent sagging.
- Finish Neatly: Tuck the end behind the lights or secure it with a clip.
5. Safety, Maintenance, and Smart Lighting Upgrades
While string lights enhance ambiance, safety and upkeep are crucial for long-term enjoyment. Follow these guidelines to keep your setup safe, functional, and energy-efficient.
Safety First
- Check for Certifications: Only use lights with UL, ETL, or CSA safety certifications.
- Avoid Overloading Circuits: Never plug more than 3–5 strands into one outlet. Use a power strip with surge protection.
- Keep Away from Flammable Materials: Don’t drape lights over bedding, curtains, or paper decorations. Use LED lights (cool to the touch) for added safety.
- Inspect for Damage: Before installation, check for frayed wires, loose bulbs, or cracked sockets. Discard damaged strands.
- Unplug When Not in Use: For battery-powered lights, remove batteries if storing for long periods.
Maintenance Tips
- Dust Regularly: Wipe bulbs with a dry microfiber cloth to maintain brightness.
- Store Properly: After removal, coil lights around a cardboard tube or spool to prevent tangles.
- Replace Burned-Out Bulbs: For plug-in strands, replace bulbs with the same wattage and type. For LED strands, contact the manufacturer—many are non-replaceable but last 50,000+ hours.
- Check Adhesive Hooks: Reapply or replace hooks every 6–12 months, especially in humid areas (e.g., bathrooms).
Smart Lighting Upgrades
Take your setup to the next level with smart technology:
- Smart Plugs: Plug your string lights into a smart outlet (e.g., TP-Link Kasa) to control them via app or voice (Alexa, Google Assistant).
- Smart LED Strips: Brands like Philips Hue offer color-changing, app-controlled lights that sync to music or routines.
- Motion Sensors: Use motion-activated lights in hallways or closets for convenience.
- Timers: Automate lights to turn on at sunset or off after 2 hours for energy savings.
Pro Tip: Pair smart lights with a dimmer for mood control—dim to 30% brightness for relaxation, 70% for reading.
6. Creative Design Ideas and Inspirations
String lights aren’t just for holidays—they’re year-round decor tools. Here are innovative ways to use them in every room.
Bedroom: Dreamy Canopy or Headboard Glow
Create a “floating bed” effect by draping lights from the ceiling in a canopy. For a minimalist look, outline the headboard with warm white fairy lights. Add a smart plug to turn them on at bedtime via voice command.
Living Room: Cozy Reading Nook
Wrap lights around a floor lamp, bookshelf, or ceiling beam near your favorite chair. Use a dimmer switch to adjust brightness for reading or movie nights.
Kitchen: Under-Cabinet Ambiance
Install battery-powered LED strips under cabinets for a warm, functional glow. Choose warm white (3000K) to enhance food presentation and countertop visibility.
Bathroom: Spa-Like Serenity
Hang lights around a mirror or along the ceiling for a relaxing soak. Use waterproof LED strips near the tub (check IP rating).
Home Office: Focus and Creativity
Outline a whiteboard or pinboard with string lights to highlight ideas. Use color-changing lights to shift from blue (focus) to green (creativity) during the day.
Seasonal and Themed Ideas
- Spring: Drape pastel fairy lights over a floral centerpiece.
- Summer: Create a “campfire” effect with orange-tinted lights in a den.
- Fall: Wrap amber lights around a bookshelf for a harvest glow.
- Winter: Hang icicle lights along a window for a frosty effect.
| Room | Best Light Type | Ideal Bulb Color | Recommended Hanging Style | Safety Tip |
|---|---|---|---|---|
| Bedroom | LED Fairy Lights | Warm White (2700K) | Canopy or Headboard Outline | Use dimmable lights; avoid overheating |
| Living Room | Plug-in Globe Lights | Warm White or Color-Changing | Wall Outline or Ceiling Drape | Secure cords behind furniture |
| Kitchen | Under-Cabinet LED Strips | Warm White (3000K) | Under Shelves or Countertops | Keep away from water sources |
| Bathroom | Waterproof LED String Lights | Warm White or Cool White | Mirror Frame or Ceiling | Use GFCI outlets |
| Home Office | Smart LED Strips | Cool White (4000K) | Whiteboard or Bookshelf Outline | Unplug during long breaks |
Hanging string lights indoor is more than a decor project—it’s an act of creating warmth, joy, and personal sanctuary. From choosing the right lights to executing a flawless installation, every step contributes to a space that feels uniquely yours. Whether you’re crafting a romantic bedroom, a functional kitchen, or a whimsical reading nook, the glow of string lights transforms the ordinary into the extraordinary. Remember, the key to success lies in planning, safety, and a touch of creativity. So gather your tools, sketch your vision, and let your home shine with that cozy, inviting glow. With the tips and techniques in this guide, you’re not just hanging lights—you’re illuminating your life.
Frequently Asked Questions
How do I hang string lights indoor without damaging walls?
Use removable adhesive hooks, tension rods, or command strips to secure string lights without nails or screws. These methods provide strong hold while keeping your walls intact, making them ideal for rentals or delicate surfaces.
What’s the best way to hang indoor string lights for a cozy ambiance?
Create a draped or zigzag pattern along walls, ceilings, or headboards to evenly distribute the glow. Pair warm-white or Edison-style bulbs with dimmable options to enhance the cozy atmosphere.
Can I hang string lights indoor on textured or uneven surfaces?
Yes—opt for heavy-duty adhesive clips or small nails for better grip on textured walls. For stability, use multiple anchor points and avoid overstretching the light strands.
How to hang string lights indoor without visible cords?
Tuck cords behind furniture, moldings, or use cord covers to keep them out of sight. Plan your layout to follow natural pathways like shelves or ceiling beams for a seamless look.
Are there battery-powered options for hanging indoor string lights?
Yes, battery-powered string lights are perfect for areas without nearby outlets. They offer flexibility for creative placements and often come with timers for energy efficiency.
How do I secure string lights on glass or smooth surfaces?
Use clear suction cup hooks or transparent adhesive clips designed for glass. Ensure the surface is clean and dry for maximum adhesion before hanging your lights.

