
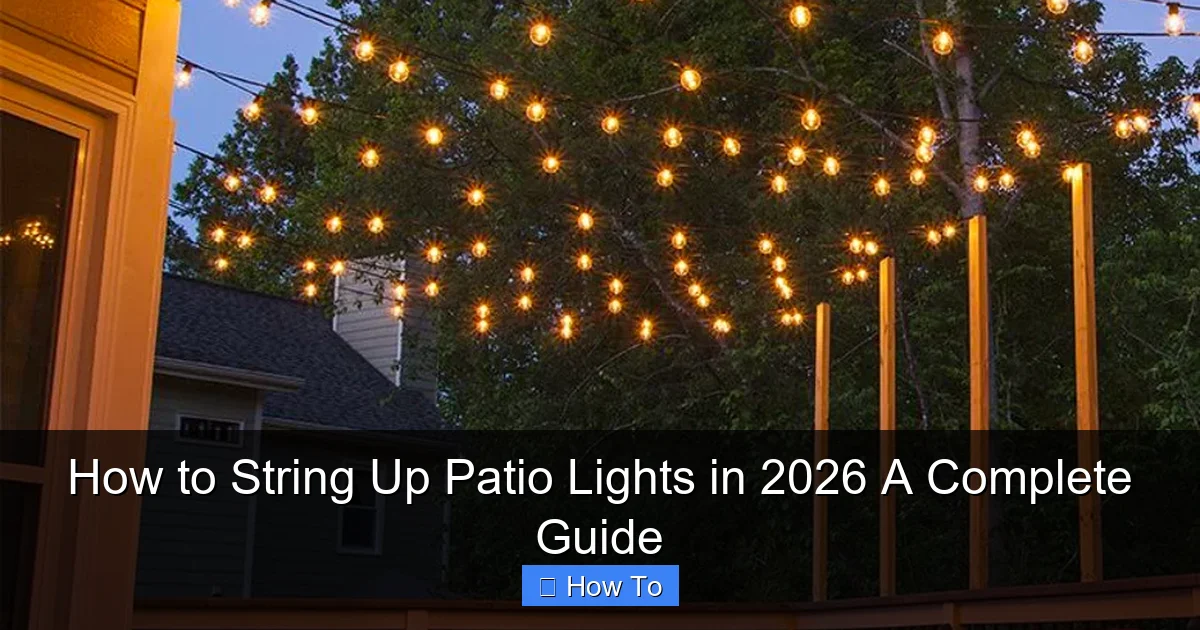
Featured image for how to string up patio lights
Image source: storables.com
Transform your outdoor space in 2026 with perfectly strung patio lights—start by planning your layout and choosing durable, weather-resistant LED string lights for long-lasting brilliance. Use sturdy anchor points like eaves, poles, or tension wires, and always follow manufacturer guidelines for safe, secure installation. With the right tools and a little creativity, you can achieve a professional, inviting glow that enhances any evening gathering.
“`html
How to String Up Patio Lights in 2026: A Complete Guide
Key Takeaways
- Plan your layout first: Sketch light placement to avoid overloading circuits or uneven spacing.
- Use weatherproof lights: Choose UL-listed or outdoor-rated bulbs for safety and durability.
- Secure with proper hardware: Use hooks, clips, or cables rated for outdoor weight loads.
- Measure twice, string once: Account for extra cord length to reach outlets safely.
- Test before hanging: Check bulbs and connections to prevent mid-installation failures.
- Anchor at 10–12 ft intervals: Prevent sagging with stable support points for long runs.
Why This Matters / Understanding the Problem
Remember that summer night when you invited friends over, the grill was sizzling, and the mood was perfect—until the sun dipped below the horizon and the party dimmed? That’s when I realized: patio lighting isn’t just about looks; it’s about keeping the magic alive after dark.
But let’s be honest—how to string up patio lights in 2026 a complete guide sounds like a chore. You’ve got tangled cords, questionable weather, and the fear of a wobbly setup that crashes during dessert. I’ve been there. My first attempt? A lopsided mess that looked like a spiderweb gone rogue.
The truth? With the right approach, stringing patio lights is easier than assembling IKEA furniture (and way more rewarding). In 2026, we’ve got better tools, smarter designs, and weather-resistant tech. This guide walks you through the process—no handyman required. Whether you’re lighting a cozy balcony or a sprawling backyard, you’ll learn how to do it safely, beautifully, and with minimal stress.
We’ll cover modern solutions like solar-powered LEDs, tension cables, and even smart bulbs you can control with your phone. The goal? To help you create ambiance, not a fire hazard.
Pro tip: Think of this as a weekend project, not a weekend-long ordeal. Most setups take 2–4 hours, depending on your space. And yes, you can do it alone—though having a friend helps with measuring and holding things.
What You Need
Before you start, gather these tools and materials. Don’t worry—most are things you already have or can borrow. Here’s your checklist:
Visual guide about how to string up patio lights
Image source: trexprotect.com
- Patio lights (LED string lights, solar-powered, or smart bulbs—your choice)
- Measuring tape (a 25-foot tape works for most patios)
- Drill with masonry or wood bits (if attaching to brick, stucco, or wood)
- Screws, anchors, or heavy-duty adhesive hooks (rated for outdoor use)
- Zip ties or plastic cable clips (for securing wires)
- Extension cords or power strips (GFCI-protected, for safety)
- Level (to keep everything straight)
- Step ladder (for reaching high spots)
- String or twine (for planning layout)
- Optional but helpful: Tension wire kit, smart timer, or dimmer switch
For the how to string up patio lights in 2026 a complete guide, I recommend LED string lights with a warm white glow (2700K–3000K). They’re energy-efficient, last 20,000+ hours, and don’t get hot—perfect for summer nights.
Solar-powered lights are great if you don’t have outlets nearby, but they need 6+ hours of sunlight to charge. Smart bulbs? Ideal if you want color-changing options or voice control (“Hey Google, dim the patio lights”).
Warning: Skip cheap plastic hooks. They crack in the sun. Use stainless steel or UV-resistant plastic rated for outdoor use.
Step-by-Step Guide to How to String Up Patio Lights in 2026 A Complete Guide
Step 1: Plan Your Layout (The Secret to a Pro Look)
Before you touch a drill, map out your design. This is where most people rush and regret.
- Sketch your patio. Note walls, posts, trees, and furniture.
- Decide on a pattern: zigzag (for open spaces), parallel lines (along railings), or canopy (overhead).
- Measure the distance between anchor points. Add 10% extra to your light strand length—just in case.
For example: If your patio is 12 feet wide and you want three parallel lines, each line needs at least 13 feet of lights (12 ft + 1 ft slack). Buy a 15-foot strand for safety.
Use twine to mock up the layout. Tie it between posts or trees. Walk around at night. Does it feel too bright? Too dim? Adjust before committing.
Personal insight: I once bought 20-foot strands for a 15-foot span—only to realize they sagged like a hammock. Measure twice, buy once.
Step 2: Choose the Right Mounting Method
Your patio’s surface determines how you’ll hang the lights. Here are the top three methods:
- Wood or vinyl railings: Use screw-in hooks or adhesive clips. No drilling? Try heavy-duty zip ties.
- Brick, stucco, or concrete: Drill pilot holes, insert plastic anchors, then screw in hooks. A masonry bit is essential.
- Trees or posts: Wrap with UV-resistant rope or use tree-friendly hooks (avoid nails).
For overhead canopies, consider a tension wire kit. It’s like a clothesline for lights—sturdy and invisible. I used one on my pergola, and it’s held up through two winters.
Pro tip: Space anchor points every 3–4 feet. Too far apart? The lights will droop. Too close? You’ll waste time and hardware.
Step 3: Install Anchor Points (Do This During Daylight)
Now it’s time to drill. But first—turn off the power if you’re near outdoor outlets. Safety first!
- Mark anchor spots with a pencil. Use a level to keep them aligned.
- Drill pilot holes (if needed). For brick, use a hammer drill on low speed.
- Insert anchors (for brick/stucco) or screw in hooks directly (for wood).
- Test each hook by pulling gently. If it wiggles, tighten or replace.
For adhesive hooks, clean the surface with rubbing alcohol. Let it dry, then press the hook firmly for 30 seconds. Wait 24 hours before hanging lights.
Warning: Don’t skip the pilot hole on stucco. I learned this the hard way—my first hook popped out, leaving a crater.
Step 4: Hang the Lights (The Fun Part)
Unpack your lights and lay them out. Check for frayed wires or dead bulbs. Plug them in—yes, test before hanging.
- Start at the power source. Leave 3–4 feet of cord slack for the plug.
- Attach the first bulb socket to the hook. Most have a loop or clip.
- Work outward, securing every 12–18 inches with zip ties or clips.
- For tension wires: Clip lights to the wire with S-hooks or carabiners.
If you’re using smart lights, pair them with your app first. I once hung 30 feet of lights before realizing my hub wasn’t connected. Oops.
For zigzag patterns, use a helper to guide the lights while you secure them. Or, drape the strand first, then go back and attach it.
Step 5: Manage Cords and Power (Avoid Trip Hazards)
Exposed cords are ugly and dangerous. Here’s how to hide them:
- Run extension cords along walls or railings. Secure with cable clips.
- Use a GFCI outlet (or adapter). It shuts off power if water gets in.
- For overhead setups, tuck cords behind beams or into conduit.
- Label cords with tags (e.g., “Pergola”) for easy troubleshooting.
I love using outdoor-rated cord covers—they’re like plastic raceways that blend into the ground. Or, bury cords under mulch (but not dirt—they need airflow).
Pro tip: Use a smart timer. Set lights to turn on at sunset and off at 10 PM. No more forgetting to flip the switch!
Step 6: Adjust for Sag and Tension (The Finishing Touch)
Sagging lights ruin the vibe. To fix it:
- For parallel lines: Tighten the end hooks slightly. Use a level to check alignment.
- For canopies: Add a center support (e.g., a hook on a pergola beam).
- For tension wires: Twist the turnbuckle to tighten. Don’t overdo it—you could snap the wire.
I use a laser level to ensure all lines are straight. It’s overkill, but worth it for that “professional” look.
Step 7: Test and Enjoy (The Best Step)
Turn on the lights. Walk around. Check for:
- Uneven brightness (replace faulty bulbs)
- Flickering (check connections)
- Exposed cords (secure them)
Invite a friend over. Their reaction? Priceless. “Did you hire someone?” Nope—just followed this how to string up patio lights in 2026 a complete guide.
Pro Tips & Common Mistakes to Avoid
After hanging lights on five patios (and one disastrous rooftop), here’s what I’ve learned:
- Buy lights with replaceable bulbs. If one burns out, you don’t have to replace the whole strand.
- Use warm white, not cool white. Cool white feels like a hospital. Warm white feels like a hug.
- Don’t overlight. 3–5 strands are enough for a 12×12 ft patio. More isn’t always better.
- Check weather ratings. Look for “IP65” or “weatherproof.” IP44 is okay for covered areas.
- Store lights properly. Coil them loosely (no knots!) and keep in a dry place. I use a cardboard tube to prevent tangles.
Common mistake: Hanging lights before checking the power source location. I once had to reroute 20 feet of cord because my outlet was on the wrong side of the patio.
Another mistake: Using indoor extension cords. They’re not rated for moisture. One rainy night, mine sparked. Not cool.
For renters: Use damage-free hooks (like Command Outdoor). They hold up to 5 lbs and leave no marks.
For windy areas: Secure lights with double zip ties or add a second anchor point. I lost a strand in a storm because I was lazy. Lesson learned.
FAQs About How to String Up Patio Lights in 2026 A Complete Guide
Q: Can I hang patio lights without drilling?
A: Absolutely! Use adhesive hooks, zip ties, or tension wires. For railings, wrap with rope. Just ensure your lights are lightweight (LEDs, not incandescent).
Q: How do I prevent lights from sagging?
A: Space anchor points closer (every 2–3 ft) or add a center support. Tension wires help, too. For long spans, use a “catenary” design—let it dip slightly, then tighten the ends.
Q: Are solar-powered lights worth it?
A: Yes—if you get 6+ hours of sun. They’re great for shaded areas or rentals. But they’re dimmer than plug-in lights. I use them for accent lighting (e.g., along a path).
Q: How do I connect multiple light strands?
A: Most LED strands have end connectors. Plug them in series, but don’t exceed the max wattage (check the manual). For long runs, use a power strip at the midpoint to avoid voltage drop.
Q: Can I leave patio lights up all year?
A: Only if they’re rated for outdoor use and your climate isn’t extreme. In snowy areas, take them down in winter. In mild climates, leave them up—but check for wear every season.
Q: How do I clean patio lights?
A: Wipe with a damp cloth. For stubborn grime, use mild soap. Never use abrasive cleaners—they scratch the plastic. And unplug first!
Q: What’s the best way to store lights?
A: Coil them around a cardboard tube or use a light reel. Store in a cool, dry place. I keep mine in a sealed plastic bin with silica gel packs to prevent moisture.
Final Thoughts
Stringing patio lights isn’t rocket science. But it does require planning, patience, and a little creativity. This how to string up patio lights in 2026 a complete guide is your roadmap—no guesswork, no frustration.
Remember: Start small. A single strand over your dining table can transform the space. Then, expand as you gain confidence. And don’t stress over perfection. Some of the best outdoor setups have a “lived-in” charm.
When you’re done, pour yourself a drink, turn on the lights, and enjoy the glow. You’ve earned it. And next time your friends ask, “Who did your lighting?” You can smile and say, “I did.”
Now go make some magic—one bulb at a time.
“`

