Featured image for how to hang string lights indoors without nails
Image source: media.angi.com
Hang string lights indoors without nails using damage-free solutions like adhesive hooks, tension rods, or removable mounting strips—perfect for renters and delicate walls. These easy, tool-free methods let you create a cozy, illuminated atmosphere in minutes, with no drilling or permanent marks required.
Key Takeaways
- Use adhesive hooks: Secure lights firmly without damaging walls.
- Try tension rods: Hang lights between walls or ceilings effortlessly.
- Opt for removable strips: Ideal for renters and temporary setups.
- Utilize furniture: Drape lights over shelves, headboards, or mirrors.
- Choose weighted bases: Stabilize lights without drilling or nailing.
- Plan layout first: Measure and map light placement for best results.
📑 Table of Contents
Why Hang String Lights Indoors Without Nails?
String lights are a magical addition to any indoor space, instantly transforming a room with their warm, twinkling glow. Whether you’re decorating for a special occasion, creating a cozy ambiance in your bedroom, or simply elevating your living room’s aesthetic, these lights are versatile and affordable. However, many people hesitate to install them due to the perceived need for nails or screws, which can damage walls, ceilings, or rental properties. The good news? You don’t need to leave permanent marks to enjoy the charm of string lights indoors.
Hanging string lights without nails is not only possible but also easier than you might think. With a variety of damage-free solutions available, you can create a stunning display that’s both functional and removable. From adhesive hooks to tension rods, the options cater to every surface type and decor style. This guide will walk you through how to hang string lights indoors without nails using practical, budget-friendly methods. Whether you’re a renter, a homeowner, or someone who loves to frequently redecorate, these techniques ensure you can enjoy your lights without the stress of holes or repairs.
Choosing the Right String Lights for Nail-Free Installation
Before diving into installation methods, it’s crucial to select the right type of string lights. Not all lights are created equal, and some are better suited for nail-free hanging than others. Here are the key factors to consider:
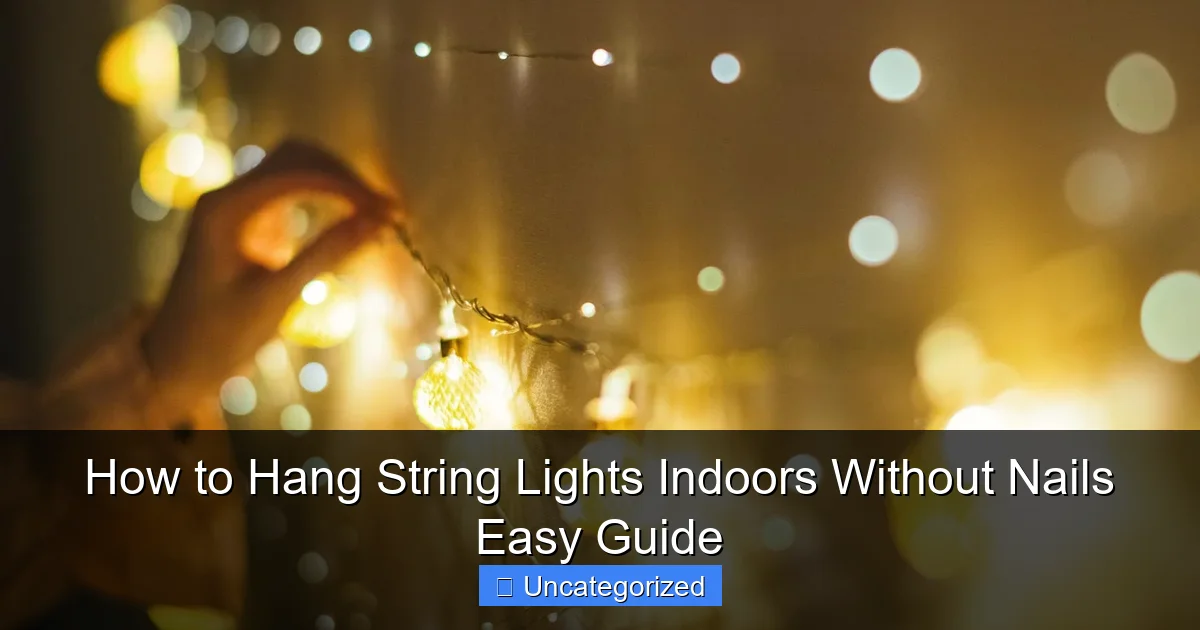
Visual guide about how to hang string lights indoors without nails
Image source: media.angi.com
Light Weight and Flexibility
Opt for LED string lights or fairy lights with thin, lightweight wires. These are easier to hang using adhesive solutions and won’t strain temporary mounting hardware. For example, a 10-foot strand of battery-powered LED fairy lights weighs significantly less than a heavy-duty outdoor string light with thick rubber coating.
Tip: Check the product description for weight and flexibility. Look for terms like “ultra-thin,” “bendable,” or “lightweight” to ensure compatibility with adhesive hooks or clips.
Power Source Considerations
- Battery-powered: Ideal for temporary setups. No cords to manage, and they work anywhere. Use rechargeable batteries to save money long-term.
- Plug-in with extension cords: Great for permanent displays. Choose lights with long cords (15+ feet) to reach outlets easily. Use cord clips to keep wires tidy.
- USB-powered: Perfect for desks or nightstands. Plug into a power bank or laptop for portability.
Example: In a dorm room, battery-powered lights hung with adhesive hooks are a renter-friendly choice. For a home office, a USB-powered strand clipped to a bookshelf creates a cozy workspace.
Bulb Spacing and Length
Longer strands (20+ feet) offer more flexibility for wrapping around furniture or draping across walls. Shorter strands (5-10 feet) are better for focused areas like headboards or window frames. Bulbs spaced 4-6 inches apart provide even coverage without overcrowding.
Top 5 Nail-Free Methods to Hang String Lights
Now that you’ve chosen the right lights, let’s explore the most effective nail-free hanging techniques. Each method works on different surfaces and offers unique benefits.
1. Adhesive Hooks and Strips
Adhesive hooks (like 3M Command™) are the gold standard for damage-free hanging. They come in various sizes and weight capacities (up to 7.5 lbs for heavy-duty strips). Best for: smooth walls, tiles, glass, and wood.
- How to use: Clean the surface with alcohol, press the hook firmly for 30 seconds, wait 1 hour before hanging lights.
- Pro tip: Use multiple small hooks spaced 12-18 inches apart for even support. For extra security, pair with adhesive clips (see below).
- Example: Create a “starry sky” effect in a bedroom by arranging hooks in a grid pattern on the ceiling.
2. Tension Rods and Curtain Rods
Tension rods require no installation—just twist to fit between walls or door frames. Best for: windows, doorways, and open spaces.
- How to use: Extend the rod to fit snugly, then drape lights over it. For a layered look, use multiple rods at different heights.
- Pro tip: Choose rods with rubber ends to prevent slipping. Pair with sheer curtains for a romantic vibe.
- Example: In a studio apartment, hang a tension rod across a windowless wall to create a faux window with lights.
3. Adhesive Clips and Cable Management Ties
Small adhesive clips (e.g., Jokari™ or Quoizel™) are perfect for guiding lights along edges. Best for: baseboards, crown molding, and furniture.
- How to use: Stick clips every 6-12 inches. Thread lights through the clips to create clean lines.
- Pro tip: Use clear clips for minimal visibility. Combine with zip ties to secure cords behind furniture.
- Example: Frame a gallery wall by clipping lights along the top edge of each picture.
4. Furniture and Fixtures as Anchors
Use existing furniture to support lights. Best for: headboards, shelves, and ceiling fans.
- How to use: Drape lights over a headboard or wrap them around a bookshelf. For ceiling fans, use adhesive clips on the fan blades (only when off).
- Pro tip: For headboards, weave lights through slats or use removable hooks on the sides.
- Example: In a kid’s room, wrap lights around a bunk bed ladder for a playful effect.
5. Magnetic Hooks and Strips
Ideal for metal surfaces like refrigerators, file cabinets, or steel beams. Best for: kitchens, offices, and industrial-style spaces.
- How to use: Stick magnetic hooks to metal surfaces. For non-metal areas, attach a metal plate with adhesive first.
- Pro tip: Use neodymium magnets (rare earth) for heavy lights. Test strength before hanging.
- Example: In a kitchen, hang lights along the edge of a stainless steel backsplash.
Creative Layouts and Design Ideas
Hanging string lights isn’t just about function—it’s about creating a mood. Here are innovative ways to arrange your lights for maximum impact:
Ceiling and Wall Patterns
- Geometric shapes: Use adhesive hooks to create triangles, hexagons, or waves. Great for accent walls.
- Canopy effect: Hang lights in a crisscross pattern from wall to wall. Works best in bedrooms or dining areas.
- Floating clouds: Attach lights to sheer fabric (e.g., tulle) and hang with adhesive hooks for a whimsical look.
Tip: Sketch your design on paper first. Use painter’s tape to test placements before committing to hooks.
Furniture Integration
- Headboard halo: Wrap lights around the top edge of a headboard for a dreamy bedroom glow.
- Shelf underlighting: Clip lights under shelves to highlight decor items.
- Staircase railing: Wind lights around railings for a festive touch (use clips every 18 inches).
Room-Specific Ideas
- Living room: Drape lights behind a TV stand to reduce glare and add ambiance.
- Kitchen: Hang lights along the top of cabinets for task lighting.
- Bathroom: Use battery-powered lights around a mirror for a spa-like feel.
Step-by-Step Installation Guide
Follow this detailed process to hang your lights safely and effectively:
Step 1: Plan Your Layout
- Measure the area where you want lights.
- Sketch the design (e.g., “U” shape above a bed).
- Calculate the number of hooks/clips needed (e.g., 1 hook every 12 inches for a 10-foot strand = 10 hooks).
Step 2: Gather Supplies
- String lights
- Adhesive hooks/clips (choose size based on light weight)
- Alcohol wipes or damp cloth (for cleaning surfaces)
- Measuring tape
- Painter’s tape (optional, for testing)
Step 3: Prepare Surfaces
- Clean the installation area with alcohol to remove dust and grease.
- Dry thoroughly.
- For textured walls, use heavy-duty adhesive strips (rated for rough surfaces).
Step 4: Install Hooks/Clips
- Press each hook firmly for 30 seconds.
- Wait 1 hour before hanging lights (allows adhesive to bond).
- For tension rods, extend and twist until snug.
Step 5: Hang and Adjust
- Start at the power source and work outward.
- Hang lights loosely—avoid pulling wires taut.
- Use cord clips to manage excess cord.
- Turn on lights to check for dark spots; adjust as needed.
Step 6: Maintenance and Removal
- Maintenance: Wipe hooks monthly to prevent dust buildup.
- Removal: For adhesive hooks, pull the tab straight down (don’t twist). For clips, peel slowly.
Data Table: Recommended Products for Nail-Free Hanging
| Product Type | Best For | Weight Capacity | Removal Method | Example Use Case |
|---|---|---|---|---|
| 3M Command™ Hooks | Walls, glass, tiles | 0.5–7.5 lbs | Pull tab straight down | Hanging 20-ft fairy lights |
| Quoizel™ Adhesive Clips | Baseboards, shelves | 0.2–1 lb | Peel slowly | Guiding lights under a desk |
| Room Essentials Tension Rod | Windows, doorways | 2–5 lbs | Twist to release | Creating a light canopy |
| Jokari™ Magnetic Hooks | Metal surfaces | 1–3 lbs | Lift off | Hanging lights on a fridge |
| Zip Ties (clear) | Furniture, cords | 0.1–0.5 lbs | Cut with scissors | Securing cords behind a TV |
Conclusion
Hanging string lights indoors without nails is a simple, rewarding project that adds warmth and character to any space. By choosing lightweight lights, using damage-free hardware like adhesive hooks and tension rods, and following our step-by-step guide, you can create stunning displays without worrying about wall damage or rental restrictions. Whether you’re crafting a cozy reading nook, framing a gallery wall, or turning your bedroom into a starry retreat, these methods offer endless creative possibilities.
Remember, the key to success lies in planning and preparation. Test your layout, clean surfaces thoroughly, and use the right products for your needs. With a little patience and creativity, you’ll achieve a professional-looking installation that’s easy to remove when the mood strikes. So gather your lights, pick your favorite method, and let your space shine—no nails required!
Frequently Asked Questions
How can I hang string lights indoors without nails?
Use adhesive hooks, removable mounting strips, or tension rods to hang string lights without nails. These methods are damage-free and work on most surfaces like walls, ceilings, and windows.
What are the best adhesive options for hanging string lights without nails?
Heavy-duty adhesive hooks or 3M Command Strips are ideal for hanging string lights without nails. Ensure the weight of your lights matches the product’s weight limit for a secure hold.
Can I use tape to hang string lights indoors?
Yes, but opt for double-sided mounting tape or clear gaffer tape to avoid residue. Avoid regular tape, as it may damage surfaces or lose stickiness over time.
How do I hang string lights on a ceiling without nails?
Use removable ceiling hooks, adhesive clips, or a curtain tension rod to suspend lights. For a seamless look, run lights along crown molding or baseboards with adhesive strips.
Are there creative ways to hang string lights indoors without nails?
Try draping lights around furniture, plants, or shelves, or use binder clips to attach them to fabric or paper. This adds ambiance without any hardware or tools.
Will hanging string lights without nails damage my walls?
No, if you use damage-free methods like adhesive hooks or tension rods. Always follow product instructions and avoid overloading lightweight solutions to prevent falls.

