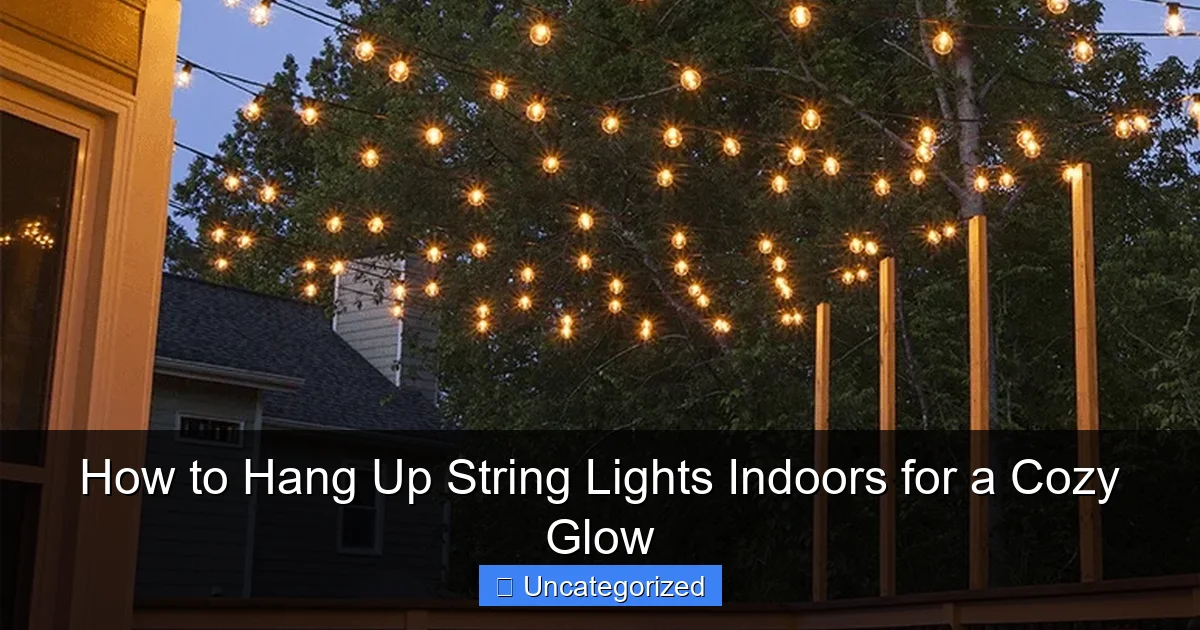
Featured image for how to hang up string lights indoors
Image source: kanglight.com
Transform any indoor space into a warm, inviting retreat by strategically hanging string lights along walls, ceilings, or furniture using removable hooks, adhesive clips, or tension rods—no nails required. Prioritize safety and style by choosing LED bulbs, measuring your layout first, and avoiding overloaded outlets for a flawless, cozy glow.
Key Takeaways
- Plan your layout first: Sketch light placement to avoid over- or under-lighting key areas.
- Use removable hooks: Protect walls and ceilings with damage-free adhesive or tension-mounted hardware.
- Measure light strand length: Ensure cords reach outlets without stretching or creating tripping hazards.
- Layer lights strategically: Combine overhead and accent lighting for depth and cozy ambiance.
- Secure loose cords: Tuck or clip wires neatly to maintain a clean, safe setup.
- Test lights before hanging: Check bulbs and connections to avoid rework after installation.
📑 Table of Contents
- How to Hang Up String Lights Indoors for a Cozy Glow
- Choosing the Right Type of String Lights for Your Space
- Preparing Your Space for Installation
- Tools and Hardware: What You’ll Need
- Step-by-Step Hanging Techniques for Different Areas
- Creative Ideas and Pro Tips for a Stunning Look
- Maintenance, Safety, and Longevity
How to Hang Up String Lights Indoors for a Cozy Glow
There’s something undeniably magical about the soft, twinkling glow of string lights. Whether it’s a quiet evening at home, a festive gathering, or a romantic date night, these delicate strands of light can instantly transform any indoor space into a warm, inviting sanctuary. The gentle shimmer of fairy lights or the steady radiance of LED bulbs creates an atmosphere that’s both comforting and enchanting. More than just a decorative touch, indoor string lights have become a staple in modern interior design, offering a simple yet powerful way to elevate the ambiance of a room without major renovations or costly fixtures.
But while the effect is effortless, achieving it requires thoughtful planning and execution. How to hang up string lights indoors isn’t as simple as just draping them across a wall or ceiling—though that can work in some cases. The key lies in understanding your space, choosing the right type of lights, and using the appropriate hanging techniques to ensure both safety and style. From bedrooms and living rooms to kitchens and home offices, string lights can enhance any environment when installed correctly. In this comprehensive guide, we’ll walk you through every step of the process—from selecting the perfect lights to creative installation ideas and practical safety tips—so you can enjoy a cozy, luminous glow all year round.
Choosing the Right Type of String Lights for Your Space
Before you even think about hanging your lights, it’s essential to choose the right type. Not all string lights are created equal, and selecting the appropriate kind for your needs can make a significant difference in both appearance and functionality. With so many options available—from classic incandescent bulbs to energy-efficient LEDs, and from battery-powered to plug-in models—it’s important to consider several factors before making a purchase.
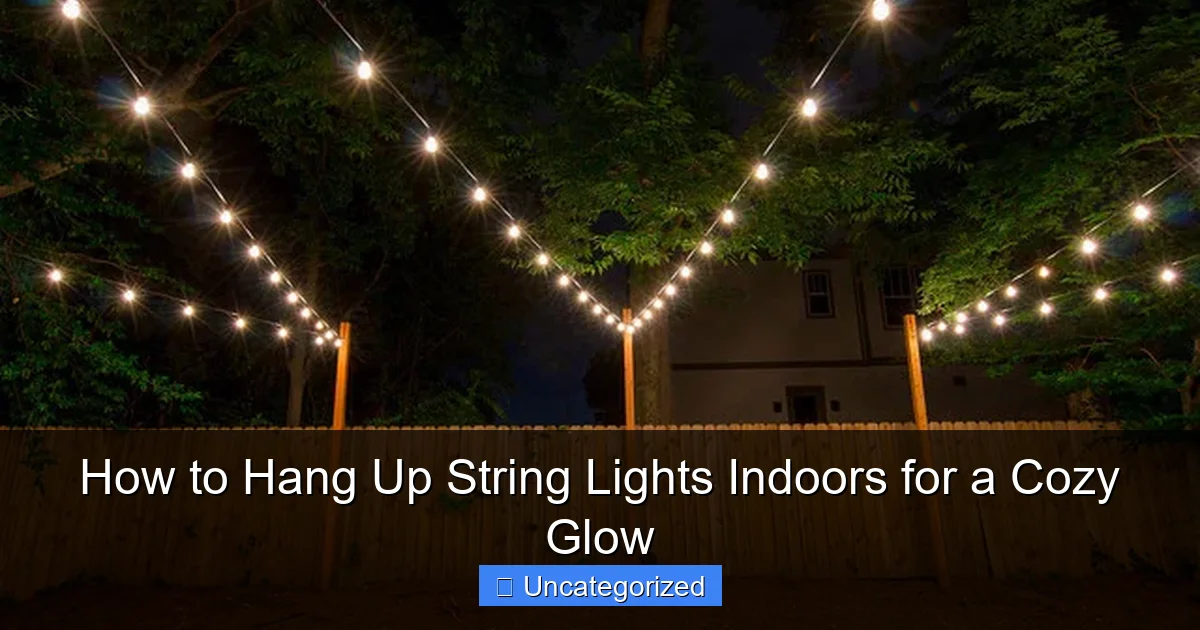
Visual guide about how to hang up string lights indoors
Image source: i.pinimg.com
Types of String Lights: LED vs. Incandescent
LED string lights are the most popular choice for indoor use due to their energy efficiency, longevity, and low heat output. Modern LEDs come in a variety of colors, brightness levels, and even smart features like app control and color-changing capabilities. They typically last up to 25,000 hours, making them a cost-effective and eco-friendly option. On the other hand, incandescent string lights offer a warmer, more traditional glow but consume more energy and generate more heat. While they’re less efficient, some people prefer their vintage charm, especially for holiday decorations or retro-themed spaces.
For indoor use, LEDs are generally recommended unless you’re aiming for a specific nostalgic aesthetic. They’re safer around children and pets, don’t overheat fabrics or furniture, and are available in warm white, cool white, multicolor, and even RGB (color-changing) versions.
Power Source: Battery-Operated vs. Plug-In
Your power source will dictate where and how you can hang your lights. Battery-operated string lights offer maximum flexibility—ideal for spaces far from outlets, such as bookshelves, behind headboards, or inside cabinets. They’re also safer in damp areas like bathrooms (as long as the battery pack is protected). However, they require periodic battery changes or recharging, which can be a hassle over time.
Plug-in string lights, on the other hand, are perfect for permanent or semi-permanent installations. They provide consistent brightness and don’t require maintenance, but you’ll need to plan your layout around available outlets. Consider using extension cords or power strips with surge protection, but always avoid overloading circuits. For a clean look, you can tuck cords behind furniture or use cord clips to keep them out of sight.
Length, Bulb Spacing, and Brightness
Measure the area you plan to decorate before buying. A common mistake is purchasing lights that are too short or too long. For example, a 10-foot strand might look sparse across a large bedroom wall, while a 30-foot strand could overwhelm a small reading nook. Most string lights come in lengths from 5 to 50 feet, with bulb spacing ranging from 2 to 6 inches.
Brightness is measured in lumens. For ambient indoor lighting, look for strands with 50–150 lumens per bulb. Too bright, and the lights may feel clinical; too dim, and they’ll be barely noticeable. Warm white LEDs (2700K–3000K color temperature) are ideal for creating a cozy, inviting atmosphere, while cool white (4000K–5000K) is better for task lighting or modern, minimalist spaces.
Preparing Your Space for Installation
Proper preparation ensures that your string lights not only look great but also stay securely in place and function safely. Rushing into hanging lights without planning can lead to frustration, damaged surfaces, or even electrical hazards. Here’s how to set the stage for a successful installation.
Measure and Plan Your Layout
Start by measuring the area where you want to hang the lights. Use a tape measure to determine the perimeter of a wall, the length of a headboard, or the span between two ceiling points. Sketch a rough diagram on paper or use a digital tool to visualize your design. Consider patterns: straight lines, zigzags, cascading waves, or even geometric shapes like hexagons or stars.
For example, if you’re hanging lights above a bed, plan to run them from the top corner of the headboard to the ceiling, then across to the opposite side. Leave a few extra feet on each end for slack and plug-in access. If you’re creating a canopy effect, calculate how many strands you’ll need to cover the desired area without gaps.
Identify Hanging Points and Surface Types
Different surfaces require different hanging methods. Common indoor surfaces include drywall, plaster, wood, brick, and concrete. Each reacts differently to adhesives, nails, and screws. For instance:
- Drywall and plaster: Use adhesive hooks, removable strips (like Command™ hooks), or small picture nails. Avoid large screws or heavy anchors, which can cause cracking.
- Wood and trim: You can use small nails, thumbtacks, or even wood screws with cup hooks. These provide strong support and are easy to remove.
- Brick or concrete walls: Use masonry anchors or drill-in hooks. These require a drill and masonry bit, so plan accordingly.
- Glass or mirrors: Use suction cups with hooks or adhesive clips designed for glass. Avoid anything that could scratch the surface.
Always test hanging methods on a small, inconspicuous area first to ensure they won’t damage the surface.
Check for Electrical Safety and Outlet Accessibility
Safety should never be an afterthought. Before installing, ensure that:
- Your string lights are rated for indoor use and have a UL or ETL safety certification.
- Outlets are easily accessible and not overloaded with other appliances.
- You’re not running cords under rugs or furniture where they could overheat.
- Extension cords are heavy-duty (at least 16-gauge) and rated for indoor use.
- You avoid daisy-chaining more than three strands unless the manufacturer explicitly allows it.
For battery-powered lights, check that the battery compartment is secure and protected from moisture. If using rechargeable batteries, consider a model with a USB charging port for convenience.
Tools and Hardware: What You’ll Need
Having the right tools and hardware on hand makes the installation process smoother, safer, and more professional-looking. While some people try to improvise, using the proper equipment ensures your lights stay up and your walls stay intact.
Essential Hanging Hardware
Here’s a list of commonly used hardware for hanging string lights indoors:
- Adhesive hooks and strips: Ideal for renters or those who want a no-damage solution. Brands like Command™ offer hooks in various sizes and weight capacities (up to 7.5 lbs). Use mini hooks for light strands and larger ones for heavier garlands or multiple strands.
- Picture hangers and nails: Small, discreet nails (like 1-inch picture nails) work well on drywall and wood. They’re easy to install and remove, leaving only tiny holes that can be filled with spackle if needed.
- Cup hooks and screw eyes: Great for permanent installations on wood trim, crown molding, or ceiling joists. Screw them in gently with a screwdriver to avoid splitting the wood.
- Push pins and thumbtacks: Best for lightweight strands and temporary setups. Use them on bulletin boards, fabric panels, or wooden furniture.
- Suction cups with hooks: Perfect for glass, mirrors, or smooth tiles. Ensure the surface is clean and dry before applying.
- Clips and clothespins: Useful for hanging lights along shelves, curtain rods, or fabric canopies. They’re decorative and functional.
Tools for Installation
Depending on your method, you may need:
- Measuring tape
- Pencil or painter’s tape (for marking)
- Screwdriver (flathead or Phillips)
- Drill and bits (for masonry or wood)
- Level (to ensure straight lines)
- Ladder or step stool (for ceiling installations)
- Wire cutters (if trimming excess cord)
- Extension cord or power strip
Pro tip: Use clear adhesive hooks for a nearly invisible look, especially on white or light-colored walls. They blend in seamlessly and are ideal for minimalist interiors.
Optional but Helpful Accessories
- Cord clips and raceways: These keep cords organized and hidden along baseboards or walls.
- Remote controls or timers: Add convenience by allowing you to turn lights on/off without touching the switch.
- Smart plugs: Integrate your lights with Alexa, Google Assistant, or Apple HomeKit for voice or app control.
- Light diffusers or fabric sleeves: Soften the glow of bright bulbs for a more ambient effect.
Step-by-Step Hanging Techniques for Different Areas
Now that you’ve chosen your lights, prepared your space, and gathered your tools, it’s time to hang them. Different rooms and surfaces call for different techniques. Below are detailed methods for some of the most popular indoor applications.
Hanging Lights on Walls and Ceilings
For a dramatic effect, hang lights in a cascading pattern from the ceiling to the wall. This works especially well in living rooms, bedrooms, or entryways. Here’s how:
- Start at the highest point (e.g., a ceiling corner or crown molding).
- Attach a hook or nail every 12–18 inches along the ceiling line.
- Drop the lights vertically down the wall, securing them with hooks or clips every 6–8 inches.
- Create gentle waves or loops instead of straight lines for visual interest.
- Use a level to keep the top line straight and symmetrical.
For a simpler wall installation, run lights horizontally above a bookshelf, along a mirror, or in a zigzag pattern across a feature wall. Use adhesive hooks every 2 feet to maintain even spacing.
Bedroom Canopy and Headboard Lighting
Create a dreamy bedroom oasis by draping lights behind or around your headboard. This is one of the most popular indoor lighting ideas.
- Behind the headboard: Attach adhesive hooks to the wall or headboard itself. Drape the lights in a gentle arc or U-shape, ensuring the plug end reaches an outlet.
- Canopy effect: Run lights from the ceiling above the bed to the top of the headboard, forming a “tent” shape. Use ceiling hooks or screw eyes in the ceiling joists for support.
- Under the bed frame: For a floating effect, attach lights under the bed frame using zip ties or adhesive clips. This works best with low-profile LED strands.
Tip: Use warm white or soft yellow lights for a relaxing, sleep-friendly ambiance.
Above Kitchen Islands and Dining Tables
String lights can add charm to your kitchen or dining area. Hang them above the island for task lighting or above the dining table for a festive dinner atmosphere.
- Install hooks or eye screws into ceiling joists or beams.
- Hang lights in parallel lines or a crisscross pattern.
- Ensure the lowest point of the lights is at least 30 inches above the counter or table to avoid head bumps.
- Use dimmable lights to adjust brightness for cooking vs. dining.
For a modern look, pair string lights with geometric pendant fixtures.
Inside Shelves, Bookcases, and Curtains
For a subtle glow, tuck lights inside bookshelves or behind curtains.
- Wrap lights around the back edge of shelves or use adhesive clips to secure them to the underside.
- For curtains, hang lights from a tension rod above the window, then drape the curtains over them. The light will filter through the fabric beautifully.
- Use battery-powered lights inside closed cabinets or closets for a whimsical touch.
Creative Ideas and Pro Tips for a Stunning Look
Now that you know the basics, let’s elevate your lighting game with creative ideas and expert tips that go beyond the ordinary.
Mix and Match Light Types
Combine different types of lights for a layered effect. For example:
- Hang warm white string lights along the ceiling, then add small fairy lights inside a glass vase on a side table.
- Use large bulb string lights above a dining table and tiny LED lights in a wall-mounted lantern.
- Pair string lights with paper lanterns or fabric shades for a boho-chic vibe.
This layering technique adds depth and visual interest to any space.
Use Light to Define Zones
In open-concept homes, string lights can help define separate areas without walls. Hang them above a reading nook, home office, or dining area to create a sense of enclosure. Use different colors or patterns in each zone for clarity—e.g., warm white for relaxation, cool white for productivity.
DIY Light Frames and Backdrops
Build a custom light frame using a wooden picture frame or embroidery hoop. Attach string lights to the frame with hot glue or zip ties, then hang it on the wall as a glowing art piece. This is perfect for nurseries, photo booths, or accent walls.
For a temporary backdrop, drape lights over a curtain rod or tension wire between two walls. Add sheer fabric or greenery for a soft, romantic look.
Seasonal and Themed Lighting
Change your lighting with the seasons or for special occasions. Use:
- Multicolor lights for holidays (red and green for Christmas, orange and black for Halloween).
- Blue and white lights for a winter wonderland effect.
- Pink and purple lights for a Valentine’s Day or birthday celebration.
Store lights in labeled bins to make seasonal changes easy.
Pro Tips for a Polished Look
- Hide the plug: Use furniture, rugs, or cord covers to conceal the plug and excess cord.
- Use dimmers: Install a dimmer switch or use a dimmable string light to control the ambiance.
- Keep it symmetrical: Measure and mark hanging points to ensure balance.
- Test before finalizing: Turn the lights on during installation to check spacing and brightness.
- Remove carefully: When taking down adhesive hooks, pull straight down slowly to avoid wall damage.
Maintenance, Safety, and Longevity
To enjoy your indoor string lights for years to come, proper maintenance and safety practices are essential.
Regular Cleaning and Inspection
Dust and dirt can dull the brightness of your lights. Wipe bulbs gently with a dry or slightly damp microfiber cloth every few months. Check for frayed wires, loose bulbs, or flickering—these are signs that the strand may need replacement.
Safe Storage
When not in use, store lights in a cool, dry place. Avoid tangling by wrapping them around a cardboard rectangle or using a cord reel. Keep batteries separate to prevent corrosion.
Electrical Safety Reminders
- Never leave lights on unattended for long periods.
- Unplug when cleaning or replacing bulbs.
- Replace damaged strands immediately.
- Use surge protectors for plug-in lights.
Maximizing Lifespan
LEDs last much longer than incandescent bulbs, but their lifespan can be reduced by frequent on/off cycling. Use timers or smart plugs to automate usage and reduce wear.
| Light Type | Average Lifespan | Energy Use | Best For |
|---|---|---|---|
| LED (Warm White) | 25,000 hours | Low (3–5 watts per 20 ft) | Bedrooms, living rooms, year-round use |
| LED (Multicolor) | 20,000–25,000 hours | Low (4–6 watts per 20 ft) | Holidays, parties, accent lighting |
| Incandescent (Mini) | 3,000–5,000 hours | High (10–20 watts per 20 ft) | Seasonal decor, vintage look |
| Battery-Powered LED | 15,000 hours (bulbs), 500+ battery cycles | Very low (2–3 watts per 20 ft) | Shelves, headboards, no-outlet areas |
With the right approach, hanging string lights indoors can be a simple, rewarding project that brings lasting joy. Whether you’re creating a cozy bedroom retreat, a festive dining area, or a whimsical reading corner, the soft glow of well-placed lights has the power to transform your home into a sanctuary of warmth and charm. Remember to plan carefully, choose quality lights, and prioritize safety. Before you know it, you’ll be basking in the gentle, enchanting light that only string lights can provide—turning ordinary moments into something truly magical.
Frequently Asked Questions
How do I hang up string lights indoors without damaging my walls?
Use removable adhesive hooks, tension rods, or command strips designed for lightweight decor to avoid nails or screws. These options provide secure hold while leaving minimal to no marks when removed.
What’s the best way to hang string lights indoors for a cozy glow?
Drape them along headboards, windows, or shelves in loose waves or zigzag patterns to create ambient lighting. For a balanced look, measure your space first and choose LED string lights with warm white bulbs.
Can I hang string lights on curtains or drapes safely?
Yes, use curtain tiebacks or small hooks to secure the lights above or alongside fabric, ensuring wires stay away from heat sources. Opt for battery-powered string lights to reduce cord clutter and fire risk.
How do I hide the cords when I hang up string lights indoors?
Tuck cords behind furniture, baseboards, or use cord covers painted to match your wall color. For a seamless look, run wires under rugs or through decorative garlands.
Are there tools I need to hang up string lights indoors securely?
Basic tools like a ladder, measuring tape, and adhesive hooks work for most setups. For heavy or outdoor-rated string lights, use wall anchors or screw-in hooks for added stability.
Can I hang string lights on wallpaper or delicate surfaces?
Yes, but use low-tack adhesive hooks or putty to prevent peeling. Test a small area first and avoid overloading the lights to protect delicate finishes.

