Featured image for hang string lights from corrugated metal patio cover
Image source: i.pinimg.com
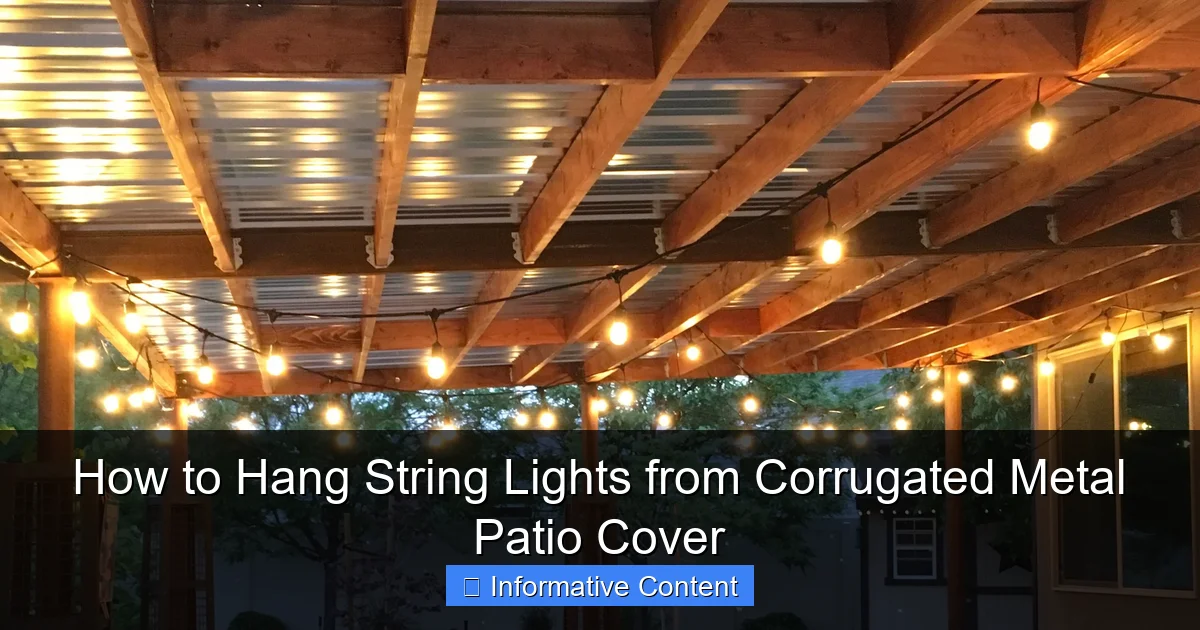
Hanging string lights from a corrugated metal patio cover is easy and secure when you use magnetic hooks or S-hooks designed for metal surfaces—no drilling required. Simply attach the hooks to the ridges of the metal panels for maximum support, then drape or clip your lights for a professional look. This method ensures a damage-free, weather-resistant setup that transforms your outdoor space in minutes.
Key Takeaways
- Use magnetic hooks: Securely attach lights without drilling into metal.
- Check weight limits: Ensure hooks support your string light load.
- Plan layout first: Map light placement for even, balanced coverage.
- Weatherproof connections: Use outdoor-rated lights and seal wire joints.
- Anchor end points: Stabilize lights with zip ties or adhesive clips.
- Inspect metal edges: Smooth sharp ridges to prevent wire damage.
📑 Table of Contents
- Why String Lights and Corrugated Metal Patio Covers Are a Perfect Match
- Understanding Your Corrugated Metal Patio Cover
- Choosing the Right String Lights
- Methods to Hang String Lights (Without Drilling or Damaging Metal)
- Step-by-Step Installation Guide
- Maintenance, Safety, and Troubleshooting
- Final Thoughts: Creating Your Perfect Outdoor Ambiance
Why String Lights and Corrugated Metal Patio Covers Are a Perfect Match
There’s something magical about string lights. They turn an ordinary backyard into a cozy, inviting retreat. I remember the first time I hung them under my corrugated metal patio cover—it was like flipping a switch on a whole new atmosphere. The soft glow bounced off the metal, casting gentle shadows and creating a warm, intimate vibe that made my patio feel like a hidden oasis. If you’ve ever stood under a starlit sky, you know that feeling. String lights bring that magic down to ground level, and when paired with a corrugated metal patio cover, they create a modern yet rustic charm that’s hard to beat.
But let’s be honest: hanging string lights from a corrugated metal patio cover isn’t as simple as tossing them up and hoping they stick. The material is tough, slippery, and sometimes a little unpredictable. I’ve had my fair share of failed attempts—lights falling, hooks slipping, and one particularly dramatic evening when a gust of wind sent half the strand into a tangled mess. After trial, error, and a few YouTube deep dives, I’ve learned what works (and what doesn’t). This guide is packed with real-life tips, practical solutions, and a few lessons I learned the hard way—all so you can skip the frustration and jump straight to that perfect glow.
Understanding Your Corrugated Metal Patio Cover
What Makes Corrugated Metal Unique?
Corrugated metal isn’t just durable—it’s a design statement. The wavy, ridged pattern isn’t just for looks. It adds strength, helps with water runoff, and creates natural channels that can actually work in your favor when hanging lights. But those same ridges? They’re also a challenge. The surface is uneven, slippery, and often coated with a protective layer (like Galvalume or painted finishes), which makes adhesion tricky. Unlike wood or stucco, you can’t just hammer in a nail or screw without risking damage to the material or leaks in your cover.

Visual guide about hang string lights from corrugated metal patio cover
Image source: i.pinimg.com
One thing I didn’t realize at first is that corrugated metal expands and contracts with temperature changes. In hot summers, the panels can shift slightly, which means any hardware you install needs to accommodate that movement. I once used rigid brackets that cracked after a few months—lesson learned: flexibility matters.
Common Materials and Finishes
Most patio covers use steel, aluminum, or Galvalume (a steel-zinc alloy). Steel is strong but prone to rust if scratched. Aluminum is lightweight and rust-resistant, but softer and easier to dent. Galvalume strikes a balance—durable, weatherproof, and long-lasting. The finish (painted, unpainted, or coated) also affects your options. For example, a smooth painted surface might allow magnetic hooks to stick better, while a textured or bare metal surface may need more mechanical attachment.
Pro tip: Always check for manufacturer guidelines. Some metal covers come with warranties that void if you drill into the panels. If you’re unsure, test your method on a small, hidden area first.
Measuring Your Space
Before you buy a single light, measure your patio cover’s length, width, and the distance from the ground. I made the mistake of assuming my 12-foot cover needed 12 feet of lights—only to realize the strands needed to drape slightly for the best effect. A good rule of thumb: add 10–15% extra length to your measurement for gentle curves and spacing. Also, note the spacing between the corrugations. Most are 2.5 to 3 inches apart, which helps determine where to place hooks or clips.
Choosing the Right String Lights
Types of String Lights: Pros and Cons
Not all string lights are created equal. Here’s a quick breakdown of the most common types:
- LED Edison Bulbs: Warm, vintage look. Energy-efficient and long-lasting (up to 25,000 hours). Slightly heavier, so they need sturdy support.
- Mini LED String Lights: Lightweight, flexible, and great for subtle glow. Often battery-powered, but may not cover large areas well.
- Globe or Round Bulbs: Modern and bright. Often solar-powered, which is great for eco-friendliness but depends on sun exposure.
- Shatterproof Plastic Bulbs: Ideal for high-traffic areas. Won’t break if they get bumped or blown.
I prefer LED Edison bulbs for my metal cover—they’re durable, give off a warm light, and don’t get hot, which is a safety plus around metal.
Length, Spacing, and Power Source
For a corrugated metal cover, aim for strands with 12–24 inches between bulbs. Too close, and they look cluttered; too far, and the glow feels sparse. I like to use 24-inch spacing for a balanced look. As for power, here’s what I’ve found:
- Plug-in: Most reliable. Use outdoor-rated extension cords and GFCI outlets. Hide cords with conduit or cable raceways.
- Solar: Great if your patio gets direct sunlight. Test them in winter—shorter days can reduce charge. I use solar for accent strands and plug-in for the main display.
- Battery: Best for short-term or small setups. Not ideal for long-term use due to frequent battery changes.
One mistake I made early on: buying lights with a 12-foot strand for a 15-foot span. I ended up with a dark gap in the middle. Now I always buy two shorter strands and connect them with a waterproof coupler (or use a splitter if the manufacturer allows).
Weather Resistance and Durability
Your lights will face rain, wind, UV rays, and temperature swings. Look for IP65 or higher waterproof ratings. Check the cord thickness—thicker is better for outdoor use. I once used indoor-rated lights “just for the summer.” By August, the insulation was cracking. Now I only buy lights labeled for permanent outdoor use. Also, avoid cheap plastic connectors—they degrade fast in the sun.
Methods to Hang String Lights (Without Drilling or Damaging Metal)
Magnetic Hooks: The Quick and Easy Option
If your metal cover is steel or Galvalume, magnetic hooks are a game-changer. They stick firmly to flat or slightly curved surfaces and can hold 5–20 lbs, depending on the magnet size. I use 1.25-inch neodymium magnets for my Edison bulbs—they’re strong enough to handle wind and the weight of the strand.
To use: Clean the metal surface with isopropyl alcohol, then press the magnet firmly into place. Space them every 2–3 feet along the corrugation peaks. For extra grip, I sometimes add a rubberized pad between the magnet and metal (you can cut a piece from an old yoga mat).
Downside: Magnets won’t work on aluminum or painted surfaces with a thick coating. Also, avoid using them in high-wind areas unless you reinforce them with zip ties.
Corrugation Clips and Spring Clamps
These are designed specifically for wavy metal. Corrugation clips hook over the ridges, gripping the panel without tools. Spring clamps (like the kind used for tarps) work similarly. I love these because they’re reusable and don’t leave marks.
How I do it: Clip them every 3–4 feet along the top ridge. For a draped look, attach the lights to the clips and let them hang 6–12 inches below the cover. Pro tip: Use UV-resistant plastic clips—cheap ones fade and crack in the sun.
Zip Ties and Cable Clamps
For a more permanent (but still non-damaging) solution, try zip ties. I use heavy-duty, UV-stabilized zip ties (rated for outdoor use) and loop them around the corrugations. Here’s how:
- Thread the zip tie through the light strand’s mounting ring or socket.
- Loop it over the peak of a corrugation.
- Secure tightly, then trim the excess with wire cutters.
For extra security, I sometimes add a second zip tie perpendicular to the first. This prevents the light from spinning in the wind. If you’re worried about metal-on-metal contact, slide a piece of silicone tubing over the zip tie before securing it.
Adhesive Hooks and Tape (Use with Caution)
3M VHB tape and outdoor-rated adhesive hooks can work, but they’re hit-or-miss on metal. I’ve had success with 3M Outdoor Mounting Tape on smooth, painted surfaces, but it failed on bare Galvalume after a few months. The key: clean the surface thoroughly, apply the tape, and press for 30 seconds. Wait 24 hours before hanging lights.
Warning: Adhesives degrade faster in direct sun. I only use this method for lightweight strands (like mini LEDs) and always have a backup plan—like zip ties—in case the tape fails.
Step-by-Step Installation Guide
Preparing Your Patio Cover
Before you start, clean the metal with a degreaser or soapy water. Remove dust, pollen, or bird droppings. Dry it completely—wet metal makes adhesion and magnetism less effective. I use a microfiber cloth to avoid scratching the finish.
Next, map out your layout. I like to use painter’s tape to mark where each hook or clip will go. This helps me visualize the spacing and avoid overloading one section.
Hanging the Lights: A Practical Example
Let’s say you have a 12-foot corrugated metal cover and want a draped “U” shape with Edison bulbs. Here’s how I’d do it:
- Measure and Plan: Divide the cover into thirds. Place your first magnetic hook 2 feet from the left edge, then space the rest every 3 feet.
- Attach Hooks/Clips: Use magnetic hooks on the peaks. For extra wind resistance, add a zip tie through the light’s socket and around the corrugation below the magnet.
- Hang the Strand: Start at one end, clipping the first light into the hook. Drape the strand in a gentle curve toward the center, then back up to the other side. Keep the sag 8–10 inches below the cover.
- Secure the Cord: Use outdoor-rated cord clips to guide the power cord along the edge of the cover. Tuck it under a gutter or along a beam to hide it.
- Test and Adjust: Plug in the lights. Step back and check for dark spots, sagging, or unevenness. Adjust hooks as needed.
I once forgot to test the lights before fully securing them—turns out, one bulb was dead, and I had to redo half the setup. Now I plug them in halfway through.
Dealing with Obstacles (Beams, Gutters, etc.)
Patio covers often have support beams, gutters, or vents. For beams, I use S-hooks to loop the lights over them. Gutters can be tricky—avoid attaching anything that could block water flow. Instead, hang lights from the front edge using gutter clips or zip ties.
If there’s a vent or skylight, work around it. I’ve used shorter strands on either side and connected them with a small gap—it looks intentional and avoids blocking airflow.
Maintenance, Safety, and Troubleshooting
Routine Checks and Cleaning
Inspect your lights every few months. Look for:
- Loose hooks or clips (tighten or replace).
- Frayed cords (replace immediately).
- Faded or cracked insulation.
- Corrosion on metal parts (wipe with vinegar if needed).
Clean bulbs with a dry microfiber cloth. For stubborn grime, use a 50/50 mix of water and vinegar. Never use abrasive cleaners—they can scratch the glass or metal.
Safety First: Avoiding Hazards
Metal conducts electricity. If a cord frays or a bulb cracks, it could create a shock risk. Always:
- Use GFCI outlets.
- Keep cords away from foot traffic.
- Unplug lights during storms or when not in use.
- Check for recalls on your light model (yes, it happens).
I learned this the hard way when a squirrel chewed through my cord. Now I run cords through PVC conduit or use rodent-resistant sleeves.
Common Problems and Quick Fixes
| Problem | Solution |
| Lights sagging or drooping | Add more support clips every 2–3 feet. Use thicker zip ties for reinforcement. |
| Magnets slipping in wind | Add zip ties as backup. Use rubberized pads for extra grip. |
| Adhesive failing | Switch to corrugation clips or magnetic hooks. Clean surface thoroughly before reapplying. |
| Uneven lighting | Adjust strand height or add a second layer of mini lights for fill. |
| Bulb flickering | Check connections, replace bulbs, or use a voltage tester. |
One time, my entire strand went dark. Turned out a single bulb had come loose in its socket. I replaced it, and boom—back to glowing. Keep spare bulbs handy!
Final Thoughts: Creating Your Perfect Outdoor Ambiance
Hanging string lights from a corrugated metal patio cover isn’t just about function—it’s about crafting a space where you love to be. Whether you’re hosting a summer barbecue, enjoying a quiet evening with a book, or stargazing with your kids, those little lights make a big difference. I’ve had friends tell me my patio feels like a “secret garden,” and honestly? That’s the goal.
The key is to work with the metal, not against it. Use its ridges as anchors, embrace its reflective surface, and choose methods that respect its durability. Don’t be afraid to mix techniques—magnets for the main strands, zip ties for backup, and adhesive for lightweight accents. And remember: it’s okay to start small. Even a single strand can transform the vibe.
Most importantly, have fun with it. I’ve changed my light setup every season—warmer bulbs in winter, solar globes in summer, even colored lights for holidays. Your patio is a canvas. Let those lights shine.
Frequently Asked Questions
How do I hang string lights from a corrugated metal patio cover without drilling holes?
Use magnetic hooks or adhesive-backed clips designed for metal surfaces to avoid drilling. These options securely hold string lights while protecting the integrity of your corrugated metal patio cover.
What are the best fasteners for string lights on a corrugated metal patio cover?
Magnetic hooks, S-hooks, or zip ties paired with adhesive mounts work well for corrugated metal. Choose rust-resistant materials to ensure durability in outdoor conditions.
Can I hang string lights from a corrugated metal patio cover in windy areas?
Yes, secure lights with heavy-duty magnetic hooks or stainless steel clips to prevent swaying. Run a guide wire through the lights’ sockets for extra stability in high winds.
How do I hide the wires when hanging string lights from a corrugated metal patio cover?
Route lights along the ridges or edges of the corrugated metal, using clips to tuck wires neatly out of sight. Consider using black or colored cords to blend with the metal.
Do I need special clips to hang string lights on a corrugated metal patio cover?
Yes, opt for clips designed for metal roofs or gutters, such as V-shaped or magnetic clips. These grip the corrugated grooves securely without damaging the surface.
How can I hang string lights evenly across a corrugated metal patio cover?
Measure and mark spacing between corrugations before attaching hooks or clips. Use a guide wire or level to ensure straight lines for a professional, balanced look.

