Featured image for hanging up string lighting on a patio
Image source: nextluxury.com
Transform your patio into a cozy retreat by strategically hanging string lights to enhance ambiance and functionality. Use secure anchors, weather-resistant fixtures, and a mix of heights to create depth and warmth while ensuring safety and durability. Perfect lighting turns any evening into a memorable experience.
Key Takeaways
- Plan your layout first: Sketch lighting paths to ensure even coverage and avoid last-minute adjustments.
- Use durable anchors: Secure lights with weatherproof hooks or tension cables for long-term stability.
- Measure spacing accurately: Keep bulbs 6-12 inches apart for balanced brightness and visual appeal.
- Prioritize safety: Always check for electrical hazards and use outdoor-rated extension cords.
- Layer with dimmers: Install dimmer switches to easily adjust ambiance for any occasion.
- Protect connections: Seal plugs with silicone to prevent water damage and extend lifespan.
📑 Table of Contents
Why String Lights Transform Your Patio
There’s something magical about the warm, golden glow of string lights. They don’t just brighten a space—they change its entire mood. I learned this the first time I strung up a few lights over my patio after a long, gray winter. Suddenly, my backyard felt like a cozy retreat, perfect for sipping coffee in the morning or sharing wine with friends at night. String lighting on a patio isn’t just about illumination; it’s about creating a feeling. It’s the difference between a place to sit and a place to live.
But here’s the thing: hanging string lights isn’t as simple as draping them from tree to tree. If you’ve ever tried it, you know how quickly a DIY project can go from “easy weekend fix” to “why is this sagging in the middle?” I’ve been there. I’ve used duct tape, fishing line, and even tried to tie knots around gutters—only to wake up the next morning to a tangled mess. After a few trial runs (and a few laughs), I’ve learned what actually works. Whether you’re lighting up a small balcony or a sprawling backyard, the right approach makes all the difference. Let’s walk through how to hang string lighting on a patio so it looks professional, lasts through the seasons, and gives you that perfect ambiance.
Planning Your String Light Layout
Before you grab a ladder or a box of lights, take a breath. Planning is the most important step—and often the most overlooked. A well-thought-out layout ensures your lights look intentional, not haphazard. Think of it like sketching a blueprint for your outdoor oasis.
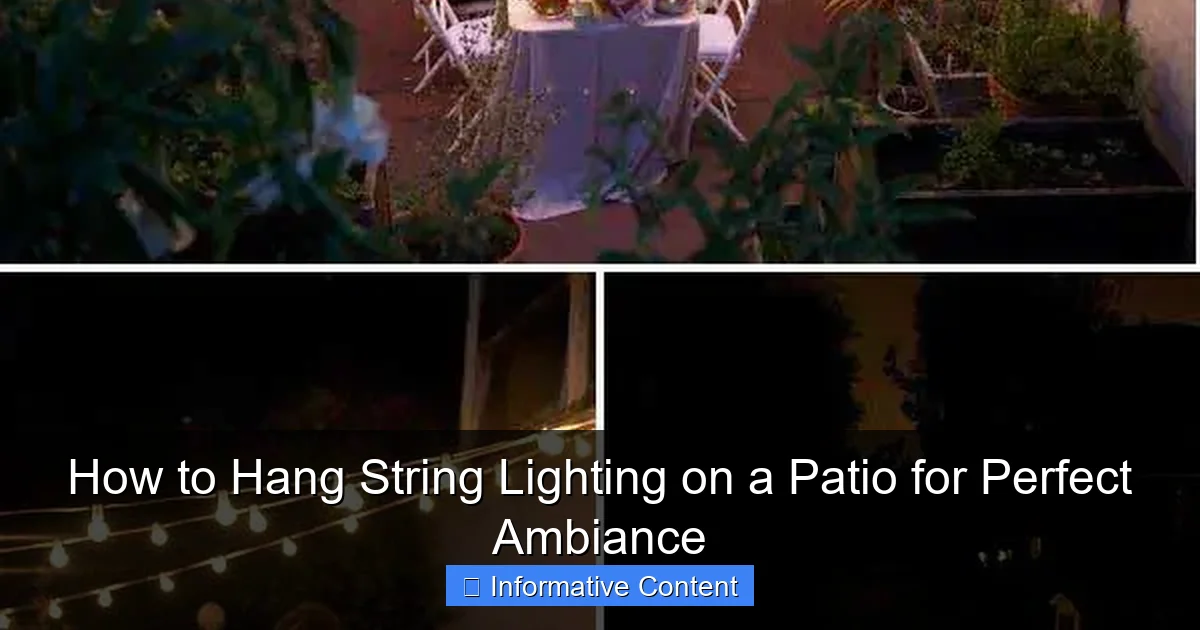
Visual guide about hanging up string lighting on a patio
Image source: woohome.com
Measure Your Space Accurately
Start by measuring the area where you want to hang your lights. Use a flexible tape measure or a long piece of string to trace the path. For a rectangular patio, measure the length and width. If you’re going around a pergola or between trees, measure each side individually. Add about 10–15% extra to your total for drape, curves, and plug reach.
For example, if your patio is 20 feet long and 15 feet wide, and you’re planning to run lights around the perimeter, that’s 70 feet total. Add 10 feet for slack and plug-in access, so you’ll need at least 80 feet of lights. Don’t forget: most string lights come in 25- or 50-foot segments. If you need more than one strand, plan for how you’ll connect them (more on that later).
Choose the Right Hanging Pattern
There are several popular patterns, and the best one depends on your patio’s shape and your desired effect:
- Perimeter Run: Great for enclosed patios or decks. Lights run along the edges, framing the space like a picture. Works well with railings, walls, or posts.
- Grid Pattern: Ideal for larger patios or open pergolas. Lights run in a crisscross (like a tic-tac-toe board) to cover the ceiling. Gives a “canopy” effect and even light distribution.
- Zigzag (or “X” Pattern): Perfect for open spaces with no overhead structure. Lights crisscross diagonally between two anchor points, creating visual interest.
- Curtain or Drape: Best for vertical surfaces like a wall or fence. Lights hang in gentle waves from top to bottom, like a waterfall of light.
I once tried a grid pattern on a 12×12 foot patio and loved how it felt like dining under the stars. But on a smaller balcony, a simple perimeter run with a single drape in the back corner was all I needed. Match the pattern to your space—don’t force a look that doesn’t fit.
Map Out Power Access and Extension Cords
This is a common mistake: buying beautiful lights, only to realize there’s no outlet within 20 feet. Always plan your power source first. Identify the closest outdoor GFCI outlet (Ground Fault Circuit Interrupter—safety first!). If it’s far, you’ll need a heavy-duty outdoor extension cord rated for wet locations.
Pro tip: Use a cord cover or run the cord along the ground and tuck it under a rug or planter. Avoid running cords across walkways where they can be tripped on. If you’re using multiple strands, make sure the total wattage doesn’t overload the circuit. Most LED string lights are low-watt (around 5–10 watts per 25 feet), but it adds up with 5+ strands.
Choosing the Right Type of String Lights
Not all string lights are created equal. The right choice depends on your patio’s environment, your style, and how much maintenance you’re willing to do. Let’s break it down.
LED vs. Incandescent: The Bright Truth
LED lights are the clear winner for most patios. Here’s why:
- Energy Efficient: Use up to 80% less power than incandescent.
- Long-Lasting: Last 25,000–50,000 hours (vs. 1,000–2,000 for incandescent).
- Cool to the Touch: Safer, especially around kids and pets.
- Weather Resistant: Most are rated for outdoor use (look for IP65 or higher).
Incandescent lights give a warmer, softer glow—some people love that vintage feel. But they burn out faster, get hot, and use more energy. I used them once for a holiday party and had to replace three bulbs the next day. Never again.
Bulb Shape and Spacing
Bulbs come in different shapes and spacing:
- Edison Bulbs: Classic, retro look. Great for boho or vintage patios. Spacing varies, but 6–12 inches is common.
- Globe Bulbs: Round and modern. Often spaced closer together (4–6 inches), creating a denser glow.
- Candle or Flame Bulbs: Flicker like real flames. Perfect for romantic settings.
Spacing matters. Closer bulbs (4–6 inches) give a “twinkle” effect—great for intimate spaces. Wider spacing (8–12 inches) is more dramatic and better for larger areas. I prefer 8-inch spacing for a balanced look—not too busy, not too sparse.
Weather Resistance and Durability
If your patio gets rain, wind, or snow, choose lights with a high IP (Ingress Protection) rating. IP65 means dust-tight and protected against water jets. IP67 or IP68 is even better for heavy rain or coastal areas.
Also, look for UV-resistant cords and shatterproof bulbs. I once bought cheap “outdoor” lights that turned brittle and cracked after one summer. Lesson learned: spend a little more for quality.
Tools, Hardware, and Anchoring Solutions
Now that you’ve picked your lights and layout, it’s time to gather the right tools. The hardware you use will determine how secure and professional your installation looks.
Essential Tools and Materials
Here’s what you’ll need:
- Measuring tape
- Ladder (sturdy, with rubber feet)
- Drill and drill bits (for screws or anchors)
- Screwdriver or socket wrench
- Outdoor-rated screws, hooks, or anchors
- Zip ties (UV-resistant)
- Eye screws or cup hooks (for wood)
- Adhesive hooks (for smooth surfaces—test weight limit)
- Extension cord (outdoor-rated, GFCI-protected)
- Timer or smart plug (optional but recommended)
Don’t skip the ladder. Even if you’re short, a 6-foot step ladder gives you the reach and stability you need. And please—never stand on a wobbly chair.
Anchoring Methods by Surface Type
Your patio’s surface determines what kind of anchor you can use:
- Wood (Deck, Pergola, Fence): Use cup hooks, eye screws, or screw-in hooks. Pre-drill holes to avoid splitting. I use 1-inch brass cup hooks—they’re strong, rust-resistant, and blend in.
- Masonry (Brick, Stone, Concrete): Use masonry anchors and screws. Tapcon screws work well. For a no-drill option, try heavy-duty adhesive hooks rated for 5+ pounds (like 3M Outdoor Hooks).
- Metal (Gutters, Railings): Use S-hooks, magnetic hooks, or zip ties. Magnetic hooks are great for steel railings—just make sure they’re strong enough (look for 15+ lbs pull force).
- No Drill? No Problem: For renters or delicate surfaces, use adhesive hooks, tension rods, or even heavy planters with hooks attached. I once used a large planter with a hook drilled into its base to anchor a light strand—worked perfectly.
Pro tip: Use a level to make sure your anchor points are aligned. Nothing ruins the look like a crooked strand.
Creating Anchor Points Without Damage
If you can’t drill, get creative:
- Use existing structures: tree branches, railings, pergola beams, or even awnings.
- Install a freestanding frame: build a simple “light post” from PVC pipe or metal conduit. Anchor it to a heavy base (like a filled planter).
- Use zip ties to attach lights to lattice, screens, or fencing.
I once hung lights on a rental balcony using adhesive hooks and a tension rod across the railing. It held all summer and left no marks. The key is distributing weight evenly—don’t put all the strain on one hook.
Step-by-Step Installation Guide
Now for the fun part: hanging the lights. Follow these steps for a smooth, sag-free result.
Step 1: Install Your Anchor Points
Start by installing all your hooks, screws, or adhesive anchors. Space them evenly based on your layout. For a perimeter run, place anchors every 3–5 feet. For a grid, use a grid pattern with anchors at each intersection.
Test each anchor by gently pulling on it. If it wiggles, reinforce it or use a stronger anchor.
Step 2: Unroll and Test the Lights
Unroll your string lights on the ground. Plug them in to make sure all bulbs work. Replace any dead bulbs now—much easier than on a ladder.
Check for frayed cords or loose sockets. If you find damage, return or replace the strand.
Step 3: Hang the Lights (Without Knots!)
Here’s a game-changer: never tie the lights directly to hooks. Instead, use one of these methods:
- Loop and Hook: Make a small loop in the cord near each bulb socket. Hook the loop onto the anchor. This lets the light drape naturally and reduces strain on the socket.
- Zip Tie Loop: Use a UV-resistant zip tie to create a loop on the cord. Attach the loop to the hook. Easier to adjust and remove later.
- Clips: Use outdoor-rated light clips (like “Christmas light clips”) to secure the cord to the hook. They grip without damaging the wire.
Start at the power source. Work outward, attaching each anchor point as you go. Keep the cord taut but not stretched—there should be a slight drape between points.
Step 4: Manage Sagging and Drape
A little sag is normal and even desirable. Too much sag? You’ll see a “U” shape that looks sloppy. To control it:
- Use more anchor points (every 3 feet instead of 5).
- For long spans, use a center support: a hook, a pole, or a tree branch.
- Use a “zigzag” pattern to reduce span length (e.g., run lights back and forth between two posts).
I once hung a 40-foot span between two trees and it sagged like a hammock. I added a center hook on a tall planter—problem solved.
Step 5: Connect Multiple Strands Safely
If you’re using multiple strands, connect them end-to-end. Make sure the total wattage doesn’t exceed the outlet’s capacity (usually 15–20 amps). Use outdoor-rated extension cords and connectors.
For a seamless look, hide the connection under a planter, bench, or decorative cover. Use a timer to turn all lights on at once—no fumbling with multiple plugs.
Maintenance, Safety, and Year-Round Tips
Your lights are up—now keep them shining all year.
Seasonal Care and Storage
At the end of the season (or before a storm), take down the lights carefully:
- Unplug and remove each strand.
- Wind them loosely around a piece of cardboard or a cord reel—no tight knots.
- Store in a dry, cool place (like a garage or closet).
- Label the box with the strand length and type for next year.
For year-round use, check bulbs and connections monthly. Replace any that flicker or go dark. Clean dust and debris from bulbs with a dry cloth.
Safety First: Avoid Common Hazards
Outdoor lighting has risks. Stay safe:
- Always use GFCI outlets. Test the outlet monthly.
- Don’t overload circuits. Use a wattage calculator (see table below).
- Keep cords away from pools, hot tubs, and foot traffic.
- Use timers instead of leaving lights on all night.
- Turn off lights during storms or high winds.
Enhance the Ambiance with Smart Touches
Take your lighting to the next level:
- Use a smart plug to control lights with your phone or voice (Alexa, Google Assistant).
- Add a dimmer for mood lighting.
- Pair with outdoor speakers for a full sensory experience.
- Use fairy lights in jars or lanterns for tabletop glow.
I love setting my lights to turn on at sunset and off at 11 p.m. via a smart plug. It’s effortless and magical.
Wattage and Circuit Load Table
| Light Type | Length | Wattage | Max Strands on 15A Circuit |
|---|---|---|---|
| LED (Edison) | 25 ft | 5W | 30 |
| LED (Globe) | 50 ft | 10W | 15 |
| Incandescent | 25 ft | 40W | 4 |
| LED (Fairy) | 16 ft | 2W | 75 |
Note: Always leave 20% headroom on circuits for safety. A 15A circuit can handle 1,800W (15A x 120V), but aim for 1,440W max.
Final Thoughts: Light Up Your Life
Hanging string lighting on a patio isn’t just a DIY project—it’s an act of transformation. It turns a plain outdoor space into a place where memories are made. I’ve shared laughs under my lights, watched sunsets, and hosted dinners that lasted long after the food was gone. And it all started with a few hooks and a string of lights.
The key is patience and planning. Take your time with the layout, choose quality lights, and use the right hardware. Don’t rush it. And remember: it’s okay if it’s not perfect the first time. I’ve redone my setup twice—and each time, it got better.
So go ahead. Measure your space, pick your lights, and get to work. When you flip that switch and see your patio glow, you’ll know it was worth it. That warm, golden light isn’t just ambiance. It’s an invitation—to relax, to connect, to enjoy the moment. And that’s the real magic of string lighting on a patio.
Frequently Asked Questions
How do I hang string lighting on a patio without drilling holes?
Use adhesive hooks, tension rods, or clamp-on fixtures to secure the lights without damaging surfaces. This method works well for renters or temporary setups, and you can still achieve a polished look with proper spacing.
What’s the best way to hang string lights for a balanced patio ambiance?
Plan a zigzag, parallel, or canopy pattern between anchor points (e.g., walls, posts, or trees) to evenly distribute the glow. Leave 1-2 feet of slack between bulbs for a relaxed, professional look.
Can I hang string lighting on a patio with high ceilings or tall posts?
Yes! Use a telescoping pole or ladder to reach high anchor points, and secure lights with sturdy hooks or zip ties. For stability, add intermediate support (like shepherd’s hooks) if spans exceed 10-12 feet.
How do I hide the wires when hanging string lights on a patio?
Route cords along edges, behind furniture, or under outdoor rugs to minimize visibility. Use cord covers or paint hooks to match your patio’s color scheme for a seamless finish.
What type of hooks or hardware do I need to hang patio string lights?
Choose weather-resistant materials like stainless steel or plastic-coated hooks, eye screws, or zip ties. For heavy-duty needs, use turnbuckles to adjust tension and prevent sagging.
How do I power string lights if my patio lacks nearby outlets?
Use outdoor-rated extension cords, solar-powered lights, or a portable power station. Always opt for waterproof connections and keep cords away from high-traffic areas to ensure safety.

