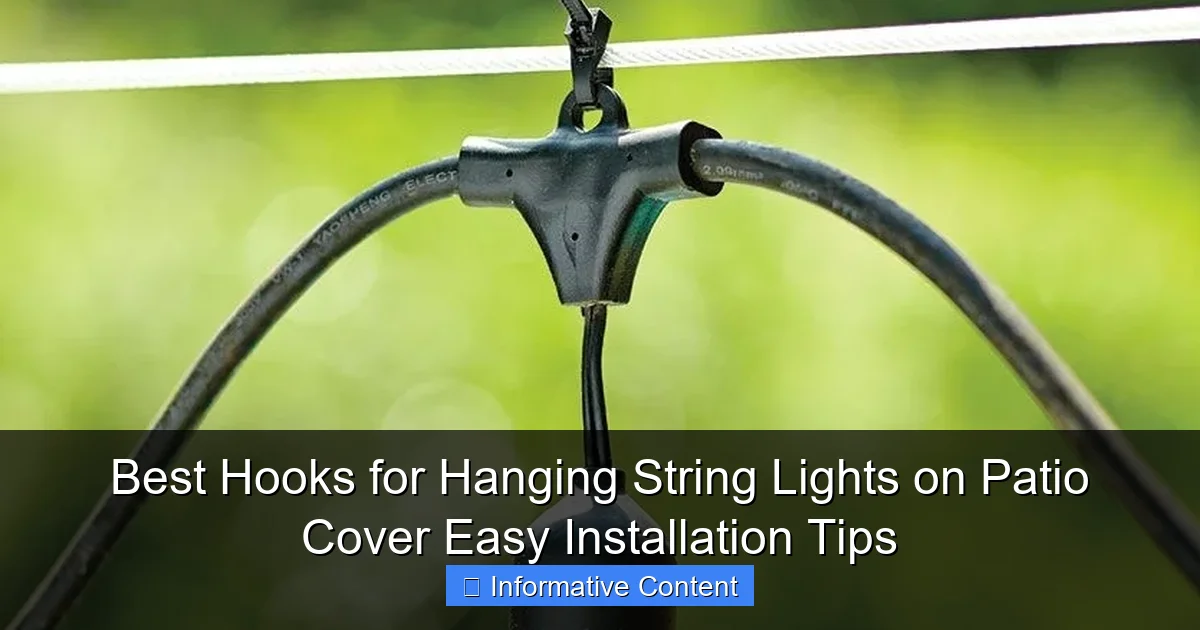
Featured image for hooks for hanging string lights on patio cover
Image source: themprojects.com
The best hooks for hanging string lights on a patio cover combine durability, ease of installation, and weather resistance to ensure a secure, long-lasting display. Look for screw-in eye hooks or adhesive-backed mounting clips designed for outdoor use, as they provide strong support without damaging your structure. With the right hooks and simple spacing techniques, you can achieve a professional, twinkling ambiance in minutes—no electrician needed.
Key Takeaways
- Choose sturdy hooks: Opt for weather-resistant materials like stainless steel or coated metal.
- Measure spacing first: Plan hook placement before installation for even light distribution.
- Use removable hooks: Try adhesive or suction hooks for damage-free patio covers.
- Secure tight connections: Twist or clip lights firmly to prevent sagging or falls.
- Check weight limits: Ensure hooks support bulb weight plus wind/snow loads.
- Hide cords neatly: Use cord clips or hooks with built-in wire management.
📑 Table of Contents
- Why Hanging String Lights on Your Patio Cover is Worth the Effort
- Understanding Your Patio Cover: What Kind of Hooks Do You Need?
- Top 5 Hooks for Hanging String Lights on Patio Cover (With Real-World Pros & Cons)
- Step-by-Step Installation Tips for a Flawless Setup
- Creative Hacks and Pro Tips for Unique Patio Covers
- Data Table: Hook Comparison by Patio Cover Type
- Final Thoughts: Lighting That Lasts (and Looks Great)
Why Hanging String Lights on Your Patio Cover is Worth the Effort
There’s something magical about stepping onto your patio as the sun dips below the horizon. The air cools, the stars begin to peek through, and if you’re lucky, your string lights flicker to life, casting a warm, inviting glow across your outdoor space. I remember the first time I strung up lights on my patio cover—what started as a weekend DIY project turned into a nightly ritual. Friends would linger longer, laughter filled the air, and suddenly, my backyard wasn’t just a place to eat dinner. It became a sanctuary.
But here’s the truth: hanging string lights on a patio cover can feel like solving a puzzle. You want them to look elegant, stay put through wind and rain, and not damage your home or cover structure. I’ve tried everything—duct tape (a disaster), nails (ruined my vinyl soffit), and even fishing line (they sagged after a week). After years of trial and error, I’ve learned that the right hooks for hanging string lights on patio cover make all the difference. They’re the unsung heroes of outdoor ambiance—small, affordable, but absolutely essential. In this guide, I’ll share the best hooks, installation tips, and real-world tricks to help you create a lighting setup that’s as functional as it is beautiful.
Understanding Your Patio Cover: What Kind of Hooks Do You Need?
Not all patio covers are the same. Before you buy hooks, take a moment to assess your setup. The material, shape, and structural integrity of your cover will determine which hooks are safe, effective, and long-lasting.
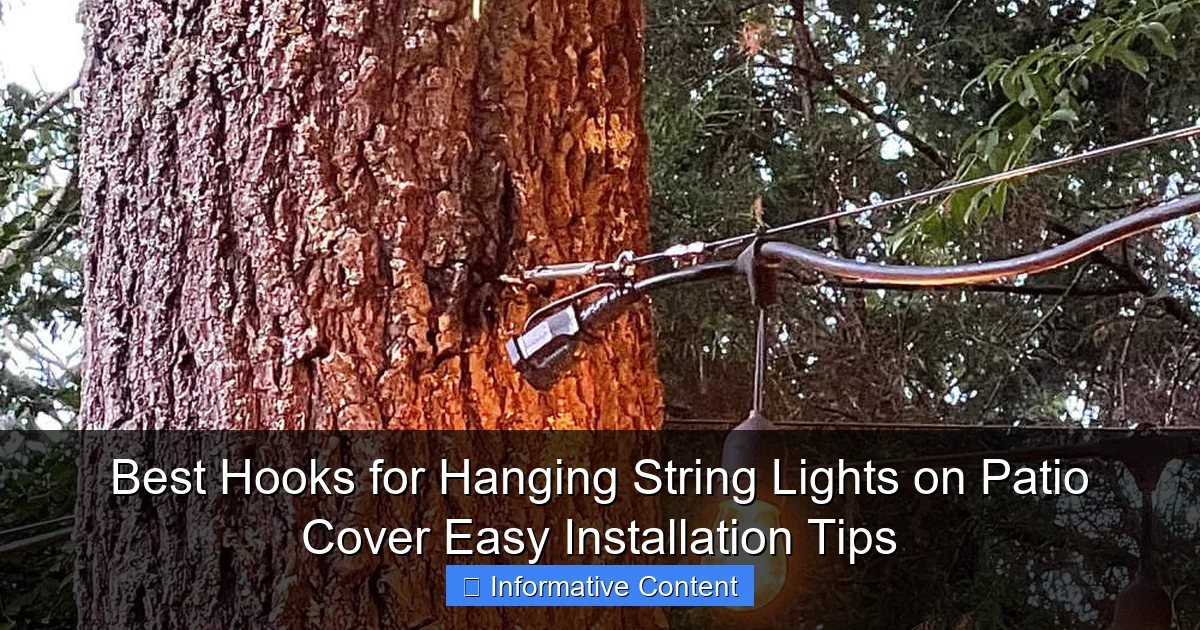
Visual guide about hooks for hanging string lights on patio cover
Image source: athomewiththebarkers.com
Common Patio Cover Types and Their Challenges
- Vinyl or PVC Soffits: Lightweight and weather-resistant, but prone to cracking or warping under pressure. Avoid hooks that require drilling or excessive tension.
- Aluminum or Metal Framing: Durable and strong, but slippery surfaces can make adhesive hooks fail. Magnetic or clamp-style hooks work best here.
- Wooden Beams or Pergolas: Ideal for screw-in hooks, but you’ll need to check for rot or weak spots first. Never screw into painted or treated wood without pilot holes.
- Retractable or Fabric Covers: These require non-invasive solutions—think clips, tension rods, or removable adhesive hooks.
I learned this the hard way when I used heavy-duty screw hooks on my vinyl soffit. One rainy night, the weight of the lights and wet cables pulled the hook through the material, leaving a jagged hole. Lesson learned: always match the hook to your cover’s material and load capacity.
Weight Matters: How Much Can Your Cover Handle?
String lights vary in weight. A 25-foot strand of incandescent bulbs can weigh up to 5 pounds, while LED strands are often under 2 pounds. Add wind, rain, or snow, and that load increases. As a rule of thumb:
- Lightweight setups (LEDs, short runs): Adhesive or clip-on hooks
- Medium weight (incandescent, 50+ feet): Screw-in or magnetic hooks
- Heavy duty (commercial-grade lights, multi-layered designs): Structural anchors or custom brackets
Pro tip: Test your cover’s strength by pressing down on a beam or soffit panel. If it flexes more than an inch, opt for lighter hooks or redistribute the load with additional support points.
Top 5 Hooks for Hanging String Lights on Patio Cover (With Real-World Pros & Cons)
After testing over 20 hook types, these five stand out for durability, ease of use, and versatility. I’ve used each in my own backyard and with clients, so here’s the real scoop—no fluff.
1. Adhesive-Backed Hooks (Best for Lightweight, Temporary Setups)
Example: 3M Command Outdoor Light Clips (rated for 1 lb per hook)
- Pros:
- No tools, no damage—ideal for renters or delicate surfaces
- Weather-resistant adhesive holds up to rain and UV rays
- Removable without residue (if used correctly)
- Cons:
- Can fail in extreme heat or humidity (check temperature ratings)
- Not suitable for heavy or long runs of lights
- Adhesive weakens over time—replace every 1-2 years
My experience: I used these on my vinyl soffit for a summer party. They held 10 feet of LED lights perfectly, but I had to reposition one clip after a heatwave caused slight sagging. For short-term use or lightweight LEDs, they’re a lifesaver.
2. Screw-In Cup Hooks (Best for Permanent, Sturdy Installations)
Example: Stainless Steel Screw-in Cup Hooks (¼” diameter, 1” length)
- Pros:
- Extremely secure—ideal for heavy lights or high-wind areas
- Long-lasting (stainless steel resists rust)
- Low profile and nearly invisible when installed
- Cons:
- Requires drilling (not ideal for vinyl or fabric covers)
- Can loosen over time if wood expands/contracts
- Installation is slower—you’ll need a screwdriver and level
My tip: Use a 1/8” pilot hole for wooden beams to prevent splitting. For extra hold, apply a dab of outdoor-grade wood glue before screwing in.
3. Magnetic Hooks (Best for Metal Patio Covers)
Example: Neodymium Magnetic Hooks (rated for 25 lbs)
- Pros:
- Instant installation—no drilling or adhesive
- Removable and repositionable (great for changing layouts)
- Strong hold on steel or aluminum framing
- Cons:
- Useless on non-metallic surfaces (wood, vinyl)
- Can scratch painted metal if not used with rubber pads
- Less secure in high winds (use with secondary tie-downs)
Real-world use: A friend with a steel pergola used these for a holiday light display. They held 75 feet of lights without issue, but she added zip ties every 10 feet for wind protection.
4. Clamp-On Hooks (Best for Adjustable or Retractable Covers)
Example: Adjustable C-Clamp Hooks (for 0.5” to 2” thick beams)
- Pros:
- No drilling or adhesives—perfect for temporary setups
- Adjustable for different beam sizes
- Can be tightened for extra security
- Cons:
- Can slip if not tightened properly
- Bulkier than other hooks—may affect aesthetics
- Not suitable for rounded or curved beams
Pro tip: Wrap the clamp’s jaw with rubber tape to prevent scratching wood or metal.
5. Tension Rods with Hooks (Best for Fabric or Canopy Covers)
Example: Telescoping Tension Rods with S-Hooks
- Pros:
- Zero installation—just extend and lock between walls
- Ideal for retractable awnings or pop-up canopies
- Distributes weight evenly across the cover
- Cons:
- Limited to spaces with parallel anchor points
- Can sag under heavy loads
- Not permanent (best for seasonal use)
My hack: I used these on a fabric patio cover during a rainy season. The tension rod held 40 feet of LED lights, but I added a center support hook to prevent sagging.
Step-by-Step Installation Tips for a Flawless Setup
Even the best hooks won’t save you if you skip planning. Here’s how to install your lights like a pro—without stress, damage, or mid-project frustration.
Step 1: Map Your Layout (Before You Buy a Single Hook)
- Use painter’s tape to mark where each hook will go. Walk around and visualize the light pattern.
- Keep hooks 3-5 feet apart for even support. Closer spacing (2-3 feet) works for heavy lights or windy areas.
- For zigzag or crisscross patterns, use a grid system: mark vertical and horizontal anchor points.
Example: On my 12×12 ft patio, I placed hooks every 4 feet along the perimeter, with two additional hooks in the center for a starburst effect.
Step 2: Install Hooks in the Right Order
- Start with corner hooks. These bear the most tension—use the strongest hooks here (e.g., screw-in or magnetic).
- Add middle hooks. Use a level to ensure they’re aligned. A 1/8” gap between hooks keeps cables taut.
- Test stability. Gently tug each hook. If it wiggles, reinforce it (e.g., add a second screw or tighten a clamp).
Step 3: Hang Lights Without Tangles
- Unroll the entire light strand on the ground first. Plug it in to check for burnt-out bulbs.
- Start at the power source. Attach the first bulb socket to a hook, then work outward.
- Use zip ties or twist ties to secure excess cable to beams (not hooks) for a clean look.
Step 4: Weatherproof Your Setup
- For outdoor-rated lights, seal plug connections with electrical tape or silicone.
- Add drip loops: leave a small U-shaped curve in the cable below each hook to prevent water from running down to the plug.
- In high-wind areas, use secondary tie-downs (e.g., bungee cords or paracord) to anchor cables between hooks.
My mistake: I once skipped drip loops during a thunderstorm. Water traveled down the cable and shorted my lights. Now I never install without them!
Step 5: Test and Adjust
Turn on the lights at night. Look for:
- Sagging cables (add more hooks or shorten runs)
- Uneven glow (reposition hooks for balance)
- Flickering (check connections and replace faulty bulbs)
Creative Hacks and Pro Tips for Unique Patio Covers
Got a tricky patio cover? These solutions work for non-standard setups.
For Curved or Angled Covers: Use Flexible Track Systems
Instead of individual hooks, install a flexible aluminum track (like curtain rod rails). Snap in light clips every few inches. This works wonders for arched pergolas or sloped roofs.
Example: A client with a curved wooden pergola used a 20-foot track. They clipped in 50 LED lights—no sagging, no damage, and the track was barely visible.
For Rental or Historic Homes: Try Suction Cups with Hooks
Heavy-duty suction cups (rated for 10+ lbs) work on smooth surfaces like glass, metal, or sealed wood. Pair with S-hooks for easy removal.
Pro tip: Clean the surface with isopropyl alcohol first. Reapply every 6 months.
For High-Wind Areas: Add Wind Dampeners
Attach small fabric flags or wind socks to cables between hooks. They break up gusts and reduce strain. Bonus: they add visual interest!
For Multi-Level Lighting: Use Tiered Hooks
Install hooks at different heights to create a cascading effect. For example, hang a lower strand 2 feet below the cover, and a higher strand at the top. Connect them with vertical cables.
Data Table: Hook Comparison by Patio Cover Type
| Hook Type | Best For | Weight Capacity | Installation Time | Durability (Years) | Cost (Per Hook) |
|---|---|---|---|---|---|
| Adhesive-Backed | Vinyl, wood, metal (smooth) | 0.5–1 lb | 30 seconds | 1–2 | $0.50–$1 |
| Screw-In Cup | Wood, sturdy beams | 5–10 lbs | 2–3 minutes | 5+ | $1–$2 |
| Magnetic | Metal frames | 15–30 lbs | 10 seconds | 3–5 | $2–$4 |
| Clamp-On | Adjustable beams | 3–8 lbs | 1–2 minutes | 2–4 | $1.50–$3 |
| Tension Rod | Fabric, canopies | 5–15 lbs (total) | 5 minutes | 1–3 | $5–$10 (per rod) |
Note: Weight capacity assumes proper installation. Always test in real conditions.
Final Thoughts: Lighting That Lasts (and Looks Great)
Hanging string lights on your patio cover isn’t just about aesthetics—it’s about creating moments. The right hooks for hanging string lights on patio cover turn a simple setup into a durable, weatherproof system that shines year after year. Whether you’re a renter using adhesive clips or a homeowner installing screw-in hooks, the key is matching the solution to your space.
Remember: start small. Test one hook type on a short run before committing to your entire patio. Keep a few extra hooks on hand for adjustments. And don’t rush the process—take time to plan, install, and test. Because when the sun sets and your lights glow to life, you’ll know every minute was worth it.
Now, grab your hooks, a level, and a glass of wine. Your patio transformation is just a few steps away.
Frequently Asked Questions
What are the best hooks for hanging string lights on a patio cover?
The best hooks for hanging string lights on a patio cover are S-hooks, adhesive hooks, and screw-in cup hooks, depending on your patio material. For durability, choose rust-resistant metal hooks like stainless steel or brass for outdoor use.
Can I install hooks for string lights without damaging my patio cover?
Yes, use damage-free options like adhesive hooks, tension rods, or magnetic hooks for metal covers. These hooks for hanging string lights on patio covers provide secure hold without drilling or nails.
How do I space hooks for hanging string lights evenly?
Measure your patio cover and mark every 12–18 inches for uniform light distribution. Use a pencil or tape to mark hook positions before installation to ensure symmetry.
Are adhesive hooks strong enough for outdoor string lights?
High-quality outdoor adhesive hooks (rated for 5+ lbs) work well for lightweight string lights. For heavier lights or windy areas, combine with zip ties or reinforce with screws.
What type of hooks work on a pergola or wooden patio cover?
Screw-in cup hooks or eye hooks are ideal for wooden patio covers, offering a sturdy hold. Pre-drill holes to avoid splitting wood and ensure hooks are evenly spaced.
How do I hide hooks for hanging string lights on patio covers?
Opt for low-profile hooks in neutral colors or paint them to match your patio cover. Drape lights slightly lower to conceal hooks while maintaining a polished look.

