Featured image for can you trim led string lights
Yes, you can trim LED string lights—but only if they’re designed to be cut, typically marked at specific intervals with scissors icons. Always check the manufacturer’s guidelines and cut only at designated points to avoid damaging the circuit or creating a safety hazard. This customization lets you achieve the perfect fit for any space while maintaining full functionality.
Key Takeaways
- Check manufacturer guidelines: Always verify if your LED lights are trim-safe before cutting.
- Cut only at marked points: Never trim between LEDs; follow designated cut lines.
- Use sharp tools: Clean cuts prevent wire damage and ensure safety.
- Seal cut ends: Waterproof with silicone to maintain durability and safety.
- Test before installing: Confirm functionality post-trim to avoid wasted effort.
- Plan your layout: Measure twice, cut once to achieve the perfect custom length.
📑 Table of Contents
- Can You Trim LED String Lights? A Complete Guide to Custom Lengths
- Understanding LED String Light Construction
- When Can You Trim LED String Lights?
- Step-by-Step Guide to Trimming LED String Lights
- Risks and Safety Precautions
- Alternatives to Trimming: When to Avoid Cutting
- Data Table: LED String Light Trimming Compatibility
- Conclusion
Can You Trim LED String Lights? A Complete Guide to Custom Lengths
Imagine you’ve just purchased a beautiful set of LED string lights to elevate your living room ambiance or create a magical outdoor oasis—only to discover the strand is too long for your intended space. The frustration is real, and the question that inevitably arises is: Can you trim LED string lights? The good news is that, in many cases, the answer is yes. However, it’s not as simple as grabbing a pair of scissors and snipping away. Trimming LED string lights requires understanding the technology behind them, the risks involved, and the proper techniques to ensure a safe, functional, and aesthetically pleasing outcome.
Whether you’re decorating for the holidays, setting the mood for a wedding, or simply enhancing your home decor, customizing the length of your LED string lights can make all the difference. This guide dives deep into the world of LED string lights, exploring whether trimming is possible, how to do it correctly, and what to look for to avoid damaging your lights or creating a fire hazard. From identifying trim-friendly designs to mastering the cutting process, you’ll learn everything you need to know to safely and effectively shorten your LED strands for the perfect fit.
Understanding LED String Light Construction
How LED String Lights Work
Before you even think about trimming your LED string lights, it’s essential to understand how they’re constructed and how they function. Unlike traditional incandescent string lights, which rely on a continuous filament and series circuit, LED string lights use light-emitting diodes connected via a low-voltage circuit. These diodes are energy-efficient, long-lasting, and available in various colors, shapes, and brightness levels. Most LED strings operate on either 12V, 24V, or 120V (for indoor/outdoor use), and they can be wired in series, parallel, or a combination of both.
In a series circuit, all LEDs are connected end-to-end, meaning the current flows through each bulb in sequence. If one LED fails, the entire string may go dark (though many modern sets use shunted LEDs to prevent this). In a parallel circuit, each LED has its own independent path, so a single failure won’t affect the others. This distinction is crucial when trimming, as cutting a series circuit incorrectly can break the entire chain, while parallel circuits may offer more flexibility.
Key Components of LED String Lights
To determine whether your LED string lights can be trimmed, you need to identify the following components:
- LED Bulbs: These are the individual diodes that emit light. They’re typically encased in plastic or silicone and spaced evenly along the wire.
- Wire Core: The internal wiring that carries electricity. It may be single-core (solid) or multi-strand (flexible).
- Insulation: The outer jacket protecting the wire, often made of PVC or rubber.
- Controller/Transformer: The box or plug that regulates voltage and may include a timer, remote, or dimmer.
- Cut Points: Designated spots along the wire where trimming is safe, often marked by a scissor icon, dot, or thicker insulation.
For example, a 50-foot string with 200 LEDs may have cut points every 10 feet, allowing you to trim it into 10-foot, 20-foot, or 30-foot segments. Always check the product manual or packaging for these markings—they’re your best guide to safe trimming.
Types of LED String Lights
Not all LED string lights are created equal. Here are the most common types and their trimming potential:
- Indoor LED Strings: Typically lower voltage (12V–24V) and designed for safe, dry environments. Often have clear cut points.
- Outdoor LED Strings: Weather-resistant with thicker insulation. May have cut points, but require sealing after trimming.
- Commercial-Grade LED Strings: Heavy-duty, often with parallel circuits and modular connectors. Highly trim-friendly.
- Smart LED Strings: Wi-Fi or Bluetooth-enabled with advanced controls. Trimming may void warranties or disrupt connectivity.
When Can You Trim LED String Lights?
Manufacturer-Designated Cut Points
The safest and most reliable way to trim LED string lights is to use manufacturer-designated cut points. These are pre-marked locations along the wire where the internal circuitry is designed to be severed without damaging the remaining lights. Look for:
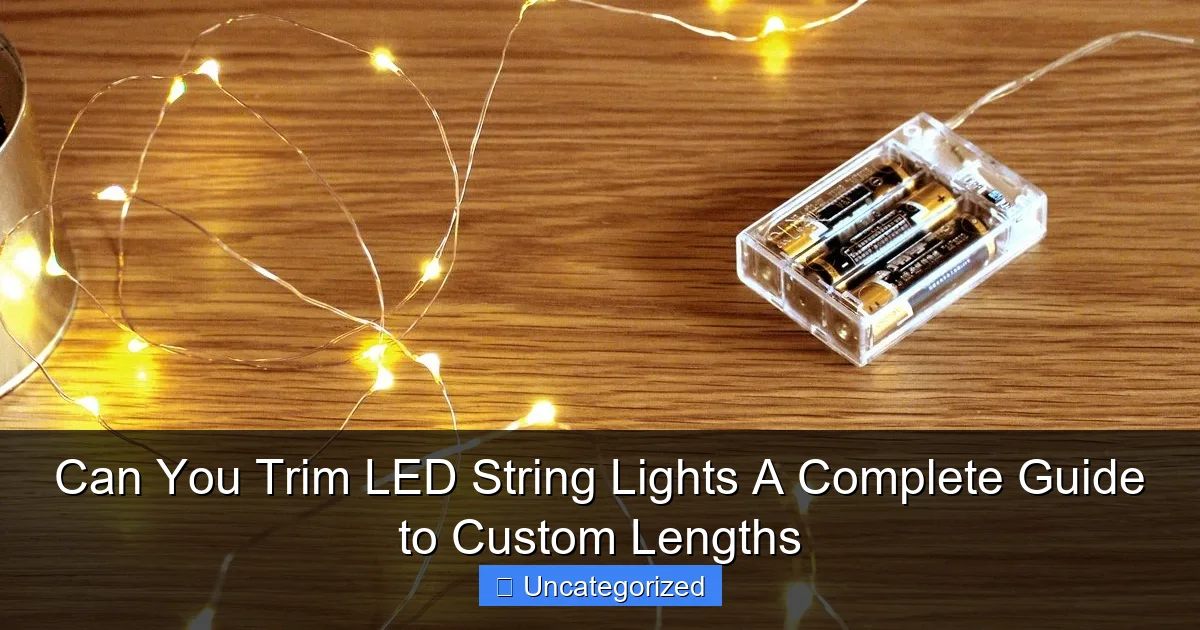
Visual guide about can you trim led string lights
Image source: images-na.ssl-images-amazon.com
- A small scissor icon or “Cut Here” label on the wire.
- Thicker insulation or a colored dot indicating the cut zone.
- Modular connectors (e.g., male/female plugs) that allow easy disconnection.
For instance, a 100-light string might have cut points every 20 lights (10 feet), letting you create two 50-light segments. Always cut exactly at these points—cutting between them can disrupt the circuit and render the remaining lights inoperable.
Parallel vs. Series Circuit Considerations
The circuit type determines your trimming options:
- Parallel Circuits: Each LED has its own path. Cutting at a cut point (or even between LEDs, if carefully rewired) may work, but you’ll need to cap and insulate the ends.
- Series Circuits: LEDs are linked in a chain. Only cut at designated points. Cutting elsewhere will break the entire string unless you re-solder or splice the wires.
Example: A 50-foot series-wired string with cut points every 10 feet can be safely trimmed to 30 feet. But cutting it to 35 feet without a cut point will likely cause the remaining 15 feet to stop working.
Voltage and Power Supply Compatibility
After trimming, ensure the remaining lights are compatible with the original power supply. For example:
- A 120V string with 200 LEDs trimmed to 100 LEDs may overload the transformer, causing flickering or failure.
- Low-voltage (12V/24V) strings may require a voltage booster if shortened significantly.
As a rule of thumb, never reduce the length by more than 50% unless the manufacturer explicitly allows it. Check the product specifications for minimum/maximum load requirements.
Step-by-Step Guide to Trimming LED String Lights
Gather the Right Tools
Trimming LED string lights requires precision. Use these tools to avoid damage:
- Sharp wire cutters or scissors (preferably with insulated handles).
- Wire strippers (for exposed wires).
- Heat-shrink tubing or electrical tape (for insulation).
- Soldering iron and solder (if rewiring is needed).
- Multimeter (to test voltage after trimming).
Locate Cut Points and Plan Your Cut
- Unplug the lights and lay them flat.
- Find the manufacturer’s cut points (scissor icon, dot, or thicker wire).
- Measure the desired length, marking the cut point with a pen or tape.
- Double-check the circuit type (parallel/series) and voltage requirements.
Execute the Trim
Follow these steps for a clean, safe cut:
- Cut the wire: Snip exactly at the cut point. For parallel circuits, cut between LEDs if no cut point exists, but leave 1–2 inches of wire on each end.
- Strip the insulation: If wires are exposed, strip 0.5 inches of insulation from each end using wire strippers.
- Insulate the ends: Slide heat-shrink tubing over the cut ends and shrink with a heat gun. Alternatively, wrap tightly with electrical tape.
- Test the lights: Plug in the remaining strand. If lights don’t work, check for loose connections or circuit breaks.
Pro Tip: For outdoor strings, seal the cut ends with silicone sealant after insulating to prevent moisture damage.
Handling Non-Standard Cuts
If you must cut between LEDs (e.g., for a custom fit), proceed with caution:
- Identify the positive (usually red or striped) and negative (black) wires.
- Cut only the positive wire, leaving the negative intact (for parallel circuits).
- Solder a jumper wire between the cut ends to reconnect the circuit.
- Insulate all exposed connections thoroughly.
Risks and Safety Precautions
Electrical Hazards
Trimming LED string lights improperly can lead to:
- Short circuits: Exposed wires touching can cause sparks or fires.
- Overheating: Overloading the power supply may damage the transformer or LEDs.
- Electrocution: Never trim live wires or use damaged tools.
Always unplug the lights before cutting. Use insulated tools and wear rubber-soled shoes.
Voiding Warranties
Most manufacturers void warranties if you trim lights yourself. Check the product manual for a “Do Not Cut” warning. If in doubt, contact the manufacturer for guidance.
Waterproofing and Weather Resistance
For outdoor strings, improper trimming can compromise weather resistance. After cutting:
- Seal cut ends with silicone sealant.
- Use waterproof heat-shrink tubing.
- Avoid cutting near connectors (e.g., male/female plugs).
Testing and Troubleshooting
After trimming, test the lights in a dry, indoor area first. Common issues and fixes:
- Lights don’t turn on: Check for loose connections or broken circuits. Use a multimeter to test continuity.
- Flickering: Voltage mismatch. Use a transformer with a lower output.
- Partial illumination: A cut wire may have severed part of the circuit. Re-solder if possible.
Alternatives to Trimming: When to Avoid Cutting
Using Connectors and Extensions
If trimming seems risky, consider these alternatives:
- Connectors: Use male/female plugs to join shorter strands or add extensions.
- Spacers: Wrap excess wire around a spool or tuck it behind decor.
- Adjustable Hooks: Mount lights on sliding hooks to vary spacing.
Example: A 25-foot string can be looped in a 10-foot space using hooks, eliminating the need to cut.
Buying Custom-Length Strings
Many brands offer customizable LED string lights in specific lengths (e.g., 10 ft, 15 ft). While more expensive, these eliminate trimming risks. Look for:
- Modular designs (e.g., “add-on” strands).
- Adjustable controllers (e.g., dimmers for variable brightness).
Professional Installation Services
For large-scale installations (e.g., weddings, commercial spaces), hire an electrician or lighting specialist. They can:
- Trim and rewire lights safely.
- Ensure compliance with local electrical codes.
- Provide waterproofing for outdoor use.
Data Table: LED String Light Trimming Compatibility
| LED Type | Cut Points? | Circuit Type | Max Trim Length | Waterproof? | Notes |
|---|---|---|---|---|---|
| Indoor (12V) | Yes | Parallel | 50% | No | Easy to trim; insulate ends. |
| Outdoor (120V) | Yes | Series | 30% | Yes | Seal cut ends with silicone. |
| Smart LED (Wi-Fi) | No | Mixed | N/A | Yes | Trimming may disrupt connectivity. |
| Commercial (24V) | Yes | Parallel | 70% | Yes | Use heat-shrink tubing for insulation. |
| Decorative (Battery-Operated) | Rarely | Series | 10% | No | Not recommended; risk of battery drain. |
Conclusion
So, can you trim LED string lights? The answer is a cautious yes—but only if you follow the right steps. By understanding your lights’ construction, identifying cut points, and using proper tools, you can safely customize their length for a perfect fit. Whether you’re shortening a strand for a cozy bedroom corner or adapting outdoor lights for a patio, the key is to prioritize safety, check manufacturer guidelines, and never rush the process.
Remember, not all LED strings are trim-friendly. If your lights lack cut points, operate on a sensitive smart system, or are battery-powered, consider alternatives like connectors, spacers, or professional help. When in doubt, it’s better to buy the right length upfront than risk damaging your lights or creating a hazard.
With this guide, you now have the knowledge to trim LED string lights like a pro. So go ahead—measure, mark, cut, and illuminate your space with confidence. Just don’t forget to unplug the lights first! Happy decorating!
Frequently Asked Questions
Can you trim LED string lights to a custom length?
Yes, many LED string lights can be trimmed to your desired length, but it depends on the type and design. Always check the manufacturer’s instructions to confirm if cutting is safe and won’t damage the circuit.
Where should I cut LED string lights to avoid damage?
Look for marked cutting points, usually indicated by small scissors icons or gaps between LEDs. Cutting outside these points may break the circuit and render the lights unusable.
Do LED string lights lose brightness if trimmed?
Trimming at designated points won’t affect brightness, as each LED operates independently. However, cutting improperly or removing too many bulbs may dim the overall effect.
Can you trim LED string lights with a regular pair of scissors?
Yes, most LED string lights can be safely cut with standard scissors at the marked cutting points. For thicker wires, use wire cutters to ensure a clean, safe cut.
What happens if I cut LED string lights in the wrong spot?
Cutting outside the designated points can break the circuit, causing the entire strand to stop working. Always follow the manufacturer’s guidelines to prevent damage.
Can you trim LED string lights and reconnect them?
Some LED lights allow reconnection after trimming using compatible connectors or soldering. However, not all models support this—verify with the product manual before attempting.

