Featured image for outdoor patio string light on guide wire
Image source: aconcordcarpenter.com
Transform your outdoor patio into a stunning nighttime retreat by installing string lights on a guide wire for a professional, secure, and visually striking display. Use tensioned cables and weatherproof hardware to prevent sagging, ensure durability, and highlight key areas like dining spaces or walkways with elegant, ambient lighting.
Key Takeaways
- Plan spacing carefully: Hang guide wires 12–16 feet apart for optimal light distribution.
- Use tensioned wires: Prevent sagging with turnbuckles or sturdy anchor points.
- Choose weatherproof lights: Select IP65-rated string lights for long-term outdoor use.
- Secure with zip ties: Attach lights every 12 inches to avoid drooping.
- Test before finalizing: Power on lights to check brightness and connections first.
- Hide cords creatively: Use clips or conduit to blend wires into surroundings.
📑 Table of Contents
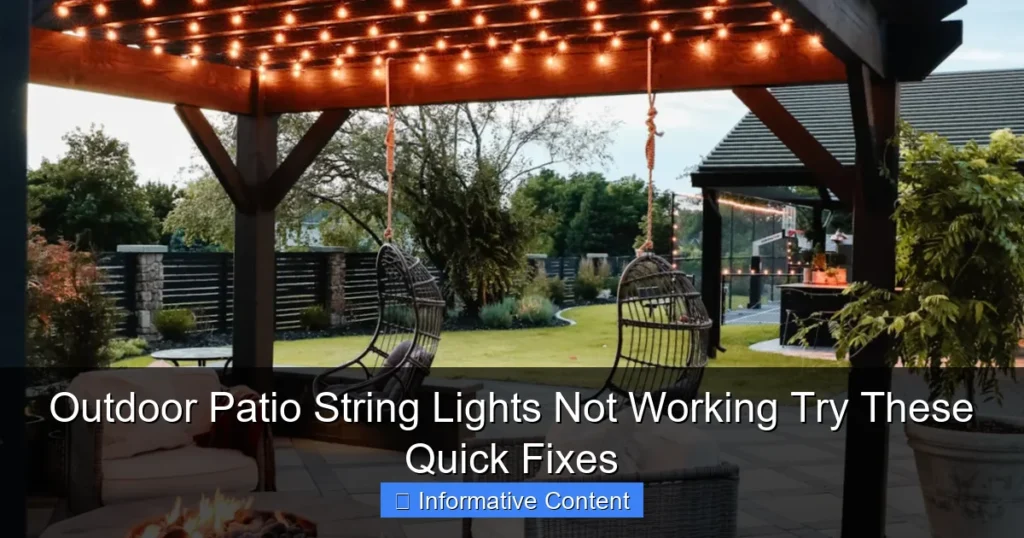
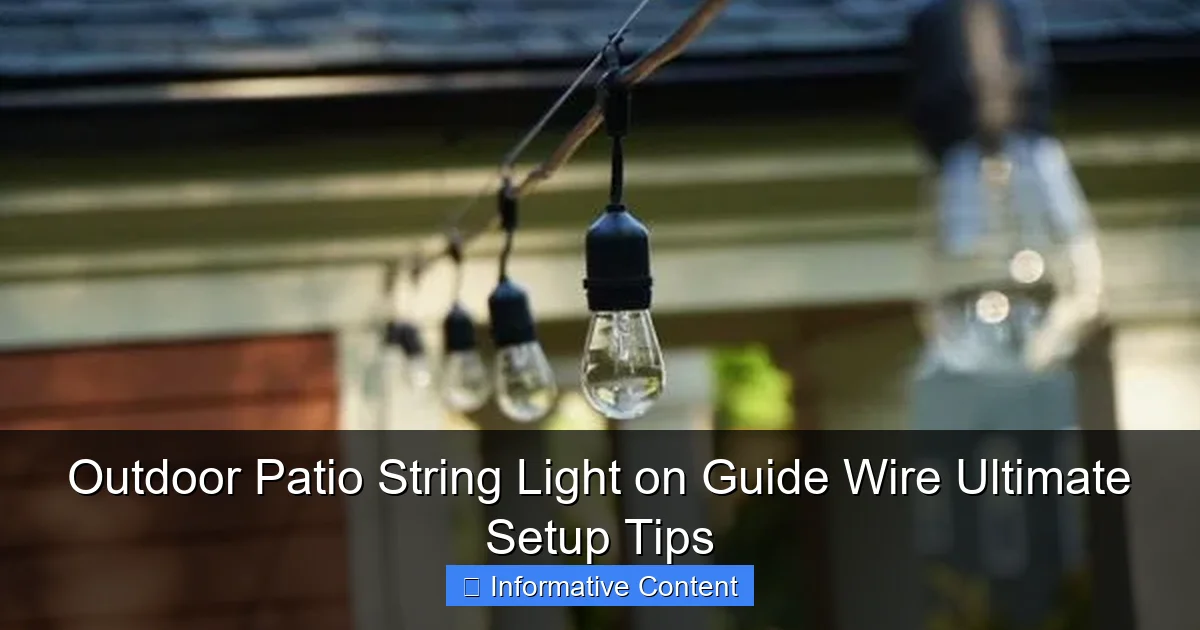
Outdoor Patio String Light on Guide Wire Ultimate Setup Tips
Imagine this: it’s a warm summer evening, the sun has just dipped below the horizon, and your backyard is bathed in a soft, golden glow. You’re sipping a cool drink, laughter fills the air, and the only thing missing is the perfect ambiance. That’s where outdoor patio string lights on guide wire come in. They’re not just about lighting up space—they’re about creating a mood, a memory, a moment. I remember the first time I strung up lights over my patio. I thought it would be simple, but after a few tangled wires, a snapped hook, and a near-miss with the ladder, I realized there’s an art to doing it right.
Whether you’re hosting a backyard BBQ, a romantic dinner, or just want a cozy spot to unwind after work, the right lighting setup can transform your outdoor area. But it’s not just about aesthetics. A well-planned installation using guide wires ensures your lights stay secure, look professional, and last for years. This guide is packed with practical, no-nonsense tips to help you nail your outdoor patio string light on guide wire setup. From choosing the right materials to avoiding common pitfalls, I’ll walk you through every step—just like I wish someone had done for me when I started.
Why Use a Guide Wire for Your String Lights?
Stability and Longevity
One of the biggest mistakes people make is hanging string lights directly between posts, trees, or walls. Sure, it works—for a while. But over time, gravity and wind take their toll. Lights sag, bulbs break, and the whole setup looks messy. A guide wire (also called a support wire or cable) acts like a backbone for your lights. It carries the weight, keeps everything taut, and prevents sagging—even after months or years.
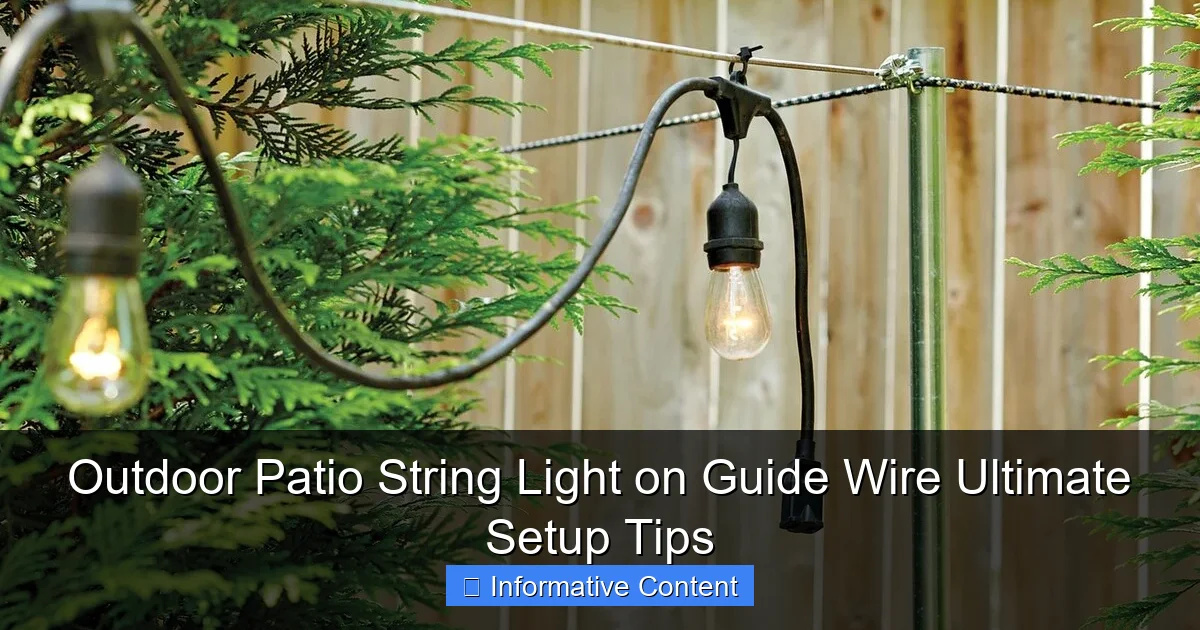
Visual guide about outdoor patio string light on guide wire
Image source: storables.com
Think of it like a clothesline. If you hang wet jeans on a flimsy rope, they’ll droop and stretch. But on a sturdy wire, they stay flat and dry evenly. The same principle applies to your patio lights. A guide wire distributes the load evenly, so your string lights stay straight, bright, and beautiful.
Flexibility in Placement
Not every backyard is the same. Maybe you have a long, open space with no natural anchor points. Or maybe you want to create a light canopy over a dining area, but your posts are uneven. A guide wire solves these problems. You can span distances up to 30–40 feet (with proper tension), adjust the height easily, and even create zig-zag or crisscross patterns for visual interest.
For example, my neighbor wanted to light up a 25-foot-wide patio but only had two corner posts. Instead of drilling into the house or adding new poles, we ran a guide wire between the posts, attached the lights to it with S-hooks, and voilà—instant ambiance. The wire was barely visible, but the effect was magical.
Protection for Your Lights
String lights are surprisingly delicate. The plastic sockets can crack under tension, and the wiring can fray if pulled too tight. A guide wire takes the stress off the lights themselves. Instead of bearing the full weight, they “rest” on the wire, reducing strain and extending their lifespan.
I learned this the hard way. After a storm, I found half my lights dangling like limp noodles. The sockets had snapped where the lights were tied to the posts. When I switched to a guide wire, I didn’t have a single failure—even after three winters.
Choosing the Right Materials and Tools
Guide Wire Options
Not all wires are created equal. For outdoor use, you need something strong, weather-resistant, and low-visibility. Here are the best options:
- Galvanized Steel Cable: My go-to choice. It’s affordable, rust-proof, and can handle heavy loads. Look for 1/8” to 3/16” diameter for most patios.
- Stainless Steel Cable: More expensive but ultra-durable. Ideal if you live near the coast or want a “set it and forget it” solution.
- Paracord: A budget-friendly option for light-duty setups. Not as strong as metal, but works for short spans (under 15 feet).
Avoid regular wire or fishing line—they degrade quickly in UV light and can’t handle the weight.
Hardware and Fasteners
You’ll need a few key components to secure the wire:
- Eye Screws or Turnbuckles: Install these at both ends to anchor the wire. Turnbuckles let you adjust tension—super helpful if the wire stretches over time.
- Wire Rope Clips or Cable Clamps: These secure the wire to the eye screws. Use two per end for safety.
- S-Hooks or Carabiners: Attach your string lights to the guide wire. S-hooks are cheap and easy to use, but carabiners (like mini climbing clips) are sturdier.
- Drill and Masonry Bit: If you’re attaching to brick, stucco, or concrete, you’ll need anchors and a masonry bit.
String Light Selection
Not all string lights work with guide wires. Look for:
- Edison-Style Bulbs: Classic, warm glow. Great for patios and pergolas.
- LED Bulbs: Energy-efficient, long-lasting, and available in warm or cool tones.
- Weatherproof Rating (IP44 or higher): Essential for outdoor use. This means they’re protected against rain and dust.
- Plug-and-Play Design: Lights with built-in male/female plugs make it easy to connect multiple strands.
Pro tip: Buy 10–15% more lights than you think you’ll need. It’s better to have extra than to run short and have to splice in a new strand.
Step-by-Step Installation Guide
Step 1: Plan Your Layout
Before touching a tool, sketch your patio layout. Decide where the lights will go and how many guide wires you’ll need. Ask yourself:
- Do I want a single straight line, or a grid/canopy effect?
- Where are my power sources? (You’ll need an outdoor outlet or extension cord.)
- Will the lights interfere with foot traffic or furniture?
For example, I once installed lights too low over a dining table. Every time someone reached for the salt shaker, they bumped into a bulb. Not ideal. Now, I aim for at least 7 feet of clearance.
Step 2: Install the Anchor Points
Mark where you’ll attach the eye screws or turnbuckles. Use a level to ensure they’re even. If attaching to wood, drill pilot holes first. For masonry, use anchors and a hammer drill. Tighten the screws firmly—they’ll bear the weight of the entire system.
Example: My patio has wooden posts. I drilled 1/4” pilot holes, screwed in 2” eye hooks, and added a drop of outdoor wood glue for extra hold. After a year, they’re rock-solid.
Step 3: Thread and Tension the Guide Wire
Cut the wire 1–2 feet longer than the span. Thread one end through an eye screw, loop it back, and secure with two wire rope clips. Leave the other end loose for now. Use a turnbuckle (if you have one) to gradually tighten the wire. No turnbuckle? Use pliers to pull the wire taut, then secure it.
How tight should it be? Imagine a tightrope. The wire should have slight tension but not be so tight it bends the posts. A good rule: if you can push the wire down 1–2 inches with your hand, it’s perfect.
Step 4: Attach the String Lights
Now for the fun part! Hang your lights from the guide wire using S-hooks or carabiners. Space them evenly—about every 12–18 inches. For a “floating” look, use clear fishing line to tie the lights to the wire (invisible from a distance).
Pro tip: Start from the power source and work outward. This minimizes cord clutter and makes troubleshooting easier.
Step 5: Connect and Test
Plug in the lights and check for dead bulbs or flickering. Use outdoor-rated extension cords and GFCI outlets (ground fault circuit interrupter) for safety. If you have multiple strands, connect them with waterproof connectors.
I always test during the day first. It’s easier to spot issues like loose bulbs or tangled wires in daylight.
Troubleshooting Common Issues
Sagging Wires
If your guide wire sags after a few weeks, it’s likely due to initial stretching. Re-tighten the turnbuckles or re-secure the wire with new clips. For long spans (over 30 feet), add a mid-span support pole or tree anchor.
Example: My 40-foot setup started sagging in the middle. I added a temporary bamboo pole (painted to match the patio) and problem solved. Later, I replaced it with a permanent metal pole.
Weather Damage
Even weatherproof lights can fail in extreme conditions. To protect your setup:
- Remove lights during hurricanes or heavy snow.
- Use silicone sealant on bulb sockets in rainy climates.
- Store lights indoors during winter (if not year-round).
I live in a rainy area, so I coat my bulb sockets with clear nail polish every fall. It’s a small step that’s saved me from countless replacements.
Uneven Lighting
If some areas are too bright or too dim, adjust the spacing. For a softer glow, hang lights closer to the ground or use frosted bulbs. For a brighter effect, add a second guide wire or layer multiple strands.
One trick: Hang a sheer curtain or fabric panel under the lights. It diffuses the glow and creates a “lantern” effect—perfect for romantic dinners.
Electrical Issues
If a strand goes dark, check these:
- Is the bulb loose? Tighten it.
- Is the plug fully inserted? Wiggle it gently.
- Are there exposed wires? Wrap them in electrical tape.
Never ignore a burning smell or sparks. Unplug immediately and inspect the circuit.
Creative Design Ideas and Inspiration
Canopy or Grid Patterns
Instead of a single line, create a crisscross or grid effect. Use multiple guide wires to form a “net” of light. This works beautifully over dining tables, pools, or lounge areas.
For example, a friend of mine installed a 5×5 grid over her patio. The lights looked like a starry sky—everyone asked how she did it. (Spoiler: 10 guide wires, 50 S-hooks, and a weekend of work.)
Zig-Zag or Wave Patterns
Add visual interest by hanging lights in a zig-zag or wave pattern. Use zip ties to secure the lights to the guide wire at varying heights. It’s playful and modern—great for parties.
Tree Integration
Want to light up trees? Run guide wires from the patio to tree trunks (use tree-friendly straps, not nails). Wrap the lights around branches for a “fairy tale” effect.
Pro tip: Avoid wrapping lights around thin branches. They can break under the weight. Stick to thick, sturdy limbs.
Seasonal Themes
Change your lights with the seasons! Use warm white for summer, multicolor for holidays, or even color-changing LEDs for year-round variety. Store extra strands in labeled bins for easy swaps.
Maintenance and Long-Term Care
A well-installed outdoor patio string light on guide wire system can last 5–10 years—but only if you maintain it. Here’s how:
Monthly Checks
- Inspect bulbs for cracks or moisture.
- Tighten loose S-hooks or clips.
- Clear debris (leaves, spider webs) from sockets.
Seasonal Care
- Fall: Clean bulbs and sockets. Apply a rust inhibitor to metal parts.
- Winter: Remove lights if you get heavy snow. Store in a dry, temperature-controlled space.
- Spring: Check for UV damage on wires and cords. Replace if frayed.
Data Table: Recommended Maintenance Schedule
| Task | Frequency | Notes |
|---|---|---|
| Bulb Inspection | Monthly | Look for cracks, moisture, or flickering. |
| Hardware Tightening | Every 3 Months | Check eye screws, turnbuckles, and clips. |
| Deep Clean | Annually (Spring) | Wipe down bulbs, sockets, and wires with mild soap. |
| Weatherproofing | Annually (Fall) | Apply sealant to sockets; check wire integrity. |
One last tip: Take photos of your setup each year. It’s a great way to track wear and plan upgrades. I have a “light journal” that’s helped me catch issues before they became problems.
Setting up outdoor patio string lights on guide wire isn’t just about hanging lights—it’s about creating an experience. With the right materials, a solid plan, and a little patience, you can turn any outdoor space into a magical retreat. Remember, the best setups are the ones that feel effortless, even if they took hours to perfect. So grab your tools, call a friend (or two), and let the glow begin. Your patio—and your guests—will thank you.
Frequently Asked Questions
How do I install outdoor patio string lights on a guide wire?
To install outdoor patio string lights on a guide wire, first secure the wire between two sturdy anchor points (e.g., poles or walls) using turnbuckles for tension. Then, clip or tie the string lights to the guide wire, ensuring even spacing and no sagging. This method provides stability and a clean, professional look.
What’s the best way to prevent sagging in my guide wire setup?
Prevent sagging by tightening the guide wire with turnbuckles or tensioners before attaching the string lights. For longer spans, add a center support pole or use a thicker, low-stretch wire (like aircraft cable) to maintain consistent tension across the entire length.
Can I use any type of string lights with a guide wire for my patio?
Not all string lights work with guide wires—opt for commercial-grade or heavy-duty outdoor patio string lights with durable sockets and reinforced cords. Ensure the bulbs are spaced close enough (12-18 inches) to avoid drooping when attached to the wire.
How far apart should I place anchor points for an outdoor patio string light on guide wire?
For most residential setups, anchor points should be 15–25 feet apart, depending on the wire thickness and light weight. Use a tension gauge to test sag: if the wire dips more than 6 inches under load, add supports or shorten the span.
What tools do I need for a guide wire string light installation?
Essential tools include aircraft cable (or stainless steel wire), turnbuckles, eye hooks, wire cutters, a tension gauge, and zip ties or S-hooks for attaching lights. A ladder and measuring tape help ensure precise placement and safety during setup.
Are outdoor patio string lights on guide wires safe for year-round use?
Yes, if you choose weatherproof, UL-listed string lights and marine-grade guide wire components. Regularly inspect connections and wires for wear, especially after extreme weather, to maintain safety and longevity in your outdoor setup.