
Featured image for how are led string lights wired
Image source: qualizzi.com
LED string lights are wired in series or parallel circuits, with most consumer models using a series-parallel hybrid to balance brightness and safety. This wiring allows LEDs to share a single power source while minimizing voltage drop and ensuring consistent illumination across the entire strand.
Key Takeaways
- LEDs are wired in series-parallel for consistent brightness and efficiency.
- Check voltage ratings to avoid overloading and damaging the circuit.
- Use resistors in series to regulate current and protect LEDs.
- Parallel wiring increases load—match power supply to total wattage.
- Insulate connections properly to prevent short circuits and hazards.
- Waterproof models use sealed casings—ideal for outdoor installations.
📑 Table of Contents
- How Are LED String Lights Wired: A Complete Guide
- Understanding the Basics of LED String Light Circuits
- Series vs. Parallel: The Core Wiring Configurations
- Key Components That Control Current and Voltage
- Wiring for Different Types of LED String Lights
- Installation, Safety, and Troubleshooting
- Conclusion
How Are LED String Lights Wired: A Complete Guide
LED string lights have become a staple in modern home decor, outdoor gatherings, holiday festivities, and even commercial displays. Their energy efficiency, longevity, and vibrant glow make them a favorite choice for both ambient lighting and dramatic visual effects. But have you ever wondered how these seemingly simple strands of light actually work? Beneath their decorative exteriors lies a carefully engineered electrical system that ensures safety, brightness, and reliability. Understanding how LED string lights are wired not only helps you troubleshoot issues but also empowers you to make informed purchasing decisions, customize installations, and even create your own DIY lighting projects.
Whether you’re hanging fairy lights above your patio, wrapping them around a Christmas tree, or installing them in a commercial space, knowing the wiring behind the magic can make all the difference. From the basic principles of circuit design to the nuances of series vs. parallel configurations, this guide dives deep into the electrical architecture of LED string lights. We’ll explore the types of wiring used, how power flows through the circuit, the role of key components like resistors and drivers, and practical considerations for installation and safety. By the end, you’ll have a comprehensive understanding of what goes on inside that delicate strand of lights—and how to use that knowledge to get the most out of your lighting setup.
Understanding the Basics of LED String Light Circuits
What Makes an LED Different from Incandescent Bulbs?
Before diving into wiring, it’s essential to understand the fundamental difference between LEDs and traditional incandescent bulbs. Unlike incandescent bulbs, which produce light by heating a filament until it glows, LEDs (Light Emitting Diodes) are semiconductor devices that emit light when an electric current passes through them. This makes LEDs far more energy-efficient, cooler to the touch, and longer-lasting—often rated for 25,000 to 50,000 hours of use compared to just 1,000–2,000 hours for incandescent bulbs.
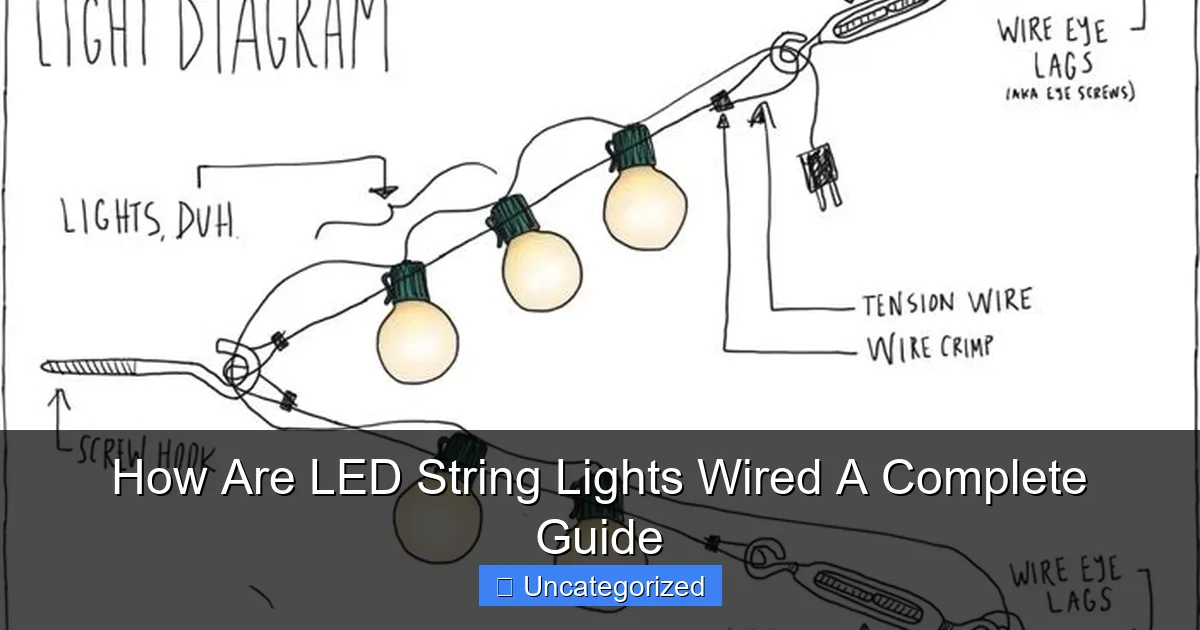
Visual guide about how are led string lights wired
Image source: i.pinimg.com
Because LEDs are current-driven devices, they require a precise amount of electrical current to operate safely. Too much current, and the LED can overheat and burn out. Too little, and it won’t emit light. This is why proper wiring and current regulation are critical in LED string lights.
Basic Electrical Components in LED String Lights
Every LED string light circuit includes several key components:
- LEDs: The actual light-emitting units, typically surface-mount devices (SMD) or through-hole types.
- Wires: Thin gauge copper wires (usually 20–24 AWG) that carry current between components.
- Resistors: Small components that limit current to prevent LED burnout.
- Power source: AC mains (120V/230V) or low-voltage DC (e.g., 12V, 24V), depending on the design.
- Driver/Converter: Converts AC to DC and regulates voltage/current (in most modern lights).
- Insulation and sheathing: Protective layers that prevent short circuits and environmental damage.
These components work together in a carefully balanced system to ensure consistent brightness, longevity, and safety.
Voltage and Current Requirements
LEDs typically operate at low voltages—usually 2–3.5 volts per diode, depending on color and type. However, household power is delivered at 120V (in the US) or 230V (in many other countries), which is far too high for individual LEDs. To bridge this gap, LED string lights use one of two primary wiring strategies: series or parallel circuits—or a combination of both (series-parallel). We’ll explore these configurations in the next section.
Series vs. Parallel: The Core Wiring Configurations
Series Wiring: How It Works
In a series circuit, LEDs are connected end-to-end so that the current flows through each LED in sequence. The total voltage required is the sum of the individual LED voltages. For example, if each LED requires 3 volts and there are 10 LEDs in series, the circuit needs 30 volts to operate.
Visual guide about how are led string lights wired
Image source: i5.walmartimages.com
This configuration has several advantages:
- Uniform current: The same current flows through every LED, ensuring consistent brightness.
- Lower current draw: Since voltage adds up, the current remains low, reducing heat and wire size requirements.
- Efficiency: Ideal for low-voltage DC systems (e.g., 12V or 24V).
However, there’s a major drawback: if one LED fails (open circuit), the entire string goes dark. This is because the circuit is broken, and current can no longer flow. Some modern string lights use “shunt resistors” or “bypass diodes” to mitigate this issue—more on that later.
Parallel Wiring: The Alternative Approach
In a parallel circuit, each LED (or group of LEDs) is connected across the same two power lines. This means every LED receives the full supply voltage, but the current is divided among them.
For example, if you have 10 LEDs in parallel at 3V each, the power supply only needs to provide 3V, but the total current is 10 times the current of a single LED.
Advantages of parallel wiring:
- Independent operation: If one LED fails, the others continue to light up.
- Simpler voltage requirements: Matches standard low-voltage supplies (e.g., 3V, 5V, 12V).
- Scalability: Easy to add more LEDs without changing voltage.
But there are downsides:
- Higher current draw: Requires thicker wires and larger power supplies.
- Current imbalance: Without individual resistors, some LEDs may draw more current than others, leading to uneven brightness or early failure.
To solve the imbalance issue, most parallel circuits include a current-limiting resistor for each LED or group of LEDs.
Series-Parallel: The Best of Both Worlds
Most commercial LED string lights use a series-parallel configuration to balance efficiency and reliability. For example, a 12V string might have groups of 3 LEDs in series (3 × 3V = 9V), with each group in parallel. A resistor is often placed in series with each group to fine-tune current.
This hybrid approach allows:
- Operation at standard low voltages (12V, 24V).
- Reduced current per branch, lowering wire gauge requirements.
- Partial failure tolerance—if one group fails, others stay lit.
- Efficient use of power supplies.
Example: A 50-light 12V string might have 10 branches of 5 LEDs in series, each branch in parallel. Each branch includes a resistor to limit current to 20mA per LED.
Key Components That Control Current and Voltage
Resistors: The Silent Guardians
Resistors are perhaps the most critical passive components in LED string lights. Their job is to limit current to a safe level, preventing LEDs from drawing too much power and burning out.
The value of the resistor is calculated using Ohm’s Law:
R = (Vsupply – VLED) / I
Where:
- R = resistance in ohms (Ω)
- Vsupply = supply voltage (e.g., 12V)
- VLED = total voltage drop across LEDs in the branch
- I = desired current (typically 15–20mA for small LEDs)
Example: For a 12V supply with 3 LEDs in series (3 × 3V = 9V) and a target current of 18mA:
R = (12V – 9V) / 0.018A = 166.7Ω → Use a 180Ω resistor (standard value).
Resistors are typically 1/4-watt or 1/8-watt carbon film types, chosen for their size and heat dissipation.
Drivers and Power Converters
Since most household power is AC, and LEDs require DC, LED drivers are essential. These devices convert AC mains to low-voltage DC and regulate current. There are two main types:
- Constant voltage drivers: Provide a fixed voltage (e.g., 12V DC). Current is regulated by resistors in the string.
- Constant current drivers: Provide a fixed current (e.g., 350mA). Voltage adjusts based on the load. More common in high-power LED strips.
For string lights, constant voltage drivers are standard. They’re often built into the plug or a separate adapter. Look for drivers with certifications like UL, ETL, or CE for safety.
Tip: Never connect a 120V AC string light directly to a 12V DC power source—it will damage the LEDs and driver.
Shunt Resistors and Bypass Diodes
To improve reliability, many LED strings include shunt resistors or bypass diodes across each LED or group. If an LED fails open (stops conducting), the shunt provides an alternate path for current, keeping the rest of the string lit.
Shunt resistors are typically high-value (e.g., 10kΩ) so they don’t affect normal operation but can carry current during a failure. Bypass diodes (often zener diodes) activate when the voltage across a failed LED exceeds a threshold.
This feature is common in premium holiday lights and commercial installations but rare in budget models.
Wiring for Different Types of LED String Lights
Indoor vs. Outdoor String Lights
The wiring and materials differ significantly between indoor and outdoor LED string lights due to environmental demands.
- Indoor lights: Use thinner insulation, smaller connectors, and may not include weatherproofing. Wiring is often 22–24 AWG with PVC sheathing. Ideal for dry, temperature-controlled environments.
- Outdoor lights: Feature thicker, UV-resistant insulation (e.g., silicone or TPE), sealed connections, and corrosion-resistant wires (tinned copper). Often rated IP65 or higher for dust and water resistance. May use heavier gauge wires (18–20 AWG) to reduce voltage drop over long runs.
Practical tip: When using indoor lights outdoors, even temporarily, ensure they’re protected from rain and moisture to prevent short circuits.
Plug-In vs. Battery-Powered String Lights
The power source dramatically affects wiring design:
- Plug-in lights: Use a wall adapter to step down AC mains to low-voltage DC (e.g., 5V, 12V). Wiring includes a power cord, plug, and internal converter. Often support longer strands (50–100+ LEDs) due to higher power availability.
- Battery-powered lights: Use AA or AAA batteries (1.5V each) or built-in lithium-ion packs. Wiring is simpler (no converter), but voltage is very low. To achieve enough voltage, LEDs are often wired in series (e.g., 3–4 LEDs per branch for a 3V system). Limited to short strands (20–30 LEDs max) due to battery life.
Example: A 30-LED battery string might have 10 branches of 3 LEDs in series, powered by 2 AA batteries (3V total).
Smart and RGB LED String Lights
Smart lights (e.g., Wi-Fi or Bluetooth-controlled) and RGB (color-changing) strings add complexity:
- RGB LEDs: Each LED contains red, green, and blue chips. Wiring includes separate control lines for each color (common anode or cathode). A microcontroller or driver IC sends PWM (pulse-width modulation) signals to mix colors.
- Smart controllers: Include microprocessors, wireless modules, and memory. Wiring may include data lines (e.g., for WS2812B LEDs) or rely on RF signals. Power wiring is similar to standard lights, but data lines require precise timing.
These systems often use addressable LEDs, where each LED can be individually controlled. This requires more complex wiring and programming but enables dynamic effects like color waves, twinkling, and music synchronization.
Installation, Safety, and Troubleshooting
Voltage Drop and Wire Gauge Selection
Over long distances, resistance in the wires causes voltage drop, leading to dimmer LEDs at the far end of the string. To minimize this:
- Use thicker wires (lower AWG number) for long runs.
- For very long installations, inject power at multiple points (mid-span or end).
li>Keep total length under 100 feet for 12V systems (unless using a booster).
Recommended wire gauge for 12V systems:
| Total Length | LEDs in String | Recommended Wire Gauge |
|---|---|---|
| Up to 25 ft | 10–50 | 22 AWG |
| 25–50 ft | 50–100 | 20 AWG |
| 50–100 ft | 100–200 | 18 AWG |
| 100+ ft | 200+ | 16 AWG or power injection |
Safety Best Practices
LED string lights are safe when used correctly, but improper wiring can cause overheating, fire, or electric shock. Follow these guidelines:
- Use UL/ETL-certified lights and drivers. Avoid cheap, uncertified imports.
- Don’t overload circuits. Follow manufacturer limits for string length and wattage.
- Inspect for damage. Frayed wires, loose connections, or cracked insulation can be hazardous.
- Use outdoor-rated lights outside. Indoor lights lack weatherproofing.
- Turn off when not in use. Especially for long-term installations.
- Avoid daisy-chaining too many strings. Most manufacturers limit to 2–3 strings in series.
Common Wiring Problems and Fixes
Even well-designed string lights can develop issues. Here are common problems and solutions:
- Entire string is dark: Check the plug, fuse (if present), and power supply. Test with a multimeter.
- Part of the string is dark: A failed LED or loose connection in a series branch. Look for blackened LEDs or use a jumper wire to bypass suspected LEDs.
- Flickering lights: Loose connection, failing driver, or voltage drop. Secure connections and check power supply.
- Overheating driver or wires: Overloaded circuit or poor ventilation. Reduce load or upgrade to a higher-wattage driver.
- Color issues (RGB lights): Faulty data line or controller. Reconnect data wires or reset the controller.
Pro tip: For DIY repairs, use heat-shrink tubing to insulate splices and prevent shorts.
Conclusion
Understanding how LED string lights are wired transforms you from a passive user into an informed installer, troubleshooter, and even creator. From the foundational principles of series and parallel circuits to the critical role of resistors, drivers, and bypass components, every aspect of the wiring contributes to the performance, safety, and longevity of your lights. Whether you’re decorating for the holidays, enhancing your patio, or designing a commercial display, knowing the electrical architecture helps you choose the right lights, avoid common pitfalls, and extend their lifespan.
Remember, the key to successful LED lighting lies in matching the wiring configuration to your needs: series for efficiency in low-voltage systems, parallel for reliability, and series-parallel for balanced performance. Pay close attention to voltage drop, wire gauge, and environmental protection—especially for outdoor use. And never underestimate the importance of certified drivers and proper installation practices.
As LED technology continues to evolve—with smarter controls, higher efficiency, and more versatile form factors—the wiring principles remain a constant foundation. By mastering these concepts, you’re not just lighting up a space; you’re harnessing the power of modern electronics to create beauty, ambiance, and functionality. So the next time you plug in a strand of LED lights, take a moment to appreciate the intricate dance of current, voltage, and resistance that makes the magic happen.
Frequently Asked Questions
How are LED string lights wired in parallel vs. series?
Most LED string lights use a parallel wiring setup, allowing each bulb to operate independently. In series wiring, a single failed LED can disrupt the entire circuit, though this is less common in modern designs.
Can I cut or extend LED string lights without damaging the wiring?
Many LED string lights feature cuttable segments with clear markings, but check manufacturer instructions first. Extending them often requires soldering or using compatible connectors to maintain circuit integrity.
How does the plug work in LED string lights wiring?
The plug converts AC power to low-voltage DC for safety, then sends it through the string’s internal wiring. This ensures consistent current flow while protecting the LEDs from voltage spikes.
Why do some LED string lights have resistors in the wiring?
Resistors regulate voltage to prevent LED burnout, especially in series-wired strings. They’re typically built into the plug or bulb sockets to maintain optimal performance.
Are LED string lights waterproof, and how is the wiring protected?
Outdoor-rated LED string lights use sealed sockets and insulated wiring to resist moisture. Always check the IP rating to confirm suitability for wet environments.
How are battery-powered LED string lights wired differently?
Battery-powered versions use lower-voltage DC wiring with a compact control unit for on/off or modes. The wiring is often thinner since it handles less current than plug-in versions.

