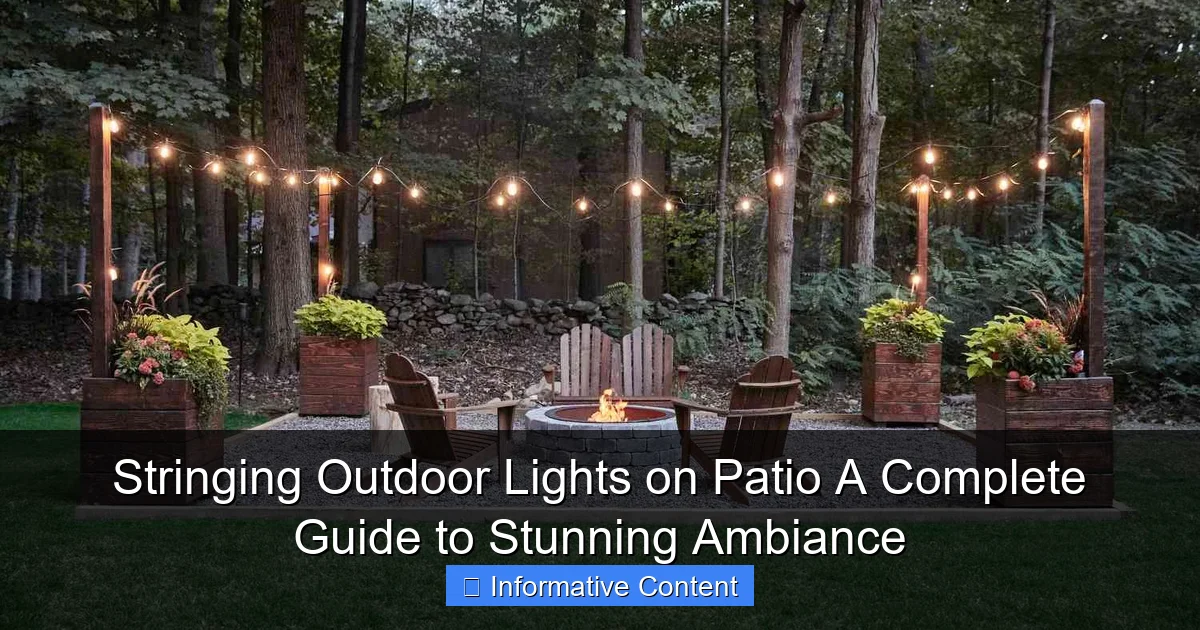
Featured image for stringing outdoor lights on patio
Image source: storables.com
Transform your patio into a captivating retreat by mastering the art of stringing outdoor lights with precision and style. From selecting weather-resistant fixtures to choosing the perfect spacing and power source, this guide walks you through every step to achieve a safe, seamless, and stunning ambiance that enhances your outdoor space for evening entertaining or quiet nights under the stars.
Key Takeaways
- Plan your layout first: Sketch light placement to avoid gaps or overhangs.
- Use weatherproof lights: Ensure durability with IP65-rated or higher fixtures.
- Secure with hooks or clips: Prevent sagging by anchoring every 12–18 inches.
- Mix light types creatively: Combine string, fairy, and lanterns for layered ambiance.
- Time with a smart plug: Automate on/off schedules for effortless mood lighting.
- Hide cords strategically: Tuck wires under railings or planters for a clean look.
📑 Table of Contents
- Why Stringing Outdoor Lights on Patio Is a Game-Changer
- Choosing the Right Lights for Your Patio
- Planning Your Layout: Design Meets Practicality
- Installation: Step-by-Step to a Flawless Setup
- Maintaining Your Lights: Longevity and Safety
- Creative Ideas and Pro Tips for Maximum Impact
- Final Thoughts: Your Patio, Your Sanctuary
Why Stringing Outdoor Lights on Patio Is a Game-Changer
There’s something magical about stepping onto your patio as dusk settles. The air cools, the stars peek through, and if you’ve got it just right—those soft, glowing lights overhead make the space feel like a cozy retreat. I remember the first time I strung outdoor lights on my patio. I stood back, hands on hips, grinning like I’d just won a design award. It wasn’t just the lights—it was the transformation. A simple wooden deck turned into a place where friends linger over wine, where late-night conversations feel more intimate, and where I actually want to spend time after dark.
But let’s be honest: getting there wasn’t easy. I tried the “just drape them randomly” method (spoiler: it looked like a spider’s web after a storm). I overestimated how many lights I needed. I even tangled myself in a net of LEDs trying to reach a far corner. If you’re thinking about stringing outdoor lights on patio, you’re not alone—and you’re in the right place. This guide is packed with real-world tips, hard-earned lessons, and practical advice to help you create a stunning, safe, and long-lasting ambiance. Whether you’re hosting summer BBQs or just want a peaceful nook for stargazing, the right lighting can make all the difference.
Choosing the Right Lights for Your Patio
Before you start hammering hooks into your pergola, take a breath. The type of lights you choose will shape your entire experience—from how they look to how long they last. Not all outdoor lights are created equal, and picking the wrong kind can lead to dim corners, blown bulbs, or even electrical hazards.
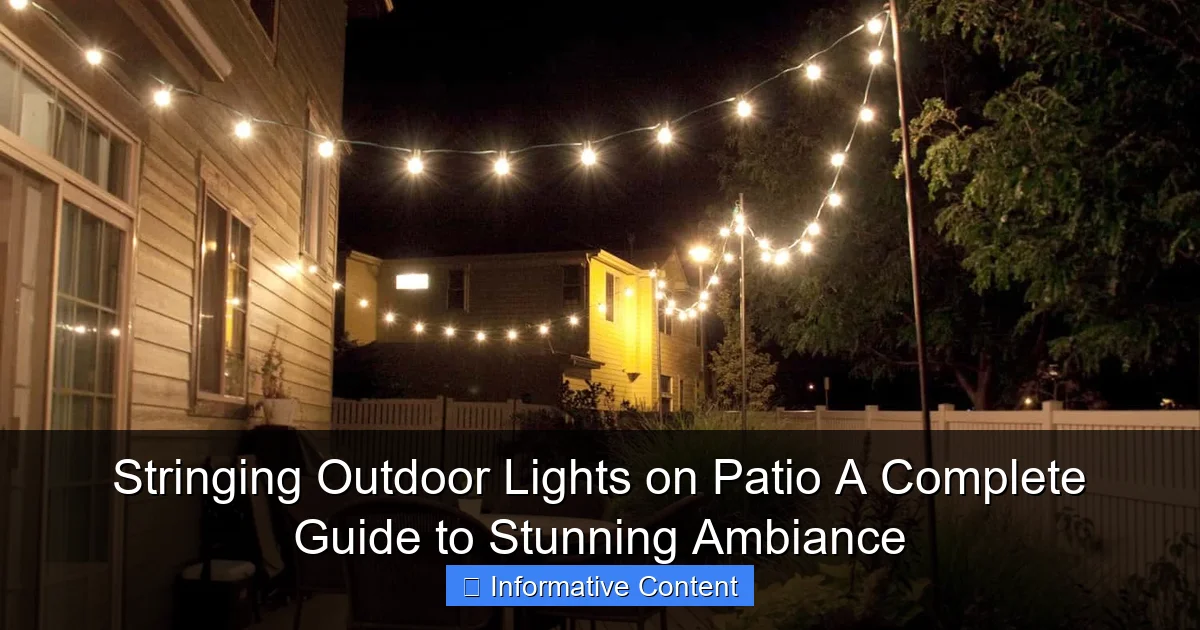
Visual guide about stringing outdoor lights on patio
Image source: wehangchristmaslights.com
Types of Outdoor Patio Lights
Let’s break down the most popular options, so you can match them to your style and needs:
- String lights (Edison or globe bulbs): These are the classic “fairy light” look. They’re perfect for a boho, rustic, or romantic vibe. I love Edison-style bulbs for their warm, vintage glow. They work great draped across beams or wrapped around posts.
- LED strip lights: These are flexible, thin strips with tiny LEDs embedded. They’re ideal for outlining railings, under benches, or along the edge of a pergola. They’re energy-efficient and can be cut to length. I used them under my patio bench, and it’s like sitting on a cloud of light.
- Net lights: These are grids of lights, perfect for covering large flat surfaces like a pergola roof or a trellis. They’re a time-saver if you want even coverage without fussing with individual strings.
- Path lights or solar stake lights: While not “stringed,” these complement your overhead setup. I use them along the walkway to the patio—adds safety and guides guests at night.
- Smart or color-changing lights: Want to shift from warm white to soft blue for a movie night? These connect to apps or voice assistants. Great for parties, but overkill if you just want a cozy glow.
Key Features to Consider
Here’s what I wish I’d known before buying my first set:
- Weatherproof rating: Look for “IP44” or higher. This means they’re splash- and rain-resistant. I once bought a set labeled “outdoor” that died after one storm—turns out, “outdoor” doesn’t always mean “weatherproof.”
- Bulb type: LED bulbs last longer (up to 50,000 hours) and use less energy. Incandescent bulbs are cheaper but burn out faster and get hot. Trust me, hot bulbs + summer nights = melted plastic.
- Plug-in vs. battery vs. solar: Plug-in lights are brightest and most reliable. Battery-powered are great for spots without outlets, but remember to charge them. Solar lights need 6+ hours of sun—don’t rely on them in shaded areas.
- Length and spacing: Measure your patio! A 12-foot string might sound long, but if your patio is 20 feet across, you’ll need multiple sets. Also, check bulb spacing—12-inch gaps feel cozy; 24-inch gaps look sparse.
- Dimmer and timer options: I use a timer so my lights turn on at dusk. A dimmer lets you set the mood—bright for parties, soft for quiet nights.
Pro Tip: Test Before You Install
Unpack your lights and plug them in before hanging them. I learned this the hard way when I spent an hour stringing up a set—only to find half the bulbs were dead. Also, check for frayed wires or loose bulbs. Safety first!
Planning Your Layout: Design Meets Practicality
Great lighting isn’t just about hanging lights—it’s about creating layers of light that guide the eye, highlight key areas, and avoid dark spots. Think of your patio like a room. You wouldn’t put one lamp in the center and call it a day, right?
Step 1: Map Your Zones
Divide your patio into functional areas:
- Dining area: Overhead lights here should be bright enough to see food but soft enough to feel inviting. I use a central chandelier-style string (like a cluster of globe bulbs) above my table.
- Seating area: Ambient lighting works best. Drape lights around the edges or hang them lower to create intimacy. I looped string lights around my lounge chairs, and it feels like a private nook.
- Walkways and steps: Use path lights or low-voltage LED strips. I added solar stake lights along my steps—no more stubbed toes!
- Decorative features: Want to highlight a fire pit, water feature, or plant? Use spotlights or wrap string lights around it.
Step 2: Choose Your Hanging Method
How you hang the lights affects both aesthetics and durability. Here are the most common (and effective) techniques:
- Ceiling or beam mounting: Use hooks, eye screws, or adhesive clips. I prefer stainless steel eye screws for a permanent look. For rental patios, try removable adhesive hooks (they work surprisingly well).
- Wall or post wrapping: Wrap string lights around pillars, railings, or trees. Use zip ties or twist ties for a clean look. I wrapped my pergola posts—adds height and structure.
- Overhead grid: Create a “canopy” by stringing lights between posts or trees. Use a guide wire (like fishing line or thin cable) to keep the lights taut. This is my favorite for large patios—it feels like dining under the stars.
- Free-hanging (no support): Only use this for short spans (under 6 feet). Longer spans will sag. I tried this once with a 10-foot gap—ended up with a droopy “U” shape. Not cute.
Step 3: Calculate Power Needs
Nothing ruins a party like a tripped breaker. Before you buy:
- Check the wattage of each light strand. Most LED strings use 10–20 watts.
- Most outdoor outlets can handle 15–20 amps. A rule of thumb: you can run 5–7 LED strings on one outlet. For incandescent, stick to 2–3.
- Use a power strip with a surge protector (not a regular indoor one). I keep mine in a waterproof box on the patio.
- If your patio is far from an outlet, consider a low-voltage system (like solar or battery-powered) or a portable battery pack (I use one for my string lights when I’m away from outlets).
Installation: Step-by-Step to a Flawless Setup
Alright, it’s time to get your hands dirty. But don’t worry—this is where the magic happens. I’ll walk you through each step, including the mistakes I made (so you don’t have to).
Gather Your Tools
You’ll need:
- Measuring tape
- Pencil or chalk (for marking)
- Drill (if using screws)
- Stainless steel eye screws, hooks, or adhesive clips
- Zip ties or twist ties
- Ladder (for high areas)
- Extension cords (if needed)
- Power strip with surge protector
Step 1: Mark Your Anchor Points
Use a pencil to mark where you’ll install hooks or screws. For an overhead grid:
- Measure the distance between supports (e.g., pergola posts).
- Mark every 2–3 feet along the beam. This prevents sagging.
- For wrapping, mark the top and bottom of each post.
Pro tip: Use a laser level (or a string with a small weight) to ensure your marks are straight. Crooked lights = crooked vibes.
Step 2: Install Hooks or Clips
For permanent setups:
- Drill pilot holes (smaller than the screw) to prevent splitting wood.
- Screw in stainless steel eye screws or hooks. These won’t rust.
- For brick or stucco, use masonry anchors.
For temporary or rental-friendly setups:
- Use adhesive hooks rated for outdoor use. I like the 3M Command Outdoor Hooks—they hold up to 5 pounds and come off cleanly.
- For railings, use zip ties or adjustable clamps.
Step 3: String the Lights
Now the fun part! Here’s how I do it:
- Start at the power source. Plug in the first string and work outward.
- Hang one end of the string on a hook, then stretch it to the next point. Don’t pull too tight—leave a little slack to avoid tension.
- Use zip ties to secure the cord to hooks or posts. This prevents wind damage.
- For overhead grids, run a guide wire first. Attach the lights to the wire with small clips or ties. This keeps everything straight.
- For wrapping, start at the top and spiral down. Overlap the lights slightly for even coverage.
Real talk: Wind is your enemy. I once had a gust blow my lights into a tangled mess. Now, I always secure every 18 inches and avoid loose ends.
Step 4: Connect Multiple Strings
If you need more than one string:
- Check if they’re “end-to-end connectable.” Most LED strings have male/female plugs.
- Connect them before hanging. Test each connection.
- Use outdoor-rated extension cords. Never daisy-chain more than 3–4 strings—this overloads the circuit.
Step 5: Test and Adjust
Plug everything in and:
- Check for dark spots. Add a small spotlight or extra string if needed.
- Adjust sagging lights. Tighten the guide wire or add a support hook.
- Ensure cords are hidden or secured. I tuck mine behind plants or under railings.
Maintaining Your Lights: Longevity and Safety
You’ve done the hard work—now keep it looking great. Outdoor lights face sun, rain, wind, and pests. A little maintenance goes a long way.
Seasonal Care
- Spring: Inspect for damage. Replace broken bulbs or frayed wires. Clean off pollen and debris with a soft brush.
- Summer: Check for overheating (rare with LEDs, but incandescent bulbs can get hot). Trim overgrown plants that might block light or tangle cords.
- Fall: Clear leaves and debris from light strings. This prevents moisture buildup and mold.
- Winter: If you live in a snowy area, consider removing lights or using a cover. Heavy snow can break strings. I leave mine up but add a plastic tarp over the power strip.
Troubleshooting Common Issues
Even the best setups have hiccups. Here’s how I fix them:
- Half the string is out: Check the fuse in the plug (many have a small compartment). Replace it with a spare (keep extras in a waterproof bag).
- Lights flicker: Tighten loose bulbs. If it’s a smart light, reset the app connection.
- Water in the socket: Unplug immediately. Let it dry for 48 hours. For future protection, use silicone sealant around the plug.
- Animals chewed the cord: Use conduit (plastic tubing) to protect wires. I wrap mine in spiral wrap for a clean look.
When to Replace
LED lights can last 10+ years, but watch for:
- Fading or discoloration (sun damage).
- Corroded sockets or plugs.
- More than 20% of bulbs dead.
I keep a “light kit” with spare bulbs, fuses, and zip ties. It’s saved me more than once.
Creative Ideas and Pro Tips for Maximum Impact
Now that you’ve got the basics, let’s level up. These ideas will make your patio feel like a destination, not just a backyard.
Layer Your Lighting
Combine different types for depth:
- Overhead string lights for ambient light.
- LED strips under benches or tables for glow.
- Spotlights on plants or art for drama.
- Fairy lights in glass jars for tables.
I use this combo for dinner parties—it’s like a scene from a movie.
Play with Height and Movement
- Hang lights at different heights. I have some at 7 feet (eye level) and some at 10 feet (canopy).
- Use a fan or gentle breeze to make lights sway. I added a small outdoor fan—creates a dreamy, kinetic effect.
Match Your Style
Lighting should reflect your personality:
- Bohemian: Mix colors, textures, and bulb shapes. Add tassels or beads.
- Modern: Use clean lines. White or black wires, minimalist hooks.
- Rustic: Edison bulbs, wooden posts, and warm tones.
- Tropical: Colorful bulbs, palm trees, and tiki torches.
Lighting for Special Occasions
- Romance: Dim the lights. Add candles or fairy lights in mason jars.
- Party: Use color-changing lights or a disco ball. I sync my smart lights to music—it’s a hit!
- Quiet night: Warm, soft glow. No harsh whites.
Data Table: Recommended Light Types by Patio Size
| Patio Size (sq ft) | Recommended Light Type | Number of Strings (approx) | Power Source | Best for |
|---|---|---|---|---|
| 50–100 | String lights (globe or Edison) | 2–3 | Plug-in | Dining, cozy nooks |
| 100–200 | String lights + LED strips | 3–5 | Plug-in + timer | Entertaining, multi-zone |
| 200–300 | Overhead grid + path lights | 5–7 | Plug-in + surge protector | Large patios, parties |
| 300+ | Smart lights + spotlights | 7–10 | Plug-in + battery packs | Outdoor rooms, events |
Final Thoughts: Your Patio, Your Sanctuary
Stringing outdoor lights on patio isn’t just a DIY project—it’s an act of care. It’s about creating a space where you want to be, where memories happen, and where the day’s stress melts away. I’ve spent countless evenings out there, wrapped in the glow of my lights, and it’s become my favorite room in the house.
Remember, perfection isn’t the goal. It’s about joy. If your lights are a little crooked? That’s personality. If one string burns out? It’s an excuse to add a new color. The best setup is the one that makes you smile when you step outside.
So grab your tools, pick lights that speak to you, and start stringing. Your patio is waiting. And when the sun sets and the first light flickers on? You’ll know you’ve created something beautiful. Happy lighting!
Frequently Asked Questions
How do I hang outdoor string lights on a patio without nails or damage?
Use adhesive hooks, tension rods, or clip-on fasteners designed for patios to avoid drilling. These options securely hold lights while preserving your space, making them ideal for renters or delicate surfaces.
What type of outdoor lights are best for a patio ambiance?
Weather-resistant LED string lights with warm white or soft yellow tones create a cozy, inviting glow. Look for UL-rated lights with shatterproof bulbs for safety and durability during stringing outdoor lights on patio projects.
Can I leave patio string lights up year-round?
Yes, but only if they’re rated for continuous outdoor use and properly installed. Check for UV-resistant cords and secure connections to withstand rain, snow, and temperature swings without damage.
How high should I hang string lights above a patio?
For optimal ambiance, hang lights 8–10 feet above the ground. This height prevents glare, ensures even light distribution, and allows clearance for people and furniture.
How do I power outdoor string lights without nearby outlets?
Use solar-powered lights with built-in batteries or run a heavy-duty outdoor extension cord to the nearest power source. Solar options are ideal for stringing outdoor lights on patio setups in remote areas.
What’s the easiest way to create a professional look with patio lights?
Plan your layout first, use zip ties for clean lines, and drape lights in zigzag or parallel patterns. Overlapping layers with varying heights adds depth and a polished, designer touch.

