Featured image for attach string lights to fence
Image source: img.yardenvy.com
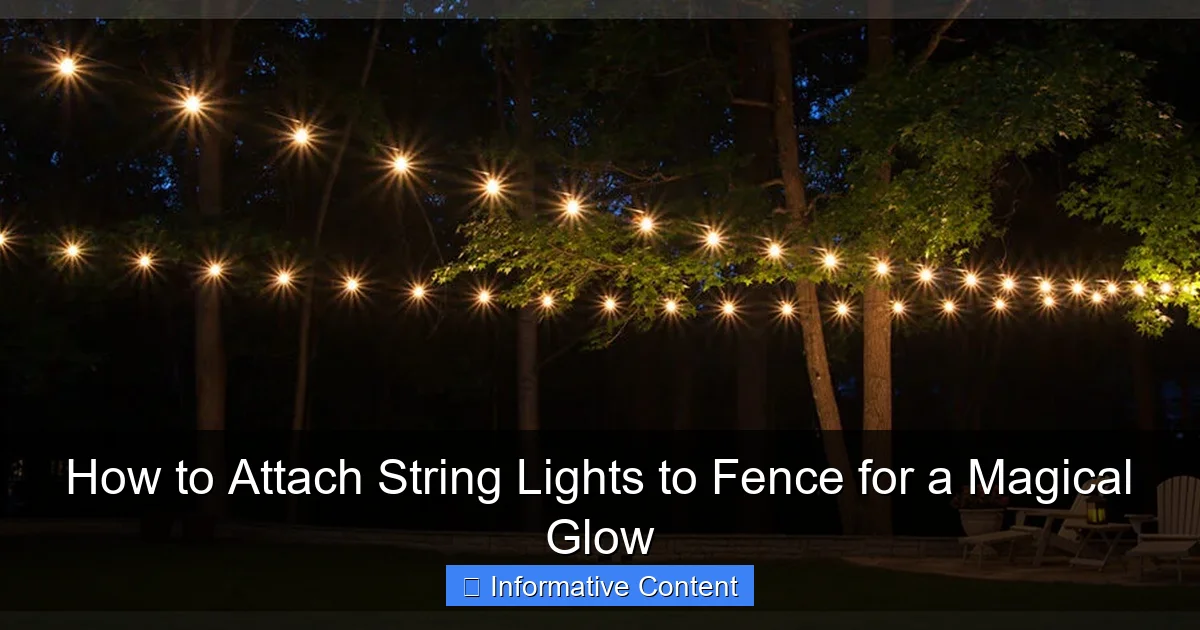
Transform your outdoor space by securely attaching string lights to your fence using durable hooks or zip ties for a safe, seamless glow. Choose weather-resistant lights and space them evenly to highlight your fence’s shape while avoiding sagging or tangled cords. This simple DIY upgrade creates instant ambiance for entertaining or relaxing under a magical, starry-lit sky.
Key Takeaways
- Plan your layout: Measure fence length and mark light spacing for even coverage.
- Choose weatherproof lights: Ensure durability with IP65-rated or outdoor-rated string lights.
- Use removable hooks: Install damage-free adhesive or screw-in hooks for easy adjustments.
- Secure connections: Keep power cords low and use zip ties to prevent sagging.
- Test before hanging: Verify lights work fully before final installation for hassle-free setup.
- Add timers or dimmers: Automate ambiance and save energy with smart controls.
📑 Table of Contents
- Transform Your Outdoor Space with String Lights
- Choosing the Right String Lights for Your Fence
- Preparing Your Fence for Installation
- Best Methods to Attach String Lights Without Damaging Your Fence
- Tips for a Professional, Long-Lasting Installation
- Creative Design Ideas to Elevate Your Fence Lighting
- Enjoy the Glow — Safely and Beautifully
Transform Your Outdoor Space with String Lights
Imagine this: it’s a warm summer evening, and the sun has just dipped below the horizon. You’re sitting outside with friends or family, sipping a cold drink, and suddenly, your backyard transforms. Twinkling string lights gently illuminate your fence, casting a warm, magical glow over your patio or garden. It feels like a scene from a movie — and the best part? You can create this enchanting atmosphere yourself. String lights aren’t just for the holidays anymore. They’re a year-round way to add charm, warmth, and personality to your outdoor space. Whether you’re hosting a dinner party, enjoying a quiet night under the stars, or just want to make your yard feel cozier, attaching string lights to your fence is one of the easiest and most rewarding DIY projects you can tackle.
But let’s be honest — while the idea sounds dreamy, the actual process of attaching string lights to a fence can feel a little intimidating. What kind of lights should you use? How do you keep them secure without damaging your fence? Will they survive the next storm? I’ve been there. I once spent an entire Saturday wrestling with tangled lights and flimsy clips, only to have half of them fall down the next day. After a few trials (and a few mistakes), I’ve learned the right way — and the wrong way — to do it. In this guide, I’ll walk you through everything you need to know to attach string lights to your fence safely, securely, and beautifully. From choosing the right lights to avoiding common pitfalls, you’ll be ready to create that magical glow in no time.
Choosing the Right String Lights for Your Fence
Before you start hammering or drilling, the first step is picking the right string lights. Not all lights are created equal, and the type you choose will affect how easy they are to install, how long they last, and how they look once they’re up. Think of it like picking the right shoes for a hike — you wouldn’t wear sandals on a rocky trail, and you shouldn’t pick the wrong lights for your fence setup.
Visual guide about attach string lights to fence
Image source: dreamingofhomemaking.com
Types of String Lights
There are several common types of string lights, each with pros and cons:
- Incandescent lights: These are the classic, warm-glow lights you might remember from childhood. They’re affordable and create a cozy, nostalgic feel, but they use more energy, get hot, and don’t last as long. They’re also less weather-resistant, so they’re better for covered or indoor use.
- LED lights: The modern favorite. LED lights use less energy, stay cool to the touch, and can last for years. They come in warm white, cool white, and even color-changing options. Look for weatherproof or outdoor-rated LED string lights — they’re built to handle rain, wind, and sun. Many also have built-in timers or remote controls.
- Edison-style bulbs: These have a vintage, exposed-filament look and give off a soft, amber glow. They’re popular for patios and pergolas and work great on fences. Just make sure they’re rated for outdoor use.
- Net or curtain lights: These are pre-arranged in a grid or waterfall pattern, making them easy to drape over a fence. They’re ideal if you want even coverage without measuring every bulb.
When I first started, I bought the cheapest lights I could find — big mistake. They burned out after one season and looked dim and patchy. Now, I always invest in quality outdoor LEDs. They’re worth every penny.
Length, Spacing, and Brightness
Measure your fence before buying. You’ll need to know the total length to avoid running short or buying too much. As a rule of thumb:
- For a standard 6-foot fence, plan for about 1.5 to 2 feet of lighted length per linear foot of fence. This gives you enough overlap and visual depth.
- Check the spacing between bulbs. Closer spacing (2–3 inches) creates a denser, more continuous glow, while wider spacing (6+ inches) gives a more starry, twinkly effect.
- Brightness is measured in lumens. For ambient lighting, 50–100 lumens per foot is ideal. For task lighting (like over a seating area), go higher.
Pro tip: Buy one extra set of lights than you think you need. It’s much easier to have a little extra than to run out halfway through installation.
Power Source and Safety
Most outdoor string lights plug into a standard outlet, but consider your power options:
- Plug-in lights: Easy to set up, but you’ll need an outdoor GFCI outlet nearby. Use a weatherproof extension cord if needed.
- Solar-powered lights: Eco-friendly and wire-free, but they depend on sunlight. They may not shine as brightly on cloudy days or in shaded areas. Great for fences in sunny spots.
- Hardwired lights: More permanent and reliable, but require electrical work. Best if you’re renovating or building a new fence.
Always check that the lights are UL-listed or ETL-certified for outdoor use. This means they’ve been tested for safety and weather resistance. Avoid using indoor-only lights outside — they can short-circuit or even become a fire hazard.
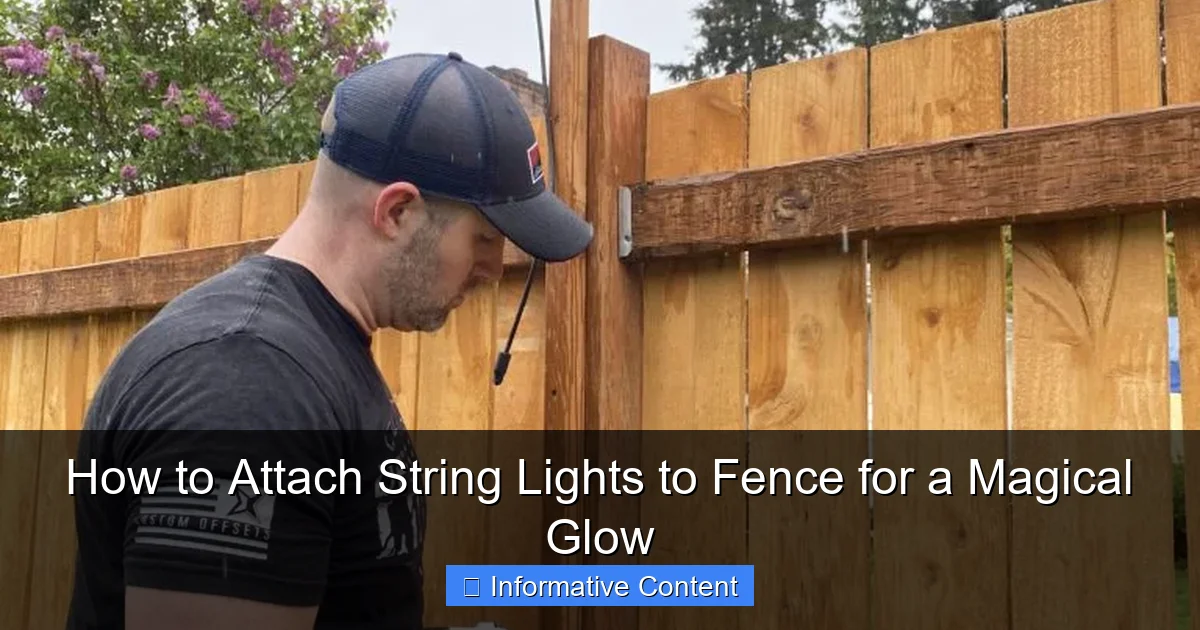
Preparing Your Fence for Installation
You wouldn’t paint a dirty wall, and you shouldn’t install lights on a neglected fence. A little prep work goes a long way in making your lights last longer and look better.
Visual guide about attach string lights to fence
Image source: i.ytimg.com
Clean the Fence
Start by giving your fence a good cleaning. Dirt, mold, and mildew can weaken adhesive clips and make lights look dull. Use a garden hose and a soft brush or sponge with mild soap. For stubborn stains, a 1:1 mix of water and white vinegar works well. Let the fence dry completely — moisture can ruin both the lights and the attachment hardware.
Inspect the Fence Condition
Check for loose boards, splinters, or rotting wood. If you’re using screws or nails, you need solid wood to anchor into. For vinyl or metal fences, make sure they’re free of dents or sharp edges that could cut wires. If your fence is old or fragile, consider using non-invasive methods like adhesive hooks or zip ties to avoid damage.
Plan Your Layout
Before you start attaching anything, sketch out your design. Ask yourself:
- Do you want lights along the top edge, the bottom, or in a zigzag pattern?
- Will you drape them over the top and let them hang down?
- Are there corners, gates, or posts that need special attention?
I like to use masking tape to mark where I want each clip or hook. It’s low-risk and easy to adjust. For a symmetrical look, measure from the corners or posts. For a more organic, “fairy tale” effect, let the lights follow the natural lines of the fence.
Also, plan your power path. Where will the plug reach? Can you hide the cord behind plants or a planter? A well-planned layout saves time and frustration later.
Best Methods to Attach String Lights Without Damaging Your Fence
Now comes the fun part — actually attaching the lights. The key is to keep them secure without harming your fence. Here are the most effective, fence-friendly methods I’ve used over the years.
Adhesive Hooks and Clips
Perfect for vinyl, metal, or painted wood fences. These are small plastic or metal clips with strong adhesive backing. They’re removable and won’t leave holes or marks.
- Use outdoor-rated adhesive hooks (rated for at least 3 lbs per hook).
- Clean the surface with rubbing alcohol before applying.
- Press firmly for 30 seconds and wait 24 hours before hanging lights (this ensures the adhesive fully bonds).
- Space hooks every 12–18 inches for even support.
I’ve used these on my vinyl fence for three summers, and they’ve never fallen off — even during heavy rain. Just avoid using them in extreme heat or direct sun, as the adhesive can weaken.
Zip Ties (Cable Ties)
A quick, cheap, and surprisingly durable option. Use UV-resistant zip ties so they don’t crack in the sun.
- Loop the tie around the fence post or rail and through the light’s hanging loop or bulb base.
- Snug but don’t over-tighten — you don’t want to crush the wire.
- Trim the excess with scissors or wire cutters.
- Use multiple ties at corners or heavy sections.
Zip ties work great on chain-link or metal fences. Just be careful with wooden fences — don’t overtighten and cause cracks.
Fence Clips and Clamps
These are designed specifically for fences. They clip onto the top rail or post and have a loop for the light string. They’re reusable and don’t require adhesives or tools.
- Choose clips that fit your fence’s thickness (most work with 1–2 inch rails).
- They’re ideal for temporary setups or if you want to change your design each season.
- Some even have built-in cord organizers to keep the plug end tidy.
I keep a set of these in my garden shed — they’re my go-to for quick installations.
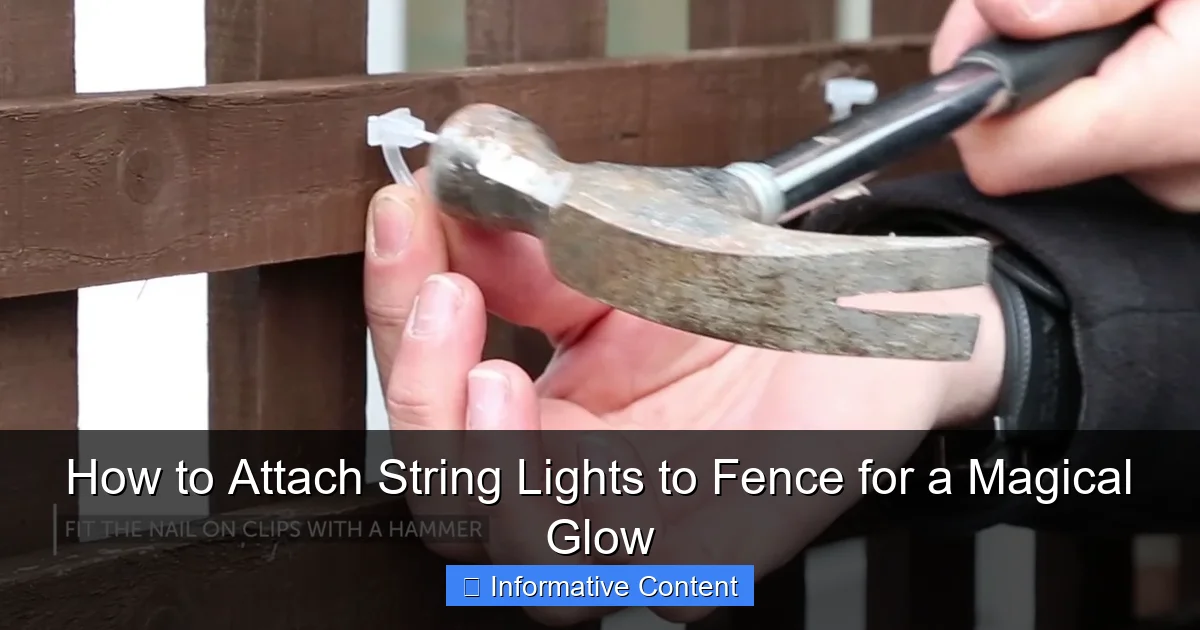
Screws and Hooks (for Permanent Installations)
If you’re okay with drilling small holes, this is the most secure method. Use stainless steel or galvanized screws to prevent rust.
- Install small eye hooks or cup hooks every 12–18 inches.
- Use a drill with a small pilot bit to avoid splitting the wood.
- Hang the lights by their loops or use S-hooks for easy removal.
This method is great if you want a permanent setup or live in a windy area. Just remember: you’ll have small holes to patch if you ever remove the lights.
Alternative: Drape Over the Top
For a softer, more casual look, drape the lights over the top of the fence and let them hang down. Use the methods above to secure the ends and any midpoints.
- Add extra clips at the top to prevent sagging.
- Let the lights hang 12–18 inches for a balanced look.
- Perfect for creating a “canopy” effect over a seating area.
I used this method for a friend’s backyard wedding, and it looked magical — like a glowing curtain.
Tips for a Professional, Long-Lasting Installation
Even the best lights can look messy if the installation isn’t done right. Here are my top tips for a clean, durable setup.
Use a Level and Measuring Tape
Nothing ruins the look like crooked lights. Use a level to make sure your clips or hooks are aligned. Measure from the top or bottom edge to keep the spacing consistent. A little precision makes a big difference.
Manage Cords and Plugs
Exposed cords are an eyesore and a tripping hazard. Use cord clips or weatherproof cord covers to run the plug end down the fence and into an outlet. Tuck it behind a planter or along the base of the fence. If you have multiple sets, connect them with a weatherproof power tap to avoid a tangled mess.
Test Before You Hang
Always plug in the lights before installing them. Check for dead bulbs, frayed wires, or dim spots. Replace any faulty sections. It’s much easier to fix them on the ground than halfway up a ladder.
Secure the Ends and Corners
The ends and corners take the most stress. Use extra clips or double zip ties. For corners, loop the lights around the post or use a corner clip. This prevents sagging and keeps the lights taut.
Weatherproof Your Setup
Even outdoor-rated lights need protection. Avoid letting bulbs sit in standing water. If you live in a rainy area, angle the bulbs downward slightly so water runs off. Use waterproof wire connectors for any splices. And if you get heavy snow, consider removing the lights temporarily to avoid damage.
Store Properly Off-Season
At the end of the season, take the lights down carefully. Wrap them around a cardboard rectangle or use a light reel to prevent tangles. Store them in a dry, cool place. I keep mine in a labeled plastic bin with silica gel packets to absorb moisture.
Creative Design Ideas to Elevate Your Fence Lighting
Now that you’ve got the basics down, let’s have some fun. String lights don’t have to be boring. With a little creativity, you can turn your fence into a work of art.
Zigzag or Crisscross Pattern
Instead of running the lights straight along the top, create a zigzag from one post to the next. Use clips at each post to guide the lights. This adds depth and movement — perfect for larger fences.
Curtain or Waterfall Effect
Hang multiple strands vertically from the top rail, letting them drape down like a curtain. Space them 6–8 inches apart for a lush, layered look. Add a sheer fabric behind for extra drama.
Highlight Fence Features
Use lights to draw attention to architectural details — like a gate, arch, or built-in planter. Wrap lights around the gate frame or outline a trellis. This creates focal points and guides the eye.
Color Themes
Stick to one color for a cohesive look, or mix warm white with soft blue or amber for a dynamic effect. For holidays, swap in colored lights — just make sure they’re outdoor-rated.
Layer with Other Lighting
Combine string lights with path lights, spotlights, or solar lanterns for a layered lighting scheme. For example, use string lights on the fence and add ground-level lights to illuminate the area in front.
Interactive Elements
Install a smart plug or remote control so you can turn the lights on with your phone or voice assistant. Add a timer to automatically turn them on at sunset and off at bedtime.
| Fence Type | Best Attachment Method | Recommended Light Type | Notes |
|---|---|---|---|
| Wooden Fence | Screws, hooks, or zip ties | LED or Edison-style (outdoor-rated) | Drill pilot holes to avoid splitting |
| Vinyl/PVC Fence | Adhesive clips or fence clamps | LED (UV-resistant) | Avoid adhesives in direct sun |
| Metal/Chain-Link Fence | Zip ties or S-hooks | LED or net lights | Check for sharp edges |
| Concrete or Brick Wall | Masonry screws or adhesive hooks | LED with heavy-duty cord | Use a masonry bit for drilling |
Enjoy the Glow — Safely and Beautifully
There’s something undeniably magical about walking into a backyard lit by soft, twinkling string lights. It’s not just about the light — it’s about the feeling. The warmth, the comfort, the sense of peace. And the best part? You created it. Whether you’re using adhesive clips for a no-damage setup or going full DIY with screws and hooks, the process is part of the joy. You’re not just installing lights — you’re crafting an experience.
Remember, the goal isn’t perfection. A few sagging bulbs or a slightly crooked strand won’t ruin the effect. In fact, that’s part of the charm. Outdoor lighting should feel inviting, not sterile. So take your time, enjoy the process, and don’t stress over the small stuff. Test your lights, secure them well, and make sure everything is safe — then step back and admire your work.
And if you ever feel overwhelmed, just think back to that first evening when you turn them on. The way the light dances across the fence, the way it transforms your space. That’s the magic of string lights. So go ahead — attach those lights to your fence, invite some friends over, and let the glow do the rest. Your backyard will never be the same.
Frequently Asked Questions
How do I attach string lights to a fence without damaging it?
Use non-invasive methods like zip ties, removable adhesive hooks, or magnetic clips designed for fences. These options hold lights securely while preserving your fence’s finish and are perfect for renters or seasonal decor.
What’s the best way to attach string lights to a wooden fence?
For wooden fences, screw-in cup hooks or small eyelets are ideal—they’re sturdy and easy to install. Space them evenly along the fence line and loop the lights through for a clean, professional look.
Can I attach string lights to a chain-link fence?
Yes! Wrap the lights directly around the links or use S-hooks and zip ties for a snug fit. This method works well for temporary or permanent installations and keeps the lights tangle-free.
How do I ensure my string lights stay up in windy conditions?
Double up with heavy-duty zip ties or use tension wire threaded through the lights’ sockets. Secure anchor points at the top and bottom of the fence to prevent sagging or detachment.
Do I need special tools to attach string lights to a fence?
Most methods require only basic tools like a drill (for cup hooks) or pliers (for zip ties). For renter-friendly options, adhesive hooks or twist ties need no tools at all.
How can I hide the wires when attaching string lights to a fence?
Run lights along fence seams, tuck wires behind posts, or use cord covers for a seamless look. For extra discretion, choose warm-white lights with thin, dark cords that blend into the background.

