Featured image for can i shorten led string lights
Image source: oillampman.com
Yes, you can shorten LED string lights—but only if they’re designed to be cut, typically marked with designated cut points and powered by low-voltage drivers. Always check the manufacturer’s instructions and use proper tools to avoid damaging the circuit or creating a safety hazard. Cutting incorrectly can void warranties and lead to permanent failure, so proceed with caution and confidence only when guidelines allow.
Key Takeaways
- Always check manufacturer guidelines before cutting to avoid voiding warranties or damaging lights.
- Cut only at marked points to maintain circuit integrity and prevent failure.
- Use sharp wire cutters for clean, precise cuts without fraying wires.
- Seal cut ends properly with silicone to protect against moisture and short circuits.
- Test lights post-modification immediately to confirm functionality and safety.
- Measure twice, cut once to avoid irreversible mistakes and ensure perfect fit.
📑 Table of Contents
- Can I Shorten LED String Lights? A Quick Guide to Custom Lengths
- Understanding LED String Light Types and Their Modifiability
- When Is It Safe to Shorten LED String Lights?
- Tools and Materials for Shortening LED String Lights
- Step-by-Step Guide to Shortening LED String Lights
- Common Mistakes and How to Avoid Them
- Data Table: LED String Light Modifiability by Type
- Conclusion
Can I Shorten LED String Lights? A Quick Guide to Custom Lengths
LED string lights have become a staple in modern home decor, event planning, and outdoor ambiance. Their flexibility, energy efficiency, and vibrant glow make them ideal for everything from holiday lighting to year-round patio illumination. However, one common challenge arises when the standard lengths available don’t quite match your space: can I shorten LED string lights? Whether you’re draping them around a small balcony, outlining a compact bookshelf, or creating a cozy nook in a tiny apartment, the temptation to trim excess length is real. But before you reach for the scissors, it’s crucial to understand the technical and safety implications.
Many people assume that since LED string lights are often sold in 10-, 20-, or 50-foot lengths, they can be easily cut to fit. While this is sometimes possible, the answer isn’t a simple “yes” or “no.” It depends on the type of LED string, its construction, power source, and whether it’s designed for modification. In this guide, we’ll explore the ins and outs of shortening LED string lights—covering everything from safety precautions and tools to step-by-step techniques and common pitfalls. By the end, you’ll know exactly when and how to customize your lighting setup without compromising performance or safety.
Understanding LED String Light Types and Their Modifiability
Not all LED string lights are created equal. Before considering any modifications, it’s essential to identify the type of string you’re working with. Each category has different construction methods, which directly affect whether or not they can be safely shortened.
Visual guide about can i shorten led string lights
Image source: i.ytimg.com
1. Non-Addressable (Standard) LED String Lights
These are the most common types of LED string lights, often used for indoor and outdoor holiday decor. They consist of multiple LEDs wired in series or parallel along a flexible wire. The key distinction lies in the wiring configuration:
- Series-wired strings: LEDs are connected end-to-end. Cutting anywhere in the circuit breaks the entire loop, causing all remaining LEDs to turn off. These cannot be safely shortened.
- Parallel-wired strings: Each LED (or small group) has its own independent circuit. This allows sections to be cut without affecting the rest. These are often modifiable.
Example: A 20-foot warm white string with 100 LEDs spaced 2.4 inches apart may be parallel-wired, meaning you can cut off the last 5 feet without losing the first 15 feet.
2. Addressable LED Strings (e.g., WS2812B, NeoPixels)
These are smart LED strips or strings where each LED can be individually controlled via a microcontroller (like Arduino or Raspberry Pi). They use data lines (not just power and ground) and are typically sold in reels or fixed lengths. While they can be cut, there are strict rules:
- Only cut at designated cut points (usually marked by a scissor icon).
- Each section requires its own data connection and power injection if long.
- Cutting incorrectly can damage the entire string or cause erratic behavior.
Tip: Always consult the manufacturer’s datasheet before modifying addressable strings. For example, a 5-meter WS2812B strip may have cut points every 5 LEDs (about 3 inches).
3. Battery-Operated vs. Plug-In Strings
The power source also plays a role in modifiability:
- Battery-operated strings: Often use thinner wires and lower voltage (3V or 4.5V). While some can be shortened, the battery compartment is usually at one end. Cutting near the battery box may require rewiring.
- Plug-in (AC-powered) strings: Use heavier-duty wiring and transformers. They’re more likely to be parallel-wired and designed for outdoor use, making them more suitable for shortening—but only if the wiring allows.
Practical Tip: If your string has a visible plug and socket (end-to-end connectors), it’s likely designed for daisy-chaining and may be parallel-wired—increasing the chance it can be safely cut.
When Is It Safe to Shorten LED String Lights?
Before grabbing your tools, ask yourself: Is this LED string light truly safe to cut? The answer hinges on several technical and practical factors. Cutting the wrong type of string can result in complete failure, fire hazards, or voided warranties.
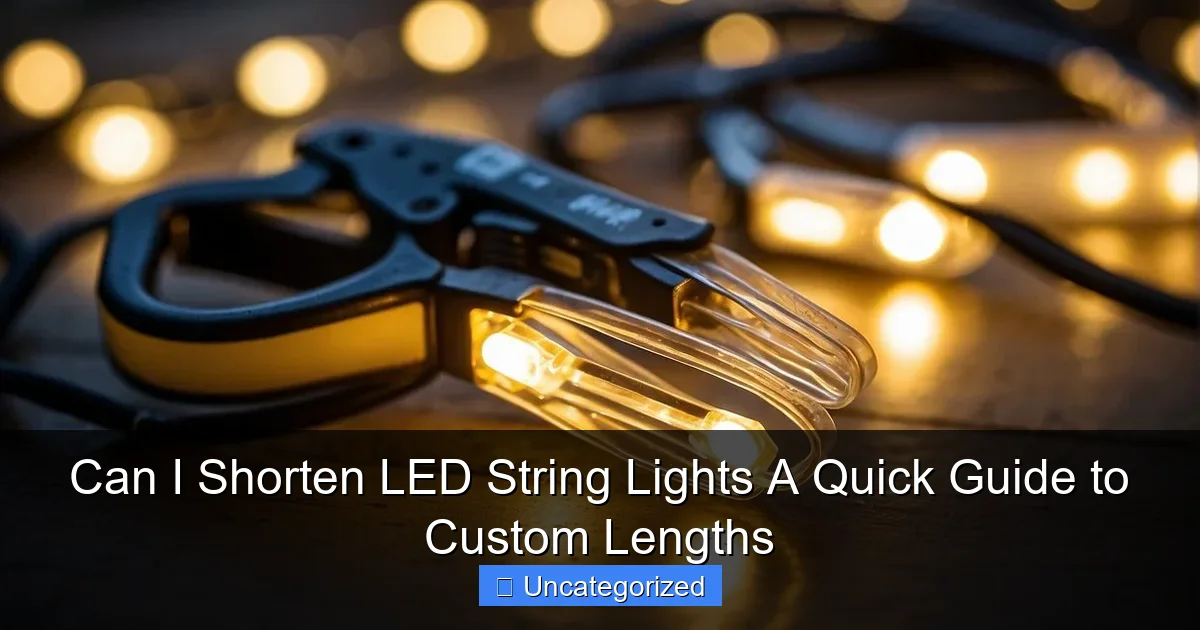
Visual guide about can i shorten led string lights
Image source: sleekspacedesigns.com
Check for Manufacturer Guidelines
Always start by reviewing the product manual or manufacturer’s website. Some brands explicitly state whether their strings are “cuttable” or “modular.” For example:
- Philips Hue Lightstrips: Designed to be cut at specific intervals (every 2 inches) with included connectors.
- GE Holiday Lights: Most standard strings are not cuttable; however, their “Connectable” series allows end-to-end linking but not mid-cutting.
Warning: Never assume a string is cuttable just because it looks similar to a modifiable one. Always verify.
Identify Wiring Configuration
To determine if a string is parallel-wired (and thus potentially cuttable), perform a simple test:
- Unplug the string.
- Cut a single LED or small section (1–2 LEDs) near the end.
- Plug it back in.
If the rest of the string still lights up, it’s likely parallel-wired and safe to shorten. If the entire string goes dark, it’s series-wired—do not cut it further.
Look for Cut Points or Markings
Many modifiable LED strings include visual cues:
- Scissors icons or dashed lines every few LEDs.
- Exposed copper pads or solder points at regular intervals.
- Pre-scored sections on the wire or strip.
Example: A 16.4-foot (5-meter) LED strip may have cut points every 2 inches, allowing you to remove 3.3 feet without issues.
Consider Voltage Drop and Power Requirements
Even if a string is technically cuttable, shortening it affects voltage distribution. Longer strings experience voltage drop, especially with low-voltage (12V or 24V) strips. Cutting off a portion reduces the load, which can cause the remaining LEDs to appear brighter or flicker. To avoid this:
- Use a multimeter to check voltage at the end of the shortened string. It should remain within 10% of the rated voltage.
- For strips longer than 10 feet, inject power at both ends (even after cutting).
Tip: If you’re shortening a 24V strip from 20 feet to 12 feet, the remaining half may need a new power supply to maintain consistent brightness.
Tools and Materials for Shortening LED String Lights
Shortening LED string lights isn’t just about cutting—it’s about doing it cleanly, safely, and permanently. Using the right tools ensures a professional result and prevents damage to the lights or yourself.
Essential Tools
- Wire cutters/strippers: A sharp pair of flush-cut wire cutters for clean cuts. Use wire strippers (18–22 AWG) for exposed copper wires.
- Scissors (for silicone-coated strings): Some decorative strings have a rubber or silicone jacket. Regular scissors work better than wire cutters here.
- Multimeter: To test continuity, voltage, and polarity after cutting.
- Soldering iron and rosin-core solder: For making secure, permanent connections (especially on LED strips).
- Heat shrink tubing or silicone sealant: To insulate and waterproof cut ends.
- Electrical tape (optional): For temporary insulation (not recommended for outdoor use).
Recommended Materials for Reconnection
If you’re shortening a string and plan to reuse the cut-off portion or connect it to another device, you’ll need:
- LED strip connectors: Clip-on or solderless connectors (e.g., 4-pin for RGB strips, 2-pin for single-color).
- Terminal blocks or crimp connectors: For standard wire strings.
- Waterproof silicone (for outdoor use): To seal exposed wires and prevent corrosion.
- Shrink wrap tubing (various sizes): Apply with a heat gun for a tight, protective seal.
Step-by-Step Preparation
Before cutting, follow these preparatory steps:
- Unplug the string and let it cool (if recently used).
- Measure and mark the cut point with a marker or tape. Use a ruler for precision.
- For LED strips, cut only along the designated cut lines—never between them.
- For wire strings, cut between LEDs, leaving at least 1/4 inch of wire on each side.
- Inspect the cut end: Look for exposed copper, broken solder joints, or frayed wires.
Practical Example: You’re shortening a 10-foot warm white string (parallel-wired) to 7 feet. Measure 7 feet from the plug, mark between the 70th and 71st LED, cut cleanly, then strip 1/4 inch of insulation to prepare for reconnection.
Step-by-Step Guide to Shortening LED String Lights
Now that you’ve assessed your string and gathered tools, it’s time to shorten it safely. This guide covers both LED strips and standard wire strings.
Shortening an LED Strip (e.g., 12V RGB Strip)
- Locate the cut point: Find the nearest cut line (marked by scissors icon or copper pads).
- Cut cleanly: Use scissors or a utility knife to cut straight across the strip. Avoid bending or crushing the circuit board.
- Inspect the end: You should see three copper pads: +12V, Data In (for addressable), and Ground (GND).
- Solder or connect:
- For permanent installation: Solder wires to the pads and connect to your power supply.
- For modular use: Attach a solderless LED connector. Ensure polarity matches (red to +12V, black to GND).
- Insulate: Slide heat shrink tubing over the connection and apply heat. For outdoor use, add a dab of silicone sealant.
- Test: Plug in the strip. All LEDs should light up consistently.
Tip: If the first few LEDs flicker, it may be due to poor solder joints. Reheat and reflow the solder.
Shortening a Standard Wire String (Parallel-Wired)
- Cut between LEDs: Use wire cutters to snip the wire between two bulbs, leaving 1/4 inch of wire on each side.
- Strip the ends: Remove 1/4 inch of insulation from both cut wires.
- Twist and solder: Twist the exposed copper together, then solder for a strong bond.
- Insulate: Cover the joint with heat shrink tubing or electrical tape. For outdoor strings, use silicone sealant.
- Test: Plug in the string. The shortened portion should work; the cut-off end will remain dark.
Caution: Do not cut near the plug or socket unless you’re experienced with rewiring. The plug contains a transformer and may require a new plug if cut.
Shortening a Battery-Operated String
These are trickier because the battery compartment is usually at one end. If you cut the string:
- The remaining LEDs will still work if parallel-wired.
- But the battery pack will now be in the middle or at the end of a shorter string.
- You may need to reposition the battery pack (e.g., tape it to the wall or use an extension cord).
Alternative: Instead of cutting, use a battery pack extension wire (available online) to move the pack away from the lights while keeping the full length.
Reusing the Cut-Off Portion
Don’t throw away the cut-off end! You can:
- Attach a new plug or socket to create a separate short string.
- Use it for small projects (e.g., inside a lantern or picture frame).
- Connect it to a battery pack for a portable light.
Example: Cut a 20-foot string into 15-foot and 5-foot sections. Use the 15-foot for your patio and the 5-foot for a bedroom accent.
Common Mistakes and How to Avoid Them
Even with the best intentions, mistakes happen. Here are the most common errors when shortening LED string lights—and how to prevent them.
1. Cutting Series-Wired Strings
Problem: Cutting a series-wired string breaks the circuit, rendering the entire string useless.
Solution: Always test with a small cut first. If the string goes dark, it’s series-wired—do not cut further. Instead, use zip ties or clips to bundle excess length.
2. Poor Insulation
Problem: Exposed wires can cause short circuits, especially outdoors.
Solution: Use heat shrink tubing (not just tape) and add silicone for waterproofing. Test with a multimeter to ensure no continuity between wires.
3. Ignoring Polarity
Problem: Reversing + and – wires on LED strips can damage the LEDs or controller.
Solution: Double-check polarity before soldering. Most strips have a “+” and “-” marked on the pads.
4. Overloading the Power Supply
Problem: Shortening a string doesn’t always mean it needs less power. Some configurations (like parallel LEDs) still draw high current.
Solution: Calculate total wattage (Volts × Amps) and ensure your power supply can handle it. Use a power meter for accuracy.
5. Cutting at Non-Designated Points
Problem: Cutting between solder pads on an LED strip damages the circuit.
Solution: Always cut at marked lines. If none are visible, assume it’s not cuttable.
6. Skipping the Test
Problem: Assuming the shortened string works without testing can lead to frustration later.
Solution: Plug it in immediately after shortening. Fix any issues before final installation.
Data Table: LED String Light Modifiability by Type
| LED String Type | Cuttable? | Cut Points | Power Source | Recommended Tools | Special Notes |
|---|---|---|---|---|---|
| Standard Parallel-Wired | Yes | Between LEDs | AC Plug or Battery | Wire cutters, solder, heat shrink | Test first; avoid series-wired |
| LED Strip (Non-Addressable) | Yes | Marked cut lines | 12V/24V DC | Scissors, solder, connectors | Maintain polarity |
| Addressable Strip (e.g., WS2812B) | Yes (with caution) | Marked cut lines | 5V/12V DC | Microcontroller, data line | Each section needs data connection |
| Series-Wired String | No | N/A | AC Plug | Zip ties, clips | Bundle excess instead |
| Battery-Operated (Parallel) | Yes (with rewiring) | Between LEDs | 3V/4.5V Battery | Wire cutters, solder | Reposition battery pack |
Conclusion
So, can I shorten LED string lights? The answer is: it depends—but with the right knowledge, tools, and precautions, you can often customize your lighting to fit any space perfectly. Whether you’re working with a simple warm white string, a high-tech addressable strip, or a battery-powered fairy light, understanding the wiring, power requirements, and manufacturer guidelines is key to a safe and successful modification.
Remember, the golden rule is: when in doubt, don’t cut. Use zip ties, clips, or extension cords to manage excess length instead. But if your string is parallel-wired or marked as cuttable, go ahead—shorten it with confidence. Just follow the steps outlined here: test first, cut cleanly, insulate properly, and test again. By doing so, you’ll not only save money on custom-length strings but also unlock endless creative possibilities for your lighting design.
From cozy bedroom canopies to minimalist kitchen accents, shortened LED string lights offer a personalized touch that off-the-shelf lengths simply can’t match. So grab your tools, measure twice, cut once, and illuminate your space exactly how you envision it—safely, beautifully, and brilliantly.
Frequently Asked Questions
Can I shorten LED string lights without damaging them?
Yes, you can shorten LED string lights safely if done correctly. Always cut at designated points (often marked with scissors icons) and seal exposed wires with electrical tape or heat shrink tubing to prevent shorts.
Where should I cut LED string lights to shorten them?
Look for cut marks—usually small scissors symbols or lines between LEDs—on the wire. Cutting elsewhere may damage the circuit, so follow the manufacturer’s guidelines to preserve functionality.
Will shortening LED string lights affect brightness or performance?
Properly shortening LED string lights won’t affect brightness or performance, but avoid overloading circuits. Ensure the power supply matches the reduced length to maintain optimal output.
Can I shorten battery-powered LED string lights?
Yes, battery-powered LED string lights can be shortened, but ensure the battery pack’s voltage suits the new length. Always insulate cut ends to prevent battery drain or short circuits.
Do I need special tools to shorten LED string lights?
Basic tools like wire cutters and electrical tape suffice for shortening LED string lights. For waterproof strands, use silicone sealant to protect cut ends from moisture.
Is it safe to shorten LED string lights myself?
Yes, it’s safe if you follow instructions and cut only at marked points. For complex setups (e.g., USB or smart lights), consult the manual to avoid voiding warranties or causing hazards.

