Featured image for can you glue micro led string lights
Image source: images.fyndiq.se
Yes, you can glue micro LED string lights safely and securely using the right adhesive, such as low-heat silicone or mounting tape, to avoid damaging delicate components. Prioritize non-conductive, flexible glues that won’t short circuits or weigh down the thin wiring, ensuring long-lasting placement on walls, frames, or decor. Always test a small section first to confirm compatibility and avoid overheating risks.
Key Takeaways
- Use low-heat glue to prevent LED damage during application.
- Silicone adhesive offers flexibility and secure hold for delicate wires.
- Avoid over-gluing—apply sparingly to maintain light strand integrity.
- Test adhesion first on a small section to ensure safety and stability.
- Secure battery pack separately to prevent wire strain and disconnections.
- Opt for clear glue to preserve the aesthetic of your lights.
📑 Table of Contents
- The Magic of Micro LED String Lights: A Delicate Balance Between Beauty and Installation
- Understanding Micro LED String Lights: Why Gluing Requires Caution
- Best Adhesives for Gluing Micro LED String Lights: Safety and Durability
- Surfaces That Work (and Don’t Work) for Glued Micro LED Lights
- Step-by-Step Guide: How to Glue Micro LED String Lights Safely
- Long-Term Maintenance and Removal: Preserving Your Lights and Surfaces
- Conclusion: Gluing Micro LED String Lights—A Balanced Approach
The Magic of Micro LED String Lights: A Delicate Balance Between Beauty and Installation
Few things evoke the same sense of magic and wonder as micro LED string lights. Whether draped across a headboard, woven through a wedding arch, or twinkling in a child’s bedroom, these delicate strands of light transform ordinary spaces into enchanting realms. Their tiny, energy-efficient bulbs emit a warm, ambient glow that’s perfect for creating cozy atmospheres, holiday displays, or year-round decor. But as their popularity grows, so do the questions about their installation—especially when it comes to securing them without damage or frustration. One of the most common queries: Can you glue micro LED string lights safely and securely?
The answer isn’t a simple yes or no. Micro LED string lights are delicate by design—their thin wires, tiny bulbs, and often battery-powered or low-voltage systems require careful handling. Gluing them might seem like a quick fix for a permanent installation, but the wrong adhesive can ruin the lights, damage the surface, or even pose a safety risk. In this comprehensive guide, we’ll explore the do’s and don’ts of using glue with micro LED string lights, covering everything from adhesive types and surface compatibility to long-term durability and safety. Whether you’re a DIY enthusiast, a holiday decorator, or a professional event planner, this guide will help you make informed decisions that preserve the beauty of your lights and the integrity of your space.
Understanding Micro LED String Lights: Why Gluing Requires Caution
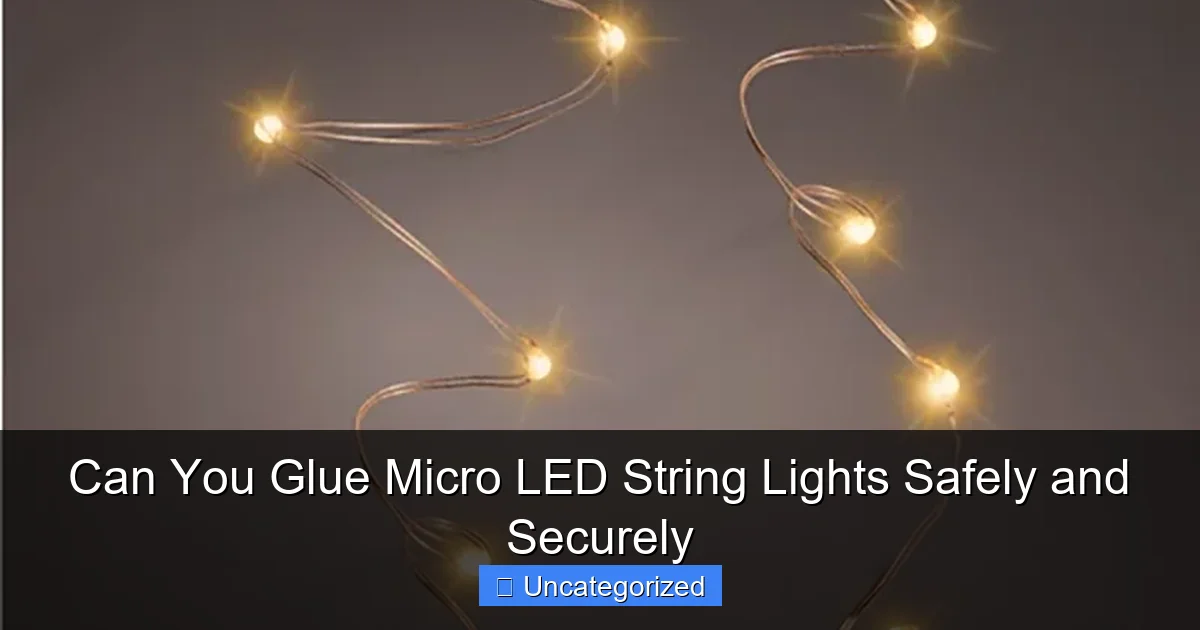
Before reaching for the glue, it’s essential to understand the anatomy of micro LED string lights and why they demand a delicate approach. These lights are designed for flexibility and subtlety, but their construction makes them vulnerable to damage from improper adhesives or techniques.
Visual guide about can you glue micro led string lights
Image source: hometrends.com.mt
The Delicate Nature of Micro LED Wiring
Micro LED string lights typically feature ultra-thin copper wires (often 0.5–1mm thick) that carry low-voltage power to tiny LED bulbs (sometimes as small as 2mm in diameter). Unlike standard holiday lights, these wires are not insulated with heavy-duty PVC. Instead, they’re often coated with a thin, flexible plastic layer. This design allows the lights to bend and twist effortlessly—but it also means they can be easily crushed, kinked, or corroded by the wrong adhesive. For example:
- Cyanoacrylate (super glue) can bond instantly but may seep into the wire’s insulation, causing brittleness and short circuits.
- Hot glue can melt the plastic coating, especially if applied too thickly or at high temperatures.
- Acrylic adhesives may expand or contract with temperature changes, pulling the lights loose over time.
Additionally, the solder joints connecting the LEDs to the wires are extremely fragile. Excessive pressure or heat from glue application can break these connections, leading to flickering or dead bulbs.
Power Source Considerations
Many micro LED string lights are battery-powered (e.g., 2–3 AA batteries) or USB-powered, with small battery boxes or connectors along the strand. These components add bulk and require extra care when gluing:
- Gluing a battery box directly to a surface may block access for battery changes.
- Adhesives can seep into the battery compartment, corroding contacts.
- USB connectors may need to remain accessible for recharging.
For example, if you’re gluing lights to a wooden picture frame, you might secure the wires but leave the battery pack free-hanging or attached with a removable method (e.g., Velcro).
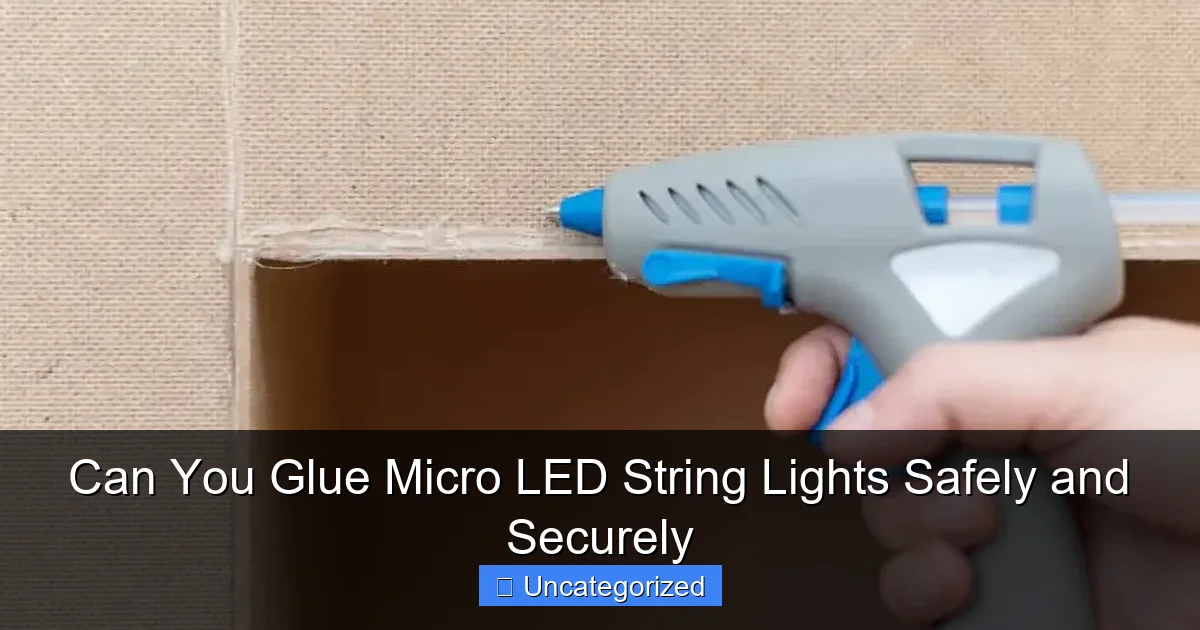
Best Adhesives for Gluing Micro LED String Lights: Safety and Durability
Not all glues are created equal—and when it comes to micro LED lights, choosing the right adhesive is critical. The ideal glue should bond securely without damaging the lights, be removable or repositionable if needed, and withstand environmental factors like humidity and temperature changes.
Visual guide about can you glue micro led string lights
Image source: ledlightplanet.com
Top 5 Recommended Adhesives
| Adhesive Type | Best For | Pros | Cons |
|---|---|---|---|
| Clear Silicone Caulk | Wood, metal, glass, plastic | Flexible, waterproof, removable with care | Long cure time (24–72 hours) |
| Double-Sided Mounting Tape (e.g., 3M VHB) | Smooth surfaces (glass, metal, painted walls) | No drying time, removable with heat | Not ideal for textured or porous surfaces |
| Low-Temperature Hot Glue (with precision tip) | Quick fixes, temporary installations | Fast, inexpensive, easy to remove | Risk of melting wires if misapplied |
| Fabric Glue (e.g., Aleene’s) | Curtains, upholstery, fabric backdrops | Flexible when dry, non-toxic | Weak bond on hard surfaces |
| Epoxy Putty (e.g., Sugru) | Uneven surfaces, outdoor use | Waterproof, moldable, durable | Permanent, not easily removable |
Adhesive Application Tips
- Test first: Apply a small amount of glue to a hidden section of the wire. Wait 24 hours to check for discoloration, brittleness, or adhesion issues.
- Use minimal glue: A pea-sized dab per 6 inches is usually sufficient. Excess glue can wick into wires or create visible blobs.
- Work in sections: Glue 1–2 feet at a time, allowing the adhesive to set before moving on. This prevents the lights from sagging or pulling.
- Protect bulbs: Place a toothpick or skewer between the bulb and glue to avoid direct contact. LEDs are more sensitive to heat and chemicals than wires.
Example: For a wedding arch, use clear silicone to secure the lights to the wooden frame. Apply the silicone in dabs every 12 inches, pressing the wire gently into place. Let cure for 48 hours before draping the lights.
Surfaces That Work (and Don’t Work) for Glued Micro LED Lights
The success of your glued installation depends heavily on the surface you’re working with. Some materials bond well with adhesives, while others require special preparation or alternative methods.
Ideal Surfaces for Gluing
- Wood: Porous and absorbent, wood bonds well with silicone, epoxy putty, and mounting tape. Sand the surface lightly to improve adhesion.
- Glass/Metal: Smooth, non-porous surfaces work best with double-sided tape or silicone. Clean with rubbing alcohol before applying glue.
- Painted Walls (Latex): Use mounting tape or low-tack silicone. Avoid high-strength adhesives that can peel paint when removed.
- Plastic (e.g., acrylic, PVC):strong> Silicone and epoxy putty are safe. Test for chemical compatibility—some plastics can warp with certain glues.
Pro Tip: For textured surfaces (e.g., stucco, brick), use epoxy putty or a combination of mounting tape and wire clips. The putty can mold into crevices, while clips provide backup support.
Surfaces to Avoid or Modify
- Unpainted Concrete/Brick: Highly porous and rough. Use epoxy putty or drill pilot holes for tiny screws with wire ties.
- Fabric (e.g., curtains, tapestries): Fabric glue works, but avoid heavy adhesives that stiffen the material. Sewing or fabric clips are often better.
- Delicate Surfaces (e.g., wallpaper, veneer): Gluing can cause bubbling or tearing. Opt for removable hooks, tension rods, or magnetic strips.
- Outdoor Surfaces (e.g., stucco, wood siding): Use waterproof silicone or epoxy putty, and seal the glue with clear outdoor sealant to prevent moisture damage.
Example: To hang lights on a fabric wedding backdrop, use Aleene’s fabric glue to secure the wires along the seams. For added stability, stitch a few anchor points with clear thread.
Step-by-Step Guide: How to Glue Micro LED String Lights Safely
Follow this detailed process to ensure a secure, damage-free installation. Whether you’re decorating for the holidays, a party, or a permanent display, these steps will help you avoid common pitfalls.
Step 1: Gather Materials and Prep the Area
- Materials: Micro LED string lights, chosen adhesive, rubbing alcohol, lint-free cloth, toothpicks/skewers, masking tape, measuring tape.
- Prep: Clean the surface with alcohol and let it dry. Lay out the lights to plan your layout. Use masking tape to mark anchor points.
Step 2: Test the Lights and Glue
- Turn on the lights to ensure they work.
- Apply a small amount of glue to a hidden section of the wire. Wait 24 hours to check for damage.
Step 3: Apply Glue Strategically
- For wires: Dab glue every 6–12 inches, depending on the strand’s weight. Use a toothpick to spread a thin layer.
- For bulbs: Never glue directly to the LED. Secure the wire 1–2 inches before and after the bulb.
- For battery packs: Leave them free-hanging or use a small loop of wire to hang them separately.
Step 4: Secure the Lights
- Press the wire into the glue with a skewer, avoiding the bulb.
- For silicone, hold the wire in place for 1–2 minutes until the glue starts to tack.
- For tape, press firmly for 10 seconds.
Step 5: Let Cure and Inspect
- Allow the adhesive to cure fully (24–72 hours for silicone, 1 hour for hot glue).
- Inspect for loose sections, sagging, or exposed glue. Touch up if needed.
Step 6: Test the Final Installation
- Turn on the lights and walk around to check for flickering, dim bulbs, or loose wires.
- For permanent installations, consider adding backup support (e.g., tiny screws with wire ties).
Example: To glue lights to a wooden headboard, use clear silicone. Apply dabs every 8 inches along the top edge, pressing the wire into place. Let cure for 48 hours, then turn on the lights to confirm stability.
Long-Term Maintenance and Removal: Preserving Your Lights and Surfaces
Even the best-glued installation may need adjustments over time. Humidity, temperature changes, or accidental tugs can loosen adhesives, and you’ll eventually need to remove the lights for storage or relocation.
Maintenance Tips
- Check quarterly: Inspect glued sections for sagging or loose wires. Reapply adhesive as needed.
- Protect from moisture: For outdoor installations, seal glue joints with clear outdoor sealant.
- Avoid tension: Don’t drape heavy decorations (e.g., garlands) from glued lights. Use separate hooks or clips.
Safe Removal Techniques
- Silicone/Tape: Gently pull the wire from one end, using a plastic scraper if needed. For stubborn glue, use isopropyl alcohol to soften it.
- Hot Glue: Apply heat with a hairdryer (low setting) for 30 seconds, then peel off. Avoid melting the wire.
- Epoxy Putty: Score the putty with a razor blade, then pry it off. Sand the surface lightly to remove residue.
Pro Tip: Store lights in their original packaging or wrap them around cardboard to prevent tangling. Label the package with the installation date and adhesive used for future reference.
Conclusion: Gluing Micro LED String Lights—A Balanced Approach
So, can you glue micro LED string lights safely and securely? Yes—but only with the right materials, techniques, and patience. These delicate lights are not designed for rough handling, but when you respect their construction and use adhesives wisely, they can become a permanent, stunning part of your decor. The key is to prioritize flexibility, safety, and removability. Avoid permanent, high-strength glues unless absolutely necessary, and always test on a small section first.
Remember, the goal isn’t just to secure the lights—it’s to preserve their beauty and functionality for years to come. Whether you’re creating a cozy bedroom nook, a magical wedding backdrop, or a festive holiday display, the right glue can help you achieve a professional-looking installation without compromising the lights or your surfaces. By following the guidelines in this guide, you’ll avoid common mistakes like melted wires, damaged bulbs, or peeled paint, and instead enjoy a twinkling, worry-free glow that lasts as long as the memories it creates.
Frequently Asked Questions
Can you glue micro LED string lights without damaging them?
Yes, you can glue micro LED string lights safely by using a low-heat adhesive like silicone-based glue or hot glue on its lowest setting. Avoid high-heat glues or solvents that could melt the delicate LED casings or wiring.
What’s the best glue for micro LED string lights on fabric?
For fabric, use fabric glue or E6000 adhesive, as they bond securely without soaking through the material. Always test a small, inconspicuous area first to ensure the glue won’t stain or stiffen the fabric.
Can you glue micro LED lights to wood or metal surfaces?
Absolutely! Use a multipurpose adhesive like epoxy or clear craft glue for wood/metal, as these materials won’t react with the LED components. Ensure the surface is clean and dry before applying the glue for maximum adhesion.
Is hot glue safe for securing micro LED string lights?
Hot glue can work if applied sparingly on its lowest temperature setting to prevent melting the LEDs. Opt for low-temperature glue guns and avoid direct contact with the bulbs or wiring for safety.
Will glue damage the battery pack of micro LED string lights?
Never apply glue directly to the battery pack, as it can cause overheating or corrosion. Secure the pack separately with tape, zip ties, or a mounting bracket to keep it ventilated and accessible.
How do you remove glued micro LED string lights without breaking them?
Gently peel the lights off using a hairdryer on low heat to soften the adhesive, then clean residue with rubbing alcohol. Work slowly to avoid snapping the thin wires or damaging the LED nodes.

