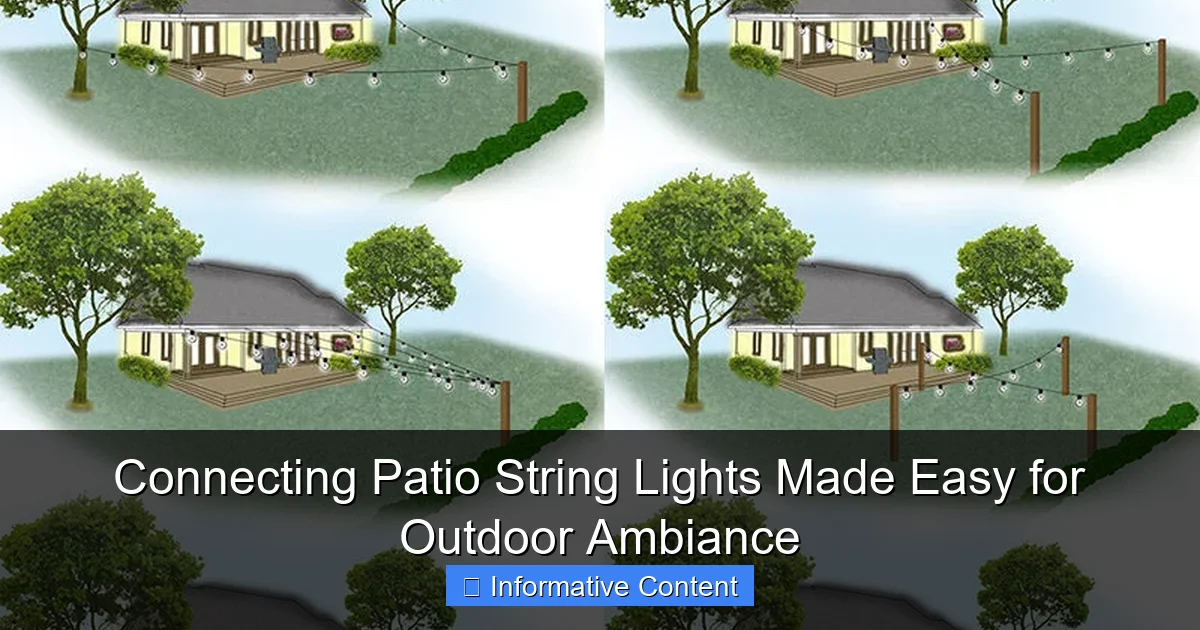
Featured image for connecting patio string lights
Image source: img.yardenvy.com
Connecting patio string lights is a simple, plug-and-play process when you choose compatible, end-to-end connectable sets designed for seamless outdoor use. Maximize your ambiance by checking wattage limits and using weather-resistant connections to safely link multiple strands across patios, pergolas, or fences—no electrician needed. Transform your outdoor space with reliable, daisy-chained lighting that’s as functional as it is beautiful.
Key Takeaways
- Check wattage limits: Always verify total wattage before connecting multiple strands.
- Use compatible connectors: Match plug types to avoid connection failures.
- Test before hanging: Ensure all bulbs work prior to installation.
- Weatherproof connections: Seal plugs with covers for outdoor durability.
- Plan layout first: Map light placement to minimize extension cord use.
- Unplug when not in use: Extend lifespan by disconnecting power overnight.
📑 Table of Contents
- Why Connecting Patio String Lights Is Worth the Effort
- Understanding the Basics: Types of Patio String Lights
- Planning Your Layout: Design and Power Considerations
- Step-by-Step: How to Connect Patio String Lights Safely
- Troubleshooting Common Issues
- Creative Ideas and Pro Tips for Stunning Ambiance
- Data Table: Recommended Patio String Light Specifications
Why Connecting Patio String Lights Is Worth the Effort
There’s something magical about the soft glow of patio string lights at dusk. Whether you’re hosting a backyard barbecue, enjoying a quiet evening with a book, or celebrating a milestone under the stars, the right lighting can transform your outdoor space into a cozy, inviting sanctuary. But let’s be honest—connecting patio string lights isn’t always as simple as it looks. Tangled cords, mismatched connectors, and power limitations can turn a dreamy setup into a frustrating chore.
I remember my first attempt at stringing up lights across my deck. I bought three sets, excited to drape them in a zigzag pattern overhead. I connected them all, flipped the switch, and… nothing. Only the first set lit up. After some troubleshooting, I realized I’d exceeded the wattage limit and blown the fuse. It was a humbling moment, but it taught me that connecting patio string lights is more than just plugging and playing. It’s about planning, understanding your gear, and knowing the tricks to make it work seamlessly.
The good news? Once you know the basics, connecting patio string lights becomes easy—even fun. With the right approach, you can create a stunning, custom-lit ambiance that lasts season after season. In this guide, I’ll walk you through everything you need to know, from choosing the right lights to safely connecting multiple strands, troubleshooting common issues, and even creative ways to elevate your setup. Whether you’re a first-timer or looking to upgrade your current system, this guide has you covered.
Understanding the Basics: Types of Patio String Lights
Before you start connecting patio string lights, it’s essential to understand the different types available. Not all lights are created equal, and choosing the right kind can make or break your outdoor lighting experience. Let’s break down the most common options.
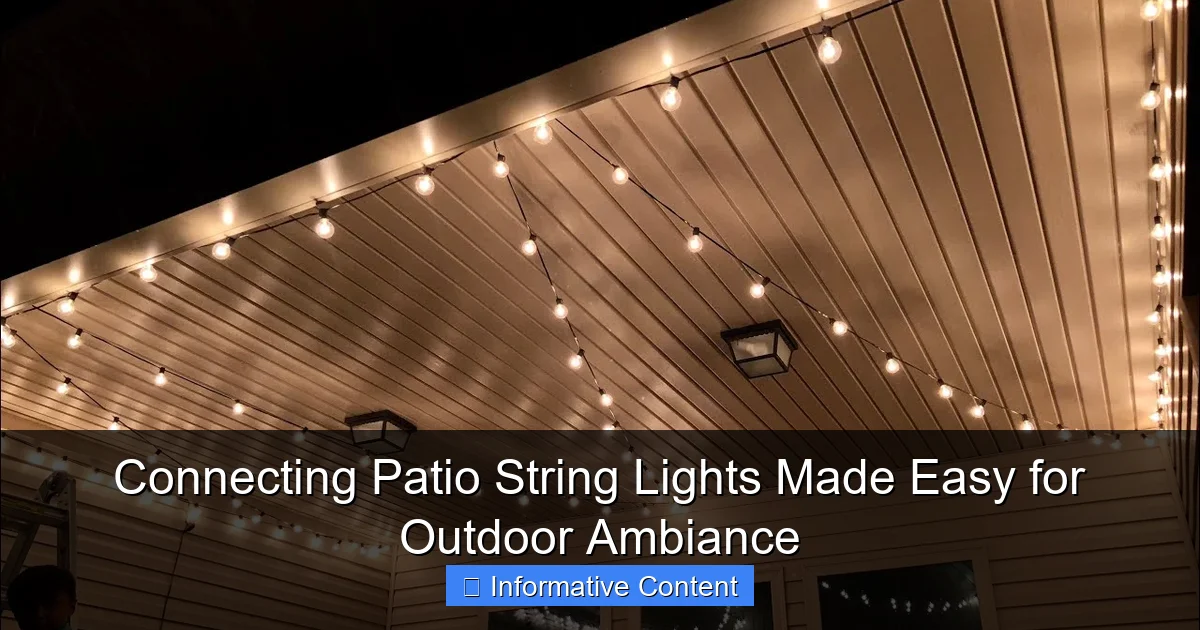
Visual guide about connecting patio string lights
Image source: i.ytimg.com
Incandescent vs. LED String Lights
Incandescent lights have been around for decades and give off a warm, traditional glow. They’re often cheaper upfront, but they consume more energy, generate heat, and have a shorter lifespan—usually around 1,000 to 2,000 hours. I used to love the nostalgic look of these, but after replacing bulbs every summer, I switched to LEDs.
LED string lights, on the other hand, are energy-efficient, cool to the touch, and last up to 25,000 hours. They’re slightly more expensive initially, but the long-term savings on energy and replacement costs make them a smarter investment. Plus, modern LEDs come in a variety of color temperatures—from warm white (2700K) to cool white (4000K)—so you can match your desired ambiance.
Pro tip: Look for LEDs with a high lumens-per-watt ratio (e.g., 80+ lumens per watt) for brighter, more efficient lighting.
Plug-In vs. Solar-Powered
Most patio string lights are plug-in, meaning they require access to an outdoor electrical outlet. These are reliable and powerful, making them ideal for permanent or semi-permanent installations. However, they limit your placement options unless you’re willing to use extension cords (more on that later).
Solar-powered string lights are a great eco-friendly alternative, especially for areas far from outlets. They charge during the day and automatically turn on at dusk. The downside? They’re less bright and may not last through long winter nights or cloudy days. I use solar lights for accent lighting around planters, but I stick with plug-in for main overhead setups.
Connectable vs. Non-Connectable Sets
This is crucial: always check if your string lights are connectable. These sets have male and female plugs at each end, allowing you to daisy-chain multiple strands. Non-connectable lights only have a plug at one end and a dead end at the other—great for small spaces, but useless for larger areas unless you use splitters or extension cords.
When shopping, look for labels like “connect up to 5 sets” or “end-to-end compatible.” This tells you how many strands you can safely link together. For example, if each set uses 10 watts, and your outlet can handle 100 watts, you can connect up to 10 sets—but always check the manufacturer’s guidelines to be safe.
Planning Your Layout: Design and Power Considerations
Now that you know your options, it’s time to plan your layout. A well-designed setup not only looks great but also prevents power issues and safety hazards. Here’s how to get it right.
Measure Your Space Accurately
Grab a measuring tape and map out the area you want to light. Are you stringing lights across a 12-foot-wide pergola? Hanging them along a 20-foot fence? Draping them in a zigzag pattern over a 30-foot deck?
For overhead installations, I recommend leaving 8–10 feet of clearance between the lights and the ground. This ensures safety while still creating that cozy, intimate feel. For example, if your pergola is 15 feet wide, you’ll need at least 15 feet of lights per strand. But if you’re zigzagging, you’ll need more—about 1.5 to 2 times the width, depending on the angle.
Example: A 20-foot zigzag might need 30–40 feet of lights. Buy a few extra feet to account for slack and connections.
Calculate Total Wattage and Outlet Capacity
This is where many people go wrong. Every outlet has a maximum load—usually 15 amps (1,800 watts) on a standard 120V circuit. But remember: that’s for the entire circuit, not just your lights. If you’re using other devices (like a fan or speaker), you’ll need to share that capacity.
Here’s a simple way to calculate:
- Check the wattage of each light strand (usually listed on the packaging or product page).
- Add them up: e.g., 5 strands × 10 watts = 50 watts.
- Compare to your outlet’s capacity: 50 watts is well under 1,800, so you’re safe.
But wait—what about other devices on the same circuit? If you’re running a 100-watt outdoor speaker and a 50-watt fan, your total load is 200 watts. That leaves 1,600 watts for lights—enough for 160 strands of 10-watt lights. Sounds like a lot, right? But don’t forget: extension cords, timers, and transformers also draw power.
Rule of thumb: Never exceed 80% of your circuit’s capacity (about 1,440 watts) to avoid tripping breakers.
Choose the Right Extension Cords and Splitters
If your lights aren’t connectable, or you need to reach a distant outlet, extension cords are your best friend. But not all cords are equal. Use outdoor-rated extension cords (look for “SJTW” or “SJOW” labels) and ensure they’re the right gauge (thickness) for the load.
For example:
- 16-gauge cords are fine for short runs (under 25 feet) and low-wattage lights.
- 14-gauge or 12-gauge cords are better for longer runs or higher wattage (e.g., 100+ watts).
For connecting multiple non-connectable strands, use outdoor power splitters (also called “Y” cords). These let you plug several lights into one outlet. But again, watch the total wattage—don’t overload the splitter!
Step-by-Step: How to Connect Patio String Lights Safely
Now for the fun part: connecting your lights! Follow these steps for a safe, seamless setup.
Step 1: Unpack and Inspect
Before plugging anything in, unroll each strand and check for:
- Damaged wires or frayed insulation
- Burnt-out bulbs (LEDs rarely burn out, but it happens)
- Secure connectors (no loose plugs)
I once bought a “new” set online that had a cracked plug. It worked for a night, then sparked and died. Always inspect—don’t assume.
Step 2: Connect Strands End-to-End
If your lights are connectable, start at the power source and work outward. Plug the male end of one strand into the female end of the next. Make sure the connections are snug but not forced—over-tightening can damage the seals.
Pro tip: Use outdoor-rated electrical tape to seal connections in rainy areas. Wrap the joint tightly to prevent moisture from seeping in.
Step 3: Use a Timer or Smart Plug
Manually turning lights on/off is a hassle. Instead, plug your setup into a weatherproof timer or smart plug (like a TP-Link Kasa or Wemo). Set it to turn on at sunset and off at 11 PM, for example.
I use a smart plug with an app, so I can control my lights from my phone. It’s great for surprise guests or when I forget to turn them off.
Step 4: Secure Lights with Hooks or Clips
Don’t just drape lights over branches or nails—they’ll sag, tangle, or fall. Use:
- Adhesive clips (for gutters, fences, or wood)
- Screw-in hooks (for pergolas or beams)
- Zip ties (for temporary setups)
For a clean look, space hooks 12–18 inches apart. I like using black hooks on dark wood—they practically disappear!
Step 5: Test Before Finalizing
Before you climb down the ladder, plug in your setup and test it. Walk around and check for:
- Even brightness (no dark spots)
- Secure connections (no flickering)
- Proper clearance (no lights touching flammable materials)
If something’s wrong, fix it now—before you’ve secured everything.
Troubleshooting Common Issues
Even with careful planning, things can go wrong. Here’s how to fix the most common problems.
“Only the First Strand Lights Up”
This usually means you’ve exceeded the wattage limit or have a faulty connection. First, check the total wattage (see Section 3). If it’s within limits, inspect each connector. Look for:
- Loose or corroded plugs
- Damaged wires near the connection
- Moisture in the joint (dry it with a hairdryer)
I once had a strand that only lit up halfway. It turned out the fuse inside the plug had blown—easily fixed with a replacement fuse or a new plug.
“Lights Flicker or Turn Off Randomly”
Flickering can be caused by:
- Loose bulbs (tighten them gently)
- Overloaded circuit (unplug other devices)
- Faulty timer or smart plug (test with a direct outlet)
If the problem persists, try disconnecting one strand at a time to isolate the issue.
“My Lights Don’t Reach the Outlet”
Use an extension cord or splitter, but remember:
- Never “daisy-chain” extension cords (e.g., plug one into another). This creates fire hazards.
- Use a single, heavy-duty cord instead.
- For long runs, upgrade to a 12-gauge cord to reduce voltage drop.
For permanent setups, consider installing an outdoor GFCI outlet (with weatherproof cover) near your lights. It’s safer and more convenient.
Creative Ideas and Pro Tips for Stunning Ambiance
Now that your lights are connected, let’s take your setup to the next level with creative ideas and expert tips.
Layer Your Lighting
Don’t rely on string lights alone. Combine them with:
- Path lights (solar-powered stakes along walkways)
- Fairy lights (in glass jars or lanterns)
- Uplighting (spotlights aimed at trees or walls)
I use warm white string lights overhead, solar path lights along the stairs, and fairy lights in mason jars on the table. The layered effect is magical.
Experiment with Patterns
Instead of a straight line, try:
- Zigzag (great for pergolas)
- Grid (for a modern, geometric look)
- Swag (draped in gentle curves)
For a grid, use zip ties to attach lights to a fishing line or nylon cord stretched between hooks. It’s invisible and creates a floating effect.
Use Dimmers and Color-Changing Lights
Some LED strings come with dimmers or color-changing modes (RGB). Use a dimmer to set the mood—brighter for parties, softer for relaxation. For holidays, switch to red and green or blue and white.
Just make sure your dimmer is compatible with LEDs. Not all dimmers work with low-wattage lights.
Maintain Your Setup Seasonally
To keep your lights shining year after year:
- Store them in a dry place during winter (or use all-weather lights).
- Check for damaged bulbs before rehanging.
- Clean lenses with a soft cloth to remove dust and cobwebs.
I keep my lights in labeled bins with silica gel packets to prevent moisture damage.
Data Table: Recommended Patio String Light Specifications
| Feature | Ideal for Small Patio (100–150 sq ft) | Ideal for Large Deck (200+ sq ft) | Best for All-Weather Use |
|---|---|---|---|
| Light Type | LED (warm white, 2700K) | LED (warm white, 2700K) | LED (IP65 or higher rating) |
| Length | 25–30 feet | 50–100 feet (connectable) | 25–50 feet (connectable) |
| Wattage | 10–15 watts | 20–30 watts (total) | 15–20 watts (per strand) |
| Connectable | Yes (up to 3–5 sets) | Yes (up to 8–10 sets) | Yes (up to 5 sets) |
| Power Source | Plug-in or solar | Plug-in (with timer) | Plug-in (GFCI outlet) |
| Accessories | Adhesive clips, 16-gauge cord | Screw-in hooks, 14-gauge cord | Waterproof connectors, 12-gauge cord |
Connecting patio string lights doesn’t have to be complicated. With the right planning, tools, and a little creativity, you can turn your outdoor space into a breathtaking retreat. Whether you’re lighting up a cozy balcony or a sprawling backyard, the key is to start small, test often, and never rush the process.
Remember: it’s not just about the lights—it’s about the moments they help create. A shared laugh under the glow, a quiet night with a book, a celebration with loved ones. That’s the real magic. So go ahead, connect those patio string lights, and let your outdoor ambiance shine. Your perfect evening is just a switch away.
Frequently Asked Questions
How do I connect patio string lights without overloading the circuit?
To safely connect patio string lights, check the manufacturer’s wattage or amperage rating and ensure your circuit can handle the total load. Most LED string lights allow end-to-end connection, but avoid daisy-chaining more than 3-4 strands unless specified. Always use a GFCI outlet for outdoor safety.
Can I connect different brands of patio string lights together?
While possible, it’s not always recommended—different brands may have incompatible voltages, plug shapes, or waterproof ratings. If you connect patio string lights from different brands, verify they share the same electrical specs and use waterproof connectors for safety.
What’s the best way to hide or organize connected patio string light cords?
Use adhesive cable clips, raceways, or tuck cords under eaves or furniture to keep connected patio string lights tidy. For ground-level runs, opt for cord covers or bury them in shallow trenches (with waterproof connectors) to prevent tripping hazards.
How many patio string lights can I plug into one outlet?
The number depends on the total wattage of your lights and the outlet’s circuit capacity (usually 15-20 amps for homes). As a rule, limit connected strands to 3-4 for incandescent or up to 10-12 for LEDs, always leaving 10-20% headroom.
Do I need special tools to connect patio string lights end-to-end?
Most modern patio string lights use plug-and-play connectors—simply align the male/female ends and twist to lock. For permanent setups, you might need a waterproof sealant or wire nuts to protect connections from moisture.
How do I troubleshoot if my connected patio string lights won’t turn on?
First, check each connection point and ensure plugs are fully inserted. Test strands individually to identify faulty sections—a single bad bulb or loose wire can disrupt the entire circuit. Always inspect for frayed cords or water damage.

