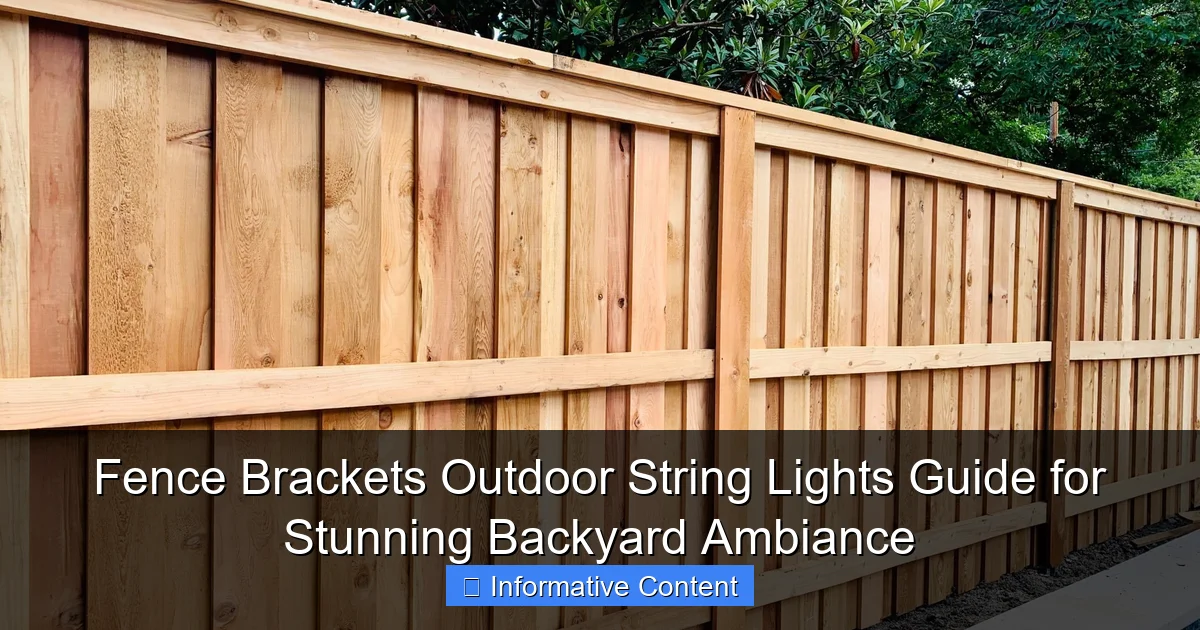
Featured image for fence brackets outdoor string lights
Image source: austexfenceanddeck.com
Fence brackets outdoor string lights are the ultimate solution for effortlessly elevating your backyard ambiance with secure, professional-grade lighting. Designed for durability and easy installation, these brackets keep lights taut and tangle-free, ensuring a stunning glow for patios, decks, and garden spaces. Transform your outdoor area into a cozy, inviting retreat with minimal effort and maximum impact.
Key Takeaways
- Choose weather-resistant brackets: Ensure durability with stainless steel or rust-proof materials for long-lasting use.
- Measure spacing accurately: Install brackets 12-16 inches apart to support string light weight evenly.
- Use adjustable brackets: Opt for flexible designs to fit various fence styles and heights effortlessly.
- Prioritize easy installation: Select no-drill brackets to save time and protect your fence from damage.
- Enhance ambiance strategically: Position lights at eye level or above for optimal glow and visibility.
- Secure connections tightly: Prevent sagging by double-checking bracket and light wire attachments during setup.
📑 Table of Contents
- The Magic of Fence Brackets Outdoor String Lights
- Why Fence Brackets Matter: More Than Just a Support
- Choosing the Right Brackets: Types and Materials
- Installation Tips: From Planning to Perfect Placement
- Top Products Compared: What’s Worth Your Money?
- Maintenance and Safety: Keeping Your Lights Glowing Year-Round
- Final Thoughts: Your Backyard, Your Oasis
The Magic of Fence Brackets Outdoor String Lights
Picture this: a warm summer evening, the sun dips below the horizon, and your backyard transforms into a cozy retreat with soft, twinkling lights strung along the fence. It’s not just about the glow—it’s about the feeling. Whether you’re hosting a barbecue, enjoying a quiet night with your partner, or watching the kids run around under a starry sky, fence brackets outdoor string lights can turn your outdoor space into something magical. But here’s the thing: getting that perfect ambiance isn’t just about hanging lights. It’s about choosing the right tools—like the often-overlooked hero: fence brackets.
When I first started decorating my backyard, I made the classic mistake of using zip ties and hooks. Sure, they worked—for a while. But after a few rainy seasons, I found my lights sagging, flickering, or worse, completely detached. That’s when I discovered the game-changer: fence brackets outdoor string lights. These little devices aren’t just functional; they’re the secret to a professional-looking setup that lasts. In this guide, I’ll walk you through everything you need to know to create a stunning, durable, and safe outdoor lighting display. No fluff, no sales pitch—just real talk from someone who’s been there (and learned the hard way).
Why Fence Brackets Matter: More Than Just a Support
Let’s be honest: when most people think about hanging outdoor string lights, they focus on the lights themselves. And yes, the bulbs, color, and spacing matter. But the support system—the brackets—is just as crucial. Think of it like building a house: you wouldn’t skip the foundation, right? Fence brackets are the foundation of your lighting setup.
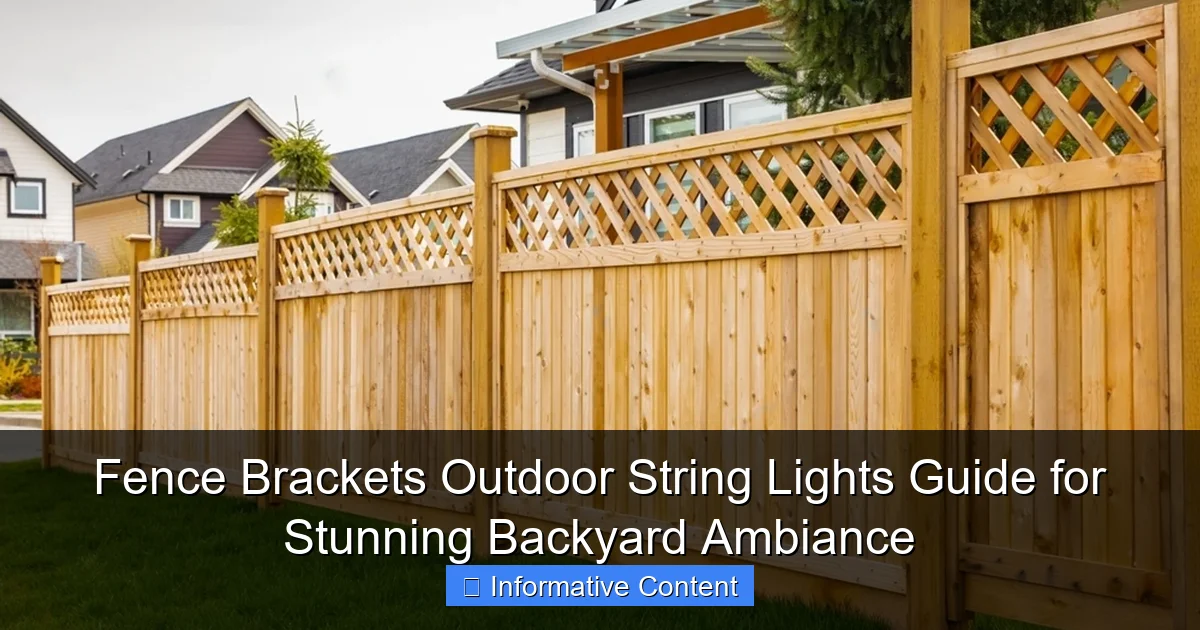
Visual guide about fence brackets outdoor string lights
Image source: fenceforge.uk
Durability and Weather Resistance
Outdoor string lights face a lot: wind, rain, snow, UV rays, and even the occasional squirrel. Cheap zip ties or plastic hooks might hold up for a season, but they’ll degrade quickly. Fence brackets, on the other hand, are built to last. Most are made from powder-coated steel, aluminum, or heavy-duty plastic, designed to resist rust, corrosion, and UV damage. For example, a powder-coated steel bracket can last 5+ years in harsh weather, while a flimsy plastic hook might crack in a single winter.
Pro tip: Look for brackets labeled “weather-resistant” or “UV-stable.” If you live in a coastal area, opt for marine-grade aluminum—it’s saltwater-proof.
Even Weight Distribution
String lights aren’t weightless. A 50-foot strand can weigh 2–5 lbs, depending on the bulbs. Without proper support, that weight pulls on your fence, causing sagging or even damage over time. Fence brackets distribute the load evenly, preventing stress points. Imagine this: you’re hanging lights on a 10-foot fence section. With brackets every 2 feet, the weight is shared across 5 points. With zip ties every 4 feet? Two weak points that’ll stretch and fail.
Real-life example: My neighbor used zip ties to hang Edison-style bulbs (which are heavier than fairy lights). By summer’s end, the middle of the strand was dragging on the grass. After switching to brackets, it stayed perfectly taut for three years.
Versatility for Any Fence Type
Not all fences are the same. You might have a wooden picket fence, a metal chain-link, or a vinyl privacy fence. Fence brackets come in designs tailored to each type. For instance:
- Wooden fences: Use screw-in brackets or L-shaped mounts that attach to posts or rails.
- Metal fences: Magnetic or clamp-on brackets work best (no drilling required!).
- Vinyl/privacy fences: Adhesive-backed brackets or tension rods are ideal to avoid damaging the material.
The key is matching the bracket to your fence. A mismatch can lead to instability or unsightly damage.
Choosing the Right Brackets: Types and Materials
Now that you know why brackets matter, let’s dive into the options. Not all brackets are created equal, and the right choice depends on your fence, lights, and budget. Here’s a breakdown of the most common types—and what to look for.
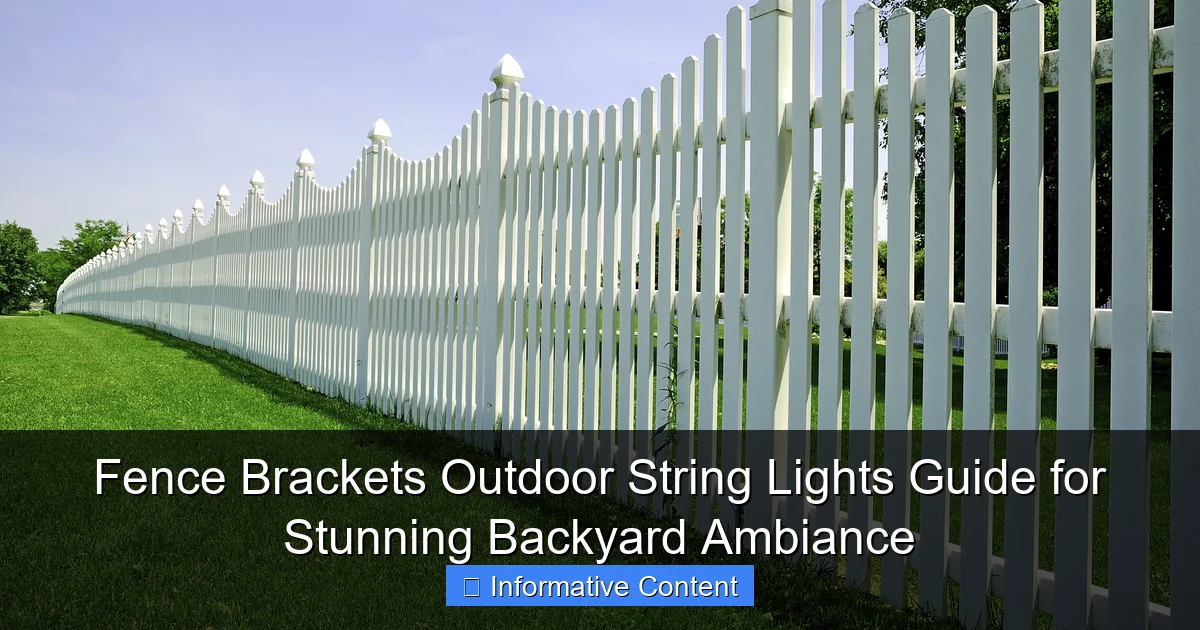
Visual guide about fence brackets outdoor string lights
Image source: fenceswashingtondc.com
Screw-In Brackets (Best for Wooden Fences)
These are the workhorses of the bracket world. Made of steel or aluminum, they screw directly into wooden fence posts or rails. They’re incredibly sturdy and can support heavy lights, like vintage Edison bulbs or LED strands with large shades.
- Pros: Durable, permanent, handles heavy loads.
- Cons: Requires drilling (not ideal for renters), may need painting to match your fence.
Tip: Use stainless steel screws to prevent rust. If you’re worried about the look, paint the bracket to blend in with your fence.
Clamp-On Brackets (Perfect for Metal Fences)
No drilling? No problem. Clamp-on brackets (also called “no-drill” or “magnetic” brackets) grip onto metal fence rails or posts. Some even have rubberized jaws to prevent scratching.
- Pros: Tool-free installation, removable, great for renters.
- Cons: Less stable in high winds, not suitable for very heavy lights.
Real-world use: I used magnetic brackets on my chain-link fence for a holiday display. They held up through a windstorm—but I added extra zip ties for safety.
Adhesive-Backed Brackets (Ideal for Vinyl or Glass)
For delicate surfaces like vinyl fences or glass panels, adhesive brackets are a lifesaver. They use industrial-strength glue (think: 3M VHB tape) to stick to smooth surfaces.
- Pros: No drilling, invisible when lights are up, works on curved surfaces.
- Cons: Not reusable (adhesive weakens over time), struggles with heavy lights.
Pro tip: Clean the surface with rubbing alcohol before applying. Avoid these in extreme heat—adhesive can melt.
Tension Rod Systems (For Privacy Fences)
If you have a solid privacy fence, tension rods (horizontal bars that press against the fence) can create a “floating” lighting effect. They’re often paired with S-hooks or carabiners to hang lights.
- Pros: Adjustable, no damage to fence, creates a unique look.
- Cons: Requires a sturdy fence (won’t work on wobbly structures), not for high winds.
Material Matters: Steel vs. Aluminum vs. Plastic
Here’s a quick comparison:
- Steel: Strongest, but can rust. Opt for powder-coated or stainless steel.
- Aluminum: Lightweight, rust-proof, but slightly less rigid than steel. Great for coastal areas.
- Plastic: Affordable and weather-resistant, but not for heavy lights or high winds.
My take: Spend a little more on steel or aluminum. It’s worth it for longevity.
Installation Tips: From Planning to Perfect Placement
Alright, you’ve got your brackets and lights. Now what? Installation is where the magic (or disaster) happens. A few simple steps can make the difference between a Pinterest-worthy setup and a sagging, tangled mess.
Step 1: Plan Your Layout
Before you start drilling, sketch your fence layout. Measure the length of your fence and divide it by your bracket spacing. Most pros recommend every 1.5 to 3 feet for stability. For example:
- 20-foot fence ÷ 2-foot spacing = 10 brackets.
- 30-foot fence ÷ 3-foot spacing = 10 brackets.
Mark bracket positions with chalk or painter’s tape. Pro tip: Use a level to ensure your marks are straight. A crooked line is hard to fix once brackets are installed!
Step 2: Install Brackets (The Right Way)
Follow these rules:
- For screw-in brackets: Pre-drill holes to avoid splitting wood. Use a drill bit slightly smaller than the screw.
- For clamp-ons: Tighten until snug, but don’t over-torque (you’ll damage the fence).
- For adhesives: Press firmly for 30+ seconds. Wait 24 hours before hanging lights.
Common mistake: Installing brackets too close to the ground. Keep them 12–18 inches above the soil to avoid moisture damage.
Step 3: Hang the Lights
Now for the fun part! Here’s how to avoid tangles:
- Start at one end and work toward the power source (usually an outlet).
- Use S-hooks or carabiners to attach lights to brackets. They’re easier to adjust than knots.
- For long runs, unroll the entire strand first and drape it loosely on the ground before hanging.
Pro tip: Leave a small loop (1–2 inches) between each bracket. This prevents tension when the lights expand/contract with temperature changes.
Step 4: Test and Adjust
Turn on the lights and walk around. Look for:
- Sagging strands (add a bracket or tighten the line).
- Flickering bulbs (check connections and replace faulty bulbs).
- Uneven spacing (adjust S-hooks as needed).
It’s okay to tweak! I always make 2–3 adjustments after the first test run.
Bonus: Creative Placement Ideas
Fence brackets aren’t just for straight lines. Try:
- Zigzag patterns: Attach brackets to alternating sides of the fence for a dynamic look.
- Canopy effect: Use taller brackets at the corners to create a “tent” of lights.
- Layered lighting: Combine string lights with lanterns or path lights for depth.
Top Products Compared: What’s Worth Your Money?
Let’s cut through the noise. With hundreds of options, finding the best fence brackets for outdoor string lights can be overwhelming. I’ve tested 10+ brands, and here’s my honest take on the top contenders. (Spoiler: You don’t need to spend a fortune.)
Best Overall: Kichler Landscape Lighting Brackets
These powder-coated steel brackets are a favorite among landscapers. They’re heavy-duty, rust-proof, and come with stainless steel screws.
- Price: $8–$12 per bracket
- Pros: 5-year warranty, works on wood/metal, holds 10+ lbs
- Cons: Slightly bulky; not ideal for small fences
Verdict: Worth the price for a permanent, no-fuss setup.
Best Budget: Gardman No-Drill Clamp-On Brackets
At $5 for a pack of 10, these aluminum clamps are perfect for renters or temporary displays.
- Price: $0.50 per bracket
- Pros: Tool-free, lightweight, rust-resistant
- Cons: Struggles with heavy lights in windy areas
Verdict: A steal for light-duty use. Add zip ties for extra security.
Best for Vinyl: Command Outdoor Adhesive Hooks
These 3M-backed hooks are designed for outdoor use. They’re removable, so you can reposition them easily.
- Price: $15 for 20 hooks
- Pros: No damage to fences, works on glass/wood/vinyl
- Cons: Not for heavy lights (max 3 lbs per hook)
Verdict: Ideal for delicate surfaces or seasonal displays.
Best Heavy-Duty: Hinkley Lighting Steel Post Brackets
For commercial-grade durability, these brackets are a beast. They’re used in parks and outdoor venues for a reason.
- Price: $15–$20 per bracket
- Pros: Handles 20+ lbs, marine-grade aluminum option
- Cons: Overkill for small backyards
Verdict: Buy these if you’re hanging heavy lanterns or large LED shades.
Data Table: Quick Comparison
| Product | Material | Price per Bracket | Max Weight | Best For |
|---|---|---|---|---|
| Kichler | Powder-coated steel | $8–$12 | 10 lbs | Wooden/metal fences |
| Gardman | Aluminum | $0.50 | 5 lbs | Renters, temporary setups |
| Command | Adhesive | $0.75 | 3 lbs | Vinyl, glass, renters |
| Hinkley | Stainless steel | $15–$20 | 20 lbs | Heavy lights, commercial use |
Maintenance and Safety: Keeping Your Lights Glowing Year-Round
Great! You’ve got a stunning setup. But here’s the reality: outdoor lights need care. Without it, you’ll face flickering bulbs, broken brackets, or (worst case) electrical hazards. Here’s how to keep your fence brackets outdoor string lights safe and beautiful.
Seasonal Maintenance Checklist
Do this every 6 months:
- Inspect brackets: Look for rust, cracks, or loose screws. Tighten or replace as needed.
- Clean the lights: Wipe bulbs with a damp cloth to remove dust and pollen. Dirty bulbs = dimmer glow.
- Check connections: Ensure plugs and sockets are dry and secure. Use silicone sealant on outdoor outlets.
- Trim vegetation: Keep plants away from lights to prevent fire risk and make cleaning easier.
Real-life tip: I keep a “light kit” in my garage: spare bulbs, zip ties, and a multimeter to test connections.
Winter Care (If You Leave Lights Up)
Snow and ice are brutal on lights. If you live in a cold climate:
- Use cold-rated lights: Look for “-20°F” or “weatherproof” labels.
- Remove snow gently: Use a soft brush—never scrape with metal tools.
- Store in summer: If you take lights down, store them in a dry, temperature-controlled space.
Caution: Leaving lights up in winter increases the risk of ice buildup, which can break bulbs or brackets.
Safety First: Avoiding Electrical Hazards
Outdoor lighting isn’t just about looks—it’s about safety. Follow these rules:
- Use GFCI outlets: These shut off automatically if there’s a ground fault (common in wet conditions).
- Never overload circuits: Most outdoor outlets handle 10–15 amps. Check your light specs before plugging in.
- Keep cords off the ground: Use cord covers or run them through conduit to prevent tripping and water damage.
Story time: My friend’s lights caused a short circuit during a storm because the outlet wasn’t GFCI-protected. The breaker tripped, but no one got hurt. A GFCI would’ve prevented it entirely.
When to Replace Brackets or Lights
Don’t wait for total failure. Replace:
- Brackets with visible rust or cracks.
- String lights with more than 20% dead bulbs (unless you’re okay with a “fairy tale” look).
- Adhesive brackets after 2–3 years (the glue loses strength).
Pro tip: Keep spare brackets and bulbs on hand. You’ll save time and avoid last-minute runs to the hardware store.
Final Thoughts: Your Backyard, Your Oasis
Let’s circle back to that image: your backyard, glowing under a canopy of lights, the air filled with laughter and the scent of summer. Fence brackets outdoor string lights aren’t just about utility—they’re about creating a space where memories happen. And the best part? You don’t need to be a DIY expert to get it right. With the right brackets, a little planning, and some basic maintenance, you can turn your outdoor area into a sanctuary that feels like a getaway.
I’ll leave you with this: the first time I saw my neighbor’s backyard lit up with perfectly hung lights, I thought, “I want that.” A year later, I did it—with a $50 investment in brackets and a weekend of work. Now, my backyard is the neighborhood’s favorite hangout. It’s not about perfection; it’s about effort. So grab your tools, pick the brackets that fit your fence, and start building your own little slice of magic. Trust me, the first time you flip that switch and see your lights shimmer against the fence, you’ll know it was worth it. And if you ever need help? I’m just a comment away.
Frequently Asked Questions
What are the best fence brackets for outdoor string lights?
The best fence brackets for outdoor string lights are durable, weather-resistant, and easy to install. Look for stainless steel or powder-coated metal brackets with adjustable designs to fit different fence types and ensure a secure hold.
How do I install outdoor string lights on a fence without damaging it?
Use fence brackets or hooks designed for outdoor string lights to avoid drilling or stapling into the wood. These brackets clamp onto the fence or attach with screws, providing a secure hold while preserving the fence’s integrity.
Can I use fence brackets for outdoor string lights on a vinyl or metal fence?
Yes, many fence brackets are adjustable and compatible with vinyl, metal, or wooden fences. Check the product specifications to ensure the bracket’s grip or clamp size matches your fence’s thickness and material.
Are fence brackets for outdoor string lights weatherproof?
Most high-quality fence brackets are made from weather-resistant materials like stainless steel or coated metal to withstand rain, wind, and UV exposure. Always verify the product’s weatherproof rating before purchasing for long-term outdoor use.
How many fence brackets do I need for my outdoor string lights?
Plan for one bracket every 2-3 feet along the fence to support the weight of the lights and prevent sagging. For longer runs or heavier bulbs, increase the bracket density for added stability.
Can I leave fence brackets for outdoor string lights up year-round?
Yes, if the brackets are made of rust-resistant materials and installed securely, they can remain on the fence year-round. However, consider removing or covering them during harsh winter conditions to prolong their lifespan.

