Featured image for hang light strings on patio poles
Image source: i.pinimg.com
Transform your outdoor space instantly by securely hanging light strings on patio poles using weather-resistant hooks or zip ties for a polished, professional look. Ensure even spacing and proper tension to prevent sagging, and choose LED or solar-powered lights for energy efficiency and long-lasting ambiance. With the right technique, your patio will glow with a stunning, inviting atmosphere all season long.
Key Takeaways
- Measure pole spacing: Ensure even light distribution by marking intervals before hanging.
- Use weatherproof hooks: Secure strings with rust-resistant hardware for long-lasting setups.
- Anchor wires tightly: Prevent sagging by tensioning cables between poles with turnbuckles.
- Opt for LED bulbs: Choose energy-efficient, cool-to-touch lights for safety and ambiance.
- Layer lighting: Combine string lights with lanterns or uplights for depth and drama.
- Check power sources: Plan outlets or extension cords early to avoid last-minute hassles.
- Test before finalizing: Verify brightness and connections before securing lights permanently.
📑 Table of Contents
Transform Your Outdoor Space with String Lights
There’s something magical about the warm glow of string lights on a summer evening. Whether you’re hosting a backyard barbecue, enjoying a quiet night under the stars, or just unwinding after a long day, hanging light strings on patio poles can instantly elevate your outdoor ambiance. I remember the first time I strung up lights for a small get-together—what started as a simple DIY project turned into a conversation starter that guests still talk about months later. The soft, twinkling lights made the patio feel cozy, inviting, and almost like a secret hideaway.
If you’ve ever tried to hang lights only to end up with tangled wires, drooping strands, or lights that won’t stay in place, you’re not alone. It’s a common frustration. But with the right tools, techniques, and a little planning, you can create a stunning outdoor oasis that’s both functional and beautiful. In this guide, I’ll walk you through everything you need to know about how to hang light strings on patio poles—from choosing the right lights to securing them properly—so you can enjoy a professional-looking setup without the headache.
Choosing the Right String Lights for Your Patio
Types of String Lights: What Works Best?
Not all string lights are created equal, and the type you choose will impact both the look and durability of your setup. Here are the most common options:
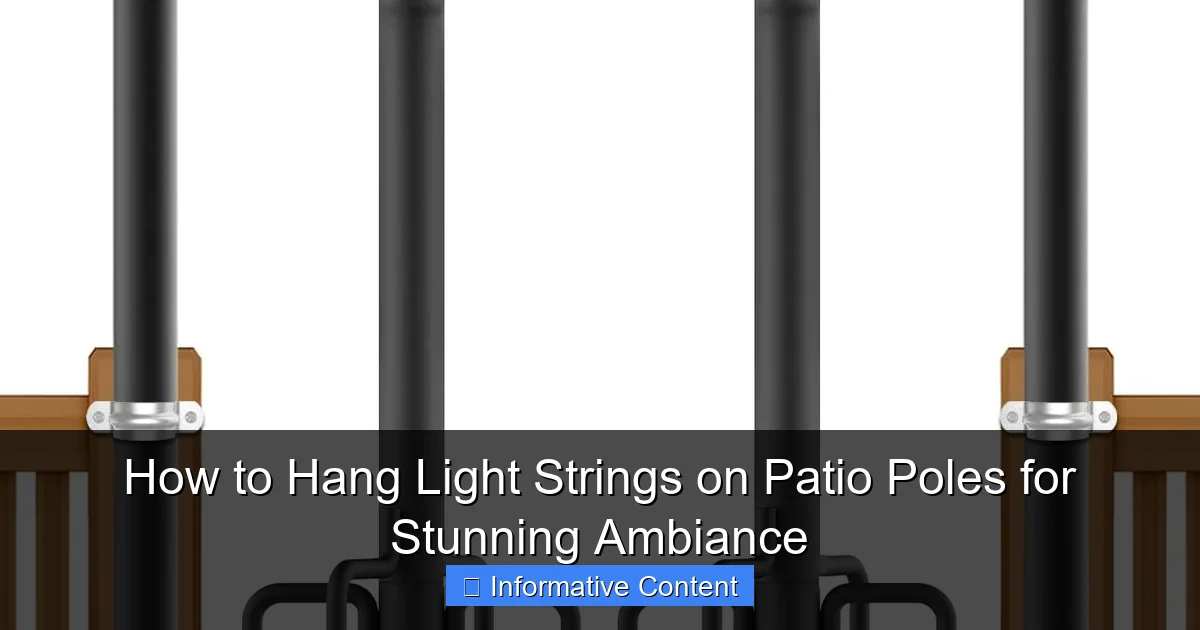
Visual guide about hang light strings on patio poles
Image source: images-na.ssl-images-amazon.com
- LED String Lights: Energy-efficient, long-lasting, and available in warm white, cool white, or multicolor. Great for year-round use.
- Incandescent String Lights: Offer a classic, warm glow but use more energy and don’t last as long. Best for occasional use.
- Edison Bulb Strings: Vintage-style with exposed filaments. Perfect for rustic or industrial aesthetics.
- Fairy Lights (Mini LED): Delicate and whimsical, ideal for wrapping around poles or draping lightly.
- Solar-Powered Strings: Eco-friendly and easy to install (no outlets needed), but may not be as bright or reliable in cloudy climates.
For most patio setups, I recommend LED string lights. They’re bright enough to be seen but not overwhelming, and they’ll last for years with minimal maintenance. If you’re going for a romantic or boho vibe, try fairy lights with copper wire—they’re lightweight and easy to shape.
Length, Spacing, and Power Source Considerations
Before buying, measure your patio space. You’ll want lights that are slightly longer than the distance you plan to cover—this gives you flexibility for curves, loops, or extra slack at the ends.
- Length: For a 12-foot span between poles, use a 15-foot strand. This prevents tension that could pull lights down over time.
- Bulb Spacing: 6–12 inches apart is ideal for a balanced look. Closer spacing (4 inches) works for denser coverage; wider spacing (12+ inches) creates a more subtle effect.
- Power Source: If your patio has outdoor outlets, plug-in lights are fine. For off-grid setups, consider solar or battery-operated options. Pro tip: Use a timer or smart plug to automate on/off times—no more remembering to flip the switch!
One mistake I made early on? Buying lights that were too short. I had to daisy-chain multiple strands, which created unsightly plug junctions. Now, I always opt for longer single strands or use extension cords hidden under planters or furniture.
Assessing Your Patio Poles and Layout
Types of Patio Poles: What Can You Work With?
Your poles are the backbone of your lighting setup. The good news? Most patio poles are sturdy enough to support lights. Here are common types:
- Metal Poles (Steel, Aluminum): Durable and weather-resistant. Ideal for permanent installations.
- Wooden Posts: Classic look, but check for rot or instability. Sand and seal if needed.
- Umbrella Poles: Often removable. Use with caution—they’re not designed for heavy loads.
- DIY Poles (e.g., PVC, conduit): Lightweight and customizable, but may require additional bracing.
I once tried hanging lights on a wobbly umbrella pole. The result? Lights swaying like a ship in a storm. Not ideal. Always test your poles by gently shaking them. If they move more than an inch, reinforce them with concrete (for permanent poles) or use guy wires (for temporary setups).
Measuring and Planning Your Layout
Good lighting design is all about balance. Here’s how to plan:
- Map Your Poles: Sketch your patio layout, noting pole positions and heights.
- Decide on a Pattern:
- Straight Lines: Simple and clean—great for rectangular patios.
- X-Patterns: Cross strands between poles for a crisscross effect (adds visual interest).
- Looped or Draped: Hang lights in gentle S-curves for a relaxed, boho feel.
- Calculate Light Density: Aim for 50–75% coverage. Too many lights can feel chaotic; too few look sparse.
For example, my 12×12 ft patio has four poles at the corners. I use an X-pattern with two 25-foot strands, crossing at the center. The lights hang 6–8 inches below the pole tops, creating a canopy effect. Guests always say it feels like a “secret garden”—mission accomplished!
Tools and Materials You’ll Need
Essential Tools for a Secure Installation
You don’t need fancy gear, but having the right tools makes the job easier and safer:
- Drill + Drill Bits: For pilot holes (especially on metal/wood poles).
- Measuring Tape: To ensure even spacing.
- Level: Keep strands straight, not lopsided.
- Ladder or Step Stool: For reaching high poles.
- Work Gloves: Protect your hands from sharp edges or wire.
- String or Twine: Temporary guide for planning light paths.
Pro tip: Use a laser level if you’re hanging multiple strands at the same height. It’s a game-changer for avoiding crooked lines.
Fasteners and Hangers: What to Use
The key to a long-lasting setup? Weather-resistant fasteners. Here’s what I use:
| Fastener Type | Best For | Pros | Cons |
|---|---|---|---|
| Eye Screws | Wood/metal poles | Strong, reusable, easy to install | Requires drilling |
| Zip Ties (UV-Resistant) | Metal poles, temporary setups | No tools needed, cheap | Can degrade in sun |
| Hook Screws | Wood poles | Holds heavy strands, adjustable | Not for metal |
| Magnetic Hangers | Metal poles | No drilling, removable | Weaker in high winds |
| Adhesive Hooks (Outdoor-Grade) | Smooth surfaces | No damage to poles | May fail in extreme heat |
For permanent installations, I swear by stainless steel eye screws. They’re rust-proof and hold up to 20+ lbs. For a renter-friendly option, try magnetic hangers—they’re strong enough for most lights and leave no marks.
Step-by-Step Installation Guide
Preparing the Poles and Marking Attachment Points
Before you start hanging, prep your poles:
- Clean the Poles: Wipe off dust, grease, or rust. A clean surface ensures better adhesion.
- Mark Attachment Points: Use a marker or tape to indicate where fasteners will go. For straight lines, measure from the top down (e.g., 6 inches below the pole cap). For X-patterns, mark both poles at the same height.
- Drill Pilot Holes (for screws): Use a bit slightly smaller than your screw’s shank. This prevents wood from splitting and makes driving screws easier.
I learned this the hard way—trying to screw into hardwood without a pilot hole resulted in a cracked pole. Now I always drill first!
Hanging the Lights: Techniques for Different Patterns
Here’s how to install your chosen pattern:
Straight Line Between Two Poles
- Attach fasteners at both ends.
- Loop the light strand’s end hook (or use a carabiner) onto the fastener.
- Walk to the other pole, keeping slight tension to avoid sagging.
- Secure the other end. Adjust for even height with a level.
X-Pattern (Crisscross)
- Attach fasteners at the same height on all four poles.
- Hang the first strand diagonally (e.g., pole 1 to pole 3).
- Hang the second strand perpendicular (pole 2 to pole 4).
- For a “starburst” effect, add a third strand connecting the center point to each pole.
Draped or Looped
- Use extra fasteners along the pole (e.g., every 2 feet).
- Loop the strand around each fastener, creating gentle S-curves.
- Secure the end with a zip tie or hook.
For my X-pattern, I use carabiners to connect the strands at the center. This lets me adjust tension easily and remove one strand for cleaning.
Securing and Testing the Setup
Once lights are up, test and secure:
- Check for Sagging: Lights should hang in gentle curves, not straight lines. If they sag, add a middle fastener or tighten the ends.
- Inspect Connections: Ensure all hooks, zip ties, and screws are tight. Wiggle each fastener to confirm it’s secure.
- Test the Lights: Turn them on! Look for dark spots or flickering bulbs. Replace any faulty bulbs immediately.
- Weatherproof Plugs: Use outlet covers or silicone caps to protect outdoor plugs from rain.
One year, I skipped the outlet cover—big mistake. A summer storm fried my timer. Now I use a weatherproof extension cord box ($15 on Amazon) and never worry about rain.
Maintenance and Safety Tips for Long-Term Use
Weatherproofing and Seasonal Care
String lights can last years with proper care:
- Winter Storage: Take down lights before snow/ice season. Store in a dry place (e.g., garage or sealed bin). Wrap strands around a cardboard tube to prevent tangles.
- Summer Checks: Inspect fasteners every 3–6 months. Replace zip ties or rusted screws.
- Clean Bulbs: Wipe with a damp cloth to remove dirt or pollen. Use a soft brush for stubborn grime.
- Trim Overhanging Branches: Falling leaves or limbs can damage lights or create fire hazards.
I leave my lights up year-round, but I do a “spring tune-up” each March. I replace old zip ties, tighten loose screws, and check for frayed wires. It takes 30 minutes and saves me from bigger repairs.
Safety First: Avoiding Hazards
Outdoor lighting isn’t just about looks—it’s about safety too:
- Use Outdoor-Rated Lights: Indoor strings aren’t weatherproof and can short-circuit.
- Avoid Overloading Circuits: Most outdoor outlets handle 15–20 amps. Use a circuit calculator to avoid tripping breakers.
- Keep Cords Off Walkways: Tape down cords with outdoor-rated tape or run them under rugs/planters to prevent tripping.
- No DIY Electrical Work: If you need extra outlets, hire an electrician. DIY wiring is dangerous and often violates code.
One friend tried to extend a cord with a regular extension—it melted during a storm. Always use outdoor-rated extension cords with GFCI protection.
Final Thoughts: Light Up Your Life
Hanging light strings on patio poles isn’t just about adding sparkle—it’s about creating a space where memories happen. Whether you’re sipping wine under a canopy of stars or sharing laughs with friends, the right lighting transforms ordinary moments into something special. I’ve seen couples get engaged under my patio lights, kids chase fireflies in the glow, and neighbors stop by just to say, “Your backyard looks like a fairy tale.”
Remember: perfection isn’t the goal. A few gentle sags or mismatched bulbs add charm, not flaws. The best setup is one that feels like you. So experiment, have fun, and don’t stress about the details. With the steps in this guide, you’ll have a stunning, safe, and durable lighting display that lasts for years. Now go grab those lights, call a friend to help, and get ready to light up your life—one twinkle at a time.
Frequently Asked Questions
How do I securely hang light strings on patio poles without damaging them?
Use adjustable zip ties, S-hooks, or outdoor-rated mounting clips to attach the light strings to the poles. These methods provide a tight hold while preventing scratches or dents on the pole surface.
What’s the best way to hang light strings on patio poles for even spacing?
Measure the distance between poles and plan the light string placement with a tape measure before installation. Use tension wire or guide strings between poles to keep bulbs evenly spaced and prevent sagging.
Can I hang heavy-duty light strings on my patio poles safely?
Yes, but ensure your patio poles are sturdy (e.g., metal or thick wood) and use reinforced hooks or brackets. For long-term installations, consider using commercial-grade light strings designed for outdoor durability.
How do I hide the cords when hanging light strings on patio poles?
Route cords behind poles or use cord covers in matching colors to blend with the structure. For a cleaner look, wrap cords around the pole base or use decorative conduit.
Are there specific tools needed to hang light strings on patio poles?
Basic tools like a ladder, zip ties, pliers, and a measuring tape are sufficient for most setups. For elevated poles, a hook-on-pole kit or a light-hanging tool can simplify the process.
How can I weatherproof my light strings on patio poles?
Use LED or UL-listed outdoor-rated light strings and seal all connections with waterproof tape or silicone. Elevate plugs off the ground using a covered outlet box to prevent water damage.

