Featured image for hanging outdoor string lights on patio
Image source: menterarchitects.com
Transform your patio into a captivating retreat by strategically hanging outdoor string lights to maximize ambiance and coverage. Use secure mounting points like eaves, posts, or tension wires, and opt for weather-resistant, LED string lights to ensure durability and energy efficiency. With the right spacing, height, and layout—such as zigzag or parallel patterns—you’ll create a warm, inviting glow perfect for entertaining or relaxing.
Key Takeaways
- Plan your layout first: Sketch light placement to avoid gaps and ensure even coverage.
- Use sturdy anchor points: Secure lights to beams, poles, or walls for long-term safety.
- Measure twice, hang once: Confirm spacing and height before installation to prevent rework.
- Weatherproof connections: Use outdoor-rated lights and seal plugs to protect from moisture.
- Adjust for ambiance: Drape or zigzag lights to enhance depth and visual interest.
- Test before finalizing: Check brightness and stability to fix issues early.
📑 Table of Contents
- How to Hang Outdoor String Lights on Patio for Stunning Ambiance
- 1. Choose the Right String Lights for Your Patio
- 2. Plan Your Layout and Design
- 3. Install Mounting Hardware (Without Damaging Your Patio)
- 4. Hang the Lights (Step-by-Step Guide)
- 5. Power Solutions and Safety
- 6. Maintenance and Year-Round Care
How to Hang Outdoor String Lights on Patio for Stunning Ambiance
Imagine this: it’s a warm summer evening, the sun has just dipped below the horizon, and your patio glows with a soft, golden light. The string lights you’ve hung sway gently in the breeze, casting a warm, inviting ambiance over your outdoor space. You’re sipping a glass of wine, maybe sharing stories with friends, and the atmosphere feels nothing short of magical. That’s the power of outdoor string lights—they can transform even the simplest patio into a cozy, enchanting retreat. But here’s the catch: hanging them right takes a little planning, creativity, and know-how. And that’s exactly what we’re going to explore today.
Whether you’re sprucing up your backyard for weekend gatherings, creating a romantic nook for date nights, or simply adding some charm to your evening routine, outdoor string lights are a game-changer. They’re affordable, versatile, and surprisingly easy to install—if you know what you’re doing. But don’t worry, I’ve been there. I’ve tangled myself in wires, misjudged spacing, and even had a few lights fall mid-party (not my finest moment). So, I’ve learned the hard way what works—and what doesn’t. In this guide, I’ll walk you through everything you need to know to hang outdoor string lights on patio with confidence, from choosing the right lights to avoiding common pitfalls. By the end, you’ll be ready to create that perfect, Pinterest-worthy glow.
1. Choose the Right String Lights for Your Patio
Before you start hammering hooks or running extension cords, the first step is selecting the right string lights. Not all lights are created equal, and picking the wrong ones can lead to frustration—or worse, a fire hazard. Here’s what to consider:
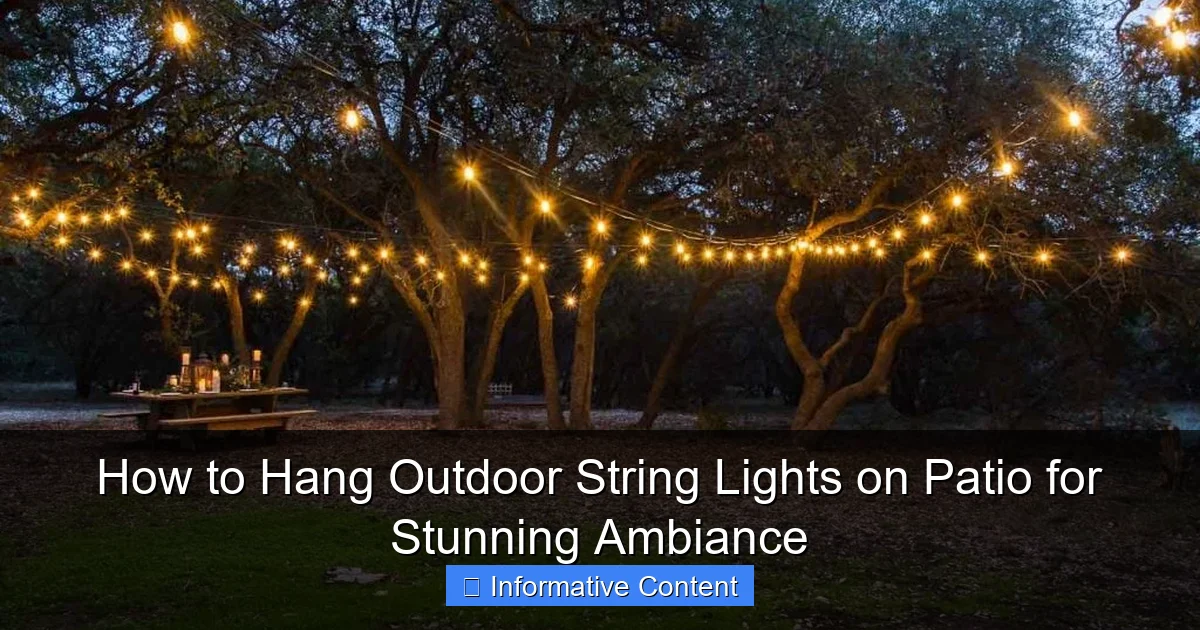
Visual guide about hanging outdoor string lights on patio
Image source: maisondepax.com
Types of String Lights
- Incandescent Bulbs: Classic and warm, these give off a cozy, golden glow. They’re affordable but less energy-efficient and have a shorter lifespan. Great for occasional use.
- LED Bulbs: Energy-efficient, durable, and long-lasting. LEDs come in warm white, cool white, and even color-changing options. They’re pricier upfront but save money over time.
- Solar-Powered: No wires, no outlets—just sunlight. Ideal for eco-conscious homeowners, but they may dim faster or flicker on cloudy days.
- Edison Bulbs: Vintage-style with exposed filaments. They’re stylish but fragile, so handle with care.
Key Features to Look For
- Weather Resistance: Look for IP44 or IP65 ratings for outdoor use. These ensure protection against rain, wind, and dust.
- Bulb Spacing: Closer spacing (e.g., 6–12 inches) creates a denser glow, while wider spacing (18–24 inches) gives a more subtle effect.
- Length: Measure your patio’s perimeter or layout first. Buy lights with 10–20% extra length to account for curves or mistakes.
- Dimmable Options: Some LEDs let you adjust brightness. Handy for setting the mood—from bright dinner lighting to soft nighttime ambiance.
Pro Tip: If you’re unsure, go with LED string lights. They’re versatile, safe, and work well for most patios. I once bought cheap incandescents for a party—half burned out by midnight. LEDs saved the day (and my pride).
2. Plan Your Layout and Design
Now that you’ve picked your lights, it’s time to map out where they’ll go. A good layout ensures even coverage, avoids dark spots, and makes the most of your space. Here’s how to plan:
Step 1: Measure and Sketch
Grab a tape measure and note key dimensions:
- Patio perimeter (length and width)
- Height of railings, walls, or posts
- Distance from power sources (outlets, solar panels)
Sketch a rough layout. Decide if you want:
- Perimeter Lights: Along the edges of your patio (simple and effective).
- Overhead Grid: Crisscrossing lights between posts, trees, or a pergola (dramatic and immersive).
- Zigzag or Diagonal Patterns: For visual interest, especially on larger patios.
- Focal Points: Lights around a dining table, fire pit, or seating area.
Step 2: Consider the Light Path
Think about how light will travel. For example:
- If you’re hanging lights from a pergola, space bulbs evenly so they don’t pool in one spot.
- For a zigzag pattern, use a guide string (like fishing line or twine) to mark angles before hanging the actual lights.
- Avoid direct glare into eyes—angle bulbs downward or use opaque shades.
Step 3: Test the Layout
Before committing, lay out the lights (or a mock-up) during the day. Walk around and check for:
- Shadows or dark zones
- Glare from bright bulbs
- Obstructions (e.g., furniture, plants)
Example: I once hung lights in a straight line along my patio railing. At night, they looked great—but the table was in shadow. I added a second line overhead, and it made all the difference.
3. Install Mounting Hardware (Without Damaging Your Patio)
Now comes the fun part: hanging the lights. But you don’t want to drill holes in your deck or damage your siding. The key is using the right hardware for your patio’s materials.
For Wooden Patios, Decks, or Railings
- Cup Hooks or Screw Eyes: Screw these into posts, beams, or railings. Use stainless steel to prevent rust. Spacing: 2–3 feet apart.
- Zip Ties: Wrap around railings or beams. Use UV-resistant ties (they won’t degrade in sunlight).
- Adhesive Hooks: For temporary setups. Use heavy-duty outdoor-rated hooks (e.g., 3M Outdoor Strips).
For Concrete, Brick, or Stone Walls
- Concrete Screws or Anchors: Drill pilot holes and insert screws. Use a hammer drill for tough surfaces.
- Masonry Hooks: Designed for bricks or concrete blocks. No drilling needed—just wedge them into mortar joints.
- Adhesive Clips: For light-duty use. Avoid on textured surfaces.
For Trees or Posts
- Tree-Friendly Straps: Use wide, soft straps (not nails or wire) to protect bark. Spacing: 6–12 inches apart.
- Eye Bolts: For permanent installations. Pre-drill holes and seal with wood preservative.
Pro Tips for Safe Installation
- Use a Level: Ensure hooks are aligned so lights hang straight.
- Check Weight Limits: Most string lights are light, but add up the weight if you’re layering multiple strands.
- Protect Cables: Use cable clips or conduit to prevent tripping hazards.
- Leave Slack: Lights expand in heat and contract in cold. Allow 1–2 inches of slack per 10 feet.
Caution: If you’re unsure about drilling into your patio, consult a professional. I once drilled into a hidden water line—lesson learned!
4. Hang the Lights (Step-by-Step Guide)
With hardware in place, it’s time to hang the lights. Follow these steps for a smooth, tangle-free process.
Step 1: Prepare the Lights
- Unroll the string lights and lay them out. Check for kinks or damaged bulbs.
- Plug in and test each strand before hanging. No surprises later!
- If using multiple strands, connect them with outdoor-rated extension cords (rated for wet locations).
Step 2: Start at the Power Source
- Begin hanging lights closest to the outlet. This minimizes cord clutter.
- Use a timer or smart plug to automate on/off times. Saves energy and adds convenience.
Step 3: Attach Lights to Hardware
- For cup hooks or screw eyes: Hook the light’s S-hooks or clips into the hardware.
- For zip ties: Thread the light’s cord through the tie and secure. Trim excess.
- For adhesive hooks: Press firmly and wait 24 hours before hanging lights (ensures adhesion).
Step 4: Create Patterns
- Overhead Grid: Hang lights in a grid pattern between posts. Use a ladder and helper for safety.
- Zigzag: Alternate hooks at different heights. Use a guide string to maintain angles.
- Perimeter: Space bulbs evenly along railings or walls.
Step 5: Adjust and Secure
- Gently tug lights to remove sagging.
- Use zip ties or clips to secure loose cords. Avoid pulling too tight—this can damage the wire.
- For windy areas, add extra hooks or use light clips (designed to grip cords).
Pro Tip: If lights sag, add a support wire (like galvanized steel) between hooks. Hang lights on the wire instead of direct attachment. This reduces stress on bulbs and cords.
5. Power Solutions and Safety
Outdoor lighting isn’t just about aesthetics—it’s about safety. Here’s how to power your lights without risking shocks, fires, or tripping hazards.
Power Options
- Outdoor Outlets: Most reliable. Use GFCI outlets (shut off if moisture is detected).
- Extension Cords: Use heavy-duty, outdoor-rated cords. Never daisy-chain more than 3 cords.
- Solar Panels: Mount panels in direct sunlight. Use with solar-compatible lights.
- Battery-Powered: For temporary setups. Replace batteries regularly.
Safety Checklist
- Weatherproof All Connections: Use outdoor-rated outlet covers or weatherproof boxes.
- Inspect Regularly: Check for frayed wires, loose connections, or water damage.
- Turn Off When Not in Use: Saves energy and extends bulb life.
- Follow Manufacturer Guidelines: Don’t exceed max wattage or strand length.
Common Power Pitfalls (and Fixes)
| Problem | Cause | Solution |
|---|---|---|
| Lights flicker or dim | Voltage drop from long cords or too many strands | Use shorter cords or a power booster (for LEDs) |
| Outlet trips frequently | Moisture or overloaded circuit | Use GFCI outlet; unplug other devices |
| Solar lights don’t work at night | Dirty panels or weak sunlight | Clean panels; reposition for more sun |
Example: My neighbor ran a 50-foot extension cord across his patio. It worked—until it rained. The outlet sparked, and the lights died. Now he uses a buried conduit with waterproof connectors. Lesson: plan for weather!
6. Maintenance and Year-Round Care
Your lights will last longer (and stay beautiful) with a little upkeep. Here’s how to maintain them season after season.
Seasonal Maintenance
- Spring: Inspect for winter damage. Replace broken bulbs or frayed wires.
- Summer: Wipe bulbs with a damp cloth to remove dust or bugs. Check for loose hooks.
- Fall: Remove leaves or debris from lights and cords. Store if not using in winter.
- Winter: If leaving lights up, use outdoor-rated lights and cover outlets. Remove if in heavy snow areas.
Storage Tips
- Wrap lights around a cardboard reel or hanger to prevent tangles.
- Store in a dry, cool place. Avoid damp basements or attics.
- Keep hardware (hooks, clips) in a labeled bag for easy reinstallation.
When to Replace Lights
- More than 10% of bulbs are out (and can’t be replaced).
- Wires are frayed or cracked.
- Housing is corroded or damaged.
Pro Tip: I keep a light repair kit (extra bulbs, zip ties, wire cutters) in my garage. It’s saved me from last-minute emergencies more than once.
Hanging outdoor string lights on patio isn’t just about adding light—it’s about creating a feeling. Whether it’s the warm glow of a dinner party, the quiet hum of a summer night, or the sparkle of holiday cheer, the right lights can make your patio feel like an extension of your home. But it’s not magic—it’s method. From choosing the right lights to planning the layout, installing hardware, and maintaining them year-round, every step matters.
Remember, perfection isn’t the goal. It’s about what works for you. Maybe you love the simplicity of perimeter lights. Or perhaps you’re drawn to the drama of an overhead grid. Whatever your style, take your time, test as you go, and don’t be afraid to tweak things until it feels right. And if you hit a snag? That’s okay. Even the best of us have tangled cords or sagging wires. The key is to keep going—and enjoy the process.
So grab your lights, sketch your layout, and get started. Your patio is waiting to shine. With a little effort and a lot of heart, you’ll create an ambiance that’s not just stunning, but truly yours. Now, go light up your world—one string at a time.
Frequently Asked Questions
How do I hang outdoor string lights on a patio without drilling holes?
Use adhesive hooks, tension rods, or freestanding poles to avoid damaging surfaces. These methods work well for renters or those who want a temporary setup.
What’s the best way to hang outdoor string lights on a patio with high ceilings?
Anchor lights to sturdy structures like roof beams, tall posts, or nearby trees using zip ties or carabiners. For extra height, install temporary poles or shepherd’s hooks to extend reach.
How do I ensure my patio string lights are weatherproof and safe?
Choose lights rated for outdoor use (look for “wet-rated” or “IP65” labels) and seal connections with silicone covers. Always use a GFCI outlet to prevent electrical hazards.
Can I hang outdoor string lights on a patio with no nearby power source?
Yes! Opt for solar-powered or battery-operated string lights for cord-free setups. Position solar panels in direct sunlight for optimal charging.
How far apart should I space hooks when hanging patio string lights?
Space hooks 2–4 feet apart to prevent sagging, depending on the lights’ weight. Heavier bulbs or long runs may need closer spacing for support.
How do I hide the cords when I hang outdoor string lights on a patio?
Use cord covers, zip ties, or run wires along railings or under furniture. For a seamless look, match the cord color to your patio’s backdrop (e.g., black cords on dark wood).

