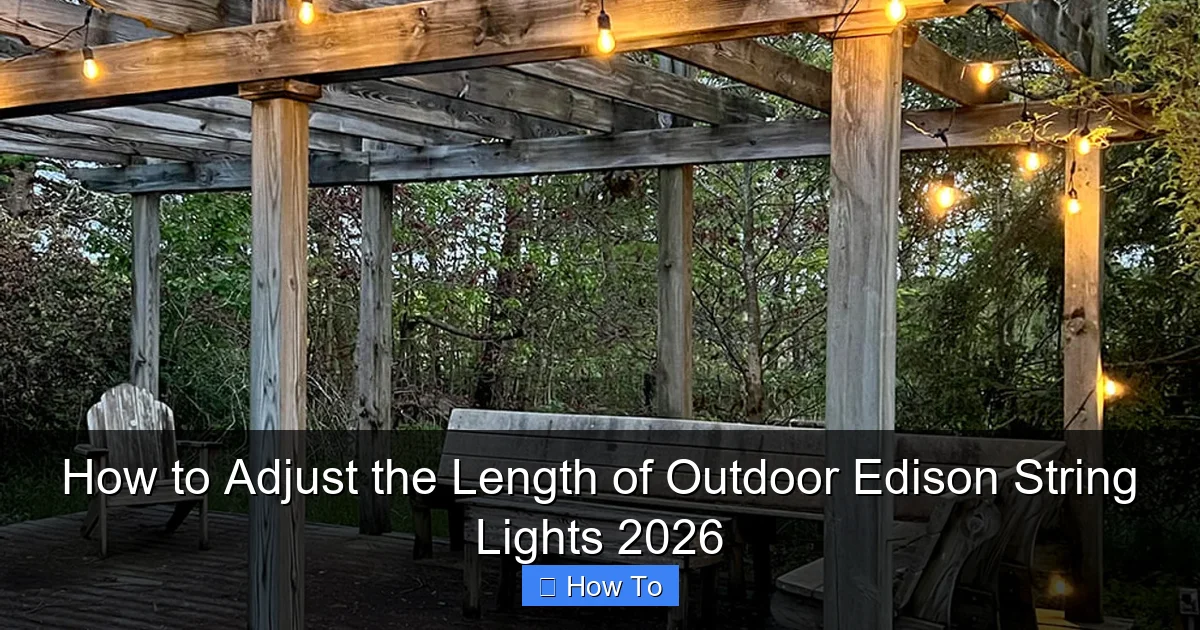
Featured image for how to adjust the length of outdoor edison string lights
Image source: cdn11.bigcommerce.com
Adjusting the length of your outdoor Edison string lights is simple and requires no cutting or rewiring—just use built-in connectors or removable sockets to customize spacing and coverage. Whether you’re shortening for a snug fit or extending with compatible add-on strands, always ensure the total wattage stays within the manufacturer’s limit to prevent overheating. For 2026 models, many brands now feature tool-free, plug-and-play adjustment systems for effortless setup.
“`html
How to Adjust the Length of Outdoor Edison String Lights 2026
Key Takeaways
- Measure first: Always measure your space before cutting or connecting lights.
- Use connectors: Leverage built-in connectors for seamless length adjustments.
- Cut safely: Cut only at marked points to avoid damaging the lights.
- Test sections: Test each segment after adjustment to ensure functionality.
- Secure tightly: Anchor lights properly to prevent sagging or strain.
- Weatherproof: Seal connections to protect against moisture and outdoor elements.
Why This Matters / Understanding the Problem
You’ve finally strung up those gorgeous outdoor Edison string lights—only to realize they’re too long. Or maybe they’re sagging, tangled, or just not reaching the right spots. It’s frustrating, especially when you’ve spent time planning the perfect backyard ambiance.
Here’s the good news: how to adjust the length of outdoor Edison string lights 2026 isn’t rocket science. In fact, it’s one of those small DIY fixes that can make a huge difference in both safety and aesthetics. Whether you’re prepping for a summer BBQ, a cozy winter patio hangout, or just want better lighting control, adjusting the length is a game-changer.
Over the years, I’ve dealt with everything from lights that dragged on the ground to ones that barely reached the hook. I’ve learned (sometimes the hard way) that a little planning and the right technique go a long way. Let’s walk through how to do it right—without damaging your lights or your patience.
What You Need
Before we jump into the steps, let’s gather the essentials. You don’t need a toolbox full of gear—just a few simple items. Here’s what I keep on hand:
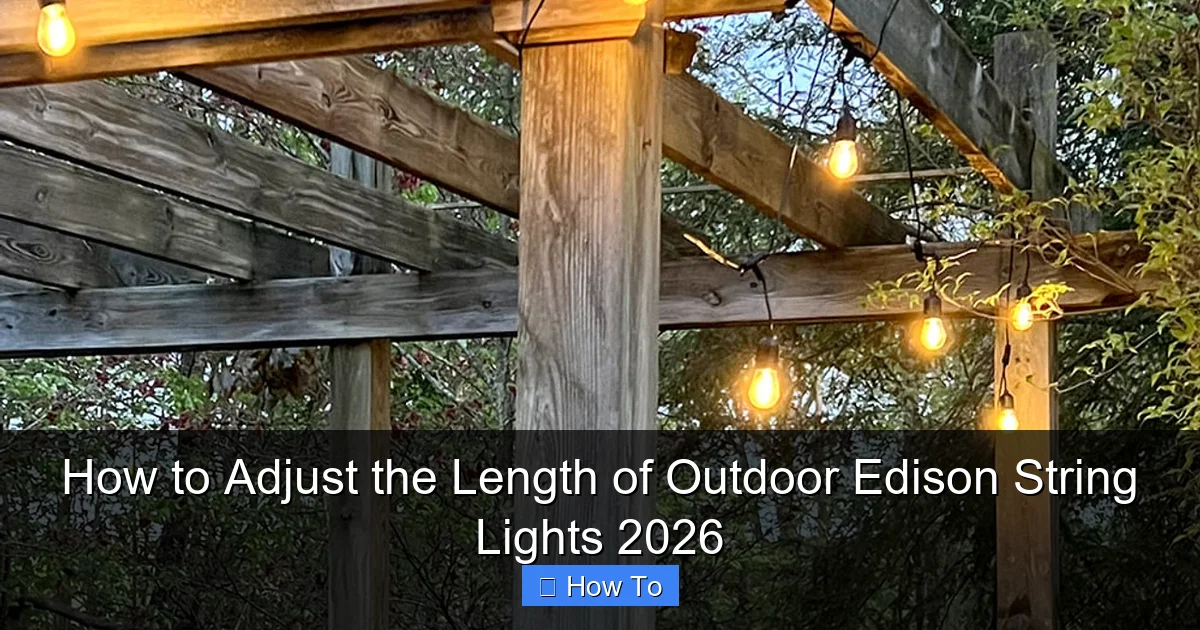
Visual guide about how to adjust the length of outdoor edison string lights
Image source: cdn11.bigcommerce.com
- Outdoor Edison string lights (2026 model or similar) – obviously!
- Measuring tape – to plan your ideal length
- Scissors or wire cutters – only if you plan to permanently shorten
- Zip ties or adjustable cord clamps – for non-permanent adjustments
- Hook or mounting hardware – if adding new anchor points
- Extension cord (if needed) – to maintain power access
- Step ladder (if working overhead) – safety first!
- Electrical tape – for sealing cut ends (if trimming)
Pro tip: If your lights are plug-in, make sure you’re working near an outdoor-rated GFCI outlet. Never use indoor extension cords outside—they’re not weatherproof.
The tools you choose depend on whether you want a permanent or adjustable fix. More on that soon.
Step-by-Step Guide to How to Adjust the Length of Outdoor Edison String Lights 2026
Step 1: Measure Your Space and Plan the Layout
Start by measuring the distance between your mounting points—trees, pergola beams, eaves, or posts. Use a measuring tape and write it down. I learned this the hard way when I assumed “eyeballing it” was enough. Spoiler: it wasn’t.
For example, if your patio is 18 feet wide, but your lights are 25 feet long, you’ve got 7 feet of slack to deal with. That’s where how to adjust the length of outdoor Edison string lights 2026 comes in.
Ask yourself:
- Where do the lights start and end?
- Is there a power source nearby?
- Do you want a straight line, zigzag, or draped look?
Tip: Sketch a quick layout on paper or use a free app like SketchUp Free. It helps visualize spacing and avoid overhangs.
Step 2: Determine Your Adjustment Type
This is the fork in the road. You’ve got two main options:
- Non-permanent adjustment – great if you might move the lights or want flexibility. Use zip ties, cord organizers, or hooks to shorten the span.
- Permanent shortening – ideal if you’re sure about the layout and want a clean, professional look. This involves cutting and resealing.
I usually go the non-permanent route unless I’m installing lights permanently. Why? Because life changes. You might want to move the lights next summer, or add more strands later. Flexibility is key.
If you choose permanent, make sure you’re 100% certain about the final length. Once you cut, there’s no going back.
Step 3: Install Anchor Points (If Needed)
Sometimes, the lights are too long because there’s no place to hang them closer together. That’s where anchor points come in.
Use outdoor-rated hooks, eye screws, or adhesive clips (if on a smooth surface like stucco or wood). I prefer stainless steel hooks—they’re durable and blend in.
Install them at strategic points to reduce span. For example, if your lights are sagging in the middle, add a hook halfway between the two main mounts. This shortens the effective length without cutting.
Warning: Don’t hang lights from weak structures (like flimsy pergola beams or thin tree branches). Use sturdy, load-bearing points. A 25-foot strand with bulbs can weigh 3–5 lbs when wet.
Step 4: Use Cord Organizers or Zip Ties (Non-Permanent Method)
This is my go-to for quick, flexible adjustments. Here’s how:
- Unplug the lights (safety first!).
- Hang the string between your anchor points.
- Identify the excess length—usually in the middle or at the ends.
- Bundle the extra cord into a small loop (about 6–12 inches).
- Secure the loop with a zip tie or adjustable cord clamp.
- Hide the bundle behind a beam, under an eave, or tuck it into a planter.
I like to use black zip ties—they’re less visible. For a cleaner look, use a cord organizer sleeve (available at hardware stores) to encase the bundle.
This method lets you adjust again later. Just snip the zip tie and reconfigure.
Step 5: Permanently Shorten (If You’re Sure)
Only do this if you’re certain about the final length. Here’s how to do it safely:
- Unplug and lay the lights on a flat surface.
- Measure from the plug end to your desired cutoff point. Add 6 inches extra—you’ll need room to work.
- Locate a bulb socket near the cutoff point. Never cut between sockets—you’ll break the circuit.
- Cut after a socket using wire cutters. Leave the socket intact.
- Strip the outer insulation about 1 inch to expose the two inner wires.
- Twist the wires together (black to black, white to white if visible).
- Wrap tightly with electrical tape—at least 3 layers. This seals the connection and prevents moisture.
- Optional: Use a heat-shrink tube for a cleaner, more durable seal.
Now, the strand is shorter. But remember: you’ve removed bulbs. If you cut too much, you might not have enough light coverage. Always test before finalizing.
Pro insight: I once cut too close to the plug and lost the last 3 bulbs. Not a total loss, but it changed the spacing. Now I always leave a buffer.
Step 6: Rehang and Test the Lights
Now it’s time to put it all together:
- Rehang the lights using your anchor points.
- If you used zip ties, double-check they’re tight but not cutting into the cord.
- Plug in and test every bulb. If any are out, check the socket and wiring.
- Adjust the sag—aim for a gentle curve, not a droop. Too tight? Lights can strain. Too loose? They look sloppy.
I like to do this at dusk. It’s easier to see if any bulbs are out or if the spacing looks off.
If the lights are still too long, repeat Step 4 with tighter bundling. Or add more anchor points.
Step 7: Secure and Weatherproof
Outdoor lights face rain, wind, and UV exposure. A little extra care now saves headaches later.
- Use outdoor-rated clips or hooks—don’t use nails or staples (they damage wires).
- Secure the plug end to avoid strain on the connection.
- If you cut the cord, ensure the sealed end is above any potential water pooling point (like a beam).
- For extra protection, apply silicone sealant around taped connections (let dry first).
I once skipped this step and had a short circuit after a heavy rain. Lesson learned: weatherproofing is non-negotiable.
Pro Tips & Common Mistakes to Avoid
After years of trial and error, here are the real-world insights I wish I’d known earlier:
1. Don’t cut without testing first. Hang the lights at the desired length before cutting. Use temporary hooks or zip ties to simulate the final look.
2. Avoid over-tightening zip ties. They can compress the wires inside, leading to shorts. Use adjustable cord clamps instead—they’re gentler.
3. Never cut in the middle of a run. Always cut after a socket. Cutting between sockets breaks the circuit and can damage the entire strand.
4. Use the right tools. Regular scissors won’t cut through outdoor-grade wire. Use wire cutters or a utility knife for clean cuts.
5. Plan for expansion. If you might add more lights later, leave a few extra feet. You can always bundle them now and use them later.
6. Check bulb spacing. When shortening, you might end up with uneven gaps. If aesthetics matter, consider buying a shorter strand instead of cutting.
7. Don’t forget the plug. If you shorten the strand, make sure the plug still reaches an outlet. Use an outdoor-rated extension cord if needed—but avoid daisy-chaining more than two.
Real story: I once cut a strand to fit my patio, only to realize the plug was now 10 feet from the outlet. I ended up with an ugly extension cord across the lawn. Now I always measure plug-to-outlet distance first.
Bonus tip: For a custom look, use connectable Edison lights. Many 2026 models let you plug strands together. You can mix lengths (e.g., 10 ft + 15 ft) to match your space perfectly.
FAQs About How to Adjust the Length of Outdoor Edison String Lights 2026
Q: Can I just tie a knot in the cord to shorten it?
A: I’ve tried it—don’t. Knots create pressure points that can damage internal wires over time. Plus, they look messy. Use zip ties or cord clamps instead. They’re safer and more professional.
Q: What if I cut the cord and the lights don’t work?
A: First, check your connections. Are the wires twisted tightly? Is the tape fully sealed? If the circuit is broken, the entire strand after the cut won’t work. If it’s a plug-in model, ensure the plug end is intact. When in doubt, test with a multimeter.
Q: Can I shorten lights that are already installed?
A: Yes—but unplug first! Carefully lower the strand, make your adjustments on the ground, then rehang. Never work on live wires, even if you think the power is off.
Q: Are there lights that are easier to adjust?
A: Absolutely. Look for modular Edison lights with detachable strands or built-in connectors. Some 2026 models have “plug-and-play” sections you can add or remove. They’re pricier but worth it for flexibility.
Q: How do I hide the bundled cord?
A: Get creative! Tuck it behind a beam, under a planter, or inside a hollow post. Use black zip ties or cord covers to blend in. I’ve even wrapped excess cord around a tree trunk (with a protective sleeve).
Q: Can I adjust the length without cutting?
A: Yes! That’s the beauty of non-permanent methods. Use zip ties, cord organizers, or add more anchor points. You can even drape the lights in a zigzag pattern to use extra length artistically.
Q: What’s the maximum safe length for outdoor Edison lights?
A: Most manufacturers recommend no more than 2–3 strands connected. Check your product manual. Overloading can cause overheating or tripped breakers. For long runs, use a transformer or separate circuits.
Final Thoughts
Adjusting the length of your outdoor Edison string lights isn’t just about looks—it’s about safety, efficiency, and long-term enjoyment. Whether you’re bundling, cutting, or adding anchor points, the key is planning and patience.
Remember: how to adjust the length of outdoor Edison string lights 2026 is all about working with your space, not against it. Don’t rush. Test your layout. Protect your wires. And always prioritize safety.
My advice? Start with the non-permanent method. It’s reversible, safe, and gives you room to experiment. If you love the result, you can always go permanent later.
Now go enjoy your perfectly lit patio—your guests will notice the difference. And when they ask how you did it, you’ve got the answer ready.
Happy lighting!
“`

