Featured image for how to attach led string lights to wall
Image source: i.pinimg.com
Attaching LED string lights to your wall is quick and damage-free when you use adhesive hooks or clips designed for smooth surfaces. For a secure, long-lasting hold, clean the wall first, plan your layout, and press each clip firmly into place before hanging the lights. This method ensures a clean, professional look without nails, screws, or wall damage.
“`html
How to Attach LED String Lights to Wall: Easy Guide
Key Takeaways
- Choose adhesive hooks: Ideal for renters; no wall damage.
- Use nails for durability: Secure heavy lights firmly.
- Plan layout first: Measure and mark to avoid mistakes.
- Test lights before: Ensure they work before mounting.
- Hide wires neatly: Use clips or tape for clean look.
- Opt for removable strips: Easy removal without residue.
- Check battery access: Place near outlets or easy reach.
Why This Matters / Understanding the Problem
Ever hung LED string lights only to find them sagging, falling, or leaving unsightly holes in your wall? You’re not alone. Many people struggle with how to attach LED string lights to wall surfaces cleanly and securely—especially without damaging paint, drywall, or rental agreements.
Whether you’re creating a cozy bedroom vibe, setting up holiday decor, or designing a photogenic backdrop, the right attachment method makes all the difference. The good news? With the How to Attach LED String Lights to Wall Easy Guide, you can achieve a professional-looking setup in under an hour—no handyman skills required.
This guide walks you through the best techniques for different wall types, lighting layouts, and long-term durability. From renters to homeowners, this method works for everyone who wants a clean, safe, and stunning display.
What You Need
Before you start, gather these materials. The right tools make the process faster, safer, and more effective. Here’s your checklist:
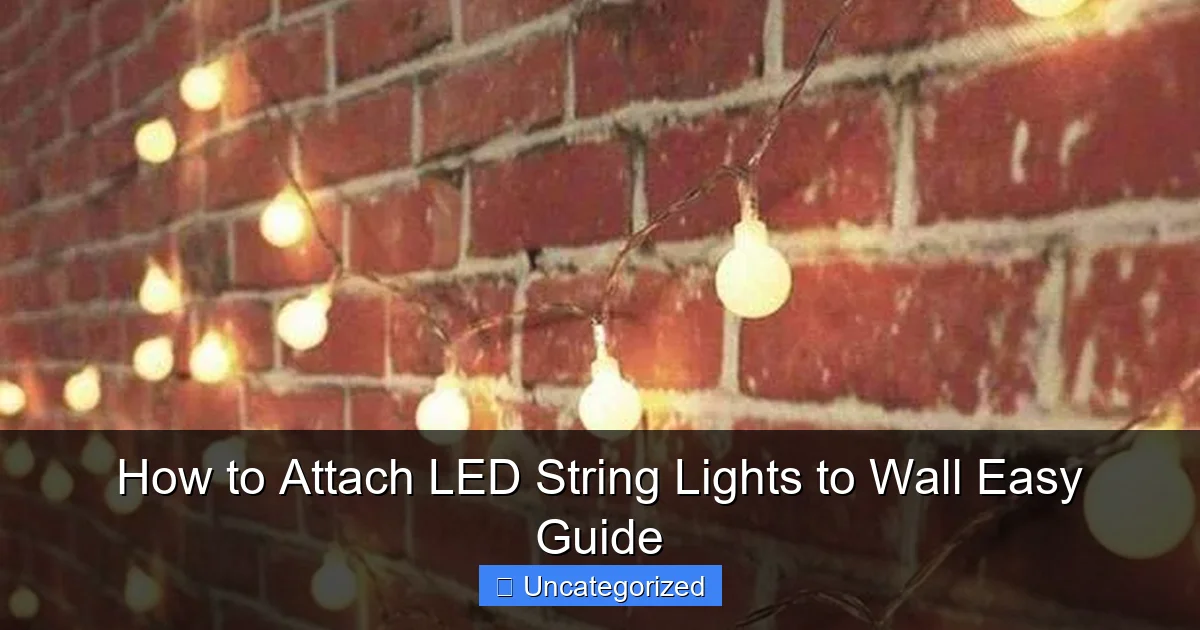
Visual guide about how to attach led string lights to wall
Image source: oillampman.com
- LED string lights (battery-powered or plug-in, depending on outlet access)
- Adhesive hooks or picture hangers (e.g., Command™ strips, 3M™ hooks, or reusable adhesive clips)
- Measuring tape or ruler (for even spacing)
- Pencil or erasable marker (to mark hook positions)
- Level (optional, but helpful for straight lines)
- Scissors or wire cutters (for trimming excess wire or zip ties)
- Zip ties or twist ties (to bundle loose wires)
- Extension cord or power strip (if using plug-in lights)
- Wall-safe adhesive putty (for light-duty, non-damaging hold)
- Removable mounting squares (great for heavier strings or outdoor use)
Pro Tip: Always test your lights before hanging. Plug them in or insert batteries to ensure all bulbs work. Fixing a broken strand mid-installation is frustrating and time-consuming.
Step-by-Step Guide to How to Attach LED String Lights to Wall Easy Guide
Step 1: Plan Your Layout and Measure the Wall
Start by deciding where you want your lights and how they’ll be arranged. Common styles include:
- Straight line (along a headboard, ceiling line, or window frame)
- Grid or crisscross pattern (great for photo backdrops)
- Curved or wave pattern (for soft, organic looks)
- Hanging clusters (from ceiling to wall, like a curtain)
Use your measuring tape to mark the start and end points. For straight lines, measure the total length and divide by the number of attachment points (usually every 8–12 inches). Mark these with a pencil.
For patterns, sketch a rough layout on paper or use masking tape to test the shape on the wall before committing. This step is crucial in the How to Attach LED String Lights to Wall Easy Guide—planning saves time and prevents mistakes.
Step 2: Choose the Right Attachment Method for Your Wall Type
Not all walls are the same. The best method depends on your surface:
- Drywall (painted or textured): Use Command™ hooks or adhesive clips. These are removable and won’t damage paint.
- Plaster walls: Slightly more fragile. Use low-tack adhesive putty or mini Command™ strips. Avoid nails or screws.
- Concrete or brick: Use heavy-duty removable mounting squares (like 3M™ Extreme Strips) or outdoor-rated adhesive hooks.
- Glass (windows or mirrors): Use suction cup clips with rubber grips. These are perfect for temporary setups.
- Rental-safe: Always opt for non-damaging, removable options. Landlords appreciate clean walls.
Warning: Never use nails, screws, or permanent glue on walls unless you own the home or have explicit permission. These can cause costly damage and security deposits to be withheld.
Step 3: Install the Hooks or Clips
Now it’s time to place your anchors. Follow these steps:
- Clean the wall surface with a dry cloth or isopropyl alcohol wipe. Dust and grease reduce adhesive strength.
- Peel off the backing from your adhesive hook or strip.
- Press the hook firmly to the wall at your marked spots. Hold for 30 seconds to ensure a strong bond.
- For Command™ strips, “slide” the hook into the adhesive base until it clicks. This ensures full contact.
- Wait at least 1 hour before hanging lights—this gives the adhesive time to cure.
For a grid pattern, install hooks in a checkerboard layout. For a wave, place hooks every 6–8 inches with slight height variations.
Remember: spacing matters. Too far apart, and the lights will sag. Too close, and it looks cluttered. The How to Attach LED String Lights to Wall Easy Guide recommends 8–12 inches for most indoor strings.
Step 4: Hang the Lights with Proper Tension
Start at the power source (plug or battery pack) and work outward. This keeps the cord tidy and reduces strain.
- Hang the first light strand on the nearest hook. Don’t pull too tight—leave a slight curve or “sag” (about 1–2 inches) between hooks. This prevents tension that can pull hooks off or damage the wire.
- For straight lines, use a level to ensure the strand is perfectly horizontal or vertical.
- For patterns, follow your layout marks. Use zip ties to secure the wire to the hook if it’s slipping.
- If your lights have multiple strands, connect them before hanging. Test the full length again.
For battery-powered lights, place the battery pack in a hidden spot—behind a shelf, under a bed, or in a small decorative box. Use a small adhesive clip to keep it off the floor.
Step 5: Manage the Cord and Hide the Power Source
Visible cords ruin the magic. Here’s how to hide them:
- Use cord clips (adhesive or magnetic) to guide the wire along baseboards, behind furniture, or up the wall.
- Bundle excess cord with twist ties or velcro straps and tuck it behind a curtain or shelf.
- For wall outlets, run the cord behind a nightstand or dresser. Use a cable raceway (a small plastic channel) if you need a clean wall run.
- For outdoor use, use waterproof cord covers to protect against rain.
This step is essential in the How to Attach LED String Lights to Wall Easy Guide—clean cable management makes your setup look professional and safe.
Step 6: Test, Adjust, and Secure
Once everything is hung, plug in the lights (or turn on the battery pack). Walk around and check:
- Are all bulbs lit?
- Is the tension even? No sagging or pulling?
- Are cords hidden and safe (not a tripping hazard)?
- Does the pattern look balanced?
If a hook feels loose, remove it, clean the wall, and reapply. If the lights sag, add an extra hook or use a small zip tie to shorten the span.
For long-term installations (like bedroom decor), consider adding a second adhesive layer after 24 hours for extra security.
Step 7: Maintain and Remove Safely
LED lights can last years, but proper care extends their life:
- Turn them off when not in use to save energy and bulbs.
- Wipe dust off bulbs monthly with a dry microfiber cloth.
- Store battery packs indoors to prevent corrosion.
When removing:
- Pull adhesive hooks straight down—not out—to avoid paint damage.
- Use a hair dryer on low heat to warm stubborn adhesive strips, then gently peel.
- Wipe residue with a cloth and a little rubbing alcohol.
This final step ensures your wall stays intact and your How to Attach LED String Lights to Wall Easy Guide remains a stress-free process.
Pro Tips & Common Mistakes to Avoid
Pro Tip 1: Use clear adhesive hooks or clips. They blend into the wall and keep the focus on the lights, not the hardware.
Pro Tip 2: For a “floating” effect, hang lights slightly above a shelf or headboard. The gap creates depth and drama.
Pro Tip 3: Mix light colors or types (e.g., warm white with fairy lights) for a layered look. Just ensure they’re on separate circuits to avoid overload.
Pro Tip 4: Use a remote-controlled or app-enabled LED strip. You can turn them on/off or change colors without touching the wall.
Pro Tip 5: For outdoor use, choose weatherproof lights and outdoor-rated adhesive hooks. Indoor strips can short in rain.
Common Mistakes:
- Overloading adhesive hooks: Most hold 0.5–2 lbs. Check the weight of your light strand. Heavier strings need multiple hooks or stronger strips.
- Ignoring wall texture: Textured walls (popcorn, stucco) reduce adhesive contact. Use larger strips or putty for better grip.
- Hanging too tight: Tension pulls hooks off over time. Always allow a small sag.
- Using nails in rentals: Even small holes can violate lease terms. Stick to removable options.
- Forgetting to test: A dead bulb or broken wire is a nightmare mid-install. Test before you start.
FAQs About How to Attach LED String Lights to Wall Easy Guide
Can I use nails or screws to hang LED string lights?
Only if you own the home or have permission. Nails and screws leave permanent holes, which can damage drywall and violate rental agreements. The How to Attach LED String Lights to Wall Easy Guide recommends adhesive hooks for 90% of users—they’re strong, clean, and renter-friendly.
Will adhesive hooks damage my paint?
High-quality removable hooks (like Command™ or 3M™) are designed to peel off cleanly when used correctly. Always pull straight down, never outward. Avoid using them on fresh paint (wait 7 days) or fragile surfaces like peeling paint or wallpaper.
How do I hang lights on a textured wall?
Textured walls reduce adhesive contact. Use larger adhesive strips (e.g., 3M™ Extreme) or apply a dab of wall-safe putty. For heavy strings, double up hooks or use a small piece of sandpaper to flatten a tiny area before applying the adhesive.
What if my wall is concrete or brick?
Concrete and brick are porous and rough. Use heavy-duty removable mounting squares (rated for 5+ lbs) or outdoor-rated adhesive hooks. Avoid putty—it won’t stick well. For permanent setups, use masonry screws with plastic anchors (if allowed).
How can I hide the battery pack?
Place the pack behind a piece of furniture (like a nightstand), in a decorative box, or under a bed. Use a small adhesive clip to secure it to the wall or baseboard. For a seamless look, choose lights with a remote control so you don’t need to access the pack.
Are there lights that don’t need hooks?
Yes! Some LED strings come with built-in adhesive strips (like LED tape lights). Just peel and stick—but ensure the wall is clean and smooth. These work best for straight lines, not 3D patterns. Also, they’re harder to remove without residue.
How do I hang lights in a grid pattern?
Mark a grid on the wall with pencil (e.g., 12-inch squares). Install hooks at each intersection. Hang lights horizontally first, then vertically. Use zip ties to secure the wires at each crosspoint. This creates a clean, structured look—perfect for photo walls.
Final Thoughts
Hanging LED string lights doesn’t have to be a hassle. With this How to Attach LED String Lights to Wall Easy Guide, you now have a clear, step-by-step process that works for any wall type, room, or decor style.
Remember: plan first, use the right tools, and prioritize safety and removability. Whether you’re creating a dreamy bedroom, a festive holiday display, or a social media-worthy backdrop, the right attachment method ensures your lights shine bright—without the stress.
Now go ahead: grab your lights, pick your pattern, and transform your space. And when it’s time to take them down? Just peel, wipe, and store—your walls will thank you.
Light up your life—one hook at a time.
“`

