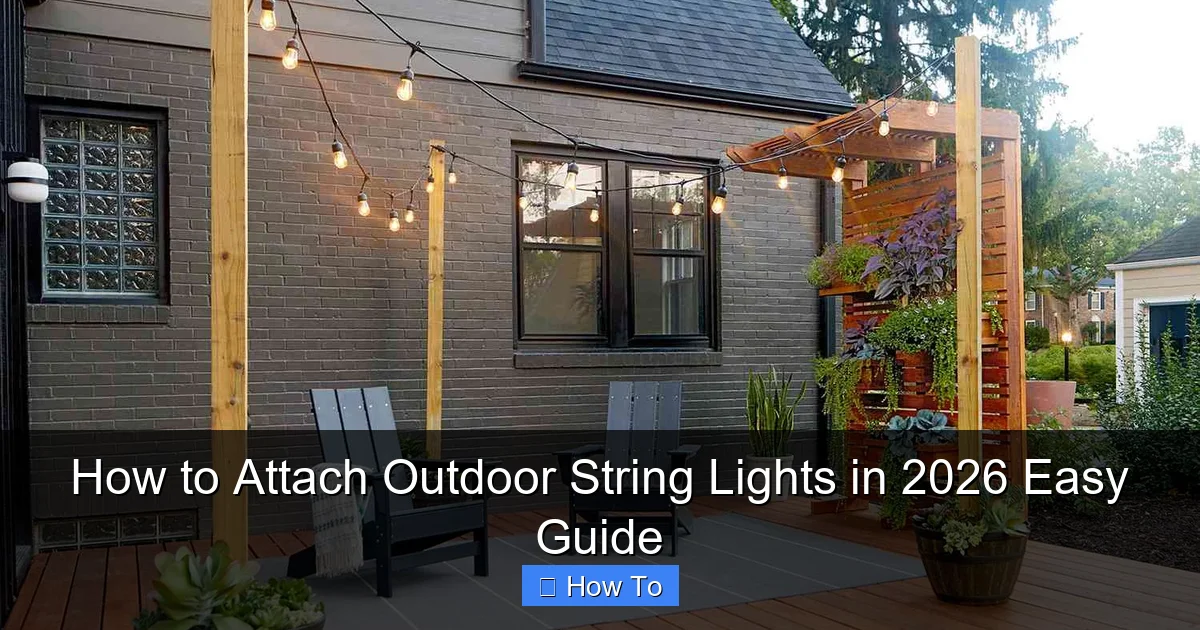
Featured image for how to attach outdoor string lights
Image source: bhg.com
Secure outdoor string lights effortlessly in 2026 using weather-resistant hooks, adhesive mounts, or tension cables—no drilling required. Choose the right attachment method based on your surface type and desired ambiance, ensuring a safe, stylish glow all season long. Always prioritize proper spacing and waterproof connections to maximize durability and visual impact.
“`html
How to Attach Outdoor String Lights in 2026 Easy Guide
Key Takeaways
- Plan your layout first: Measure space and mark anchor points before installing.
- Use sturdy anchors: Choose hooks, screws, or poles rated for outdoor weight.
- Check light spacing: Ensure bulbs are evenly distributed to avoid sagging.
- Weatherproof connections: Seal plugs and junctions with silicone for rain safety.
- Test before finalizing: Power lights temporarily to confirm brightness and placement.
- Secure with clips: Use UV-resistant clips to prevent wind damage over time.
Why This Matters / Understanding the Problem
Picture this: It’s a warm summer evening, you’ve got friends over, the grill is sizzling, and the backyard is *almost* perfect—except for the lack of ambiance. You’ve bought those beautiful outdoor string lights, but now you’re staring at them, wondering, “How do I even hang these without turning my patio into a tangled mess?”
You’re not alone. Many of us have been there—excited about the glow, but intimidated by the setup. The good news? How to Attach Outdoor String Lights in 2026 Easy Guide isn’t about complex engineering or expensive tools. It’s about smart planning, a few key supplies, and a little patience.
Whether you’re lighting up a deck, wrapping a pergola, or creating a cozy nook under trees, this guide walks you through every step. We’ll cover safety, spacing, weatherproofing, and even how to keep it looking great all season—and beyond.
And yes, we’ll keep it real. Some methods work better than others. Some mistakes cost time (and sometimes a light bulb). But by the end, you’ll have a setup that’s safe, stylish, and stress-free.
What You Need
Before you start, let’s gather your tools and materials. Nothing worse than getting halfway through and realizing you’re missing something critical. Here’s your checklist:
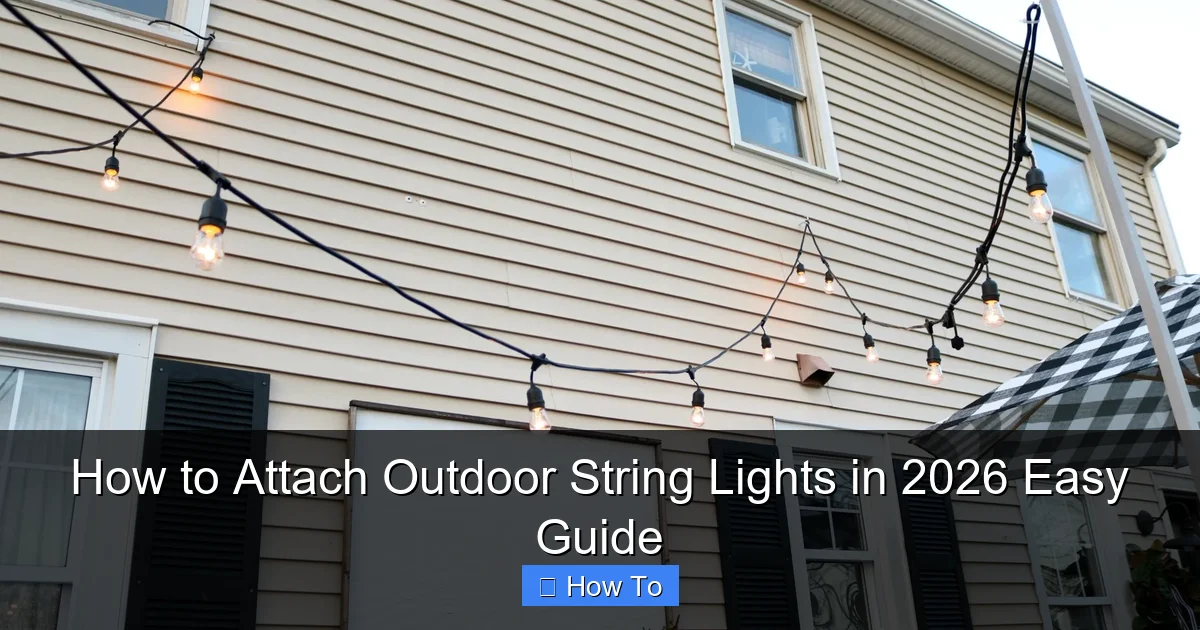
Visual guide about how to attach outdoor string lights
Image source: nestingwithgrace.com
- Outdoor-rated string lights (look for “wet-rated” or “damp-rated” for safety)
- Measuring tape (your best friend for spacing and planning)
- Outdoor-rated mounting hardware:
- Eye hooks (stainless steel or zinc-plated)
- J-hooks or S-hooks
- Zip ties (UV-resistant, outdoor-rated)
- Adhesive outdoor clips (for smooth surfaces like stucco or vinyl)
- Drill with pilot bit (for wood or masonry)
- Hammer (for driving hooks into wood)
- Ladder or step stool (safety first!)
- Extension cord (outdoor-rated) with surge protection
- Timer or smart plug (optional but highly recommended)
- Gloves (to protect your hands from wire and hooks)
Pro tip: If you’re working with masonry (brick, stone), use a masonry bit and plastic anchors. For vinyl siding, go with adhesive clips—drilling can crack the material.
Now that you’re equipped, let’s get into the How to Attach Outdoor String Lights in 2026 Easy Guide step by step.
Step-by-Step Guide to How to Attach Outdoor String Lights in 2026 Easy Guide
Step 1: Plan Your Layout (The Secret to a Clean Look)
Don’t just start hanging. Take 10 minutes to sketch your space. Where do you want the lights? Over the dining area? Along a fence? Around a tree?
Use painter’s tape to mark anchor points (where hooks or clips will go). This helps visualize spacing and prevents over-hanging.
For straight runs (e.g., across a deck), aim for 8–12 feet between anchor points. Too close, and it looks cluttered. Too far, and the lights sag or pull on the hardware.
Real-life tip: I once hung lights across a 20-foot patio without measuring. The middle sagged so much, it looked like a hammock. Measuring saved my second attempt.
Step 2: Choose the Right Mounting Method
Your method depends on your surface. Here’s how to match the right hardware:
- Wood (fences, posts, decks): Use eye hooks or J-hooks. Drill a pilot hole first to avoid splitting the wood.
- Masonry (brick, stone): Use plastic anchors and screws. A hammer drill makes this easier, but a regular drill with a masonry bit works too.
- Vinyl siding: Avoid drilling. Use adhesive clips rated for outdoor use (3M makes great ones). Clean the surface with rubbing alcohol first.
- Metal (gutters, railings): Use zip ties or magnetic clips. For gutters, gutter hooks are a game-changer.
- Trees: Use zip ties or tree-safe hooks. Avoid nails—they damage bark and invite pests.
For the How to Attach Outdoor String Lights in 2026 Easy Guide, we recommend starting with eye hooks for wood and adhesive clips for smooth surfaces. They’re reliable, low-impact, and easy to adjust.
Step 3: Install Anchor Points (The Foundation)
Now it’s time to install your mounting hardware. Here’s how:
- For eye hooks:
- Mark your spot with a pencil.
- Drill a pilot hole (slightly smaller than the hook’s thread).
- Twist the hook in by hand. If it’s tight, use pliers—but wrap the hook in a cloth to avoid scratching.
- For adhesive clips:
- Clean the surface with rubbing alcohol and let it dry.
- Peel off the backing and press firmly for 30 seconds.
- Wait 24 hours before hanging lights (this ensures the adhesive bonds fully).
- For masonry:
- Drill a hole with a masonry bit.
- Insert a plastic anchor.
- Drive in the screw or hook.
Pro tip: Install hooks at a slight upward angle (5–10 degrees). This helps shed water and keeps lights from slipping off.
Step 4: Test Your Lights Before Hanging
Plug in your lights *before* you hang them. Check for:
- Burnt-out bulbs
- Frayed wires
- Loose sockets
Replace any damaged sections. It’s way easier to fix on the ground than dangling 8 feet in the air.
Also, measure the cord length. Add 2–3 extra feet to each end for reaching outlets and avoiding tension.
Step 5: Hang the Lights (The Fun Part)
Now for the main event. Here’s how to hang without tangling:
- Start at the power source (outlet or timer).
- Unroll the lights slowly, keeping tension light.
- Attach the first bulb or socket to the first hook. Use a twist knot or S-hook to secure.
- Move to the next hook, keeping the lights taut but not stretched.
- For curves (around a tree or corner), use zip ties every 12–18 inches to guide the lights.
- At the end, secure the final socket and leave a 1-foot “tail” of cord for flexibility.
For long runs, work with a partner. One holds the spool, the other attaches. It’s way faster and less frustrating.
Warning: Don’t pull too hard. Over-tightening can damage sockets or pull hooks loose. Think “snug,” not “strangled.”
Step 6: Manage the Power Source and Cords
Nothing ruins the vibe like a messy cord. Here’s how to keep it tidy:
- Use an outdoor-rated extension cord with a ground fault circuit interrupter (GFCI) plug. This prevents shocks if water gets in.
- Run cords along baseboards, under railings, or behind furniture—never across walkways.
- Secure cords with zip ties or cord clips to prevent tripping hazards.
- Plug into a timer or smart plug so lights turn on at sunset and off at bedtime.
Bonus: If you have a covered outlet, use a waterproof box to protect the plug connection.
Step 7: Weatherproof and Secure
Outdoor lights face rain, wind, and UV rays. Protect them with these steps:
- Seal any exposed wire connections with silicone sealant.
- Use zip ties to secure lights every 3–4 feet on long runs. This prevents wind damage.
- For trees, avoid wrapping lights around trunks. Use zip ties to run them along branches instead.
- Check connections monthly. Tighten loose hooks and replace cracked zip ties.
For the How to Attach Outdoor String Lights in 2026 Easy Guide, this step is non-negotiable. A little maintenance goes a long way in extending your lights’ life.
Step 8: Test and Adjust
Turn on the lights at night. Look for:
- Sag (add more support)
- Glare (adjust angle or spacing)
- Uneven spacing (reposition hooks)
Don’t be afraid to tweak. I’ve redone my setup three times to get the perfect glow. It’s worth it.
Pro Tips & Common Mistakes to Avoid
After years of hanging lights, here’s what I’ve learned—some the hard way.
Pro Tips
- Use a laser level: For straight runs, a $20 laser level ensures perfect alignment. No more “crooked glow.”
- Layer lights: Combine string lights with lanterns or fairy lights for depth. I love hanging Edison bulbs over the table and fairy lights in nearby bushes.
- Go LED: LEDs use less power, last longer, and stay cool to the touch. Perfect for summer nights.
- Label your hooks: Use a label maker or tape to mark which hook goes with which string. Makes removal a breeze.
- Store properly: When the season ends, wrap lights around a cardboard rectangle or reel. Store in a dry place.
Common Mistakes to Avoid
“I used regular zip ties on my vinyl siding—big mistake.” They left stains and cracked the surface. Always use UV-resistant, outdoor-rated ties.
- Ignoring the weather rating: Indoor lights in the rain? Nope. Look for “wet-rated” or “damp-rated” on the packaging.
- Overloading circuits: Check the wattage of your lights. Most outdoor circuits handle 1,800 watts max.
- Hanging too high: Lights lose impact above 10 feet. Aim for 8–9 feet for cozy ambiance.
- Skipping the timer: Manual on/off is a pain. A $15 timer automates it and saves energy.
- Using nails in trees: It harms the tree and can rot the wood. Use zip ties or tree-safe hooks instead.
FAQs About How to Attach Outdoor String Lights in 2026 Easy Guide
Can I leave my outdoor string lights up all year?
It depends. If they’re wet-rated and you live in a mild climate, yes—but inspect them monthly. In snowy areas, take them down in winter. Ice and salt can damage wires and sockets. For the How to Attach Outdoor String Lights in 2026 Easy Guide, I recommend seasonal removal in harsh climates.
How do I hang lights without drilling into wood?
Use heavy-duty zip ties, bungee cords, or tension rods. For decks, wrap lights around railings with zip ties. For fences, use magnetic clips or adhesive hooks. Just ensure the method holds weight and won’t slip.
What’s the best way to hang lights on a pergola?
Use eye hooks in the beams or zip ties on the rafters. Run lights along the top edges or drape them diagonally. For a dramatic look, zigzag the lights across the roof. Use a timer to automate the magic.
How far apart should I space my hooks?
For straight runs: 8–12 feet. For curves: 3–5 feet. The key is preventing sag. If the lights dip more than 6 inches, add another hook. Measure with a string first to test spacing.
Can I connect multiple light strands?
Yes—but check the max wattage. Most outdoor outlets handle 1,800 watts. A typical 50-bulb LED strand uses 10–20 watts. You can usually connect 5–10 strands, but use a GFCI outlet and don’t overload.
How do I fix a burnt-out bulb?
Most string lights are parallel-wired, so one dead bulb won’t kill the whole strand. Use a bulb tester (or replace bulbs one by one). For LED strands, check if they’re replaceable—some aren’t.
Are adhesive clips safe for stucco?
Yes, if they’re rated for outdoor use and you clean the surface first. I’ve used 3M clips on stucco for years with no issues. Avoid cheap, no-name brands—they fail in heat and rain.
Final Thoughts
Hanging outdoor string lights isn’t rocket science. But it *is* about patience, planning, and the right tools. With this How to Attach Outdoor String Lights in 2026 Easy Guide, you’ve got a roadmap to a backyard that feels like a getaway—no matter where you live.
Remember: Start small. Test your method on one section before going all-in. Use quality hardware. And don’t forget the timer—it’s the unsung hero of ambiance.
Most of all, have fun. This isn’t just about lighting—it’s about creating memories. That first night you turn on the lights, with the crickets chirping and the breeze rustling the leaves? That’s the magic.
So grab your hooks, plug in the lights, and let your outdoor space shine. You’ve got this.
“`

