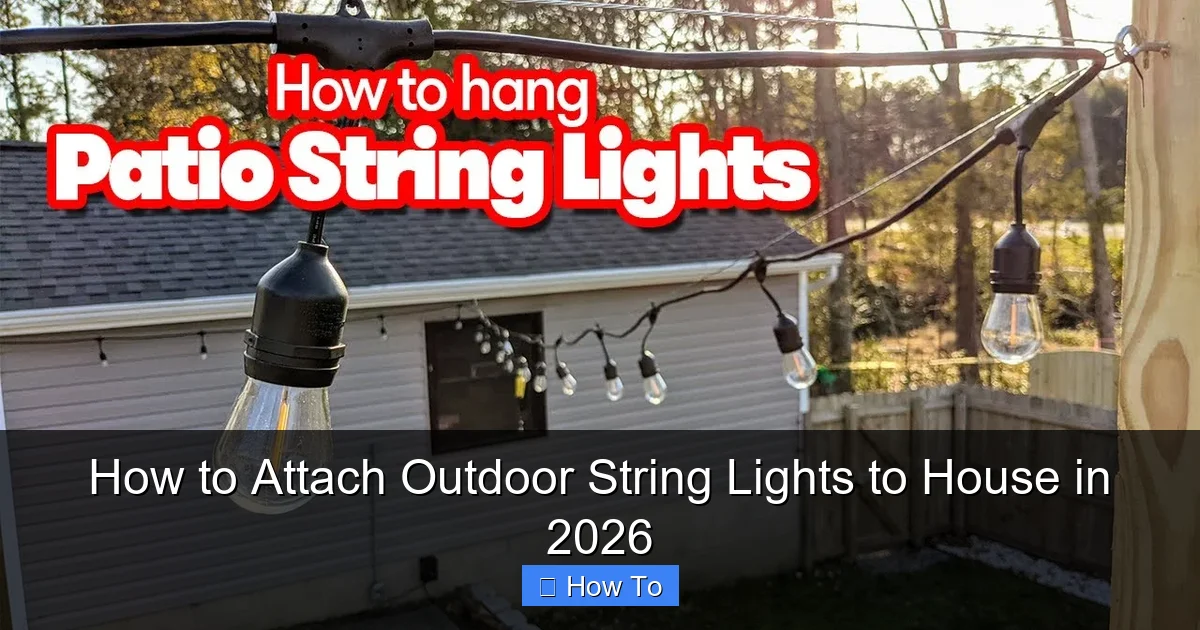
Featured image for how to attach outdoor string lights to house
Image source: i.ytimg.com
Secure outdoor string lights to your house safely and stylishly using weather-resistant mounting hardware like screw-in hooks, adhesive clips, or aluminum channels—designed for 2026’s harshest elements. Always plan your layout first, ensuring even spacing and proper support for long-term durability and a professional look. Never use nails or staples, as they damage surfaces and create fire hazards.
“`html
How to Attach Outdoor String Lights to House in 2026
Key Takeaways
- Plan your layout first: Measure and map light placement for even coverage and minimal strain.
- Use weatherproof hardware: Choose stainless steel or coated hooks to prevent rust and damage.
- Check for safe access: Use a sturdy ladder or lift to avoid accidents during installation.
- Secure with tension control: Maintain proper sag to avoid overstretching and wire fatigue.
- Seal all connections: Apply silicone to plugs and joints to block moisture and extend lifespan.
- Test before finalizing: Power on lights early to troubleshoot issues and adjust spacing.
Why This Matters / Understanding the Problem
There’s nothing quite like the warm glow of outdoor string lights transforming your backyard, porch, or patio into a cozy retreat. Whether you’re hosting a summer BBQ, enjoying a quiet evening with a book, or just want to boost your home’s curb appeal, how to attach outdoor string lights to house in 2026 is a question many homeowners face.
But here’s the catch: doing it wrong can lead to sagging wires, damaged siding, or even a fire hazard. I learned this the hard way when my first attempt left me with dangling lights and a dent in my vinyl siding. The good news? With the right approach, you can install them safely, securely, and with minimal damage.
Today’s methods are smarter, more durable, and easier than ever—especially in 2026, where new hardware and weather-resistant tech make outdoor lighting more reliable. Whether you have stucco, wood, vinyl, or brick, there’s a solution that works for your home. Let’s walk through it step by step.
What You Need
Before you grab your ladder, gather these tools and materials. Trust me—having everything ready saves time and avoids mid-project frustration.
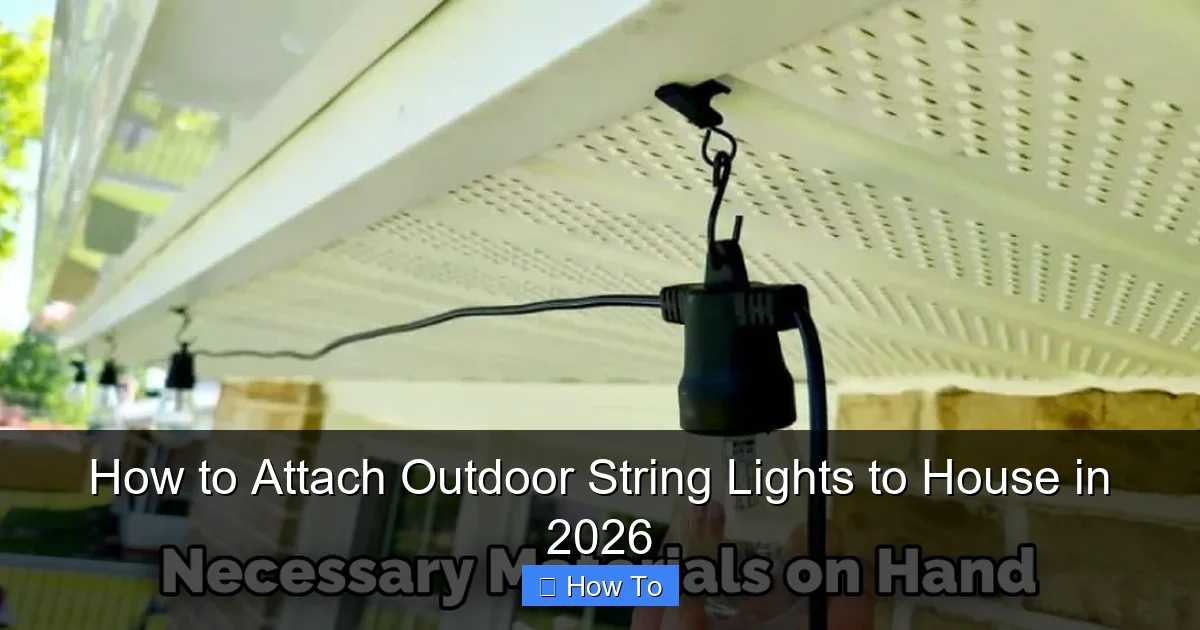
Visual guide about how to attach outdoor string lights to house
Image source: lightenify.com
- Outdoor-rated string lights (look for “wet-rated” or “all-weather” labels)
- Mounting hardware (choose based on your house material—more on this below)
- Measuring tape (for spacing and layout)
- Drill and drill bits (if using screws or anchors)
- Stud finder (optional, but helpful for wood or brick)
- Level (to keep lines straight)
- Extension cord (outdoor-rated) with GFCI protection
- Zip ties or cable clips (for managing slack and avoiding tangles)
- Ladder (sturdy, with someone to spot you)
- Weatherproof sealant (silicone-based, if drilling into stucco or wood)
Pro tip: Buy lights with replaceable bulbs—LEDs last longer and are easier to swap if one goes out.
For the mounting hardware, your options depend on your house’s exterior:
- Vinyl or aluminum siding: Use vinyl siding clips or J-channel hooks (no drilling needed!)
- Wood or stucco: Use screw-in hooks, eye screws, or masonry anchors
- Brick: Use masonry screws or adhesive clips designed for brick
- Metal or concrete: Consider magnetic hooks or heavy-duty adhesive mounts
When planning how to attach outdoor string lights to house in 2026, always prioritize weather resistance and non-invasive solutions where possible.
Step-by-Step Guide to How to Attach Outdoor String Lights to House in 2026
Step 1: Plan Your Layout and Path
Before you start drilling, take time to plan. Sketch a rough layout of where you want the lights to go—porch railing, roofline, pergola, or even between trees.
Measure the distance from your power source (usually an outdoor outlet) to the first mounting point. This helps you choose the right length of lights and extension cords.
Use painter’s tape to mark key spots on your house. This lets you “see” the path and adjust before making permanent changes.
Personal insight: I once skipped this step and ended up with lights that blocked my front door. A quick sketch on graph paper saved me from a major facepalm.
Step 2: Choose the Right Mounting Method for Your House Type
Not all houses are built the same. Matching your mounting method to your exterior material is key to avoiding damage and ensuring longevity.
For vinyl or aluminum siding: Use vinyl siding clips. These snap under the bottom edge of each siding piece and hold hooks or loops. No drilling, no leaks. They’re cheap, easy to install, and removable.
For wood, stucco, or fiber cement: Use screw-in hooks or eye screws. Pre-drill pilot holes to prevent cracking. For stucco, use a masonry bit and seal around the screw with silicone to prevent water intrusion.
For brick or concrete: Use masonry screws or adhesive hooks rated for outdoor use. Adhesive options (like 3M outdoor mounting tape) are great if you’re renting or want zero drilling.
For metal roofs or gutters: Use magnetic hooks or gutter clips. These grip without scratching and are easy to reposition.
This step is crucial when figuring out how to attach outdoor string lights to house in 2026—because the right hardware means fewer headaches later.
Step 3: Mark and Install Mounting Points
Once you’ve chosen your hardware, it’s time to install the mounting points. Use your measuring tape and level to ensure even spacing.
For straight runs (like along a roofline), space hooks every 2–3 feet. For curves or corners, go every 1–2 feet to prevent sagging.
Mark each spot with a pencil. If using screws, pre-drill pilot holes slightly smaller than the screw shaft. For vinyl siding clips, just snap them into place.
Install all hooks or clips before hanging the lights. This lets you adjust spacing and alignment without the weight of the lights getting in the way.
Warning: Avoid drilling near windows, doors, or electrical lines. Use a stud finder to locate studs or check your home’s blueprint if unsure.
Step 4: Test and Hang the Lights
Before you commit, test the lights. Plug them in to make sure all bulbs work. There’s nothing worse than hanging 20 feet of lights only to find a dead section.
Start at the power source. Unroll the lights and drape them loosely along the path. Then, gently hang each bulb or socket on the hooks or clips.
Don’t pull too tight—lights should have a slight sag (about 1–2 inches between hooks). This prevents strain on sockets and wires, especially in wind or rain.
If your lights have a plug at both ends, make sure the male plug is at the power source and the female end is at the far end (to avoid exposed prongs).
For long runs, consider using zip ties or cable clips every few feet to manage slack and prevent tangling.
Pro tip: Use a second person to feed the lights while you hang them—this avoids dragging the cord across your roof or siding.
Step 5: Secure and Manage the Cord
Now that the lights are up, don’t forget the cord. A dangling extension cord is a tripping hazard and can get damaged by weather or lawn equipment.
Use outdoor-rated zip ties or adhesive cable clips to secure the cord along the house, railing, or fence. Run it close to the mounting points to keep it tidy.
If the cord runs across a walkway, use a cord cover (rubber or plastic) to protect it and reduce tripping risk.
Plug the cord into a GFCI-protected outdoor outlet. If your outlet isn’t GFCI, install a GFCI plug on the end of the extension cord. This cuts power if moisture is detected—critical for safety.
For a cleaner look, consider routing the cord behind shutters, under eaves, or through a conduit (if you’re comfortable with basic wiring).
Step 6: Add Weatherproofing and Finishing Touches
To make your lights last through 2026 and beyond, add a few finishing touches.
Apply a small dab of silicone sealant around any screw holes in wood or stucco. This keeps water out and prevents rot.
For vinyl siding clips, check that they’re snug and not lifting the siding. If you see gaps, reposition or use a small amount of outdoor adhesive (like clear silicone) to secure them.
Trim any excess zip ties with scissors. A clean, professional look goes a long way.
Optional: Use light clips with built-in reflectors to direct light downward—great for patios and dining areas.
Finally, step back and admire your work. Turn the lights on at night to check for even glow and adjust any sagging sections.
Pro Tips & Common Mistakes to Avoid
After installing string lights on three different homes (and learning from my mistakes), here are the real-world insights I wish I’d known earlier.
- Don’t over-tighten the lights. A slight sag prevents stress on sockets and wires. I once pulled them taut, and a socket cracked after a windstorm.
- Use LED lights, not incandescent. LEDs use less power, generate less heat, and last longer—especially in cold or wet conditions.
- Check local regulations. Some HOA or city codes restrict outdoor lighting or require permits for permanent installations.
- Plan for power sources. Running extension cords across the yard isn’t safe or attractive. If needed, hire an electrician to install an outdoor outlet or use a low-voltage solar system.
- Avoid staples or nails. They can pierce wires and create fire hazards. Use clips, hooks, or adhesive instead.
- Don’t ignore the weather. Even “weatherproof” lights can fail if water gets into sockets. Angle bulbs downward or use shatterproof covers.
- Test before full install. Always check the lights on the ground before hanging. A single dead bulb can ruin the ambiance.
Personal insight: I used regular zip ties on my first install. They turned brittle after six months in the sun. Switch to UV-resistant cable ties—they last years longer.
When tackling how to attach outdoor string lights to house in 2026, remember: simplicity and safety win over flashy shortcuts.
FAQs About How to Attach Outdoor String Lights to House in 2026
Q: Can I attach string lights to vinyl siding without drilling?
A: Absolutely! Use vinyl siding clips. They snap under the siding’s bottom edge and hold hooks securely. No holes, no damage. They’re perfect for renters or anyone who wants a reversible setup.
Q: How do I keep lights from sagging in the middle?
A: Space hooks closer together (every 1–2 feet) for long runs. Use a center support like a tree, post, or pergola. Or, add a small eye screw in the middle of the span. Just don’t pull the lights too tight—sag is normal and necessary.
Q: Are adhesive hooks strong enough for outdoor use?
A: Yes—but only if they’re rated for outdoor use (look for “outdoor” or “weather-resistant” on the package). I’ve used 3M outdoor mounting tape on brick for over two years with no issues. Just clean the surface and apply in warm, dry weather.
Q: Can I leave my lights up year-round?
A: It depends. Most outdoor-rated lights can handle seasonal weather, but prolonged exposure to UV, rain, and snow can degrade sockets and wires. I recommend taking them down in winter or using all-weather, commercial-grade lights designed for year-round use.
Q: What’s the best way to power string lights if I don’t have an outdoor outlet?
A: Options include: a long outdoor-rated extension cord from an indoor outlet (only if it’s protected from weather), a solar-powered string light system, or hiring an electrician to install a new outdoor outlet. Never use indoor extension cords outdoors.
Q: How do I remove the lights without damaging my house?
A: For vinyl siding clips, just unsnap them. For screws, back them out carefully and fill the hole with wood filler (wood) or exterior caulk (stucco). Adhesive hooks peel off slowly—use a hairdryer to warm the adhesive if needed. Always patch and repaint if necessary.
Q: Can I connect multiple string lights?
A: Yes, but check the manufacturer’s limit. Most allow 2–3 sets max. Exceeding this can overload the circuit. Use a power strip with surge protection if connecting multiple sets.
Final Thoughts
Installing outdoor string lights isn’t just about aesthetics—it’s about creating a space where you actually want to spend time. When you master how to attach outdoor string lights to house in 2026, you’re not just hanging bulbs; you’re building memories.
Take your time. Plan well. Use the right hardware for your house type. And don’t be afraid to start small—maybe just a section of your porch or a single run along the roofline. You can always expand later.
Remember: the goal is beauty without damage. Whether you use vinyl clips, adhesive hooks, or screws, the best method is one that keeps your home safe and your lights shining.
So grab your ladder, call a friend, and light up your nights. With this guide, you’ve got everything you need to do it right—this year, next year, and beyond.
Now go make your outdoor space glow.
“`

