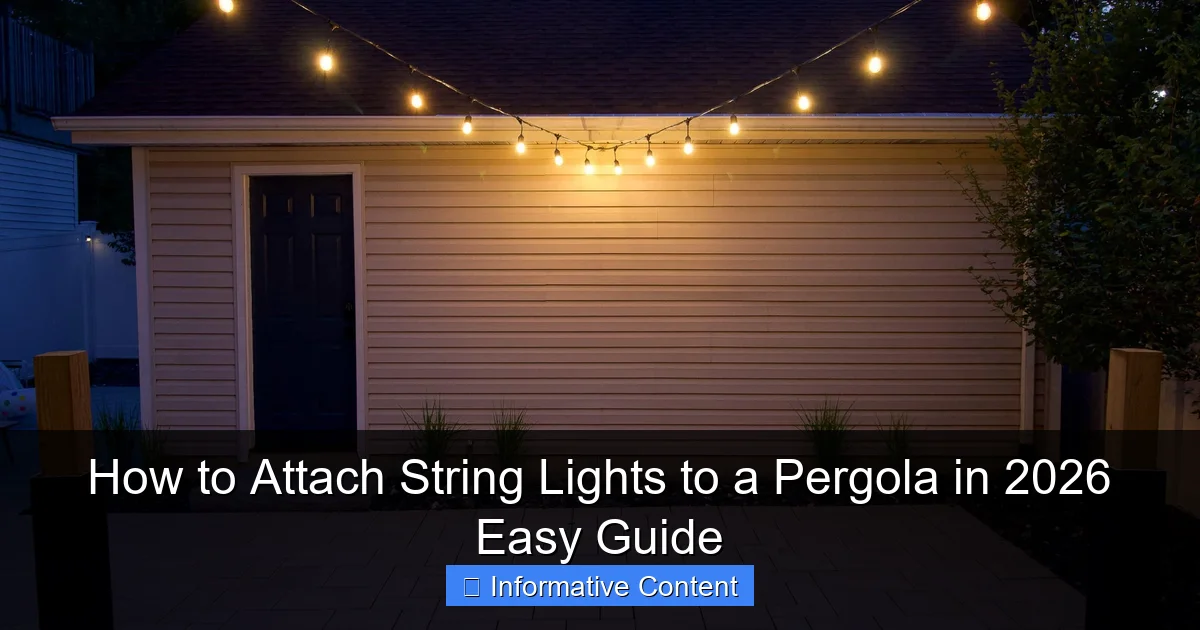
Featured image for how to attach string lights to a pergola
Image source: thediyplaybook.com
Transform your pergola into a stunning nighttime retreat by securely attaching string lights using durable, weather-resistant hooks or adhesive clips designed for outdoor use. For a clean, professional look in 2026, plan your layout first, then evenly space lights along beams and rafters—avoiding sagging with strategic anchor points. Always opt for LED string lights with a high IP rating to ensure longevity and safety through every season.
Key Takeaways
- Plan your layout first: Map light placement before installation to avoid gaps or overhangs.
- Use weather-resistant hardware: Choose stainless steel or coated hooks for long-term durability.
- Secure with zip ties: Reinforce connections to prevent sagging in high-wind areas.
- Measure twice, install once: Confirm spacing and height for balanced, professional results.
- Opt for LED lights: Energy-efficient and safer for outdoor pergola setups.
- Test before finalizing: Power on lights to check brightness and coverage pre-permanent install.
📑 Table of Contents
- Why String Lights and Pergolas Are a Match Made in Backyard Heaven
- Planning Your Pergola Lighting: Measure, Map, and Moodboard
- Choosing the Right String Lights for Your Pergola
- Tools and Materials You’ll Need (and Where to Get Them)
- Step-by-Step Installation Methods (With Real Examples)
- Pro Tips for a Flawless Finish (From Trial and Error)
- Data Table: String Light Comparison for Pergolas (2026 Guide)
- Final Thoughts: Light Up Your Life (Literally)
Why String Lights and Pergolas Are a Match Made in Backyard Heaven
There’s something magical about stepping into your backyard at dusk and seeing your pergola softly glowing with string lights. It’s not just about the light—it’s about the mood. That warm, golden ambiance instantly transforms your outdoor space into a cozy retreat, perfect for summer barbecues, quiet evenings with a book, or romantic nights under the stars. I remember the first time I strung lights across my own pergola. I stood back, hands on hips, and thought, “This is it. This is the dream.” But getting there? That was a journey of trial, error, and a few too many tangled cords.
If you’re thinking about how to attach string lights to a pergola in 2026, you’re not alone. More homeowners are turning their outdoor spaces into year-round sanctuaries, and string lights are a simple, affordable way to elevate your pergola. Whether you’re going for a boho-chic vibe, modern minimalism, or classic farmhouse charm, the right lighting can make all the difference. In this guide, I’ll walk you through everything you need to know—from planning and choosing the right lights to installation hacks, safety tips, and long-term maintenance. No fluff, no sales pitch—just real, practical advice based on what’s worked (and what hasn’t) for me and countless others.
Planning Your Pergola Lighting: Measure, Map, and Moodboard
Start With a Vision (and a Tape Measure)
Before you buy a single bulb, take a step back and think about what you want your pergola to *feel* like. Are you aiming for a romantic glow? A lively party atmosphere? A subtle accent for evening relaxation? Your vision will guide your choices—everything from bulb style to spacing and power source.
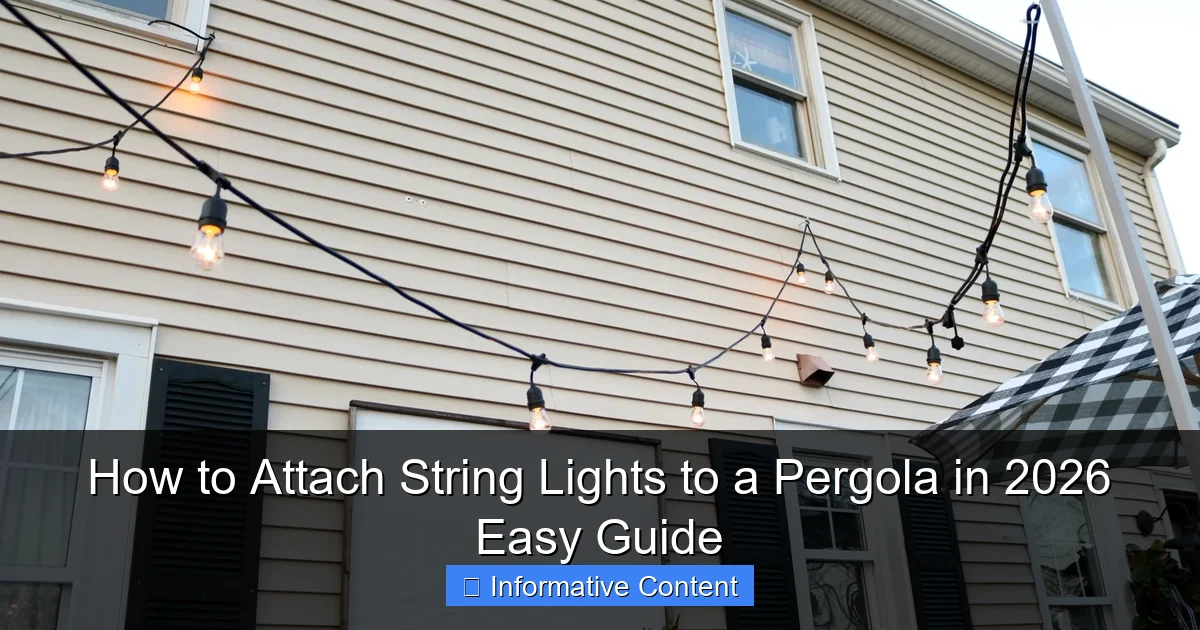
Visual guide about how to attach string lights to a pergola
Image source: nestingwithgrace.com
Grab a tape measure and jot down the exact dimensions of your pergola. Measure the length of each beam, the distance between posts, and the height from the ground to the top of the structure. This helps you estimate how many feet of string lights you’ll need. As a rule of thumb, plan for 1.5 to 2 feet of lights per linear foot of pergola. Why the extra? Because you’ll likely want to drape or zigzag the lights for visual interest, not just run them straight across.
Sketch a Lighting Layout
Grab a piece of paper or use a free design app like Canva or SketchUp. Sketch your pergola from above and draw lines to represent how you want the lights to flow. Common layouts include:
- Straight runs: Lights run parallel along the beams. Clean and modern.
- Crisscross (X-pattern): Lights cross diagonally between posts. Great for coverage and drama.
- Hanging loops: Lights drape in gentle curves between beams. Adds softness and depth.
- Grid pattern: Lights form a web across the entire top. Ideal for large pergolas or event spaces.
I once tried a grid on a small 10×10 pergola and ended up with a tangled, over-lit mess. Lesson learned: match the layout to your space. A crisscross works beautifully on a 12×16 pergola but might overwhelm a smaller one.
Consider Power and Accessibility
Ask yourself: where will you plug in the lights? If your pergola is far from an outdoor outlet, you may need an extension cord—but make sure it’s rated for outdoor use and buried or protected to avoid tripping hazards. Alternatively, consider battery-operated or solar-powered lights for off-grid pergolas. Just keep in mind that battery lights may not last all night, and solar ones need direct sun during the day to charge fully.
Pro tip: If you’re building a new pergola or renovating, run a weatherproof electrical conduit during construction. It’s way easier (and safer) than retrofitting later.
Choosing the Right String Lights for Your Pergola
Types of String Lights: Pros and Cons
Not all string lights are created equal. Here’s a quick breakdown of the most common types and when to use them:
- LED Edison Bulbs: Warm, vintage look with energy efficiency. Great for year-round use. Slightly more expensive but last 25,000+ hours.
- Mini LED String Lights: Tiny bulbs, often in warm white or multicolor. Perfect for subtle sparkle. Can be daisy-chained for long runs.
- Solar-Powered String Lights: No cords, no outlets. Best for pergolas with good sun exposure. May dim on cloudy days.
- Commercial-Grade String Lights: Heavy-duty, weatherproof, and designed for permanent outdoor use. Ideal if you want to leave lights up year-round.
- Twinkle or Color-Changing Lights: Fun for parties, but can feel overwhelming in everyday use. Use sparingly or for special occasions.
I’ve used all of these over the years. My personal favorite? A mix of commercial-grade Edison bulbs for the main structure and mini twinkle lights draped along the edges for extra sparkle during holidays.
Bulb Spacing and Brightness
Closer spacing (4-6 inches between bulbs) creates a dense, glowing effect—perfect for ambiance. Wider spacing (8-12 inches) gives a more minimalist, modern look. Think about how far you’ll be sitting from the lights. If you’re lounging 10 feet below, closer spacing helps avoid dark spots.
Brightness is measured in lumens. For pergolas, aim for 200–400 lumens per foot. Too dim, and the effect is underwhelming. Too bright, and it feels like a construction site. A 50-foot strand of 300-lumen lights usually hits the sweet spot.
Weather Resistance Matters
Look for lights with an IP65 or IP67 rating. That means they’re fully protected against dust and water jets—essential for outdoor use. Avoid anything labeled “indoor/outdoor” if you live in a rainy or snowy climate. Trust me, I learned this the hard way when my “outdoor-rated” lights shorted out after a spring storm.
Tools and Materials You’ll Need (and Where to Get Them)
Essential Tools for Installation
You don’t need a full toolbox, but having the right gear makes the job easier and safer. Here’s what I keep in my pergola lighting kit:
- Measuring tape: For double-checking distances.
- Drill and drill bits: For pilot holes (if using screws).
- Outdoor-rated zip ties or cable clips: Reusable and weatherproof.
- Eye hooks or screw-in hooks: Stainless steel or coated to resist rust.
- Extension ladder: For reaching high beams. Use a spotter if you’re not confident.
- Outdoor-rated extension cord: At least 16-gauge, with a GFCI plug for safety.
- Wire cutters: For trimming zip ties.
- Gloves: To protect your hands from sharp edges or splinters.
Smart Buys and Budget Tips
You don’t have to break the bank. I’ve found great deals at:
- Home Depot or Lowe’s: Reliable brands like Feit Electric and Philips with solid warranties.
- Amazon: Read reviews carefully. Look for “commercial grade” and “IP65” in the title.
- Local hardware stores: Often carry heavy-duty options you won’t find online.
- Thrift stores or garage sales: Vintage-style lights can be repurposed (just test them first!).
Pro tip: Buy 10–15% more lights than you think you need. You’ll likely want to extend the pattern or replace a strand later.
Safety Gear and Precautions
Never skip safety. Always:
- Turn off power when working near outlets.
- Use a ladder with a stabilizer bar.
- Wear non-slip shoes and gloves.
- Check local codes—some areas require permits for permanent electrical work.
Step-by-Step Installation Methods (With Real Examples)
Method 1: Zip Ties (Quick and Removable)
Perfect for renters or seasonal lighting. I used this on my first pergola and loved how easy it was to take down in winter.
- Measure and cut zip ties to length (long enough to wrap around the beam and light strand).
- Attach the first zip tie at one end of a beam. Loop it around the beam and through the light’s mounting loop (if it has one) or the wire just below a bulb.
- Pull snug, but don’t overtighten—this can damage the wire insulation.
- Repeat every 12–18 inches. For a crisscross pattern, attach lights to the posts at 45-degree angles.
- Trim excess zip tie tails with wire cutters.
Example: On my 12-foot beam, I used 8 zip ties spaced 16 inches apart. The lights stayed put through a summer of storms and wind.
Method 2: Screw-In Eye Hooks (Permanent and Sturdy)
Best for year-round, heavy-duty installations. I switched to this method after my zip ties started fraying in year two.
- Drill a pilot hole at each attachment point (every 12–16 inches).
- Screw in a stainless steel eye hook by hand. Don’t force it—wood can split.
- Thread the light strand through the hook, then secure with a small zip tie or knot to prevent slipping.
- For a crisscross, install hooks on opposite posts at matching heights.
Tip: Use hooks with a closed loop (not open) to keep lights from falling out in high wind.
Method 3: Cable Clips (Clean and Professional)
These are my go-to for a polished look. They hold the wire flush against the beam without visible fasteners.
- Peel off the adhesive backing and press the clip onto the beam.
- Snap the light wire into the clip’s groove.
- Space clips every 10–12 inches. For extra hold, use clips with built-in nails.
Real-world test: I used adhesive clips on a cedar pergola. After 6 months of rain and sun, 2 clips came loose—easy fix with a dab of outdoor-rated construction adhesive.
Method 4: Rope Light Channels (For a Hidden Wire Look)
Want lights to look like they’re floating? Install aluminum channels along the beams. Slide the lights inside, then snap on a clear cover. It’s a bit more work, but the result is stunning.
- Cut channels to beam length with a hacksaw.
- Secure with screws or outdoor adhesive.
- Insert lights and snap on cover.
Pro Tips for a Flawless Finish (From Trial and Error)
Test Before You Commit
Before permanently attaching, lay the lights out on the ground in your planned pattern. Plug them in and walk around the pergola to check for dark spots, glare, or tangled cords. I once installed a “perfect” crisscross—only to realize the lights blinded me when I sat on the patio. Lesson: test from your usual seating spot.
Use Connectors and Extensions Wisely
Most string lights have end-to-end connectors. But daisy-chaining too many (usually more than 3–4 strands) can overload the circuit and cause dimming. If you need long runs, use a power strip with surge protection or a dedicated outdoor outlet.
For large pergolas, I run two separate circuits from different sides. This avoids voltage drop and gives me more control over the lighting zones.
Weatherproof Your Connections
Even IP65 lights can fail if the plug is exposed. Use:
- Outdoor electrical boxes for plug junctions.
- Silicone sealant around connections.
- Weatherproof cord protectors (like rubber sleeves).
I once left a plug on the ground during a storm—big mistake. The next day, the lights flickered like a haunted house. Now I elevate all connections with a plastic storage bin or a custom wooden housing.
Maintenance: Keep the Glow Going
To avoid yearly reinstallation:
- Inspect lights every spring for frayed wires or loose connections.
- Clean bulbs with a damp cloth (unplugged!) to remove dust and pollen.
- Store spare bulbs and connectors in a waterproof container.
- Trim nearby branches to prevent snags during storms.
Data Table: String Light Comparison for Pergolas (2026 Guide)
| Type | Lifespan | Power Source | Weather Rating | Best For | Avg. Cost (per 50 ft) |
|---|---|---|---|---|---|
| LED Edison Bulbs | 25,000+ hours | Plug-in | IP65 | Permanent, year-round use | $45–$60 |
| Mini LED String | 15,000 hours | Plug-in or battery | IP44 | Seasonal, decorative accents | $15–$30 |
| Solar String Lights | 10,000 hours | Solar panel | IP65 | Off-grid pergolas | $25–$50 |
| Commercial-Grade | 50,000+ hours | Plug-in | IP67 | Large pergolas, event spaces | $80–$120 |
| Twinkle/Color-Changing | 10,000 hours | Battery or plug-in | IP44 | Parties, holidays | $20–$40 |
Final Thoughts: Light Up Your Life (Literally)
Attaching string lights to your pergola isn’t just a DIY project—it’s an act of transformation. It’s about turning a simple wooden structure into a place of comfort, joy, and connection. Whether you’re hosting a backyard movie night, enjoying a quiet glass of wine, or stargazing with your kids, the right lighting makes every moment feel special.
Remember, there’s no single “right” way to do this. Your pergola, your rules. Start small—maybe just a single strand along the front beam. See how it feels. Then add, adjust, and experiment until it’s *you*. I’ve changed my layout three times over the years, and each version brought a new kind of magic.
And if something goes wrong? That’s okay. A tangled cord, a burnt-out bulb, a zip tie that snaps in the wind—these aren’t failures. They’re part of the process. What matters is that you took the step. You brought light to your outdoor space, and that’s something to be proud of.
So grab your lights, gather your tools, and get to work. Your dream pergola is closer than you think. And when the sun sets and your lights flicker on? That’s the moment you’ll know it was all worth it.
Frequently Asked Questions
How do I attach string lights to a pergola without drilling holes?
Use adhesive hooks, zip ties, or tension rods to secure string lights without damaging your pergola. These methods are ideal for renters or those who want a temporary setup.
What’s the best way to hang string lights on a pergola for a secure fit?
For a sturdy hold, use stainless steel screw hooks or eye bolts spaced evenly across the pergola beams. Ensure the hooks are tight and lights are taut to prevent sagging.
Can I attach string lights to a wooden pergola without causing damage?
Yes! Use removable hooks, outdoor-rated adhesive strips, or wrap lights around beams with soft ties. These options minimize damage while keeping the lights secure.
How do I attach string lights to a pergola with a slanted roof?
Opt for adjustable hooks or clips that conform to the slope, or use a zigzag pattern with zip ties to follow the roofline. This ensures even lighting without gaps.
What tools do I need to attach string lights to a pergola?
Common tools include screw hooks, zip ties, adhesive hooks, a ladder, and a measuring tape. For larger pergolas, a staple gun (with caution) can speed up the process.
How can I hide the wires when attaching string lights to a pergola?
Run lights along beams or under railings, and use zip ties or clips to tuck excess cords out of sight. Matching wire colors to your pergola also helps blend them in.

