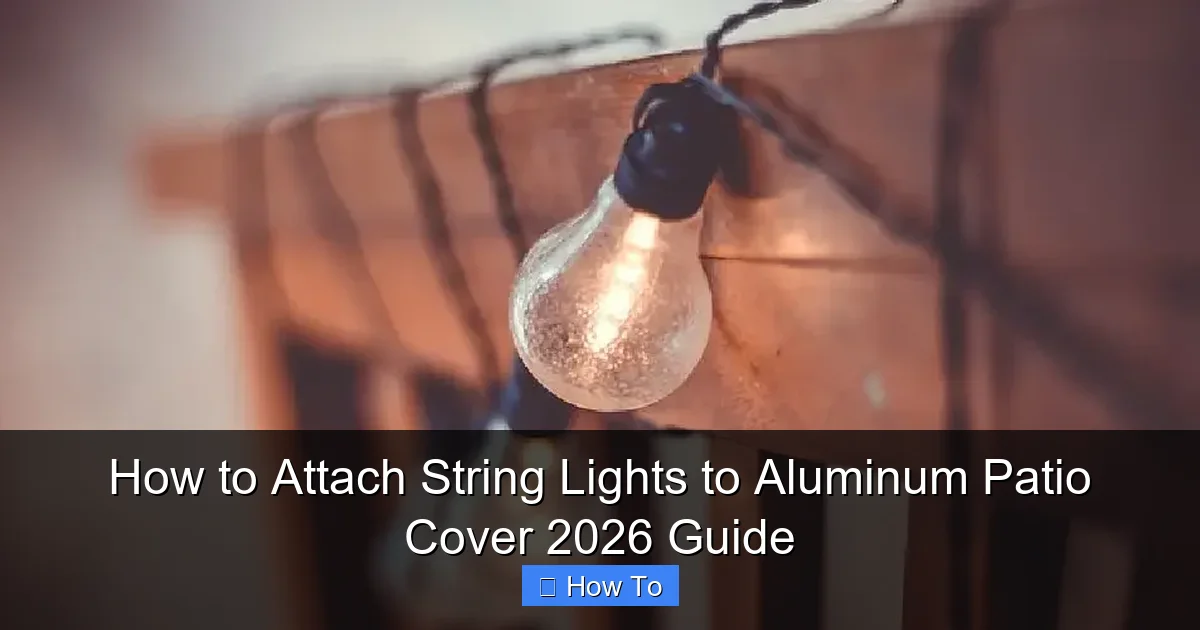
Featured image for how to attach string lights to aluminum patio cover
Image source: outdoorfixes.com
Attaching string lights to an aluminum patio cover is simple and secure when you use the right mounting hardware—like UV-resistant zip ties, adhesive-backed clips, or magnetic hooks—designed for metal surfaces. Ensure a clean, weatherproof installation by planning your layout, spacing clips every 12–18 inches, and using outdoor-rated lights for long-term durability. This 2026 guide reveals pro tips to achieve a stunning, hassle-free glow that transforms your outdoor space.
“`html
How to Attach String Lights to Aluminum Patio Cover 2026 Guide
Key Takeaways
- Use adhesive hooks: Ideal for no-damage, quick string light setups on aluminum surfaces.
- Measure spacing first: Plan light placement to avoid uneven or sagging installations.
- Choose weatherproof lights: Ensure durability and safety for outdoor aluminum patio covers.
- Secure with zip ties: Reinforce lights on beams for wind-resistant, long-lasting attachment.
- Test before finalizing: Check connections and layout prior to permanent mounting.
- Opt for magnetic clips: Simplify adjustments on metal frames without drilling holes.
- Follow manufacturer guidelines: Adhere to weight and installation limits for safety.
Why This Matters / Understanding the Problem
Let’s be real—there’s something magical about string lights. They turn a plain aluminum patio cover into a cozy, inviting space perfect for summer nights, family gatherings, or just unwinding after a long day. But if you’ve ever tried to attach them, you know it’s not as simple as just hanging them up.
Aluminum surfaces are smooth, non-porous, and don’t play well with nails or screws. And if you’re not careful, you could end up with loose wires, damaged finishes, or lights that fall mid-party. That’s where this How to Attach String Lights to Aluminum Patio Cover 2026 Guide comes in. I’ve been there—struggling with tape that peels off after a week or clips that don’t grip. After years of trial, error, and a few “oops” moments, I’ve nailed down the best, most reliable methods.
Whether you’re a first-timer or a seasoned DIYer, this guide walks you through the process with real-world tips, so your lights stay up, look great, and last for seasons.
What You Need
Before you start, gather your tools and materials. Trust me—rushing out to buy something mid-project kills the vibe. Here’s what you’ll need for your How to Attach String Lights to Aluminum Patio Cover 2026 Guide:
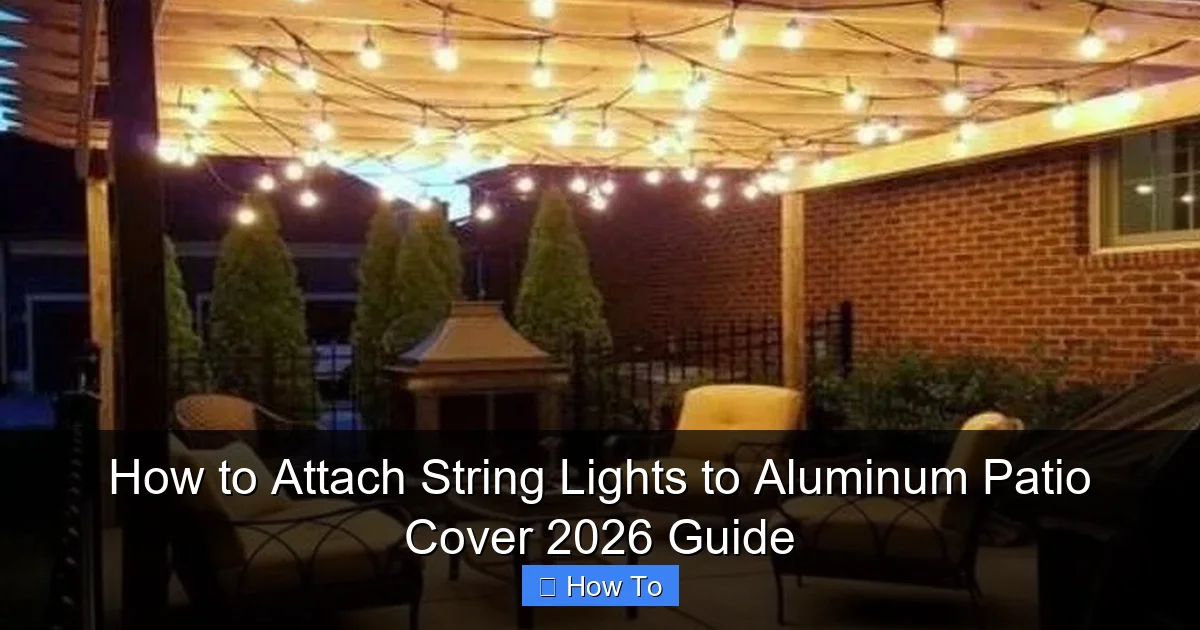
Visual guide about how to attach string lights to aluminum patio cover
Image source: oillampman.com
- String lights (LED recommended) – Choose weatherproof, outdoor-rated lights with a plug-in or battery option. I prefer LED because they’re energy-efficient and don’t get hot.
- Adhesive clips or hooks – Look for 3M outdoor-rated adhesive clips or silicone-backed clips designed for smooth surfaces.
- Aluminum-safe mounting tape – Avoid cheap duct tape. Use double-sided outdoor mounting tape (like 3M VHB).
- Zip ties (optional) – Great for securing extra wire or reinforcing clips.
- Measuring tape – To space lights evenly and avoid awkward gaps.
- Level (optional but helpful) – Ensures your lights hang straight, not lopsided.
- Extension cord (if needed) – Make sure it’s rated for outdoor use and has a GFCI outlet for safety.
- Rubbing alcohol & microfiber cloth – For cleaning the aluminum surface before attaching anything.
Pro Tip: Buy a few extra clips. You’ll probably need them, and it’s better to have spares than run out halfway.
Step-by-Step Guide to How to Attach String Lights to Aluminum Patio Cover 2026 Guide
Step 1: Plan Your Layout (Before You Stick Anything)
Before you start attaching lights, take 10 minutes to plan. I learned this the hard way—once I hung lights in a rush, only to realize they were too close to the fan and kept flickering. Oops.
- Decide where you want the lights: along the beams, in a zigzag, or in a grid pattern?
- Measure the length of your patio cover and divide by the spacing you want (e.g., every 12–18 inches).
- Mark clip positions lightly with a pencil or painter’s tape. This helps you visualize the spacing.
This step is crucial for your How to Attach String Lights to Aluminum Patio Cover 2026 Guide. A good layout prevents overstretching lights or ending up with too many clips.
Step 2: Clean the Aluminum Surface
Aluminum is smooth, but it’s also a magnet for dust, pollen, and grime. If you skip cleaning, your adhesive clips won’t stick—no matter how strong they claim to be.
- Wipe down the beams or eaves with rubbing alcohol and a microfiber cloth.
- Let it dry completely (about 5 minutes).
- Run your finger along the surface—if it feels slick or dusty, clean it again.
Think of it like prepping a canvas. A clean surface = better adhesion. This is one of the most overlooked but vital steps in the How to Attach String Lights to Aluminum Patio Cover 2026 Guide.
Step 3: Test-Fit Your Lights (Don’t Plug In Yet)
Before sticking anything, lay the lights along your planned path. Unplug them and drape them across the cover.
- Check if the bulbs are spaced evenly.
- Look for any tight bends or kinks in the wire.
- Make sure the plug end can reach an outlet without being stretched.
I once bought a 25-foot string, only to realize it was 3 feet short after accounting for the plug. Test-fitting saves you from that “uh-oh” moment.
Step 4: Apply Adhesive Clips or Mounting Tape
Now comes the fun part—attaching the clips. Here’s how I do it for long-term hold:
- For adhesive clips: Remove the backing and press each clip firmly onto the aluminum for 30 seconds. Start at one end and work your way across.
- For mounting tape: Cut small strips (1–2 inches), stick them to the back of a clip, then press the clip onto the aluminum. This adds extra grip.
- Let the adhesive cure for at least 24 hours before hanging lights. I know it’s tempting to rush, but this step is non-negotiable.
For the How to Attach String Lights to Aluminum Patio Cover 2026 Guide, I recommend spacing clips every 12–16 inches. Closer spacing = more support, especially for heavier lights.
Warning: Don’t press clips on with your fingers and assume they’re secure. Use the palm of your hand and lean into it for a firm bond.
Step 5: Hang the Lights (The Easy Part)
After the adhesive cures, it’s time to hang!
- Start at the plug end. Clip the first light into the first holder.
- Work your way down, gently snapping each bulb or wire into the clips.
- For extra security, wrap the wire around the clip’s hook (if it has one) or use a zip tie to cinch it.
Pro tip: If your lights have a “directional” plug (like one that only fits one way), make sure it’s oriented correctly so you don’t have to rewire later.
Step 6: Manage the Cord and Plug
Nothing ruins a clean look like a dangling cord. Here’s how to hide it:
- Run the cord along a beam or under the cover’s edge.
- Use zip ties or small adhesive clips to secure it every few feet.
- For the plug end, tuck it into a covered outlet box or use a cord cover.
I use a weatherproof extension cord with a built-in cover—it keeps the connection safe from rain and looks neat. This small detail makes a big difference in your How to Attach String Lights to Aluminum Patio Cover 2026 Guide.
Step 7: Test and Adjust
Now plug them in! Walk around and check:
- Are all bulbs lit?
- Are the clips holding firm?
- Is the spacing even?
If a bulb is loose, re-clip it. If a clip feels wobbly, add a zip tie or replace it with a stronger adhesive strip. Small tweaks now prevent big issues later.
Pro Tips & Common Mistakes to Avoid
After years of hanging lights on aluminum, I’ve learned what works—and what really doesn’t. Here are my top insights:
- Use outdoor-rated clips. Indoor clips might seem fine, but UV rays and temperature changes will make them brittle. I learned this when my lights fell during a heatwave—yikes.
- Don’t over-tighten zip ties. They can pinch the wire and cause shorts. Leave a little slack.
- Check for wind resistance. If your patio is exposed, use extra clips or a crisscross pattern to reduce flapping. I once had lights whip around in a storm and knock off three clips.
- Label your lights. If you have multiple strings, label them with a tag or colored tape. Saves time when you’re taking them down.
- Store properly off-season. Wrap lights in figure-8s (not coils) and store in a dry place. Prevents tangles and extends lifespan.
Common Mistake: Using regular double-sided tape. It dries out in heat and fails. Always use outdoor mounting tape or 3M adhesive clips.
For your How to Attach String Lights to Aluminum Patio Cover 2026 Guide, remember: patience pays. A little extra time upfront means lights that last years, not weeks.
FAQs About How to Attach String Lights to Aluminum Patio Cover 2026 Guide
Q: Can I use nails or screws on an aluminum patio cover?
A: Technically yes, but I don’t recommend it. Drilling holes can damage the protective coating, leading to rust or leaks. Plus, it’s a pain to patch later. Adhesive clips are cleaner, safer, and removable.
Q: What if my aluminum has a textured or painted finish?
A: No problem! Just clean it well. For painted surfaces, avoid harsh solvents that could strip the paint. Use isopropyl alcohol and a soft cloth. The adhesive will still grip if the surface is clean and dry.
Q: How do I remove clips without leaving residue?
A: Slowly peel them off at a 45-degree angle. If there’s residue, use Goo Gone or rubbing alcohol on a cloth. Test in a small area first to avoid damaging the finish.
Q: Can I leave the lights up year-round?
A: It depends. If your area gets heavy snow or ice, I’d take them down. The weight of snow can pull clips loose. For mild climates, just check them monthly for wear.
Q: What’s the best way to hang lights in a zigzag pattern?
A: Use a template! Cut a piece of cardboard with the zigzag shape, hold it up, and mark clip positions. Or, use painter’s tape to outline the path before applying clips.
Q: Are battery-powered lights a good option?
A: Great for small areas or if outlets are far away. Just remember to replace batteries seasonally. I use a timer switch so they turn on at sunset—saves battery life.
Q: How do I prevent sagging between clips?
A: Add more clips! Or use a “tension line”—a thin wire or fishing line strung between beams, with lights clipped to it. It’s like a support grid.
Final Thoughts
Attaching string lights to an aluminum patio cover doesn’t have to be a headache. With the right tools, a little planning, and the steps in this How to Attach String Lights to Aluminum Patio Cover 2026 Guide, you’ll have a beautiful, long-lasting setup that turns your outdoor space into a personal oasis.
Start simple. Clean your surface, use quality adhesive clips, and give them time to cure. Test-fit before you commit, and don’t rush the process. And if something doesn’t stick the first time? No worries—just try again. I’ve had to redo my setup twice before getting it perfect.
Now go enjoy those twinkling lights, a cold drink, and the satisfaction of a job well done. Your patio deserves it.
“`

