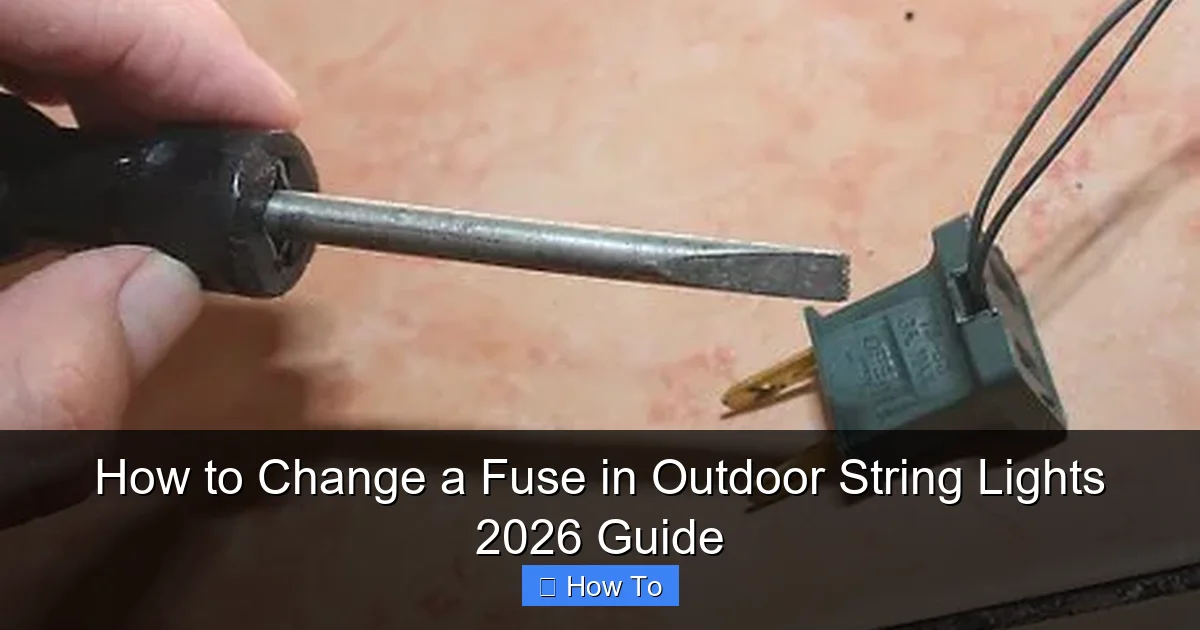
Featured image for how to change a fuse in outdoor string lights
Image source: wikihow.com
Always disconnect outdoor string lights from power before attempting a fuse replacement to ensure safety. Locate the small fuse compartment—usually near the plug—open it with a screwdriver, remove the damaged fuse, and insert a new one of the same rating to restore your lights quickly and efficiently.
How to Change a Fuse in Outdoor String Lights 2026 Guide
Key Takeaways
- Always power off before inspecting or replacing fuses to prevent electrical hazards.
- Locate the fuse box near the plug—check manufacturer’s manual if unsure.
- Use correct fuse rating (e.g., 3A or 5A) to avoid damage or fire risks.
- Test lights post-replacement to confirm the fix and ensure full functionality.
- Inspect wiring regularly for wear or corrosion to prevent future fuse failures.
- Carry spare fuses for quick fixes during events or outdoor gatherings.
Why This Matters / Understanding the Problem
It’s a warm summer evening, and you’re ready to unwind under your beautifully lit patio. You flip the switch—nothing happens. The outdoor string lights, your go-to for cozy nights and backyard gatherings, are dead. You check the outlet, reset the breaker, and even try a different plug. Still nothing. Then it hits you: the fuse might be blown.
This is more common than you think. Outdoor string lights face tough conditions—rain, wind, power surges, and temperature swings. All of that can fry a tiny fuse tucked away in the plug. But here’s the good news: you don’t need an electrician to fix it. With the right know-how, changing a fuse is a five-minute DIY job.
In this How to Change a Fuse in Outdoor String Lights 2026 Guide, I’ll walk you through the process like we’re standing in your backyard, coffee in hand. I’ve been there—frustrated, flashlight in mouth, trying to pry open a tiny plug. But after years of troubleshooting holiday lights, patio strands, and even café-style Edison bulbs, I’ve learned the tricks that actually work.
Whether your lights died after a storm or just randomly stopped working, this guide covers the tools, steps, and pro tips to get them glowing again—safely and quickly.
What You Need
Before we dive in, let’s gather what you’ll need. The good news? Most of this is already in your tool drawer or garage.
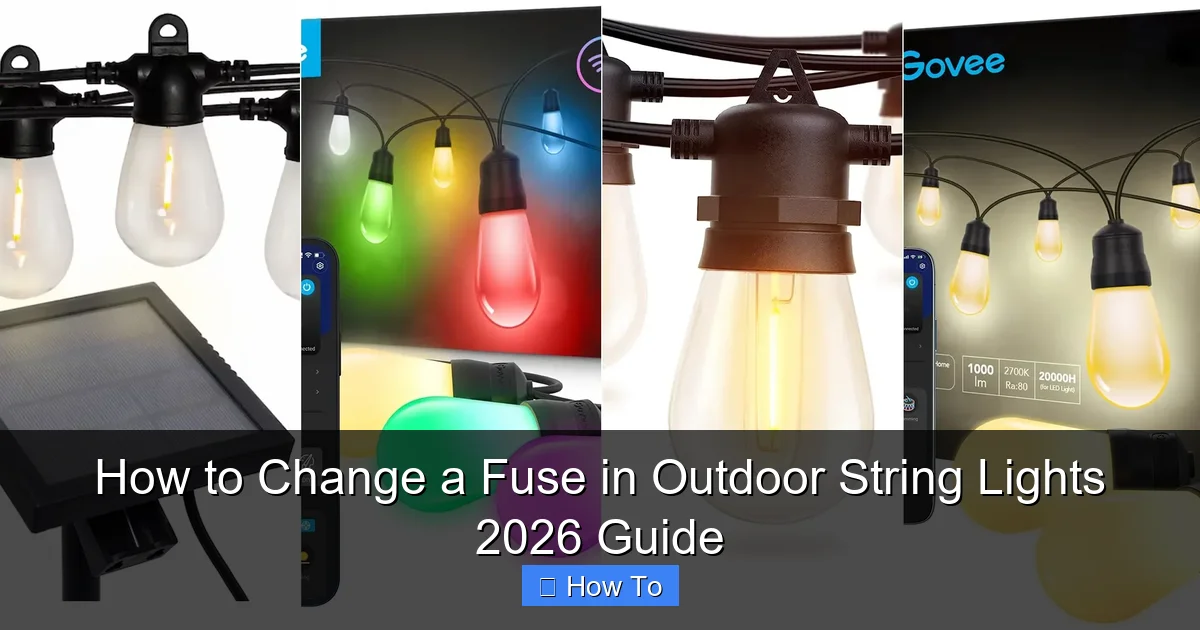
Visual guide about how to change a fuse in outdoor string lights
Image source: popsci.com
- Replacement fuses (usually 3-amp or 5-amp, check your lights’ plug or manual)
- Small flathead screwdriver or a fuse puller (a plastic tool that often comes with new lights)
- Needle-nose pliers (helpful but not always necessary)
- Flashlight (for visibility, especially if working at dusk)
- Multimeter (optional, but great for testing if you’re unsure)
- Replacement string lights (as a backup—sometimes the whole strand is the issue)
Pro tip: Fuses are cheap—usually under $5 for a pack of 10. Buy a few spares now. Trust me, you’ll need them again. And always match the exact amperage (like 3A or 5A). Using a higher-rated fuse can damage your lights or create a fire risk.
Now, before you touch anything, unplug the lights. Safety first. Even if the outlet looks dead, assume it’s live. This isn’t a time to cut corners.
Step-by-Step Guide to How to Change a Fuse in Outdoor String Lights 2026 Guide
Step 1: Locate the Fuse Housing in the Plug
Most outdoor string lights have a plug with a small, removable cover—usually on the side or bottom. It’s often a tiny rectangle or square, sometimes labeled “FUSE” or with a lightning bolt icon.
Take a close look. Some plugs are sealed with a rubber gasket (common in weatherproof models), so you might need to gently pry it open. Others have a small screw holding the cover in place.
For screw-type plugs, use your screwdriver to remove the single small screw. For snap-in covers, use the flathead to gently wiggle the cover free. Don’t force it—plastic cracks easily.
Warning: If the cover is cracked or missing, moisture may have gotten in. That’s a sign the fuse blew due to corrosion. After replacing it, consider sealing the plug with silicone caulk for extra protection.
Step 2: Remove the Old Fuse
Once the cover is off, you’ll see one or two small cylindrical fuses inside. They look like tiny glass or ceramic tubes, about the size of a pencil eraser.
Most plugs have two fuses—one for the “hot” wire and one for the “neutral.” Either can blow, but usually, it’s the hot side that fails.
Use your flathead screwdriver or fuse puller to gently push or slide the fuse out. If it’s stuck, needle-nose pliers can help grip it. But be careful—don’t crush the fuse or damage the metal contacts.
Inspect the old fuse. If the wire inside is broken or the glass is blackened, it’s definitely blown. That’s your culprit.
Real-life example: Last year, my patio lights died after a thunderstorm. I opened the plug and found a fuse with a tiny “X” of broken wire inside. Classic sign of a power surge. Replacing it fixed everything—no other damage.
Step 3: Check the Amperage and Replace with the Correct Fuse
This is the most important part: use the right fuse. The amperage (like 3A, 5A, or 7.5A) should be printed on the old fuse or listed in your lights’ manual.
If you can’t read it, check the plug housing—many brands stamp the rating inside the fuse compartment. If all else fails, check the product packaging or look up your model online.
Common ratings:
- 3-amp: Smaller strands (25–50 bulbs), lower power draw
- 5-amp: Medium to large strands (75–150 bulbs), most common
- 7.5-amp: Heavy-duty or commercial-grade lights
Insert the new fuse the same way the old one came out—glass end facing out, metal caps seated firmly in the contacts. Push it in gently until it clicks or sits flush.
Pro tip: Never substitute a fuse with a higher amperage (e.g., using a 7.5A instead of 5A). It’s like using a fire extinguisher as a paperweight—it won’t protect your lights if there’s a surge or short. Safety over convenience.
Step 4: Reassemble the Plug
Once the new fuse is in, reattach the cover. If it’s a screw-type, tighten it gently—over-tightening can crack the plastic. For snap-in covers, press firmly until it clicks into place.
If your plug has a rubber gasket, make sure it’s seated properly. This keeps water out and extends the life of your lights.
For extra protection in rainy climates, apply a dab of dielectric grease (available at auto parts stores) around the gasket. It repels moisture and prevents corrosion.
Step 5: Test the Lights
Now the moment of truth: plug the lights back in.
Flip the switch. Do they light up? Great! If not, don’t panic. Try these quick checks:
- Is the outlet working? Plug in a lamp or phone charger to confirm.
- Is the fuse seated properly? Open the plug and double-check.
- Are the bulbs loose or burnt out? Sometimes a single bad bulb can mimic a fuse issue.
If the lights still don’t work, it’s likely not the fuse. Possible causes:
- A broken wire inside the cord
- A short circuit in one of the sockets
- The entire strand has failed (common after 3–5 years of outdoor use)
In that case, it might be time to replace the whole set. But at least you’ve ruled out the fuse—saving you from calling an electrician unnecessarily.
Step 6: Prevent Future Fuse Blows (Optional but Smart)
Fuses blow for a reason. Here’s how to keep it from happening again:
- Use a surge protector: Plug your lights into a power strip with surge protection. It’s cheap insurance against lightning or voltage spikes.
- Check bulb tightness: Loose bulbs create arcing, which can overheat the circuit and blow the fuse. Hand-tighten all bulbs before plugging in.
- Inspect the cord: Look for fraying, chew marks (pets!), or kinks. Damaged cords can cause shorts.
- Take them down after storms: If you’re in a storm-prone area, consider storing lights during heavy rain or wind.
- Use outdoor-rated lights: Not all string lights are built for the elements. Look for IP44 or higher ratings for weather resistance.
My personal rule: Every spring, I do a “light check” before hanging my patio set. I test the fuse, tighten bulbs, and inspect the cord. It takes 10 minutes and saves me from mid-summer meltdowns.
Pro Tips & Common Mistakes to Avoid
After years of fixing outdoor lights—for myself, friends, and even my neighbor’s holiday display—I’ve seen the same mistakes pop up. Let’s save you the headache.
Pro Tip 1: Label Your Spare Fuses
Keep a small bag of fuses in your toolbox, but label them with the amperage and what they’re for (e.g., “Patio Lights – 5A”). Nothing worse than grabbing the wrong fuse in a pinch.
Pro Tip 2: Carry a Fuse Puller
Most new light sets come with a plastic fuse puller. Keep it in the same bag as your lights. It’s way easier than using a screwdriver and less likely to slip and damage the contacts.
Pro Tip 3: Test Before Hanging
Always test your lights before you climb the ladder and string them across the yard. Fixing a fuse on the ground is way easier than doing it 10 feet in the air with a flashlight in your mouth.
Common Mistake 1: Using the Wrong Fuse Type
There are two main types: fast-blow and slow-blow. Most outdoor lights use fast-blow fuses, which react quickly to surges. Using a slow-blow can delay protection, risking damage.
Check your manual or old fuse. If it says “F” (fast) or “T” (time-delay), match it. When in doubt, go with fast-blow—it’s safer.
Common Mistake 2: Ignoring the Second Fuse
Some plugs have two fuses. Even if only one is blown, replace both. The second one might be on the verge of failing. Think of it like replacing brake pads—if one’s worn, the other isn’t far behind.
Common Mistake 3: Overlooking the Bulbs
A single burnt-out or loose bulb can create a short, blowing the fuse. Before replacing the fuse, check the bulbs. Twist each one gently to make sure it’s secure. Replace any that are dark or flickering.
Common Mistake 4: Using Indoor Fuses
Indoor fuses aren’t rated for outdoor use. They can corrode faster and fail prematurely. Always use fuses marked for outdoor or weather-resistant applications.
Common Mistake 5: Not Checking the Outlet
It sounds obvious, but I’ve done it: I spent 20 minutes replacing a fuse, only to realize the outlet was dead. Test the outlet with a lamp or phone charger first. Save yourself the hassle.
Real talk: Last winter, my sister called me, frustrated. Her holiday lights wouldn’t turn on. I walked her through the fuse change over the phone. She did everything right—except plug it back into a working outlet. We both laughed when she tried a different socket and the lights lit up. Lesson learned: always check the power source first.
FAQs About How to Change a Fuse in Outdoor String Lights 2026 Guide
Q: How do I know if the fuse is blown?
Look for a broken wire inside the glass or ceramic tube. If it’s blackened, discolored, or the wire is snapped, it’s blown. You can also use a multimeter set to continuity mode—if it beeps, the fuse is good. No beep? It’s blown.
Q: Can I use a paperclip or wire to bypass the fuse?
No. Never. This is extremely dangerous. Fuses are safety devices—they break the circuit if something goes wrong. Bypassing it risks fire, damage to your lights, or even injury. Always replace the fuse with the correct type.
Q: What if my plug doesn’t have a fuse cover?
Some cheaper or older models don’t have user-replaceable fuses. In that case, the fuse might be soldered inside the plug. If it’s blown, you’ll likely need to replace the entire plug (or the whole strand). Look for lights with replaceable fuse plugs when buying new sets.
Q: Why do my fuses keep blowing?
Frequent fuse issues point to a bigger problem:
- Power surges (use a surge protector)
- Loose or shorted bulbs (tighten or replace)
- Damaged cord (look for fraying or kinks)
- Using too many strands in series (check the “max connect” rating on the plug)
If fuses blow repeatedly, stop using the lights and inspect thoroughly.
Q: Are LED string lights less likely to blow fuses?
Yes—LEDs draw less power and are more efficient, so they’re less likely to overload the circuit. But they still have fuses, and they can blow, especially during surges. The process to change the fuse is the same.
Q: Can I change the fuse on solar-powered string lights?
Most solar-powered lights don’t have fuses in the plug—they use internal circuit boards for protection. If your solar lights aren’t working, check the battery, solar panel, and connections. Fuse replacement usually doesn’t apply here.
Q: Where can I buy replacement fuses?
You can find them at:
- Hardware stores (Lowe’s, Home Depot)
- Online (Amazon, eBay—search “3A fast-blow fuse” or your specific rating)
- Electronics stores (Fry’s, Micro Center)
- Lighting specialty shops
Buy a pack of 10—they’re cheap, and you’ll be glad you have extras.
Final Thoughts
Changing a fuse in your outdoor string lights isn’t rocket science—it’s a simple, satisfying fix that can save you time, money, and frustration. With this How to Change a Fuse in Outdoor String Lights 2026 Guide, you’ve got everything you need to tackle the job with confidence.
Remember: safety first, right fuse always, and test before you hang. A few minutes of attention now can keep your patio, deck, or garden glowing for years.
And hey, if you’re ever unsure, don’t hesitate to reach out to a professional. But 9 times out of 10, it’s just a blown fuse—and now, you know exactly how to fix it.
So next time your lights go dark, don’t toss them. Grab your screwdriver, open that plug, and bring the magic back to your outdoor space. You’ve got this.
Happy lighting!

