Featured image for how to clean outdoor string lights
Image source: oillampman.com
Turn off and unplug your outdoor string lights before cleaning to ensure safety and prevent damage. Use a gentle mix of mild soap and water with a soft cloth or sponge to wipe down bulbs and wires, avoiding harsh chemicals that can degrade materials—dry thoroughly to prevent moisture-related issues. For 2026 models with smart or solar features, consult the manual for tech-specific care tips.
How to Clean Outdoor String Lights in 2026 Expert Tips
Key Takeaways
- Turn off and unplug lights before cleaning to ensure safety and prevent damage.
- Use mild soap and water for gentle yet effective cleaning of bulbs and wires.
- Inspect for damage while cleaning to spot frayed wires or burnt-out bulbs early.
- Clean in sections to avoid tangling and ensure thorough coverage of long strands.
- Dry completely before rehanging to prevent mold and electrical hazards.
- Store properly off-season in a dry, cool place to extend lifespan.
Why This Matters / Understanding the Problem
You’ve probably spent hours setting up those dreamy outdoor string lights—draped over the patio, wrapped around the fence, or twinkling above the dining table. But after a few seasons, they start looking… tired. Dirt, cobwebs, and grime dull their glow, and sometimes one bulb just won’t turn on.
Sound familiar?
It’s not just about looks. Dirty string lights can overheat, flicker, or even become a fire hazard if dust and moisture build up around the sockets. And let’s be honest: no one wants to host a summer barbecue under a string of sad, dim bulbs.
That’s why knowing how to clean outdoor string lights in 2026 expert tips isn’t just a chore—it’s a way to keep your outdoor space safe, inviting, and glowing year after year. Whether you’ve got vintage Edison bulbs, modern LED strands, or solar-powered fairy lights, this guide will help you restore their sparkle without breaking a sweat.
And here’s the best part: you don’t need special tools or a degree in electrical engineering. Just a few household items, a little patience, and the right approach.
What You Need
Before you start, gather your supplies. The good news? You likely have most of these already. No need to run to the hardware store unless you’re missing something basic.
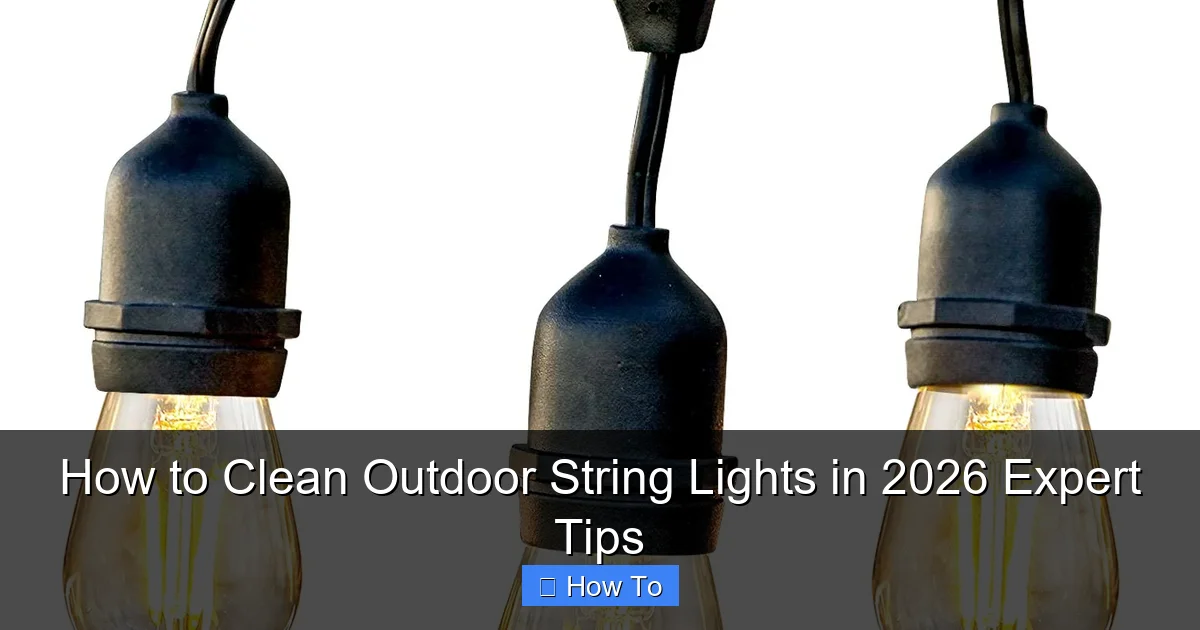
Visual guide about how to clean outdoor string lights
Image source: m.media-amazon.com
- Soft microfiber cloths (2–3, for gentle wiping)
- Mild dish soap (like Dawn or Seventh Generation)
- Warm water (not hot—hot water can warp sockets or crack glass bulbs)
- Soft-bristle brush (an old toothbrush or paintbrush works great)
- Bucket or large bowl (for mixing your cleaning solution)
- Compressed air can (optional, but great for tight spots)
- Plastic wrap or sandwich bags (to protect sockets during cleaning)
- Extension ladder or step stool (if lights are high up)
- Gloves (nitrile or rubber—keeps hands clean and safe)
- Vacuum with brush attachment (for initial dust removal)
- Replacement bulbs (check your strand—swap any burnt-out ones now)
Pro tip: Avoid harsh chemicals like bleach, ammonia, or abrasive cleaners. They can degrade plastic sockets, corrode metal contacts, and shorten the life of your lights. Stick to gentle, pH-neutral solutions for the safest clean.
Now, let’s dive into the actual process of how to clean outdoor string lights in 2026 expert tips—step by step.
Step-by-Step Guide to How to Clean Outdoor String Lights in 2026 Expert Tips
Step 1: Turn Off and Unplug (Or Turn Off the Circuit)
First rule of outdoor lighting: safety first.
Even if your lights are solar-powered, turn off the switch or disconnect the power source. For hardwired or plug-in strands, unplug them completely. If they’re on a timer or smart plug, disable it temporarily.
If your lights are connected to an outdoor GFCI outlet, press the “Test” button to trip the breaker. That way, no power flows through the circuit while you’re working.
Warning: Never clean live electrical components. Even low-voltage LED lights can carry a charge. A quick zap might not hurt much, but it’s not worth the risk.
Step 2: Remove the Lights (If Possible)
If your string lights are easy to take down—like hanging from hooks, clips, or zip ties—now’s the time to do it. Lay them on a clean, dry surface: a patio table, tarp, or clean grass (but avoid dirt and moisture).
Why remove them? Cleaning overhead is awkward and risky. You’ll have better access to every bulb, socket, and wire when they’re at waist level.
If you can’t remove them (e.g., they’re woven into tree branches or fixed to a pergola), don’t stress. Just be extra careful when working around them.
Personal Insight: I once tried cleaning lights while standing on a wobbly ladder with a soapy rag. Not my finest moment. Now I always take them down—even if it adds 10 minutes. My back and my bulbs thank me.
Step 3: Dust and Debris Removal
Before you get wet, go dry. Use a vacuum with a soft brush attachment to remove loose dust, leaves, and cobwebs from the entire strand.
Focus on the areas around the sockets and where wires connect. These spots collect the most grime.
If you don’t have a vacuum, use compressed air. Hold the can upright and spray in short bursts. Avoid spraying directly into sockets—moisture from the air can get trapped.
For stubborn cobwebs, gently swipe with a dry microfiber cloth or soft brush. Don’t yank—cobwebs can pull on wires and loosen connections.
This step is crucial: dry cleaning first prevents mud from forming when you add water later. It’s a game-changer in how to clean outdoor string lights in 2026 expert tips.
Step 4: Inspect Each Bulb and Socket
Now’s the perfect time to play detective. Walk along the strand and check each bulb and socket.
- Are any bulbs loose? Tighten them gently with your fingers.
- Are sockets cracked or discolored? That’s a sign of moisture or heat damage. Replace the socket or the whole strand if it’s widespread.
- Are there signs of corrosion? Look for green or white powdery residue on metal contacts. This means moisture has gotten in.
- Are any bulbs burnt out? Swap them now. It’s easier than doing it later.
Pro tip: Use a small piece of electrical tape to mark problem areas if you need to step away. That way, you won’t forget where you left off.
Step 5: Prepare Your Cleaning Solution
Mix a gentle cleaning solution in your bucket:
- 1 quart (4 cups) of warm water
- 1–2 drops of mild dish soap
That’s it. No need to make a sudsy bath. A little soap goes a long way.
Avoid vinegar or alcohol-based cleaners. They can degrade plastic sockets over time, especially in UV-exposed areas. Stick to pH-neutral for longevity.
Step 6: Clean the Bulbs (One at a Time)
Now for the fun part: cleaning the bulbs.
Dip a microfiber cloth into the soapy water, then wring it out until it’s damp, not dripping. You don’t want water dripping down the wire or pooling in sockets.
Wipe each bulb gently, starting from the top and moving downward. Use circular motions to lift dirt and grime. For textured or vintage bulbs, a soft toothbrush helps reach crevices.
For stubborn spots (like baked-on pollen or bird droppings), let the damp cloth sit on the spot for 30 seconds to loosen it. Then wipe again.
If you’re cleaning a long strand, work in small sections—maybe 5–6 bulbs at a time. That way, you won’t lose track.
Pro Tip: For glass bulbs, avoid scrubbing too hard. A microfiber cloth is gentle enough to prevent micro-scratches that dull the shine.
Step 7: Clean the Sockets and Wires
Sockets collect the most grime—dust, insects, and moisture. But they’re also the most delicate part.
Use a dry toothbrush first to loosen debris around the socket rim. Then, dip the toothbrush in the soapy water (lightly!) and gently scrub the outside of the socket and the wire near it.
Never submerge sockets in water. Water can seep inside and cause shorts or corrosion.
To protect sockets during cleaning, cover them with a small sandwich bag or plastic wrap, secured with a rubber band. Remove it before drying.
For the wire itself, wipe with a damp cloth. Focus on areas where dirt accumulates—like where the wire bends or connects to a bulb.
If you find corrosion (green/white residue), gently scrub with a cotton swab dipped in soapy water. Then dry thoroughly with a clean cloth.
Step 8: Rinse and Dry Thoroughly
Once all bulbs and sockets are clean, rinse with a light mist from a spray bottle filled with plain water. Or use a barely damp cloth to wipe away soap residue.
Again: no soaking. Just a quick wipe to remove any lingering soap.
Now, the most important part: dry completely.
- Lay the strand flat on a clean towel or hang it in a dry, shaded area.
- Use a dry microfiber cloth to blot each bulb and socket.
- For tight spots, use compressed air or a dry toothbrush.
- Let it air-dry for at least 2–4 hours. Overnight is even better.
Why wait? Moisture is the enemy of outdoor lights. Even a tiny drop trapped in a socket can cause corrosion or short-circuiting when you plug it back in.
Common Mistake: I once rushed this step and plugged in the lights after 30 minutes. One socket sparked and died. Lesson learned: patience pays off.
Step 9: Reinstall and Test
Once everything is bone-dry, it’s time to put the lights back up.
Reattach them to hooks, clips, or zip ties. Make sure they’re secure but not too tight—wires can stretch or break under tension.
Plug them in and turn on the power. Watch closely as they light up.
- Do all bulbs glow?
- Is there flickering?
- Any unusual buzzing or dimming?
If everything works, great! If not, double-check connections, sockets, and bulbs. Replace any that still don’t work.
For solar-powered lights, make sure the panel is clean and facing sunlight. Wipe the panel with a damp cloth and let it charge for a few hours before testing.
Step 10: Optional: Apply a Protective Coating
This is a pro move, especially if you live in a humid or rainy climate.
After cleaning and drying, apply a thin layer of dielectric grease to the metal contacts inside each socket. This silicone-based grease repels moisture and prevents corrosion.
You can also use a UV-protectant spray on plastic sockets (like those made for outdoor gear). It helps prevent cracking and yellowing from sun exposure.
Don’t overdo it—just a dab or light mist. Too much can attract dust.
This step isn’t mandatory, but it can extend the life of your lights by years. A small investment for big returns in how to clean outdoor string lights in 2026 expert tips.
Pro Tips & Common Mistakes to Avoid
Over the years, I’ve made every mistake in the book. Here’s what I’ve learned—so you don’t have to.
- Clean in spring and fall. Don’t wait until they look terrible. A quick wipe every 6 months keeps them in top shape and makes deep cleaning easier.
- Use the right ladder. A wobbly step stool on uneven ground is a recipe for disaster. Use a stable ladder with rubber feet, and have someone spot you if the lights are high.
- Don’t twist bulbs too hard. Glass bulbs can break, and plastic ones can crack the socket. Tighten by hand—no tools.
- Label your strands. If you have multiple sets, label them with masking tape (e.g., “Pergola,” “Fence”). Makes reinstallation easier.
- Check for recalls. Some older string lights have been recalled due to fire hazards. Visit the CPSC website to check your model.
- Avoid pressure washers. The force can crack bulbs, damage sockets, and push water into wires. Stick to manual cleaning.
- Store properly in winter. If you take them down, coil them loosely (no tight knots) and store in a dry, temperature-controlled space. Use a breathable bag, not plastic.
Personal Insight: I once used a leaf blower to “dry” my lights. Big mistake. It blew a bulb right out of its socket. Now I stick to gentle airflow or time.
And here’s a bonus tip: take photos before and after. Not just for bragging rights—it helps you track which bulbs or strands need attention next time. Plus, it’s satisfying to see the transformation.
FAQs About How to Clean Outdoor String Lights in 2026 Expert Tips
Can I clean outdoor string lights without taking them down?
Yes, but it’s harder and riskier. Use a long-handled duster or soft brush to remove dust first. Then, use a spray bottle with soapy water and a microfiber cloth on a pole. Never use a ladder on wet ground. If the lights are high or hard to reach, it’s safer to take them down.
How often should I clean my outdoor string lights?
Twice a year is ideal: once in early spring (before heavy use) and once in fall (before storing). If you live in a dusty, windy, or coastal area, clean every 3–4 months. For low-traffic areas, once a year might be enough.
What if my bulbs are cloudy or yellowed?
That’s often UV damage or moisture. Cleaning helps with surface grime, but yellowing is usually permanent. If it’s widespread, consider replacing the strand. For minor cloudiness, a light polish with a plastic-safe cleaner (like Novus #1) can help—but don’t overdo it.
Are LED string lights easier to clean than incandescent?
Yes! LED bulbs are cooler, more durable, and often have sealed sockets that resist moisture. They’re less likely to overheat when dirty, but cleaning still improves brightness and longevity. The same how to clean outdoor string lights in 2026 expert tips apply, but you can be slightly more aggressive with dust removal.
Can I use a garden hose to rinse my string lights?
Only if they’re unplugged and dry, and you use a very light mist. Never direct a strong stream at sockets or bulbs. Water pressure can force moisture into electrical parts. A damp cloth or spray bottle is safer.
What if a socket is cracked or damaged?
Don’t risk it. A damaged socket can cause shorts, flickering, or even fire. Replace the entire strand or use a socket repair kit (available at hardware stores). For temporary fixes, wrap the socket with electrical tape—but only until you can replace it.
Do solar string lights need different cleaning?
Mostly the same, but pay extra attention to the solar panel. Wipe it with a damp cloth to remove dust and bird droppings—this ensures maximum charging. Also, clean the battery compartment if it’s accessible (use a dry cloth only).
Final Thoughts
Cleaning outdoor string lights isn’t glamorous, but it’s one of those small tasks that makes a big difference. A few hours of care can keep your lights glowing safely for years—turning your patio into a cozy retreat, a romantic hideaway, or the perfect party spot.
You now have the full how to clean outdoor string lights in 2026 expert tips—from prep to protection, with real-world insights to avoid the pitfalls I’ve (painfully) learned.
So grab your microfiber cloth, mix up that soapy water, and give your lights the attention they deserve. And hey—once they’re sparkling, treat yourself to a glass of wine under the glow. You’ve earned it.
Remember: clean lights aren’t just about looks. They’re about safety, longevity, and the simple joy of a well-lit night. So don’t wait for them to look sad. Stay ahead of the grime, and your outdoor space will shine—literally—all season long.
Now go make some magic.

