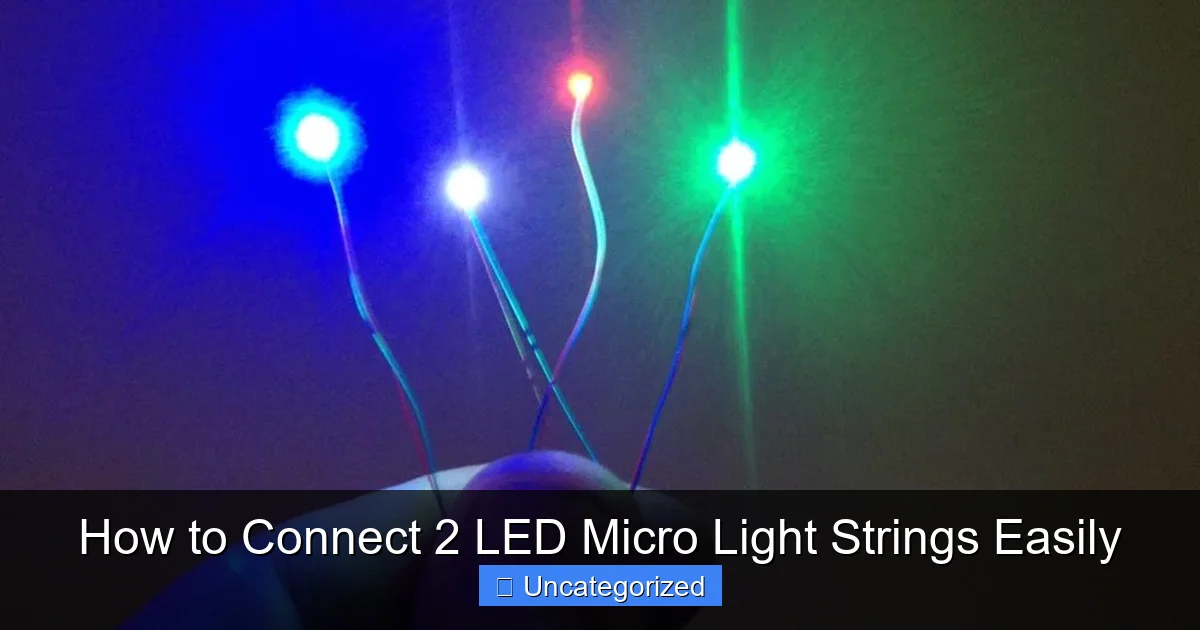
Featured image for how to connect 2 led micro light strings
Image source: microbirds.com
Connecting two LED micro light strings is simple and requires no special tools—just match the positive and negative wires and secure them with a waterproof connector or electrical tape. Ensure both strings are unplugged during installation, then twist the corresponding wires together for a reliable, long-lasting link. This quick method preserves brightness and extends coverage, perfect for indoor or outdoor holiday displays.
How to Connect 2 LED Micro Light Strings Easily
Key Takeaways
- Check compatibility: Ensure both light strings share voltage and connector types.
- Use waterproof connectors: Protect connections with sealed, insulated connectors.
- Strip wires safely: Expose only 1/2 inch of wire for secure splicing.
- Match wire colors: Align positive-to-positive and negative-to-negative wires.
- Test before finalizing: Power on lights to confirm connection success.
- Secure with heat shrink: Apply tubing for durable, weatherproof insulation.
Why This Matters / Understanding the Problem
You’ve got two beautiful LED micro light strings—maybe one for your mantel and another for the window. But now you want them to glow together, creating a seamless, magical ambiance. The challenge? Most people think you need a degree in electronics to connect LED lights safely. But here’s the good news: how to connect 2 LED micro light strings easily is simpler than you think.
Whether you’re decorating for the holidays, setting up a cozy bedroom nook, or creating a photo backdrop, combining light strands can make all the difference. But if done wrong, you risk flickering, burnt-out bulbs, or even a short circuit. That’s why this guide focuses on safe, effective, and easy LED light string connection—without frying your lights or your patience.
From battery-powered fairy lights to plug-in micro LEDs, the principles are similar. We’ll walk you through the right tools, techniques, and tricks so your lights shine brighter and last longer. And yes, you can absolutely do this without a soldering iron or electrical tape (though we’ll cover those options too).
What You Need
Before you dive in, gather these tools and materials. Most are already in your home or cost under $10. The key is using the right gear to ensure a secure, long-lasting connection—especially when learning how to connect 2 LED micro light strings easily.
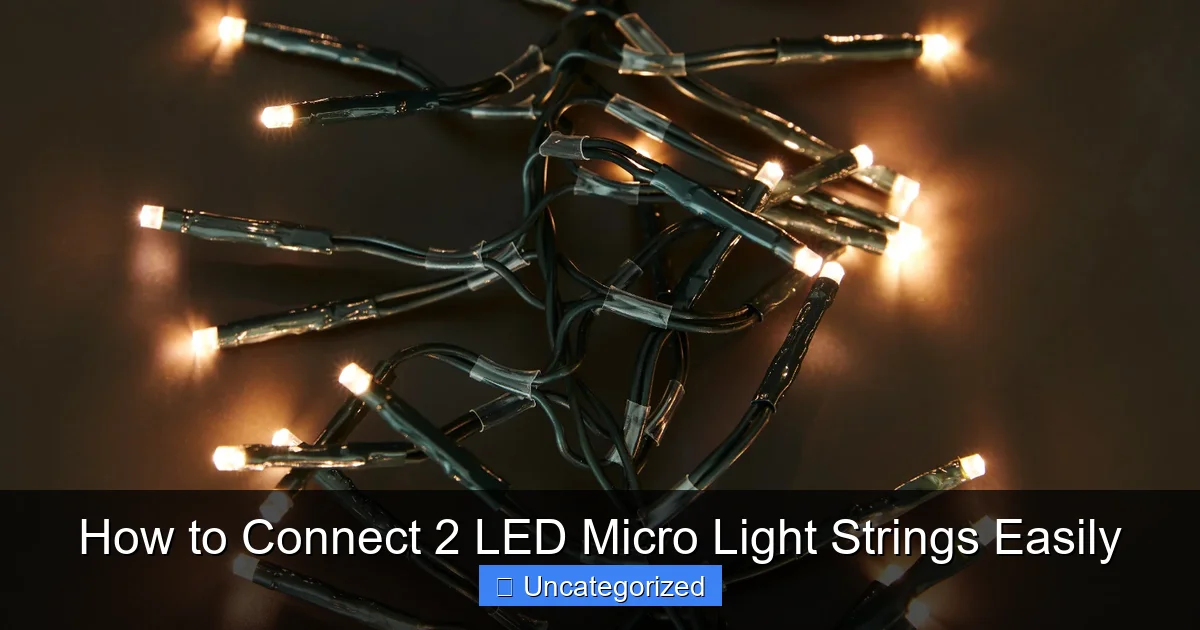
Visual guide about how to connect 2 led micro light strings
Image source: source.widen.net
- Two LED micro light strings (check if they’re battery-powered or plug-in)
- Wire cutters/strippers (a small pair works best)
- Electrical tape or heat-shrink tubing
- Small screwdriver (for battery compartments)
- Multimeter (optional) – helps check voltage and continuity
- Soldering iron & solder (optional) – for permanent, durable joins
- Connector clips or quick-connect wire connectors (optional)
- Zip ties or adhesive mounts – to manage extra wire
- Scissors
Pro Tip: Always check the power source first. Battery-powered lights (usually 2–3 AA batteries) operate at lower voltage (3–4.5V), while plug-in models may use 12V or 24V AC/DC adapters. Never mix voltages—this can damage your lights.
Step-by-Step Guide to How to Connect 2 LED Micro Light Strings Easily
Now that you’ve got your tools, let’s get to the heart of the matter: how to connect 2 LED micro light strings easily. We’ll cover three methods—simple splicing (no soldering), soldering for permanence, and using plug-in connectors. Choose the one that fits your comfort level and setup.
Step 1: Power Down & Prepare the Lights
Before touching any wires, turn off and unplug both light strings. If they’re battery-powered, remove the batteries. This is non-negotiable—working on live circuits is dangerous, even with low-voltage LEDs.
Next, lay both strings flat on a clean surface. Identify the end of each string—the one farthest from the power source. This is where you’ll make the connection.
For battery-powered lights, you may need to open the battery compartment to access the internal wires. Use a small screwdriver if needed. Look for two thin wires (usually red and black, or copper and silver) running from the battery pack to the first LED.
Warning: Don’t cut the wires too close to the first LED or battery pack. Leave at least 2–3 inches of wire to work with. This gives you room for stripping and reconnecting.
Step 2: Cut and Strip the Wires
Using your wire cutters, cut the end wire of each light string. Make a clean, straight cut—jagged edges can cause poor connections.
Now, strip about ½ inch (1.2 cm) of insulation from the end of each cut wire. Use a wire stripper or carefully use scissors (if you’re careful). You should see two inner wires: one positive (usually red or marked with a stripe), one negative (black or plain).
Twist the exposed copper strands lightly to prevent fraying. This makes them easier to join later.
Pro Tip: If your lights use color-coded wires, match red to red and black to black. If they’re unmarked, check the battery pack—positive is usually connected to the spring, negative to the flat plate. Use a multimeter if unsure.
Step 3: Choose Your Connection Method
Now comes the fun part: joining the wires. You have three solid options. Pick the one that suits your needs and skill level.
Option A: Simple Twist & Tape (No Tools Needed)
This is the easiest way to connect 2 LED micro light strings easily—perfect for temporary setups or renters.
- Twist the positive wire of String A with the positive wire of String B.
- Twist the negative wires together.
- Wrap each joint tightly with electrical tape, overlapping by at least 1 inch on both sides.
- For extra protection, wrap both joints together with a second layer of tape.
Test the connection by turning the lights on. If they flicker, re-tape or re-twist.
Note: This method works well but isn’t ideal for outdoor or high-movement areas. The tape can loosen over time.
Option B: Soldering (Permanent & Durable)
If you want a long-lasting, weather-resistant connection, soldering is the gold standard. It’s great for outdoor holiday lights or permanent installations.
- Twist the matching wires together (positive to positive, negative to negative).
- Heat your soldering iron (set to 300–350°C).
- Touch the solder to the twisted joint—not the iron. The heat will melt the solder into the wires.
- Once cool, slide a piece of heat-shrink tubing over each joint and use a heat source (like a hair dryer) to shrink it.
- For extra insulation, wrap with electrical tape.
Pro Tip: Practice soldering on scrap wire first. Use rosin-core solder—it contains flux, which helps the solder flow smoothly.
Option C: Use Wire Connectors (Quick & Reversible)
Want a tool-free, reusable connection? Try quick-connect wire connectors (also called push-in or lever nuts).
- Insert the positive wire of String A into one side of the connector, and the positive wire of String B into the other.
- Do the same for the negative wires.
- Snap the connector shut—most have levers or push-in slots.
- Test the lights.
This method is ideal for beginners and lets you disconnect the strings later without damage.
Warning: Not all connectors work with ultra-thin LED wires. Look for ones labeled “fine-stranded” or “micro-wire.”
Step 4: Test the Connection
Before you celebrate, test your work. Reinsert batteries or plug in the adapter. Turn on both strings.
What to look for:
- All LEDs should light up.
- No flickering or dim sections.
- No overheating at the connection point.
If one string stays dark, double-check:
- Are the wires fully stripped and twisted?
- Is the tape too tight, cutting off the connection?
- Did you mix up positive and negative?
Pro Tip: Use a multimeter to check continuity. Set it to “beep” mode and touch the probes to the battery terminals. The beep should continue through the entire length of the joined strings.
Step 5: Secure and Manage the Wires
A clean connection isn’t just about looks—it’s about safety. Loose wires can snag, short out, or get damaged.
- Use zip ties or adhesive cable clips to bundle excess wire.
- Keep the connection point off the floor or furniture edges to avoid stress.
- If outdoors, use waterproof electrical tape or silicone sealant around the joint.
- For battery-powered lights, tape the battery pack to a flat surface to reduce strain on the wires.
This step is crucial for how to connect 2 LED micro light strings easily in real-world conditions—like holiday decor or wedding backdrops.
Step 6: Power Up and Enjoy
Once everything is secure, plug in or power on your lights. Step back and admire your work. You’ve successfully extended your lighting display—without buying a new, longer string.
Bonus: You can now add a third or fourth string using the same method. Just remember: most micro LED strings draw about 0.5–1 amp. Check your power source’s rating (on the battery pack or adapter) to avoid overloading.
Example: A 4.5V battery pack can usually power up to 4–6 micro strings. A 12V 2A adapter can handle 10+ strings. When in doubt, start with fewer and add gradually.
Pro Tips & Common Mistakes to Avoid
Even simple projects can go sideways. Here are the top pitfalls and how to dodge them when learning how to connect 2 LED micro light strings easily.
🔌 Match Voltage & Polarity
Never connect a 3V battery string to a 12V plug-in adapter. The higher voltage will burn out the LEDs instantly. Always check labels.
Also, double-check polarity. LEDs are diodes—they only work in one direction. If you reverse positive and negative, the lights won’t turn on.
✂️ Don’t Cut Too Short
Leaving 2–3 inches of wire gives you room for mistakes. If you cut too close and need to re-strip, you might not have enough wire to work with.
🧵 Avoid Overlapping Tape
Too much electrical tape can insulate the connection too well, trapping heat. Use just enough to cover the joint and ½ inch on each side.
🌧️ Protect Outdoor Connections
If your lights are outside, use weatherproof connectors or seal joints with silicone. Moisture causes corrosion, leading to flickering or failure.
For battery-powered outdoor lights, consider using rechargeable batteries and a solar-powered option to reduce waste and maintenance.
🔋 Battery-Powered vs. Plug-In: Know the Difference
Battery strings are lower voltage (3–4.5V) and often have shorter lifespans. Plug-in models (12V or 24V) can handle more LEDs and longer runs.
You can connect battery and plug-in strings, but only if they share the same voltage and polarity. Use a multimeter to verify.
🚫 Don’t Overload the Circuit
Each LED draws a small amount of current. But if you connect too many strings, you can overload the power source.
Rule of thumb: Most 2-AA battery packs can power 1–2 micro strings. A 12V 1A adapter can handle 3–5. Check the label: “Input: 12V 1A” means 1 amp max.
Pro Tip: Use a voltage tester or multimeter to measure the current draw. If it’s close to the adapter’s max, add a second power source or use a splitter.
🔧 Keep a Repair Kit
Save leftover wire, connectors, tape, and solder. LED strings can break at the worst times—like the night before a party. A small kit lets you fix issues fast.
FAQs About How to Connect 2 LED Micro Light Strings Easily
Got questions? You’re not alone. Here are the most common ones—answered with real-life advice.
Can I connect LED light strings with different colors?
Yes! You can mix warm white, cool white, or even colored micro LEDs. Just ensure they use the same voltage and polarity. Different colors won’t affect the connection—but mismatched voltage will.
Example: A red string and a blue string, both 3V battery-powered, can be joined safely.
What if my lights flicker after connecting?
Flickering usually means a poor connection. Check for:
- Loosely twisted wires
- Insufficient stripping (bare copper not touching)
- Loose tape or connector
- Damaged wires near the joint
Re-strip, re-twist, and re-secure. If the problem persists, test each string separately to rule out a faulty unit.
Can I connect more than two strings?
Absolutely. You can daisy-chain three, four, or more strings—as long as the total current draw doesn’t exceed your power source.
Example: If your adapter says “12V 1A,” and each string draws 0.2A, you can safely connect up to 5 strings.
Are there ready-made connectors for micro LED strings?
Yes! Look for LED extension cables or plug-and-play connectors designed for micro lights. Brands like Twinkly, GE, and Holiday Time sell these.
They’re pricier but perfect for quick, tool-free setups. Just plug one string into the other—no cutting or soldering.
Can I connect battery-powered and plug-in LED strings?
Only if they use the same voltage and polarity. For example, a 3V battery string can connect to a 3V plug-in string. But a 3V battery string cannot connect to a 12V plug-in string—it will burn out.
Use a multimeter to check voltage. Never assume—labels can be misleading.
How do I prevent the connection from coming loose?
Use heat-shrink tubing or waterproof tape. For extra strength, solder the joint first, then add tape or tubing.
Also, secure the connection point with a zip tie or adhesive mount to reduce tension on the wires.
Is it safe to leave connected LED strings on overnight?
Yes—if the connection is secure and the power source is rated for the load. LED lights generate very little heat, making them safe for long-term use.
However, avoid covering the connection point with fabric or flammable materials. And never use damaged wires.
Final Thoughts
Connecting two LED micro light strings doesn’t have to be complicated. With the right tools and a little patience, how to connect 2 LED micro light strings easily becomes a quick, satisfying project—whether you’re a DIY newbie or a seasoned decorator.
Remember: safety first. Always power down before working, match voltage and polarity, and test your connection. Use the method that fits your needs—twist-and-tape for speed, soldering for permanence, or connectors for convenience.
And here’s the best part: once you master this skill, you can extend your lights across a room, wrap them around a tree, or create a glowing canopy. The possibilities are endless.
So grab those extra strings, follow this guide, and let your space shine brighter. Your next party, holiday, or cozy night in just got a whole lot more magical.
Now go make it glow.

