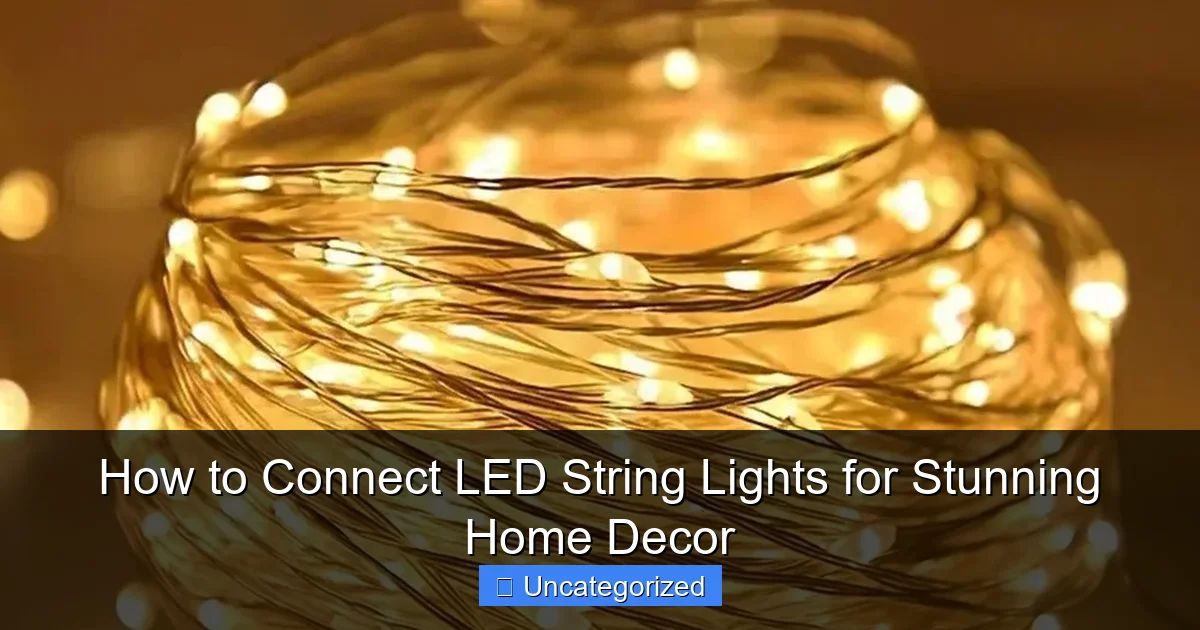
Featured image for how to connect led string lights
Image source: img.gkbcdn.com
Connecting LED string lights is a simple, plug-and-play process—just ensure the power is off before linking multiple strands end-to-end, matching the output of one to the input of the next. Always check manufacturer limits on how many strands can be safely linked to avoid overloading and ensure a dazzling, evenly lit display. With the right connections, your home transforms into a radiant, energy-efficient wonderland.
How to Connect LED String Lights for Stunning Home Decor
Key Takeaways
- Plan your layout first: Measure space to determine light length and power needs.
- Use compatible connectors: Match voltage and plug types for safe, seamless connections.
- Limit daisy-chaining: Avoid overloading circuits—check manufacturer’s max connection limit.
- Hide wires creatively: Use clips, gutters, or decor to conceal cords neatly.
- Test before installing: Check lights work fully before finalizing placement.
- Opt for smart controls: Use timers or apps for effortless ambiance adjustments.
Why This Matters / Understanding the Problem
Imagine this: You’ve just bought a set of beautiful LED string lights for your bedroom, porch, or holiday tree. You unbox them, plug them in—and nothing happens. Or worse, only half the lights work. Sound familiar?
Many people struggle with how to connect LED string lights for stunning home decor because they don’t know the difference between series and parallel wiring, how to handle connectors, or when to use a splitter. Without the right setup, your dreamy glow can turn into a frustrating mess.
The good news? With a little know-how, you can link multiple strands, create custom lighting zones, and avoid overloading circuits. Whether you’re dressing up a patio, framing a mirror, or lighting a wedding backdrop, mastering this skill ensures your decor shines—literally.
From holiday displays to year-round ambiance, understanding how to connect LED string lights for stunning home decor saves time, money, and stress. Let’s make your space glow like a pro.
What You Need
Before diving in, gather the right tools and materials. Having everything ready makes the process smooth and safe.
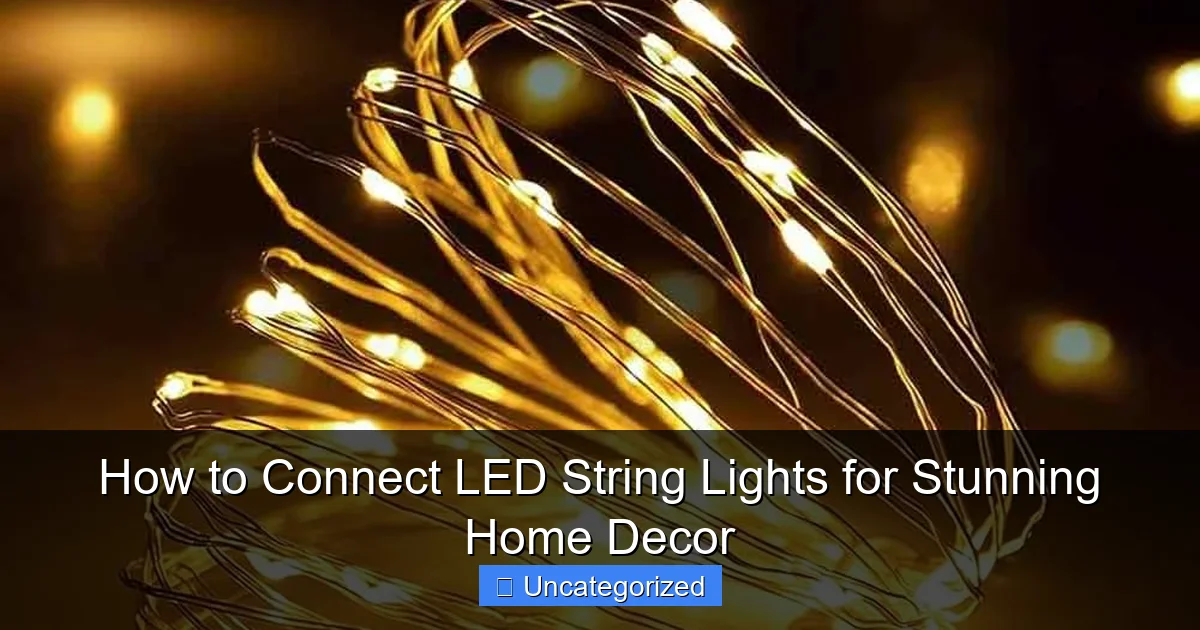
Visual guide about how to connect led string lights
Image source: ruperhat.com
- LED string lights (check if they’re end-to-end connectable)
- Extension cords (indoor/outdoor rated, as needed)
- Light splitters or Y-connectors (for branching lights)
- Timer or smart plug (optional, for automatic control)
- Zip ties or adhesive clips (for mounting and cable management)
- Voltage meter (optional, to test continuity)
- Weatherproof sealant (for outdoor connections)
- Power outlet with surge protection (safety first!)
Pro tip: Always check the manufacturer’s label on your lights. Look for “connectable,” “end-to-end,” or “max strands per outlet” info. This tells you the safe limit for daisy-chaining. For example, most indoor LED strings allow 3–5 strands max.
Using the wrong tools—like forcing incompatible connectors—can damage your lights or even start a fire. So stick to what’s designed for your system.
Step-by-Step Guide to How to Connect LED String Lights for Stunning Home Decor
Step 1: Choose the Right Type of LED String Lights
Not all LED string lights are created equal. Some are built for daisy-chaining; others aren’t. Start by identifying your lights’ connection type.
- End-to-end connectable: These have a male plug on one end and a female socket on the other. You plug one into the next, like holiday lights.
- Non-connectable: Only one end has a plug. You’ll need an extension cord or splitter to add more.
- Smart or app-controlled: May have proprietary connectors (e.g., Philips Hue). Use only official accessories.
Check the packaging or look closely at the ends. If you see a small socket on the end opposite the plug, you’re good to connect. If not, you’ll need a light splitter or Y-adapter.
Warning: Never try to splice or modify LED strings unless you’re experienced with electronics. Most modern LEDs are low-voltage and sealed. Tampering voids warranties and risks short circuits.
For how to connect LED string lights for stunning home decor, start simple. Use connectable strands for long runs, and splitters for branching designs.
Step 2: Plan Your Layout and Power Source
Before plugging anything in, sketch your layout. Where will the lights go? How far from the outlet? Do you need multiple zones?
For example:
- Bedroom: String lights along the headboard, then down the wall to frame a mirror.
- Patio: Lights on the railing, overhead pergola, and wrapped around pillars.
- Christmas tree: Wrap trunk, then drape across the roofline.
Measure the distance from the outlet to the farthest point. Add 1–2 feet extra for slack. This helps you choose the right number of strands and extensions.
Now, calculate total wattage. Add the wattage of all lights you plan to connect. Most indoor LEDs use 5–15 watts per strand. Outdoor ones may use more. Multiply by the number of strands.
Rule of thumb: Don’t exceed 80% of your outlet’s capacity. A standard 15-amp circuit handles ~1,800 watts. So if your lights total 1,500 watts, you’re cutting it close. Better to use two outlets.
Pro Tip: Use a timer or smart plug to automate on/off times. This reduces energy use and prevents overheating from lights left on too long.
Planning ahead makes how to connect LED string lights for stunning home decor much easier—and safer.
Step 3: Test Each Strand Before Connecting
Always test lights before installing them. Plug each strand into a wall outlet and check that all LEDs work.
- If a strand doesn’t light, check the fuse (usually in the plug). Replace it with the spare that came with the lights.
- If only part of the strand works, it may have a broken wire or dead section. Don’t connect it.
Why test first? If you daisy-chain 5 strands and the middle one is faulty, you’ll have to unplug everything to find the problem.
For smart lights, download the app and pair each strand individually. This ensures they respond to commands and don’t cause sync issues later.
Warning: Never connect untested lights. A shorted strand can damage others or trip your circuit breaker.
Testing is a small step that saves big headaches. It’s a key part of how to connect LED string lights for stunning home decor without frustration.
Step 4: Connect Strands End-to-End (Daisy Chaining)
This is the most common method. It works for connectable lights with male/female ends.
- Start at the outlet. Plug in the first strand.
- Take the second strand and insert its male plug into the female socket of the first.
- Repeat for additional strands, always plugging male into female.
- Don’t force connections. They should slide in smoothly.
Keep the connections loose at first. Once all are linked, gently tighten any strain relief clips (if included).
Remember the max strand limit. For example, if the label says “Max 3 strands,” don’t connect a fourth. Exceeding the limit can overheat the first strand and burn out LEDs.
For long runs (e.g., 50+ feet), use a heavy-duty extension cord near the middle to boost voltage. This prevents “voltage drop,” where lights at the end appear dimmer.
Pro Tip: Label each strand with tape (e.g., “1 of 3”) so you know the order. If one fails, you can isolate it quickly.
Daisy-chaining is perfect for straight runs, like along a wall or roofline. It’s a core technique in how to connect LED string lights for stunning home decor.
Step 5: Use Splitters for Branching or Multi-Zone Designs
Want lights on the ceiling, walls, and furniture? Use a light splitter (also called a Y-connector).
Splitters have one male plug and two or more female sockets. Plug the splitter into the outlet, then connect different strands to each socket.
For example:
- Splitter in outlet → Strand A (ceiling) + Strand B (bookshelf) + Strand C (plant hanger).
- Each strand runs independently, so one failure won’t affect the others.
You can also use splitters to create a “star” pattern. Great for centerpieces or tree canopies.
But don’t overload the splitter. Check its wattage rating. Most handle 60–100 watts total. If your strands use 15 watts each, a 3-way splitter maxes at 6 strands (90 watts).
Warning: Never daisy-chain splitters. This can overload the circuit and melt connectors.
Splitters add flexibility. They’re essential for complex designs in how to connect LED string lights for stunning home decor.
Step 6: Secure Connections and Manage Cables
Loose connections can wiggle free, causing flickering or shorts. Secure them properly.
- Use zip ties or adhesive cable clips to anchor cords to walls, railings, or frames.
- For outdoor use, apply weatherproof sealant (like silicone) around connectors. This keeps moisture out.
- Coil excess cord neatly and hide it behind furniture or under rugs (indoor).
For ceiling installations, use ceiling hooks or clear fishing line to hang strands without nails. This keeps the look clean.
Indoors, avoid running cords across walkways. If you must, cover them with a cord cover to prevent tripping.
Pro Tip: Use twist-lock connectors (if available) for a tighter, safer fit. These are common in professional lighting setups.
Good cable management isn’t just safe—it makes your decor look polished. A key detail in how to connect LED string lights for stunning home decor.
Step 7: Power On and Troubleshoot
Now the fun part—turning on the lights!
- Plug everything into a surge-protected outlet.
- Flip the switch or press the timer.
- Check that all strands light up evenly.
If something’s wrong:
- No lights? Check the outlet with another device. Test the fuse. Ensure all connections are snug.
- Flickering? Loose connection. Wiggle each plug and socket. Re-secure with zip ties.
- Dim at the end? Voltage drop. Add an extension cord near the middle of the run.
- One strand out? Unplug and test it alone. Replace if faulty.
For smart lights, open the app and check device status. Re-pair if needed.
Warning: Never touch connections while plugged in. Unplug before troubleshooting.
Troubleshooting ensures your setup works perfectly. It’s the final step in how to connect LED string lights for stunning home decor.
Step 8: Maintain and Store Safely
After use, don’t just toss lights in a box. Proper storage extends their life.
- Unplug and disconnect all strands.
- Coil each strand loosely (no tight loops). Use a cardboard reel or twist-and-loop method.
- Store in a cool, dry place. Avoid attics or basements with extreme temps.
- Label boxes by room or season (e.g., “Living Room,” “Christmas”).
For outdoor lights, wipe off dirt and moisture before storing. Replace any damaged connectors.
Check lights every 6 months. Plug them in to ensure they still work. This avoids surprises next season.
Pro Tip: Use vacuum-sealed bags for long-term storage. They protect against dust and pests.
Good maintenance keeps your lights ready for the next event. A smart move in how to connect LED string lights for stunning home decor.
Pro Tips & Common Mistakes to Avoid
Even with the right steps, small mistakes can ruin your setup. Here’s how to stay ahead.
Use the Right Extension Cord
Indoor cords won’t last outdoors. Use outdoor-rated extension cords with weatherproof covers. They resist UV, moisture, and temperature swings.
For long outdoor runs, choose a 14-gauge or 12-gauge cord. Thicker wires handle more power without overheating.
Don’t Overload the Circuit
It’s tempting to plug 10 strands into one outlet. But this risks tripping the breaker or starting a fire.
Calculate total wattage. Use multiple outlets or a power strip with overload protection.
Match Light Colors and Brightness
Mixing warm white and cool white strands creates an uneven look. Buy all lights from the same brand and batch for consistency.
If you must mix, test them side by side first.
Protect Outdoor Connections
Outdoor connectors are vulnerable to rain and snow. Use weatherproof junction boxes or wrap them with electrical tape and a plastic bag (temporary).
For permanent setups, install outdoor-rated light sockets with covers.
Avoid Tight Bends
Don’t wrap lights around small objects (like thin branches) too tightly. This can break wires inside the cord.
Use the “loose spiral” method: Wrap with space between loops.
Common Mistakes
- Forcing connectors: This damages the pins. Use compatible brands.
- Ignoring the max strand limit: Overloads the first strand.
- Using indoor lights outdoors: Moisture ruins them fast.
- Leaving lights on 24/7: Shortens lifespan. Use a timer.
- Storing tangled: Causes kinks and breaks.
By avoiding these, you’ll master how to connect LED string lights for stunning home decor like a pro.
FAQs About How to Connect LED String Lights for Stunning Home Decor
Q: Can I connect LED string lights from different brands?
It’s risky. Different brands may have varying voltages, connector sizes, or polarity. This can damage lights or cause flickering. Always use the same brand for daisy-chaining. For splitters, check compatibility.
Q: How many LED strands can I connect together?
Check the label. Most indoor LED strings allow 3–5 strands max. Outdoor ones may allow 10–20. Exceeding this can overheat the first strand. When in doubt, use a splitter and multiple outlets.
Q: Can I cut LED string lights to fit a space?
Only if they’re marked “cuttable” or “customizable.” These have cut points between LEDs. Most standard strings aren’t designed to be cut. Cutting the wrong type ruins the circuit.
Q: Why do my LED lights flicker when I connect them?
Flickering means poor connection. Check that plugs are fully inserted. Wiggle each connection. Use zip ties to secure them. Also, test each strand alone—one faulty light can affect the whole chain.
Q: Are LED string lights safe for outdoor use?
Only if labeled “outdoor” or “weather-resistant.” They have sealed connectors and UV-resistant cords. Indoor lights can short-circuit in rain. Always use GFCI outlets outdoors.
Q: How do I connect battery-powered LED string lights?
Most battery lights aren’t connectable. But some have a “pass-through” port. Use a battery pack splitter or DC barrel jack adapter to link them. Or, use a central battery box with multiple outputs.
Q: Can I use a dimmer with LED string lights?
Only if the lights are dimmable and the dimmer is compatible. Most LED dimmers are for hardwired fixtures. For plug-in strings, use a remote-controlled dimmer plug or smart plug with dimming.
Final Thoughts
Lighting transforms spaces. With the right setup, your home can feel cozy, festive, or magical—any time of year.
Now that you know how to connect LED string lights for stunning home decor, you can create custom designs without guesswork. Whether you’re draping them on a balcony, framing a window, or lighting a party, these steps ensure a safe, beautiful result.
Remember: Plan your layout, test each strand, secure connections, and respect power limits. A little prep goes a long way.
And when you’re done? Step back and enjoy the glow. Your space deserves it.
Ready to start? Grab your lights, follow this guide, and let your creativity shine. Happy decorating!

