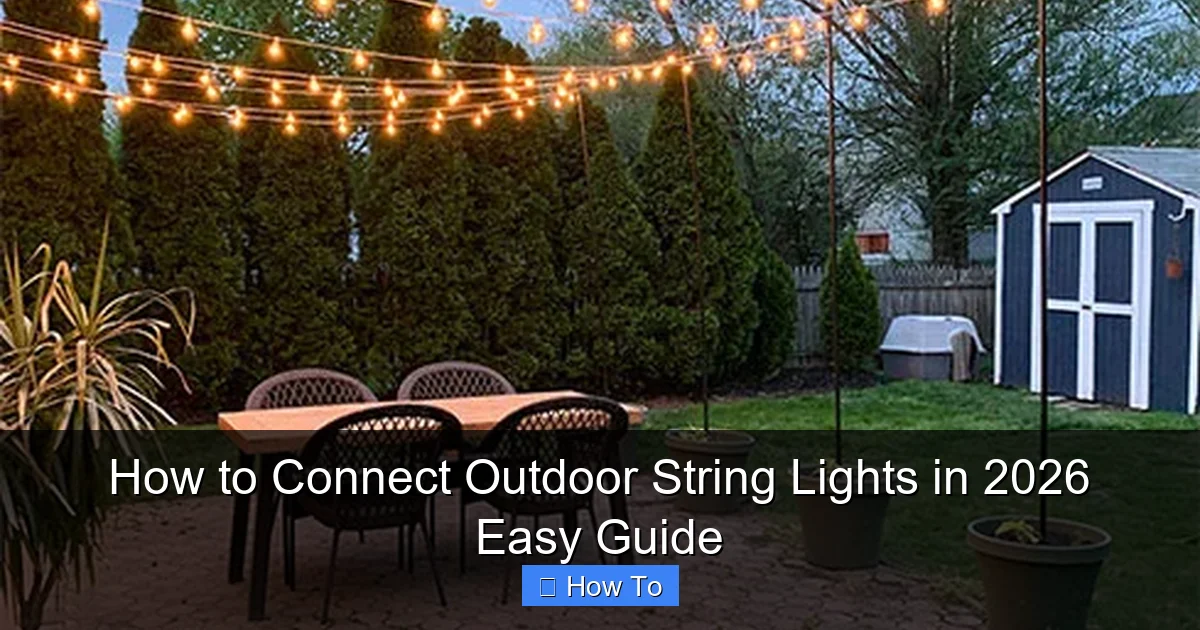
Featured image for how to connect outdoor string lights
Image source: thehoneycombhome.com
Connecting outdoor string lights in 2026 is easier than ever with smart plug-and-play systems and weatherproof connectors designed for seamless setup. Whether linking multiple strands or integrating solar-powered and app-controlled lights, always check wattage limits and use outdoor-rated extension cords to ensure safety and performance. Follow manufacturer guidelines for daisy-chaining and power sources to create a stunning, reliable outdoor ambiance in minutes.
How to Connect Outdoor String Lights in 2026 Easy Guide
Key Takeaways
- Plan your layout first: Measure the area to ensure proper light coverage and spacing.
- Use weatherproof connectors: Prevent damage by choosing outdoor-rated, waterproof connection accessories.
- Check voltage compatibility: Match string light voltage to your power source for safety.
- Secure connections tightly: Twist and seal connections to avoid disconnections or electrical hazards.
- Use a timer or smart plug: Automate lighting schedules for energy efficiency and convenience.
- Test before finalizing: Ensure all lights work before securing them permanently in place.
Why This Matters / Understanding the Problem
Let’s be honest—there’s nothing quite like the cozy glow of outdoor string lights on a warm summer night. Whether you’re hosting a backyard BBQ, setting the mood for a romantic dinner, or just want to make your patio feel like a vacation spot, these lights add instant charm.
But here’s the catch: connecting them can feel like solving a puzzle. Too many strands? Power issues? Weather damage? I’ve been there. I once spent an entire Saturday evening trying to get my lights to work—only to realize I’d exceeded the wattage limit. Frustrating, right?
That’s why this How to Connect Outdoor String Lights in 2026 Easy Guide is here. It’s not about flashy marketing or vague tips. It’s about real solutions—tested, tweaked, and shared with you like a friend who’s done it all wrong so you don’t have to.
Whether you’re using LED, incandescent, solar, or smart lights, this guide walks you through every step with clarity, empathy, and a little humor. Because lighting up your space should be fun—not a stress test.
By the end, you’ll know how to safely connect multiple strands, avoid common pitfalls, and even troubleshoot like a pro. And yes—you’ll do it all without calling an electrician (unless you really want to).
Quick Insight: The key to success isn’t buying the most expensive lights. It’s understanding how they work together. Think of your string lights as a team—not a solo act.
What You Need
Before we dive in, let’s gather your gear. You don’t need a full toolkit—just a few essentials. Here’s your checklist for a smooth How to Connect Outdoor String Lights in 2026 Easy Guide experience:
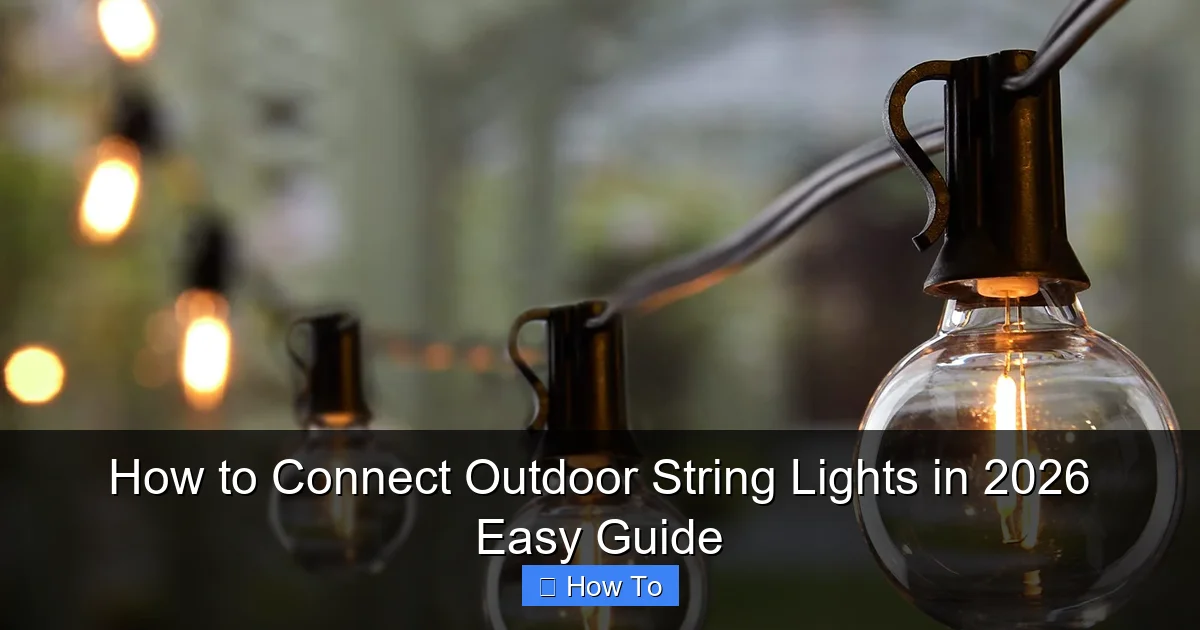
Visual guide about how to connect outdoor string lights
Image source: m.media-amazon.com
- Outdoor string lights (LED recommended for energy efficiency and safety)
- Extension cords (rated for outdoor use—look for “UL Listed” and “Wet Location”)
- Outdoor-rated power strips or surge protectors (if connecting to multiple outlets)
- Weatherproof electrical tape or heat-shrink tubing (for sealing connections)
- Zip ties or clips (to secure wires and prevent strain)
- Measuring tape (to plan spacing and avoid overbuying)
- Voltage meter (optional but helpful)—especially if troubleshooting
- Timer or smart plug (optional)—for automatic on/off control
- Ladder (if hanging overhead)—safety first!
Pro Tip: Always check the maximum wattage or maximum number of connectable strands on your light packaging. This is your golden rule. Ignore it, and you’ll risk tripping breakers or damaging the lights.
For example, most standard LED string lights allow 10–25 strands in a series. Incandescent? Usually 3–5. Solar lights often can’t be connected at all—they’re standalone.
Also, make sure your outdoor outlets are GFCI-protected. If not, consider installing one or using a GFCI adapter. It’s a safety must—especially in damp conditions.
Step-by-Step Guide to How to Connect Outdoor String Lights in 2026 Easy Guide
Step 1: Plan Your Layout (Before You Plug In)
Start by sketching your space. Use painter’s tape or chalk to mark where you want lights—along fences, pergolas, trees, or railings. Measure the distance between power sources and light zones.
This step saves you from buying too many or too few strands. I learned this the hard way when I bought 15 strands for a 20-foot patio and had to return 10. Oops.
- Measure the total length you need to cover.
- Note where outlets are located.
- Plan for “zones” if using multiple power sources (e.g., patio, deck, garden).
- Decide if you want lights in series (daisy-chained) or parallel (separate runs).
Why This Matters: Planning prevents overloading and ensures even lighting. Think of it like mapping a road trip—you wouldn’t just start driving without knowing the route.
For the How to Connect Outdoor String Lights in 2026 Easy Guide, we’ll focus on daisy-chaining (series), which is the most common and easiest method for residential use.
Step 2: Check the Specs—Know Your Limits
Grab your string light box or user manual. Look for two critical numbers:
- Maximum wattage (e.g., “Max 210W”)
- Maximum number of connectable strands (e.g., “Connect up to 20”)
These limits exist for safety. Exceeding them can cause overheating, flickering, or even fire hazards—especially with older incandescent bulbs.
Here’s a quick way to calculate:
- Check the wattage per strand (usually 10–40W for LED, 50–150W for incandescent).
- Multiply by the number of strands you want to connect.
- Ensure the total is under the max wattage.
Example: You have 5 LED strands at 20W each = 100W total. If your lights allow up to 210W, you’re safe. But if you add 10 more, you’re at 300W—too much.
Also, note if your lights have end-to-end connectors. These are the little male/female plugs at each end—essential for daisy-chaining. Some cheaper sets lack them, so you’ll need to buy adapters or use separate power sources.
Warning: Never connect non-connectable lights (like solar or battery-powered) in series. They’re designed to work solo. Forcing it can damage the circuit.
Step 3: Test Each Strand Before Hanging
Plug in each strand individually and turn it on. Check for:
- Consistent brightness
- No flickering or dead bulbs
- Proper connection at both ends
I once skipped this step and spent an hour hanging faulty lights—only to realize one strand was dead. Not fun.
If a strand doesn’t work, try replacing the fuse (often located in the plug) or checking for loose wires. Most LED lights have replaceable fuses—look for a small compartment in the plug.
Once you confirm all strands work, unplug them. Safety first.
This test is crucial for the How to Connect Outdoor String Lights in 2026 Easy Guide—it prevents frustration later and saves time during installation.
Step 4: Connect Strands in Series (Daisy-Chain)
Now the fun begins. Start at the outlet and work outward.
- Plug the first strand into the outlet.
- Take the second strand and plug its male end into the female end of the first.
- Repeat until all strands are connected.
Keep the connections tight but not forced. If it doesn’t click easily, double-check the orientation—some connectors are polarized.
For longer runs, use a Y-splitter or power strip if your layout branches out (e.g., lights along a fence and a pergola). This prevents voltage drop, which can make distant lights dimmer.
Example: If you have 20 feet of lights along a fence and 15 feet on a pergola, run two separate series from a central power strip instead of one long chain.
Pro Insight: Voltage drop is real. After 50+ feet of connected LED lights, you might notice the last few bulbs are dimmer. To fix this, use thicker gauge extension cords (16-gauge or lower) or break the run into shorter zones.
Step 5: Secure and Protect All Connections
This is where most people cut corners—and where problems start.
Outdoor connections are exposed to rain, wind, and temperature swings. A loose or wet connection can cause shorts, flickering, or even damage your home’s electrical system.
Here’s how to protect them:
- Elevate connections off the ground. Use hooks, zip ties, or clips to hang them at least 12 inches above dirt or grass.
- Seal with weatherproof tape—wrap each plug connection 2–3 times with electrical tape rated for outdoor use.
- Use drip loops—create a small “U” shape in the cord just before the plug. This lets water run down the cord and drip off before reaching the connection.
- Cover with a junction box or waterproof cap (optional but ideal for long-term setups).
I use clear heat-shrink tubing on all my connections. It’s a bit more work, but it’s nearly indestructible. Just slide it over the plug, use a hair dryer to shrink it, and you’re done.
Real Talk: I once skipped the drip loop during a storm. Rain pooled at the plug, caused a short, and tripped my GFCI. Lesson learned: always plan for the worst weather.
Step 6: Manage Power and Avoid Overloading
Even if your strands are within wattage limits, your outlet circuit might not be.
Most outdoor outlets are on a 15-amp circuit, which can handle up to 1,800W (15A x 120V). But that includes everything—your grill, fridge, or holiday lights.
To stay safe:
- Check what else is on the same circuit (use a circuit finder app or flip breakers).
- Add up the total wattage of all devices plugged in.
- Keep total under 80% of max (1,440W for a 15A circuit).
- Use a power strip with overload protection—it’ll shut off before tripping the breaker.
For the How to Connect Outdoor String Lights in 2026 Easy Guide, I recommend using a smart power strip. It lets you monitor usage and set schedules—perfect for energy efficiency.
Step 7: Hang the Lights (Safely and Neatly)
Now that everything’s connected, it’s time to hang.
Use:
- Outdoor-rated hooks or clips (avoid nails or staples—they can pierce wires).
- Zip ties for trees, railings, or fences.
- Gutter clips if mounting on eaves (they grip without damage).
Hang with slight slack—don’t pull the lights taut. Wind can stress the wires and connections. A little give prevents breakage.
For overhead runs (like between trees or pergola posts), use a mason line or guide wire to support the weight. String lights aren’t designed to bear tension.
My Trick: I use a fishing line to “fish” the lights through tight spaces. Tie the end, pull it through, then attach the strand. Works like a charm.
Step 8: Test the Full Setup
Plug everything in and turn it on. Walk around and check:
- All bulbs are lit
- No flickering or dimming
- Connections stay dry and secure
- No buzzing or sparking
If something’s off, unplug immediately and troubleshoot. Common issues:
- One dead strand? Replace or remove it.
- Flickering? Check for loose connections or water ingress.
- Breaker trips? You’ve overloaded the circuit—use fewer strands or a different outlet.
For smart lights, pair them with your app or voice assistant now. Set schedules, dimmers, or color changes.
Pro Tips & Common Mistakes to Avoid
After years of trial and error, here’s what I’ve learned—so you don’t have to.
✅ Pro Tips
- Use LED over incandescent: They’re cooler, more efficient, and allow longer chains (fewer watts = more strands).
- Buy a few extra strands: For replacements or future expansion. You’ll thank yourself.
- Label your connections: Use colored tape or tags to mark zones. Makes troubleshooting easier.
- Install a timer: Automate on/off times. Saves energy and extends bulb life.
- Store properly off-season: Coil lights loosely, avoid kinks, and store in a dry place. Prevents wire damage.
❌ Common Mistakes
- Ignoring wattage limits: “It worked last year!” doesn’t mean it’s safe this year. Always check specs.
- Using indoor extension cords: They’re not waterproof. One rainstorm can ruin them.
- Over-tightening connections: Can damage the plug or cord. Hand-tight is enough.
- Running cords across walkways: Trip hazard. Use cord covers or bury shallowly (with conduit).
- Forgetting GFCI protection: Outdoor outlets must have GFCI. It’s not optional—it’s safety.
Real Story: A friend once used regular tape on outdoor plugs. It melted in the sun and caused a short. Now I swear by heat-resistant, outdoor-grade tape. Small detail, big difference.
FAQs About How to Connect Outdoor String Lights in 2026 Easy Guide
Q: Can I connect different brands of string lights?
It depends. If they have the same plug type (e.g., E26/E27 sockets or end-to-end connectors) and similar wattage, you can try. But I wouldn’t recommend it. Voltage and current tolerances vary, and mismatched lights can flicker or burn out. Stick to the same brand and model for best results.
Q: How many LED string lights can I safely connect?
Most LED sets allow 10–25 strands in series. Check your packaging. For example, if one strand is 20W and the max is 200W, you can connect up to 10 strands. Always leave a 10–20% buffer for safety.
Q: Can I leave outdoor string lights on all night?
LEDs are safe for long use, but I recommend using a timer. It prevents overheating, saves energy, and extends bulb life. Plus, you don’t have to remember to turn them off. For the How to Connect Outdoor String Lights in 2026 Easy Guide, a smart plug with scheduling is a game-changer.
Q: What if my lights flicker or go dim?
First, check for loose connections or water in the plugs. Then, test each strand individually. If one is faulty, remove it. Also, voltage drop can cause dimming at the end of long runs—shorten the chain or use a thicker cord.
Q: Are solar string lights connectable?
Nope. Solar lights have individual panels and batteries. They’re designed to work alone. Connecting them can damage the circuits. If you want a long run, use multiple solar sets with separate panels.
Q: Can I bury outdoor extension cords?
Not directly. If you must run cords underground, use direct burial-rated cables in a waterproof conduit. Regular cords will degrade and become a hazard. For surface runs, use cord covers.
Q: Do I need a permit to install outdoor lights?
For permanent installations (like hardwired lights), yes—check local codes. For temporary or plug-in setups (like string lights), no. But always use GFCI protection and follow manufacturer guidelines. When in doubt, consult an electrician.
Final Thoughts
Connecting outdoor string lights doesn’t have to be a headache. With the right tools, a little planning, and this How to Connect Outdoor String Lights in 2026 Easy Guide, you’ll have a beautifully lit space in no time.
Remember: safety first, specs matter, and a little prep saves big headaches. Don’t rush—take your time with the layout, test each strand, and protect every connection.
And when the sun sets and your lights glow softly against the night sky? That’s the reward. Whether you’re sharing stories with friends or enjoying a quiet moment, those lights do more than illuminate—they create memories.
So go ahead. Plug in, power up, and enjoy. And if something doesn’t work? Don’t stress. Unplug, breathe, and troubleshoot step by step. You’ve got this.
Happy lighting!

