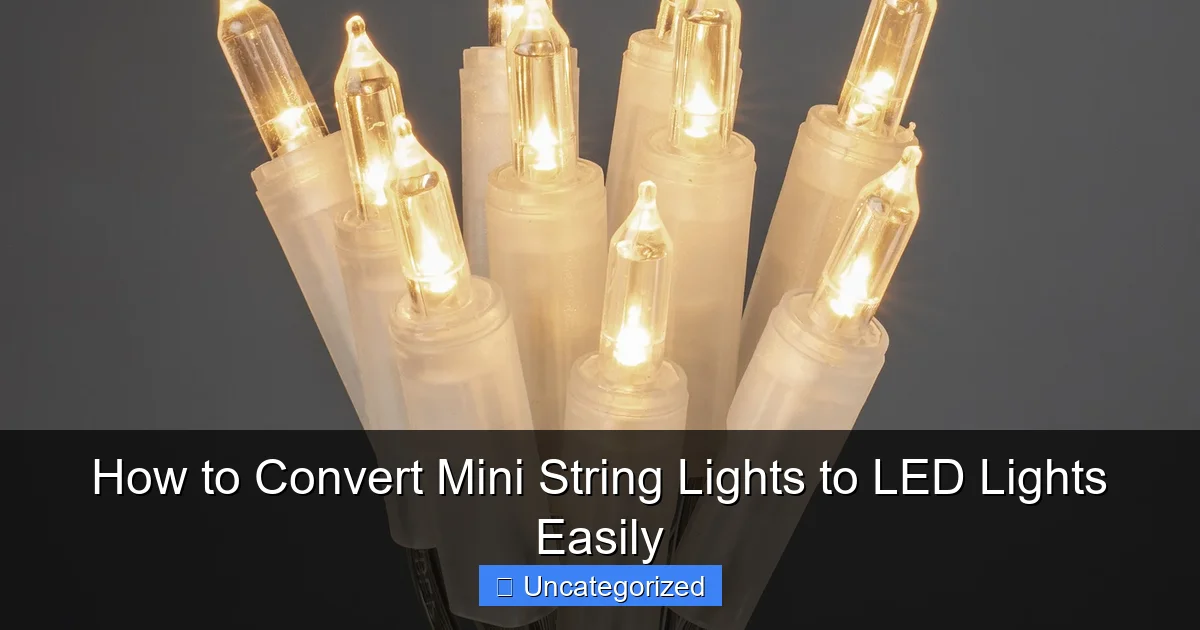
Featured image for how to convert mini string lights to led lights
Image source: lw-cdn.com
Converting mini string lights to LED is a simple, cost-effective upgrade that enhances brightness and energy efficiency. By replacing traditional bulbs with compatible LED bulbs or rewiring the strand with an LED-specific socket set, you can achieve longer-lasting, cooler, and more vibrant lighting—perfect for indoor or outdoor use. With basic tools and a few minutes, you’ll transform outdated lights into a modern, eco-friendly display.
“`html
How to Convert Mini String Lights to LED Lights Easily
Key Takeaways
- Unplug lights first: Always disconnect power before starting any conversion work.
- Match voltage ratings: Use LEDs with the same voltage as original bulbs.
- Test each LED: Verify functionality before sealing or installing replacements.
- Use compatible bases: Ensure new LEDs fit existing sockets or modify carefully.
- Seal connections: Waterproof solder joints or connectors for outdoor durability.
- Recycle old bulbs: Dispose of incandescent bulbs responsibly after removal.
Why This Matters / Understanding the Problem
Mini string lights are a holiday favorite, but traditional incandescent bulbs burn out fast, waste energy, and can get hot enough to pose a fire risk. If you’ve ever spent hours untangling lights only to find half the strand is dark, you know the frustration. That’s why learning how to convert mini string lights to LED lights easily is a game-changer.
LEDs last 25 times longer, use up to 80% less electricity, and stay cool to the touch. Plus, they’re available in warm white, cool white, multicolor, and even color-changing options. Converting your old strands isn’t just about saving money—it’s about safety, sustainability, and smarter home lighting.
Whether you’re prepping for Christmas, a wedding, or year-round patio decor, upgrading to LEDs means fewer replacements and more reliable glow. And the best part? You don’t need to be an electrician. With a few simple tools and our guide, you can transform your mini lights in under an hour.
Pro Tip: Start with one strand first. Once you’ve mastered the process, you can convert multiple sets without breaking a sweat.
What You Need
Before diving into how to convert mini string lights to LED lights easily, gather these tools and materials. Everything is affordable and available at hardware stores or online.
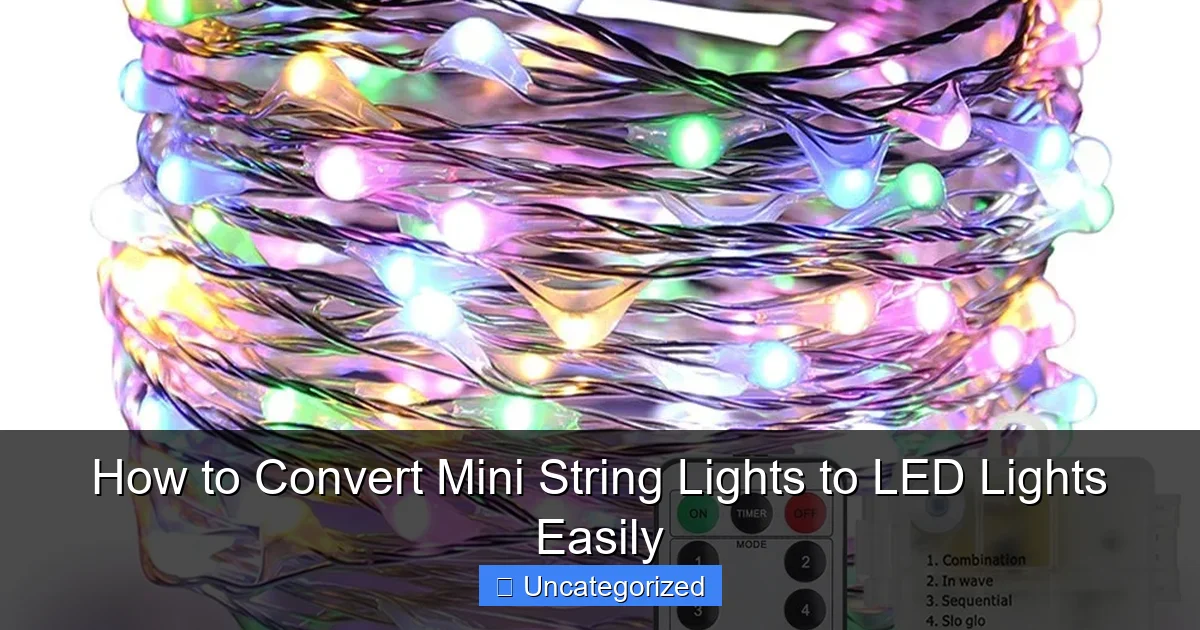
Visual guide about how to convert mini string lights to led lights
Image source: i5.walmartimages.com
- Mini string lights (incandescent): The ones you want to upgrade.
- LED mini light replacements: Buy the same bulb type (e.g., C7, C9, or mini M5) and voltage (usually 120V for indoor/outdoor use). Look for “plug-in” or “screw-in” LEDs.
- Needle-nose pliers: For gently removing old bulbs.
- Small flathead screwdriver: Helps release bulb sockets if needed.
- Multimeter (optional but recommended): To test continuity and voltage after conversion.
- Replacement fuses (usually 3A or 5A): LEDs draw less power, so old fuses may blow. Keep spares on hand.
- Heat shrink tubing or electrical tape: For securing loose wires (if you’re rewiring).
- Work gloves (optional): Protects hands from sharp edges.
Bonus: If your lights have a controller (for blinking or fading), check that your new LEDs are compatible. Most modern LED mini lights work with standard controllers, but always verify.
Step-by-Step Guide to How to Convert Mini String Lights to LED Lights Easily
Step 1: Test and Inspect Your Current String Lights
Before swapping bulbs, plug in your incandescent string lights and check which bulbs are working. Use the “bulb tester” method: unscrew a working bulb and see if others light up. If they do, the strand uses a parallel circuit. If they don’t, it’s a series circuit—common in older sets.
For how to convert mini string lights to LED lights easily, parallel circuits are ideal. They allow individual bulb replacement without affecting the rest. Series circuits are trickier (we’ll cover that in Step 4).
Also, inspect the plug, fuses, and sockets for damage. Replace any cracked sockets or frayed wires before installing LEDs.
Warning: Never work on lights while they’re plugged in. Unplug and wait 10 minutes for capacitors to discharge.
Step 2: Remove Old Incandescent Bulbs
Grab your needle-nose pliers. Gently grip the base of each incandescent bulb and twist counterclockwise. Don’t yank—some bases are plastic and can break.
If a bulb is stuck, use a small flathead screwdriver to gently pry the metal base from the socket. Work slowly to avoid damaging the socket housing.
As you remove bulbs, label them (e.g., “C7 – 120V”) or take a photo. This ensures you buy the correct LED replacements. Mismatched bulbs can cause flickering or burnouts.
Pro tip: Remove bulbs in batches of 5–10. This keeps track of what you’ve done and prevents socket confusion.
Step 3: Choose the Right LED Replacement Bulbs
Not all LEDs are created equal. Match these key specs:
- Bulb shape and size: C7 (small cone), C9 (larger cone), or mini M5 (bullet-shaped).
- Voltage: 120V for standard U.S. outlets.
- Base type: E12 (candelabra) or E17 (intermediate)—common in mini lights.
- Color temperature: 2700K (warm white) mimics incandescent; 4000K (cool white) is brighter.
- Flicker-free: Look for “flicker-free” or “constant current” LEDs to avoid annoying strobes.
Buy 5–10 extra bulbs. LEDs rarely fail, but it’s smart to have backups. Brands like GE, Feit Electric, and Christmas Designers offer reliable mini LEDs.
Example: If your old bulbs were C7 120V E12, search for “C7 LED 120V E12 warm white.”
Step 4: Install the LED Bulbs (Parallel vs. Series Circuits)
For parallel circuits (most common):
- Simply screw or plug each LED bulb into the empty socket.
- Hand-tighten only—over-tightening can crack the socket.
- Plug in the string and test. All LEDs should light up.
For series circuits (older sets):
These are trickier. If one bulb burns out, the whole strand goes dark. To convert:
- Replace all bulbs with LEDs. Don’t mix incandescent and LED.
- Use LEDs with built-in shunt resistors (check packaging). These let current bypass dead bulbs.
- If your LEDs don’t have shunts, you’ll need to add them. This requires soldering (see Step 5).
Test each bulb as you install. If one LED fails, the whole strand stays on—thanks to the shunt.
Pro Tip: Use colored LEDs for themed decor (e.g., red/green for Christmas, blue/white for Hanukkah). Mixing colors? Buy “color-changing” LEDs with a remote.
Step 5: Rewire (Only If Necessary)
Most conversions don’t need rewiring. But if your string has a damaged socket or you’re converting a series circuit without shunted LEDs, you’ll need to modify the wiring.
Here’s how:
- Cut the wire near the damaged socket or between two bulbs (use wire cutters).
- Strip 1/2 inch of insulation from both ends.
- Solder a shunt resistor (300–500 ohms, 1/4W) across the cut wires. This mimics a working bulb.
- Cover with heat shrink tubing or wrap with electrical tape.
- Reconnect the LED bulb to the socket.
Rewiring is optional but useful for vintage lights or custom projects. If you’re not comfortable with soldering, stick to parallel circuits or buy pre-shunted LEDs.
Step 6: Test Voltage and Fuses
LEDs draw less power, so your old fuse might blow. Here’s how to check:
- Plug in the lights and turn them on.
- If they flicker or go dark, open the plug (usually a small screw).
- Check the fuse. Replace it with a lower-rated fuse (e.g., 3A instead of 5A) if it’s blown.
- Use a multimeter to test voltage at the plug. It should read 110–125V.
Example: A 50-bulb incandescent string draws ~40 watts. The same LEDs draw ~4 watts. The fuse doesn’t need to handle the higher load anymore.
Pro tip: Label the plug with “LED Converted” and the new fuse rating. Future you will thank you.
Step 7: Secure and Weatherproof (For Outdoor Use)
If you’re using lights outdoors, take extra steps:
- Seal sockets with silicone caulk or heat shrink tubing.
- Use zip ties to secure the string to gutters, eaves, or trees. Avoid nails—they can cut wires.
- Elevate the plug off the ground to prevent water damage.
- Buy IP44-rated LEDs for moisture resistance.
LEDs last longer outdoors, but moisture and temperature swings can still shorten their life. A little protection goes a long way.
Step 8: Final Testing and Troubleshooting
After installation, do a full test:
- Plug in the string and leave it on for 1 hour.
- Check for flickering, dim bulbs, or dead spots.
- If a bulb fails, replace it. LEDs rarely fail, but cheap ones can.
- For blinking patterns, test with your controller. If it doesn’t work, try a “non-polarized” LED (works in any socket direction).
Common issue: LEDs don’t light up. Fix it by:
- Reversing the plug (some LEDs are polarized).
- Checking socket connections (wiggle the bulb).
- Testing the outlet with another device.
This final step ensures your conversion to LED lights is smooth and reliable.
Pro Tips & Common Mistakes to Avoid
Even simple projects have pitfalls. Here’s how to stay ahead:
- Don’t mix bulb types: Using LEDs with incandescent bulbs can cause overheating or flickering. Convert the whole strand.
- Avoid cheap LEDs: $20 for 100 bulbs? Too good to be true. Low-quality LEDs fail fast and may not be flicker-free.
- Check polarity: Some LEDs only work in one direction. If a bulb doesn’t light, flip it 180°.
- Don’t overtighten: Hand-tighten bulbs. Pliers can crack the socket.
- Label your strings: Use tags or colored tape to identify converted sets. No more guessing!
- Store properly: Wrap lights around a cardboard reel or use a storage bag. Prevents tangles and socket damage.
Warning: Never connect more than 3–4 LED strings end-to-end unless the manufacturer says it’s safe. Overloading can trip breakers or cause fires.
Pro tip: For vintage lights with sentimental value, consider partial conversion. Keep a few incandescent bulbs for nostalgia, but replace the rest with LEDs. Just use a LED-compatible fuse to prevent overheating.
FAQs About How to Convert Mini String Lights to LED Lights Easily
Q1: Can I convert any mini string lights to LEDs?
Most yes, but avoid very old sets (pre-1980s) with paper insulation or brittle wires. These may need full rewiring. Also, some novelty lights (e.g., animated snowmen) have custom circuits that don’t work with standard LEDs.
Q2: Why do my LEDs flicker or blink randomly?
This usually means you’re using LEDs without shunt resistors in a series circuit. Replace them with shunted LEDs or add resistors (see Step 5). Also, check for loose socket connections.
Q3: How much money will I save by converting?
A 50-bulb incandescent string uses ~40 watts/hour. At $0.12/kWh, that’s $0.0048/hour. LEDs use ~4 watts/hour, saving $0.0038/hour. For 100 hours/year, you save ~$0.38 per string. But the real savings come from not replacing bulbs—LEDs last 25,000+ hours vs. 1,000 for incandescent.
Q4: Can I use battery-powered LEDs instead?
Yes! Battery-powered mini LEDs are great for wreaths, centerpieces, or places without outlets. Just note: they’re not as bright as plug-in lights, and batteries need replacing.
Q5: Do I need to replace the plug or wiring?
Only if it’s damaged. LEDs work with standard plugs. But if you’re converting a series circuit, you may need to add shunt resistors (Step 5).
Q6: What if my controller doesn’t work with LEDs?
Try “non-polarized” LEDs. If that fails, buy a LED-compatible controller (available at hardware stores). Some controllers have a “LED mode” setting.
Q7: Are there safety risks?
Low risk if you follow steps. LEDs generate less heat, reducing fire risk. But always: unplug before working, use correct fuses, and avoid water exposure unless rated for outdoor use.
Final Thoughts
Learning how to convert mini string lights to LED lights easily isn’t just a DIY project—it’s a smart upgrade for your home. You’ll save money, reduce energy use, and enjoy brighter, safer lights for years.
Start small: pick one strand, follow our steps, and see the difference. Once you’ve mastered the process, convert your holiday decor, patio lights, or even indoor string lights for year-round glow.
Remember: the key to success is matching the right bulbs, testing as you go, and not rushing. Take your time, enjoy the process, and light up your life with LED brilliance.
Ready to start? Grab your tools, pick a strand, and give it a try. Your future self—and your electric bill—will thank you.
“`

