Featured image for how to diffuse light from bright led light string
Image source: partyfx.com
Diffusing bright LED light strings is effortless with simple materials like frosted tubing, parchment paper, or a light-diffusing sleeve to soften harsh glare and create a warm, ambient glow. Strategic placement—wrapping LEDs around translucent objects or inside decorative lanterns—also enhances diffusion while adding visual interest to your space. These quick, low-cost tricks transform dazzling LEDs into inviting, eye-friendly lighting.
“`html
How to Diffuse Light from Bright LED Light String Effortlessly
Key Takeaways
- Use frosted covers: Soften LED glare instantly with affordable, snap-on diffusers.
- Layer with fabric: Wrap sheer cloth around strings for a warm, even glow.
- Opt for matte finishes: Choose matte LED housings to reduce harsh reflections.
- Install light diffusers: Use plastic or acrylic tubes to evenly scatter brightness.
- Space lights strategically: Avoid clustering LEDs to minimize concentrated hotspots.
- Try DIY solutions: Use parchment paper or shower caps as quick diffusers.
Why This Matters / Understanding the Problem
Bright LED light strings are everywhere—holiday décor, wedding backdrops, mood lighting in bedrooms, and even in photography setups. While LEDs are energy-efficient and long-lasting, they often emit harsh, pinpoint beams that create glare, uneven shadows, or an overly clinical look. If you’ve ever snapped a photo under LED lights and seen unflattering hotspots or squinted at a string too close to your eyes, you know the frustration.
The solution? How to diffuse light from bright LED light string effortlessly—a simple yet transformative skill that turns sharp, dazzling lights into soft, ambient glows. Whether you’re decorating a space, shooting videos, or just want cozy lighting, diffusing light improves aesthetics, comfort, and functionality.
Diffusion works by scattering light across a larger surface, softening its intensity and eliminating harsh contrasts. This guide shows you exactly how to do it—no fancy tools, no guesswork. From DIY hacks to professional-grade techniques, you’ll learn how to diffuse light from bright LED light string effortlessly, no matter your budget or skill level.
What You Need
Before diving in, gather these tools and materials. Most are household items or affordable craft supplies. The key is choosing the right diffuser for your space and purpose.
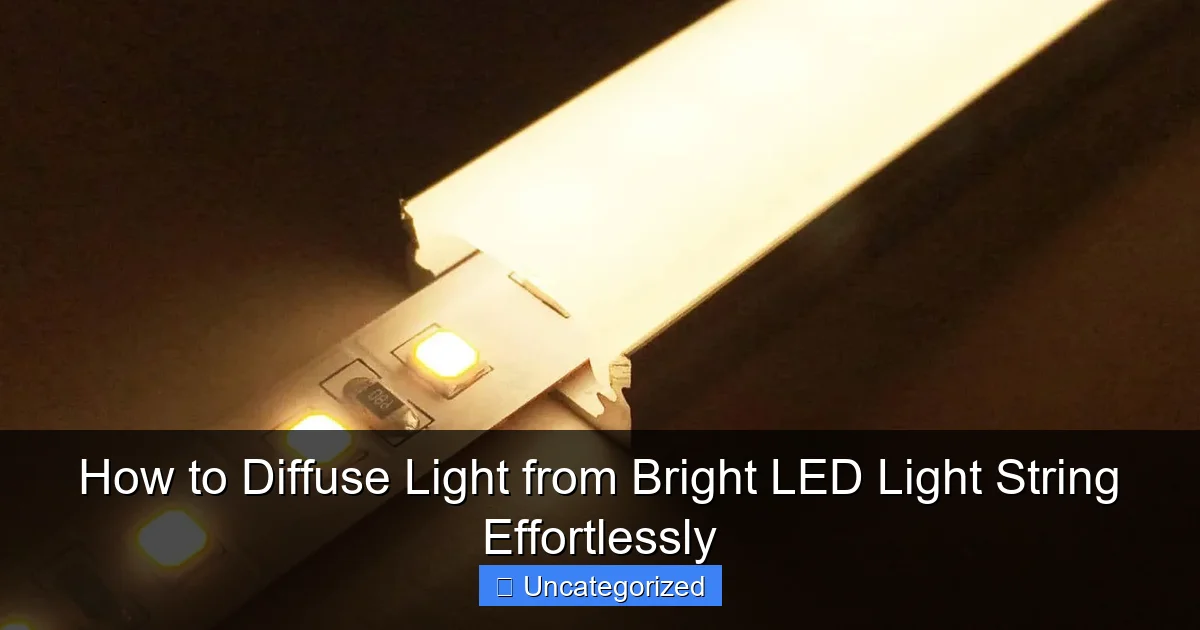
Visual guide about how to diffuse light from bright led light string
Image source: yeqiaotechnology.com
- LED light string (any color or brightness—white, warm white, RGB, etc.)
- Diffusion material (options below)
- Scissors or utility knife
- Measuring tape or ruler
- Adhesive or fasteners (tape, zip ties, glue, Velcro, or clips)
- Optional: Heat-resistant gloves (for working near hot bulbs, though LEDs stay cool)
- Optional: Spray bottle with water (for testing diffusion before permanent installation)
Diffusion Materials to Choose From:
- Frosted plastic sheeting (available at hardware stores)
- White tissue paper, parchment paper, or tracing paper
- White fabric (cotton, muslin, or tulle)
- Acrylic or polycarbonate tubes or sleeves
- Frosted glass or acrylic panels
- DIY diffusion spray (hairspray or clear matte spray on clear plastic)
- Recycled items: milk jugs, white plastic bottles, shower curtain liners
Choose based on your project: fabric for draping, plastic for wrapping, panels for framing. The goal is to pick a material that scatters light without blocking it entirely. Now, let’s get into the steps for how to diffuse light from bright LED light string effortlessly.
Step-by-Step Guide to How to Diffuse Light from Bright LED Light String Effortlessly
Step 1: Choose the Right Diffusion Method for Your Setup
Not all LED strings are the same. Some are bare bulbs on a wire, others are encased in plastic sleeves, and some are embedded in rope light. Your first step is to assess your light string type to pick the best diffusion approach.
- Bare-bulb strings: Wrap or enclose each bulb or the entire strand.
- Encased or rope lights: Use external covers, sleeves, or frames.
- Flat LED strips: Apply a diffusion layer directly over the strip.
For example, if you’re hanging lights behind a sheer curtain for a wedding backdrop, a fabric wrap or frosted acrylic panel works best. If you’re using a string of bare LEDs in a photo studio, individual bulb covers or a diffusion tube will give even, soft light. Matching your method to your setup ensures you learn how to diffuse light from bright LED light string effortlessly—without redoing the job.
Step 2: Measure and Cut Your Diffusion Material
Grab your measuring tape and determine how much diffusion material you need. For wrapping a 10-foot string, you’ll need at least 10 feet of material, plus extra for overlap and securing.
Cut the material slightly longer than the light string—about 1–2 inches extra on each end. This gives you room to fold, tie, or tape without leaving bare bulbs exposed. For example:
- For a fabric wrap, cut a strip 12 inches wide and 10.5 feet long (for a 10-foot string).
- For a plastic tube, cut a sleeve 11 feet long to allow for end caps.
- For panel diffusion, cut acrylic or frosted plastic to fit the frame or space.
Pro tip: If using paper or thin fabric, cut multiple layers. A single layer may not fully diffuse bright LEDs. Two to three layers of tissue paper can mimic professional diffusion gels.
Warning: Never use flammable materials like dry paper or untreated fabric directly touching hot bulbs—even LEDs generate some heat. Keep a 1-inch gap between material and bulbs if possible.
Step 3: Wrap or Enclose the LED String
Now comes the fun part: applying the diffusion. Here are three easy methods based on your material choice.
Method A: Fabric Wrap (Best for Draping or Curtains)
Lay the LED string flat on a table. Center it under the fabric strip. Fold one edge over the string, then the other, like wrapping a candy bar. Secure with:
- Clear tape every 6–8 inches
- Small zip ties (cut to size)
- Staples (if fabric is thick)
For a seamless look, use fusible webbing or fabric glue instead of tape. Hang the wrapped string with clips or hooks. The fabric will glow softly, eliminating harsh points.
Method B: Plastic Sleeve or Tube (Best for Rope Lights or Bare Wires)
Cut a length of frosted plastic sheeting (from a hardware store) or repurpose a clear plastic tube (like a PVC pipe slit lengthwise). Wrap it around the LED string so bulbs are fully enclosed.
- Secure with clear packing tape or zip ties every 12 inches.
- For tubes, use heat-shrink tubing on ends to prevent fraying.
This method is ideal for outdoor lights—plastic protects from moisture and diffuses light evenly.
Method C: Panel Diffusion (Best for Framed or Backlit Displays)
If your LEDs are mounted on a wall or inside a frame (like a photo backdrop), attach a frosted acrylic panel 2–3 inches in front of the string. Use:
- Small L-brackets and screws
- Double-sided foam tape
- Velcro strips for removable panels
The gap between the LEDs and panel ensures light spreads evenly before passing through, creating a smooth, studio-quality glow.
Step 4: Test and Adjust the Diffusion
Plug in the lights and step back 5–10 feet. Look for:
- Hotspots: Areas where light is still too bright (add another layer of material).
- Shadows: Dark spots where light is blocked (trim material or reposition LEDs).
- Color shift: If using colored LEDs, check if the diffuser alters the hue (frosted plastic may warm up cool white light).
Use a white paper test: Hold a white sheet of paper in front of the light. If you see individual bulb shapes, the diffusion is too thin. Add another layer or switch to a denser material.
For photography or video, test with your camera. Harsh LEDs create blown-out areas in photos. Soft diffusion ensures balanced exposure. This step is crucial to truly master how to diffuse light from bright LED light string effortlessly.
Step 5: Secure and Finalize the Installation
Once diffusion is working, secure everything for long-term use. Loose wraps can sag or fall, ruining the effect.
- For fabric wraps: Sew ends shut or use a hot glue gun to seal edges.
- For plastic sleeves: Tape or clamp ends to prevent unraveling.
- For panels: Add corner braces or silicone sealant to keep acrylic in place.
If hanging outdoors, use outdoor-rated tape and check for weather resistance. Frosted acrylic and plastic sleeves handle rain and UV light well. Fabric may need a waterproof spray or cover.
For indoor décor, consider aesthetics. Hide tape with ribbons, tuck zip ties behind the string, or use decorative clips. A polished finish makes your diffusion look intentional, not makeshift.
Step 6: Advanced: Layer Diffusion for Professional Results
Want ultra-soft light? Combine multiple diffusion techniques. This is common in film, photography, and high-end interior design.
- Double-layer fabric: Wrap the string in muslin, then drape a sheer tulle layer.
- Tube + panel: Enclose LEDs in a frosted plastic tube, then place a frosted acrylic panel 6 inches in front.
- Spray + wrap: Lightly spray clear plastic with matte hairspray (let dry), then wrap the string. The spray adds micro-scratches that scatter light.
Each layer softens light further, reducing brightness by 20–50% per layer. Use this for:
- Wedding centerpieces
- Portrait photography
- Meditation or yoga spaces
Just remember: more layers = less brightness. If your LEDs are already dim, limit to 1–2 layers to avoid a dark, muddy look.
Pro Tips & Common Mistakes to Avoid
Even simple tasks have pitfalls. Here’s how to avoid them and get the best results when learning how to diffuse light from bright LED light string effortlessly.
Pro Tip 1: Use a “Diffusion Distance”
For panel or frame diffusion, keep LEDs at least 2 inches from the diffuser. This gap lets light spread before hitting the material, preventing hotspots. Think of it like a flashlight—the farther the light travels, the softer it becomes.
Pro Tip 2: Match Material to LED Type
Warm white LEDs work best with white fabric or frosted plastic—they enhance the cozy glow. Cool white or RGB LEDs pair well with acrylic panels—they preserve color accuracy. Avoid yellowed or tinted materials that alter color.
Pro Tip 3: Test Before Committing
Try a 1-foot section first. Plug it in, check the diffusion, and make adjustments before wrapping the whole string. A quick test saves time and material.
Common Mistake 1: Using Clear Plastic
Clear plastic focuses light, making LEDs brighter and sharper—the opposite of diffusion. Always use frosted, matte, or textured materials. Even “clear” plastic with a matte spray works better.
Common Mistake 2: Over-Diffusing
Too many layers turn bright LEDs into dim, gray glows. If your lights look like a foggy night, remove a layer. Balance is key: soft, not shadowy.
Common Mistake 3: Ignoring Heat
While LEDs run cool, prolonged use can heat up plastic wraps. Avoid sealing LEDs in airtight, non-ventilated sleeves. Leave small gaps or use breathable fabric.
Bonus Tip: Reuse and Recycle
Old white T-shirts, shower curtain liners, or frosted gift bags make great diffusers. Save money and reduce waste while learning how to diffuse light from bright LED light string effortlessly.
FAQs About How to Diffuse Light from Bright LED Light String Effortlessly
Q1: Can I diffuse colored LED lights without changing the hue?
Yes, but material matters. Frosted white acrylic and white fabric preserve color best. Avoid yellowed plastic or dyed fabric, which tint the light. For RGB LEDs, use clear frosted plastic—it diffuses without color shift.
Q2: Is it safe to diffuse LED lights with tape or glue?
Generally yes. LEDs produce minimal heat, so low-temperature adhesives (tape, glue dots, fabric glue) are safe. Avoid hot glue near bulbs if the string is on for hours. For outdoor use, choose weather-resistant products.
Q3: How do I diffuse a long LED strip (like under cabinets)?
Use a diffusion channel. Buy aluminum LED channels with frosted covers (available online) or make one: attach a frosted acrylic panel 1 inch above the strip with L-brackets. The gap ensures even spread.
Q4: Will diffusing lights make them dimmer?
Yes, by 10–30% per layer. But it’s a trade-off for softness. If brightness is critical (e.g., task lighting), use higher-lumen LEDs before diffusing. Or limit to 1 layer of thin fabric or paper.
Q5: Can I diffuse battery-powered LED strings?
Absolutely! The process is the same. Just ensure the diffuser doesn’t block the battery pack or on/off switch. For small strings (like fairy lights), wrap in white tissue paper and secure with tape.
Q6: What’s the easiest, cheapest way to diffuse LEDs?
Use white tissue paper or parchment paper. Cut a strip, wrap the string, and tape it. For a quick fix, drape a white sheet or scarf in front. Both cost under $5 and work great for temporary setups.
Q7: How do I clean diffused LED lights?
Unplug first. For fabric, hand-wash or spot-clean. For plastic, wipe with a damp cloth and mild soap. Avoid abrasive cleaners that scratch frosted surfaces. Let dry completely before reuse.
Final Thoughts
Mastering how to diffuse light from bright LED light string effortlessly isn’t about expensive gear—it’s about smart, simple solutions. Whether you’re creating a romantic ambiance, filming a vlog, or just making your room cozier, diffusion transforms harsh LEDs into soft, inviting light.
Start with one method—wrap, sleeve, or panel—and test it. Adjust, layer, and refine until the light looks just right. Use household items, repurpose old materials, and don’t fear mistakes. Every trial teaches you something new.
Remember: the best diffusion is invisible. It doesn’t draw attention to itself—it enhances the space. So next time you plug in a bright LED string, ask: How can I make this glow softer? With these steps, the answer is always within reach.
Now, go ahead—grab your lights, pick a diffuser, and turn those harsh beams into beautiful, effortless ambiance. You’ve got this!
“`

