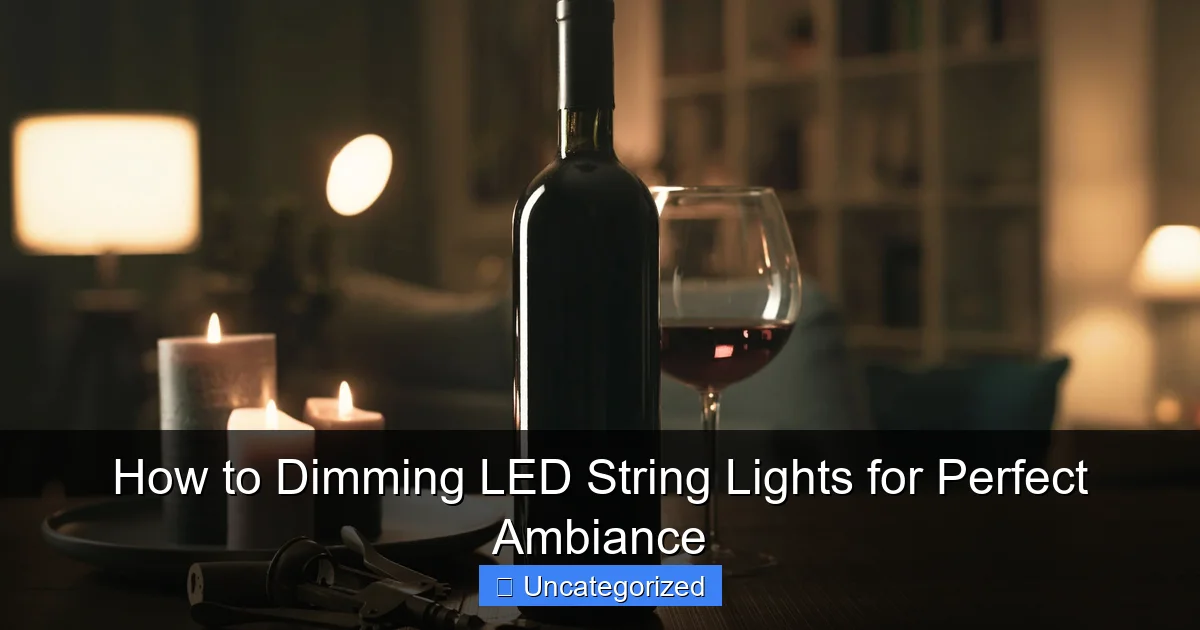
Featured image for how to dimming led string lights
Image source: lamphq.com
Dimming LED string lights is effortless with compatible dimmers or smart controls, allowing you to instantly adjust brightness for any mood or occasion. Always verify dimmer compatibility with your LED type—whether using in-line, plug-in, or smart dimmers—to avoid flickering and ensure smooth, energy-efficient performance.
How to Dimming LED String Lights for Perfect Ambiance
Key Takeaways
- Use a compatible dimmer: Ensure your dimmer switch works with LED lights to avoid flickering.
- Check voltage requirements: Match the dimmer’s voltage range to your LED string lights for safety.
- Start low and adjust: Begin at 50% brightness and fine-tune for ideal ambiance.
- Opt for smart dimmers: Control brightness remotely via apps or voice assistants for convenience.
- Avoid overloading circuits: Limit the number of connected lights to prevent dimmer damage.
- Test before finalizing: Verify smooth dimming performance before permanent installation.
Why This Matters / Understanding the Problem
Have you ever set up beautiful LED string lights only to realize they’re either too bright or too dim? Maybe they’re perfect during a summer barbecue but feel overwhelming during a cozy movie night. That’s where learning how to dimming LED string lights for perfect ambiance comes in.
Unlike traditional incandescent bulbs, LEDs don’t always play nice with regular dimmers. Using the wrong dimmer can cause flickering, buzzing, or even damage your lights. But don’t worry—once you know the right method, you can create the perfect mood for any occasion, from romantic dinners to holiday gatherings.
Whether you’re decorating your patio, bedroom, or living room, mastering how to dimming LED string lights for perfect ambiance gives you full control over your space. No more harsh glare or dull gloom—just soft, adjustable lighting that fits your vibe.
What You Need
Before you dive into the steps, gather these tools and materials. Having everything ready makes the process smoother and safer.
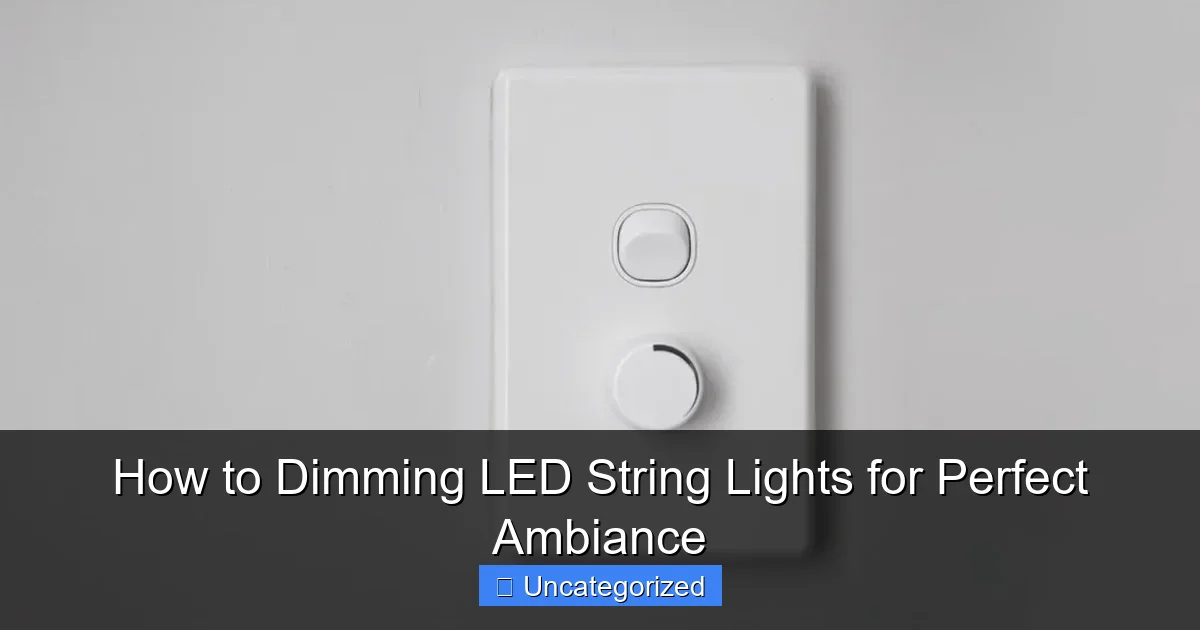
Visual guide about how to dimming led string lights
Image source: finnleyelectrical.com.au
- Compatible LED string lights (check if they’re dimmable—look for “dimmable” on the packaging or product description)
- LED-compatible dimmer switch (wall-mounted or plug-in, depending on your setup)
- Smart plug with dimming feature (optional, but great for tech lovers)
- Multimeter (for testing voltage, if troubleshooting)
- Electrical tape (for securing connections)
- Screwdriver set (for installing wall switches)
- Extension cord (if needed)—make sure it supports the wattage of your lights
- Timer or smart hub (optional)—for automating your dimming schedule
💡 Pro tip: Not all LED string lights are dimmable. Always check the manufacturer’s label or website. Using a dimmer on non-dimmable LEDs can shorten their lifespan or cause malfunctions.
Step-by-Step Guide to How to Dimming LED String Lights for Perfect Ambiance
Now that you’re equipped, let’s walk through the process. We’ll cover three main scenarios: using a wall dimmer, a plug-in dimmer, and smart controls. Pick the one that matches your setup.
Step 1: Identify Your LED String Light Type
Not all LED string lights are created equal. Some are designed for outdoor use, others for indoor decoration. More importantly, you need to confirm if they’re dimmable.
Look at the product label or box. If it says “dimmable,” “compatible with TRIAC dimmers,” or “for use with LED dimmers,” you’re good to go. If it’s silent on dimming, assume it’s not dimmable.
For example, a set of 100 warm white fairy lights from a reputable brand like Philips or GE often includes this info. If you bought them from Amazon, check the product Q&A section—someone else has likely asked the same question.
Warning: Never use a standard incandescent dimmer with LED string lights unless the manufacturer explicitly states compatibility. Mismatched dimmers cause flickering, buzzing, or premature burnout.
Step 2: Choose the Right Dimming Method
There are three primary ways to achieve how to dimming LED string lights for perfect ambiance: wall dimmers, plug-in dimmers, and smart systems. Each has pros and cons.
- Wall dimmer: Best for permanent installations (e.g., patio lights, permanent holiday decor). Offers the smoothest control but requires wiring.
- Plug-in dimmer: Ideal for renters or temporary setups. Just plug it into the outlet, then plug your lights into the dimmer. Easy to move around.
- Smart dimmer: Great for automation. Use apps, voice commands (Alexa, Google Assistant), or schedules to adjust brightness. Works with smart plugs or hubs.
Let’s say you’re setting up string lights over your dining table. A plug-in dimmer is perfect—no drilling, no rewiring. But if you’re installing permanent outdoor lights around your gazebo, a wall dimmer gives you more control.
Step 3: Install a Wall Dimmer (For Permanent Setups)
If you’re going the wall-mounted route, follow these steps carefully. Safety first!
- Turn off the power at the circuit breaker. Use a non-contact voltage tester to confirm no electricity is flowing to the switch.
- Remove the old switch cover and switch using a screwdriver. Carefully pull the wires out of the electrical box.
- Check the wires: You should see a black (hot), white (neutral), and ground (bare copper or green). Some setups may have a red traveler wire (for 3-way switches).
- Connect the new LED-compatible dimmer: Match the wires:
- Black dimmer wire → black (hot) wire
- Green or bare dimmer wire → ground
- White dimmer wire → white (neutral)
Use wire nuts to secure connections. Wrap with electrical tape for extra safety.
- Push the wires back into the box and secure the dimmer with screws.
- Attach the faceplate and turn the power back on.
- Test the dimmer by plugging in your LED string lights and adjusting the slider.
💡 Real-life example: Sarah from Portland installed a Lutron Maestro LED dimmer in her kitchen. She noticed her string lights flickered at low levels. She realized her lights were rated for 10W, but the dimmer’s minimum load was 15W. She added a second strand—problem solved!
Step 4: Use a Plug-In Dimmer (For Renters & Temporary Setups)
This is the easiest and safest option for most people. No tools, no wiring—just plug and play.
- Buy a plug-in LED dimmer from a trusted brand (e.g., Lutron, Leviton, or Feit Electric). Make sure it supports the wattage of your lights.
- Plug the dimmer into the wall outlet.
- Plug your LED string lights into the dimmer.
- Turn on the lights and use the dial or slider to adjust brightness.
Most plug-in dimmers have a rotary knob or touch slider. Start at 50% and adjust up or down until you find the sweet spot.
Pro tip: If your dimmer has a “minimum” setting, don’t leave the lights on at that level for hours. Some dimmers can overheat when running at very low loads.
For instance, Mark used a Feit Electric plug-in dimmer with his bedroom fairy lights. He set it to 30% for bedtime reading—perfectly cozy, no eye strain.
Step 5: Set Up Smart Dimming (For Tech-Savvy Users)
Want to dim your lights with your voice or phone? Smart dimming is the way to go.
- Choose a smart dimmer or smart plug with dimming support. Options include:
- Philips Hue Dimmer Switch (works with Hue bulbs)
- TP-Link Kasa Smart Wi-Fi Dimmer Switch
- Smart plug with dimming (e.g., Meross, Gosund)
- Install the device:
- For wall dimmers: Follow wiring steps (like Step 3), but use the app to pair with Wi-Fi.
- For smart plugs: Plug into outlet, connect to Wi-Fi via app, then plug in your lights.
- Use the app to create scenes. For example:
- “Dinner Mode” = 40% brightness
- “Movie Night” = 20% brightness
- “Morning Wake-Up” = gradually increase from 10% to 60% over 10 minutes
- Link to voice assistants. Say, “Alexa, dim the string lights to 25%,” and it’s done.
💡 Example: The Chen family uses a Kasa smart plug for their Christmas lights. They set a schedule: lights turn on at 5 PM at 70%, dim to 30% at 8 PM, and turn off at 10 PM. Saves energy and keeps the mood right.
Step 6: Test and Troubleshoot
After setup, test your lights thoroughly. Here’s what to look for:
- Flickering: Could mean incompatible dimmer, too low load, or loose connection.
- Buzzing or humming: Common with magnetic dimmers on LED loads. Switch to an electronic (TRIAC) dimmer.
- Not dimming at all: Check if the lights are plugged in, the dimmer is turned on, and the circuit isn’t overloaded.
- Overheating: Unplug immediately. Could be a faulty dimmer or too many lights on one circuit.
Use a multimeter to check voltage at the outlet if you suspect a wiring issue. Normal household voltage is 110–120V.
Warning: Never daisy-chain multiple dimmers. Each dimmer should control only one set of lights. Overloading can damage equipment or create fire hazards.
Step 7: Optimize for Ambiance
Now that your lights are dimmable, it’s time to create the perfect ambiance. Here’s how:
- Layer your lighting: Combine dimmed string lights with floor lamps or candles. Avoid relying on one source.
- Use color temperature wisely: Warm white (2700K–3000K) feels cozy. Cool white (4000K+) is better for task areas.
- Adjust brightness by activity:
- Entertaining: 50–70%
- Relaxing: 20–40%
- Reading: 60–80%
- Add motion sensors or timers: Automate dimming based on time of day or occupancy.
For example, during a backyard party, dim the lights to 60% for dinner, then drop to 30% for dancing under the stars. Instant mood shift!
Pro Tips & Common Mistakes to Avoid
Even with the right tools, things can go wrong. Here are expert insights to help you nail how to dimming LED string lights for perfect ambiance every time.
Pro Tip 1: Match dimmer load to your lights. Most LED dimmers need a minimum load (usually 10–15W). If your string lights are under that, add a dummy load or use a “low-load” dimmer.
For example, a 5W fairy light strand won’t work with a standard dimmer. Use a Lutron Diva CL or Leviton Decora Digital—both support loads as low as 1W.
Pro Tip 2: Use a phase-cut dimmer (TRIAC or ELV) for LEDs. Avoid magnetic (MLV) dimmers—they’re for transformers, not LEDs.
Electronic Low Voltage (ELV) dimmers are the gold standard for LED compatibility. They’re more expensive but worth it for smooth, quiet dimming.
Common Mistake 1: Buying a “universal” dimmer. These often don’t work well with LEDs. Always check the LED compatibility list from the dimmer manufacturer.
For example, Lutron provides a list of compatible LED products on their website. Match your lights to the dimmer model before installing.
Common Mistake 2: Overloading the circuit. A 15-amp circuit can handle about 1,440 watts (120V × 12A). If you’re running 10 strands of 10W lights (100W total), you’re fine. But add a space heater, and you risk tripping the breaker.
Use a circuit load calculator app to check your total wattage.
Pro Tip 3: For outdoor string lights, use weatherproof dimmers and enclosures. Indoor dimmers can fail in damp conditions.
Install a covered outlet box or use a GFCI-protected circuit for safety.
Common Mistake 3: Ignoring flicker at low levels. Some LEDs flicker below 30% brightness due to driver design. If it bothers you, switch to a different brand or use a higher minimum brightness.
Brands like Nanoleaf and Philips Hue are known for smooth dimming across all levels.
FAQs About How to Dimming LED String Lights for Perfect Ambiance
Let’s answer the most common questions about how to dimming LED string lights for perfect ambiance.
Q1: Can I use a regular dimmer with LED string lights?
No, not reliably. Standard dimmers (designed for incandescent bulbs) often cause flickering, buzzing, or damage to LEDs. Always use an LED-compatible dimmer. Look for labels like “for use with LEDs” or “TRIAC dimmer.”
For example, a Lutron Toggler CL dimmer is specifically engineered for LEDs and handles low loads better than older models.
Q2: Why do my LED string lights flicker when dimmed?
Flickering usually happens due to:
- Incompatible dimmer (most common)
- Too low load (under minimum wattage)
- Loose wiring or poor connection
- Low-quality LED driver in the lights
Try replacing the dimmer first. If the problem persists, check connections and consider upgrading your lights.
Q3: Can I dim battery-powered LED string lights?
Generally, no. Battery-powered lights use DC voltage, and standard dimmers are AC. However, some brands (like Luminoodle) offer built-in dimming via a switch or app. Look for “dimmable” in the product description.
For true dimming control, consider switching to plug-in or hardwired lights.
Q4: Do I need a special outlet for a plug-in dimmer?
No. Plug-in dimmers work with standard 120V outlets. Just ensure the outlet is grounded and not overloaded. Avoid using dimmers on outlets shared with high-wattage appliances (e.g., microwaves, space heaters).
Use a power strip with surge protection if you’re connecting multiple devices.
Q5: How do I dim multiple strands of LED lights?
Two options:
- Use a single dimmer with high load capacity. Check the dimmer’s maximum wattage (e.g., 300W). Add up the wattage of all lights—stay under 80% of max for safety.
- Use multiple dimmers on separate circuits. Ideal for large spaces (e.g., backyard, event venue). Prevents overloads and allows zone control.
For example, dim one strand over the dining table and another on the porch independently.
Q6: Are smart dimmers worth the extra cost?
Yes, if you value convenience and automation. Smart dimmers let you:
- Control lights remotely
- Set schedules and scenes
- Integrate with voice assistants
- Monitor energy use
For $25–$50, a smart plug or dimmer pays off in comfort and energy savings. Great for holiday lights, bedrooms, and patios.
Q7: Can I use a dimmer with solar-powered LED string lights?
Only if the lights have an AC/DC adapter. Pure solar lights (with built-in battery and no outlet) can’t be dimmed with a standard dimmer. However, some solar lights have a “dim” setting on the control box—use that instead.
For full control, switch to plug-in solar lights with a dimmable transformer.
Final Thoughts
Mastering how to dimming LED string lights for perfect ambiance isn’t just about convenience—it’s about transforming your space. Whether you’re hosting a dinner party, winding down after work, or celebrating a holiday, the right lighting sets the tone.
Remember: Start with dimmable LED lights, choose the right dimmer (wall, plug-in, or smart), and test for compatibility. Avoid common pitfalls like flickering or overloading, and use the pro tips to fine-tune your setup.
You don’t need to be an electrician. With a few tools and this guide, anyone can create a warm, inviting atmosphere. So grab your string lights, pick a dimmer, and start experimenting. Your perfect ambiance is just a dim away.
Actionable next step: Check your current string lights. Are they dimmable? If yes, pick a dimmer from this guide and try it tonight. If not, consider upgrading to dimmable LEDs—your eyes (and your guests) will thank you.

