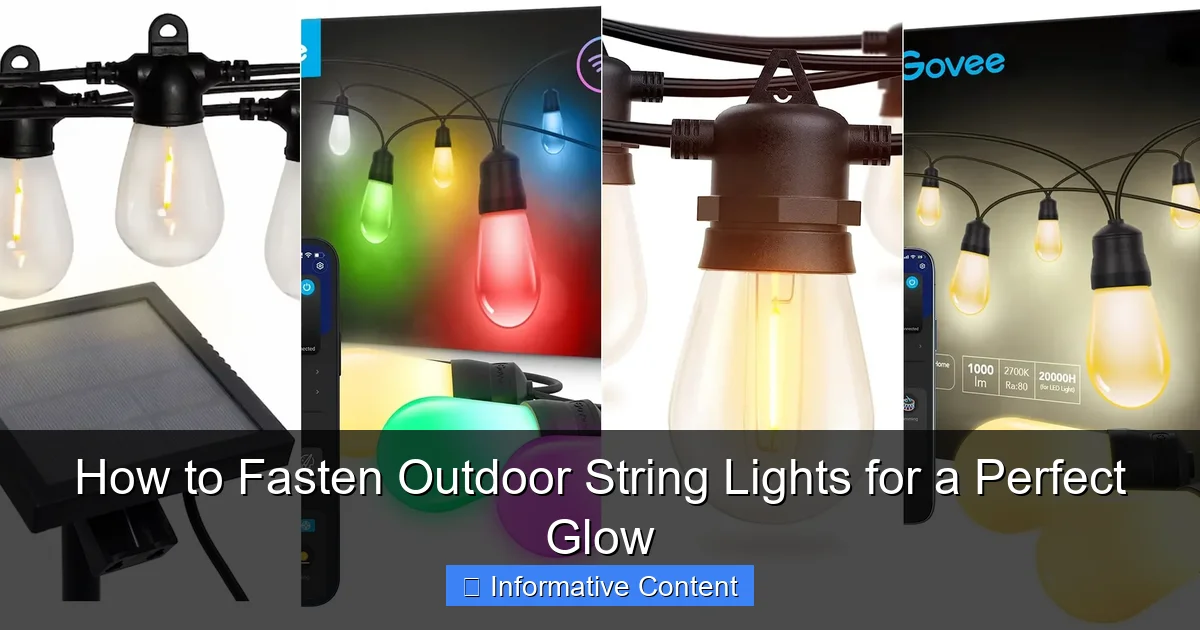
Featured image for how to fasten outdoor string lights
Image source: popsci.com
Secure outdoor string lights with durable, weather-resistant hardware like stainless steel hooks, zip ties, or specialized light clips to ensure a safe, long-lasting glow. Plan spacing and tension carefully to avoid sagging and maintain a professional, even illumination across patios, fences, or trees. With the right tools and a thoughtful layout, you’ll achieve a stunning, reliable ambiance all season long.
Key Takeaways
- Plan spacing first: Measure and mark light positions before installation.
- Use sturdy anchors: Secure lights to walls, fences, or poles for stability.
- Choose weatherproof clips: Prevent damage with UV- and rust-resistant fasteners.
- Maintain even tension: Avoid sagging by tightening lines between anchor points.
- Test before finalizing: Check light glow and adjust placement as needed.
- Protect wires: Route cords away from high-traffic areas to prevent tripping.
- Go wireless: Use solar-powered lights for easier, wire-free installation.
📑 Table of Contents
How to Fasten Outdoor String Lights for a Perfect Glow
There’s something magical about stepping into a backyard lit by the soft, warm glow of outdoor string lights. Whether it’s a summer barbecue, a quiet evening with a book, or a romantic dinner under the stars, these lights instantly transform any space into a cozy, inviting retreat. I still remember the first time I strung up lights in my backyard—I was so excited to see the result, only to realize halfway through that I had no idea how to keep them from sagging or falling. After a few frustrating attempts and a minor (but memorable) ladder mishap, I learned that fastening outdoor string lights isn’t just about aesthetics—it’s about safety, durability, and creating the perfect ambiance.
If you’ve ever struggled with lights that droop, tangle, or come loose after a windy night, you’re not alone. The good news? With the right tools, techniques, and a little planning, you can create a beautifully lit outdoor space that lasts all season—and beyond. In this guide, I’ll walk you through everything you need to know about how to fasten outdoor string lights, from choosing the right mounting method to avoiding common pitfalls. Whether you’re lighting up a pergola, a fence, or an open yard, these tips will help you achieve that perfect, even glow you’ve been dreaming of.
1. Assess Your Space and Lighting Goals
Before you grab a hammer or start drilling holes, take a step back and really look at your outdoor area. Where do you want the lights? How much coverage do you need? And what kind of mood are you going for? These questions will guide every decision you make—from the type of lights to the fastening method.
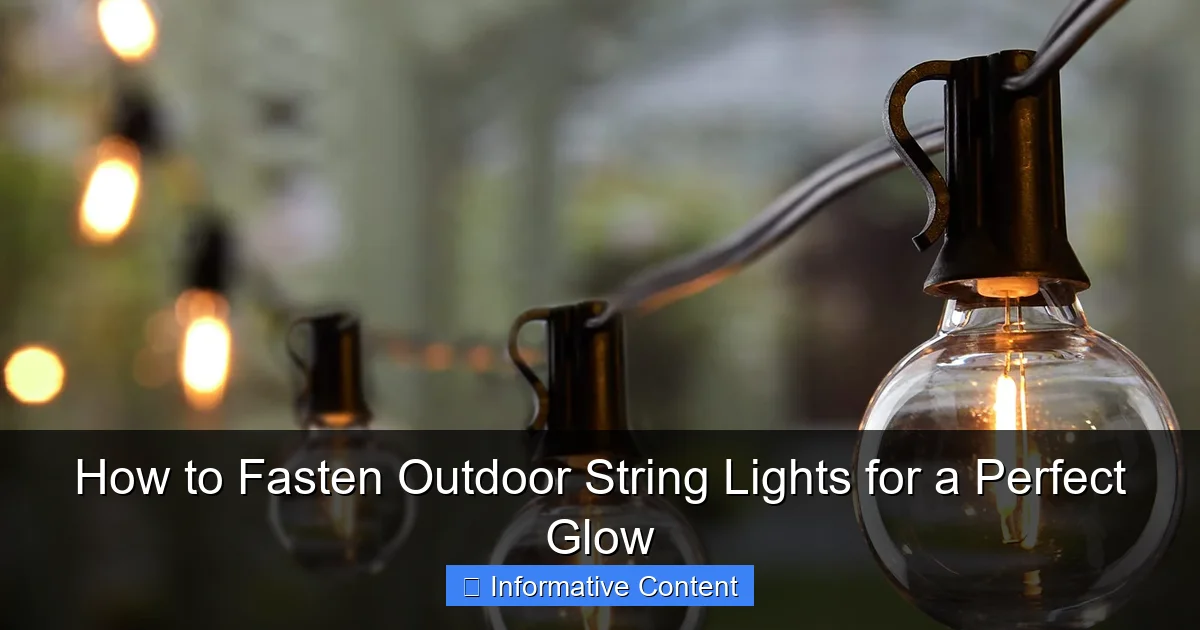
Visual guide about how to fasten outdoor string lights
Image source: m.media-amazon.com
Define Your Lighting Zones
Start by dividing your outdoor space into zones. For example:
- Dining area: Lights above a table or seating nook for intimate gatherings.
- Entertainment zone: A larger canopy or overhead grid for parties and events.
- Pathway or border lighting: Lights along a walkway, fence, or garden edge for safety and style.
- Accent lighting: Lights draped on trees, railings, or architectural features for visual interest.
Each zone may require a different fastening approach. For instance, lights over a dining table need to be taut and level, while pathway lights can follow a more organic, meandering path.
Measure and Plan the Layout
Grab a measuring tape and note the distances between your mounting points. This will help you:
- Determine how many strands of lights you’ll need.
- Calculate the total weight the fasteners must support (especially important for heavier LED or Edison-style bulbs).
- Avoid over-stretching the cord, which can damage the wiring and create fire hazards.
Pro tip: Add 10–15% extra length to your measurements. It’s always better to have a little slack than to come up short—literally.
Consider Power Access and Cord Management
Outdoor string lights need power, so plan where your outlets are. Extension cords are okay in a pinch, but for a permanent setup, consider:
- Weatherproof outdoor outlets (GFCI-protected).
- Using a timer or smart plug to automate lighting times.
- Hiding cords with cord covers or running them along beams or under eaves.
Nothing ruins the ambiance like a tangled mess of cords. A little foresight goes a long way.
2. Choose the Right Fastening Method
How you fasten your lights depends on your surface, the type of lights, and how permanent you want the setup to be. There’s no one-size-fits-all solution, but here are the most reliable methods—each with its pros and cons.
Eye Screws and Hooks (Best for Wooden Surfaces)
If you have a pergola, deck railing, or wooden fence, eye screws are a classic choice. They’re sturdy, easy to install, and blend in well.
- How to install: Use a drill to pre-drill pilot holes, then screw in the eye hooks. Space them 2–3 feet apart depending on the weight of the lights.
- Best for: Permanent or semi-permanent setups. Works great with heavier bulbs.
- Tip: Use stainless steel or galvanized eye screws to resist rust. Avoid cheap zinc-coated ones—they’ll corrode in a season.
Personal experience: I used eye screws on my cedar pergola, and after three summers, they still look new. Just make sure the screws are long enough to anchor into solid wood—not just the surface layer.
Adhesive Hooks and Clips (Ideal for Temporary or Renters)
For renters or those who don’t want to drill holes, outdoor-rated adhesive hooks are a game-changer. Brands like 3M Command offer weather-resistant options that hold up surprisingly well.
- How to use: Clean the surface, press the hook firmly for 30 seconds, and wait 24 hours before hanging lights.
- Best for: Smooth, non-porous surfaces like stucco, metal, or painted wood.
- Limitation: May not hold heavy strands (over 5 lbs) or survive extreme heat or cold.
Tip: Test one hook first. I once used adhesive clips on a metal railing, and they held fine—until a summer heatwave softened the adhesive. Now I use them only for lightweight fairy lights.
Zip Ties and Cable Clips (Quick and Versatile)
Zip ties (also called cable ties) are great for wrapping lights around poles, railings, or tree branches. Pair them with outdoor-rated cable clips for a cleaner look.
- How to use: Wrap the tie around the support, thread the light cord through the loop, and pull tight. Trim excess.
- Best for: Temporary setups, wrapping around round surfaces, or when you want minimal visual impact.
- Caution: Don’t overtighten—zip ties can damage light cords over time. Use UV-resistant ties to prevent brittleness.
Stakes and Ground Anchors (For Open Yards)
If you don’t have structures to attach to, ground stakes or light poles can create vertical mounting points.
- How to install: Drive stakes into the ground using a mallet. Attach eye hooks or clips to the top.
- Best for: Open patios, gardens, or large yards without overhead structures.
- Tip: Use stakes with a wider base for better wind resistance. I use 36-inch galvanized steel stakes—they’ve survived 50 mph gusts.
Clothesline System (For Long, Straight Runs)
For a clean, industrial look, install a stainless steel cable between two points and hang lights from it using S-hooks or carabiners.
- How to set up: Anchor turnbuckles at both ends, run the cable, and tension it with a wrench.
- Best for: Long spans (20+ feet) over patios or driveways.
- Bonus: You can hang other decorations (lanterns, wind chimes) from the same line.
3. Install the Fasteners Correctly
Now that you’ve chosen your method, it’s time to install the fasteners. This step is crucial—poor installation can lead to sagging, broken lights, or even safety hazards.
Pre-Drill Pilot Holes (For Eye Screws)
Never just screw eye hooks into wood without pre-drilling. It can split the wood, especially in older or dry beams.
- Use a drill bit slightly smaller than the screw’s shaft.
- Drill to a depth of about 1 inch less than the screw length.
- Wipe away sawdust before inserting the screw.
Pro tip: Angle the screw slightly downward (10–15 degrees) to help shed water and prevent pooling.
Use a Level and Measuring Tape
Uneven mounting points = sagging lights. Use a 4-foot level to ensure your fasteners are aligned.
- Mark each point with a pencil before drilling.
- For long runs, stretch a string between the first and last point to guide placement.
I once skipped this step and ended up with a “rollercoaster” effect—my lights dipped in the middle. A level would’ve saved me the redo.
Secure Adhesive Hooks Properly
Adhesive hooks fail when:
- The surface is dusty, greasy, or wet.
- You rush the 24-hour curing time.
- You hang too much weight.
<
Clean the surface with rubbing alcohol, press firmly, and wait. If you’re in a hurry, use a hair dryer on low to warm the adhesive (just don’t melt it).
Test Fasteners Before Hanging Lights
Give each fastener a firm tug. It should feel solid. If it wiggles, reinforce it with a longer screw or a second hook.
Bonus tip: For extra security, add a second fastener a few inches below the main one. This creates a “safety loop” in case the top one fails.
4. Hang the Lights with Proper Tension
Now comes the fun part—hanging the lights! But don’t just drape them and hope for the best. Proper tension ensures an even glow and prevents damage.
Start at the Power Source
Always begin hanging from the end closest to the outlet. This way, if you need to add an extension cord, you can do it at the end without pulling the whole strand.
Use the “Sag and Tension” Method
Outdoor string lights need a little sag (about 1–2 inches per 3 feet) to:
- Absorb wind movement.
- Prevent over-tightening, which can damage sockets.
- Create a soft, natural drape.
How to do it: Hang the first bulb at the first fastener, then let the strand hang loosely. Pull it gently toward the next fastener, leaving a slight dip. Secure it, then repeat.
Connect Multiple Strands Safely
If you need more than one strand:
- Check the manufacturer’s max connection limit (usually 2–3 strands).
- Use outdoor-rated extension cords with built-in strain relief.
- Never daisy-chain more than the recommended number—it can overload the circuit.
I once connected four strands to light up my entire patio. The lights flickered, and the breaker tripped. Lesson learned: read the fine print.
Secure the Cord, Not Just the Bulbs
Don’t rely on the bulbs to hold the weight. The cord itself should be attached at each fastener.
- For eye screws: Loop the cord through the eye, then secure with a zip tie or knot.
- For adhesive hooks: Use the hook to hold the cord, not the bulb.
5. Maintain and Protect Your Lights
Even the best setup needs upkeep. A little maintenance keeps your lights shining bright—and safe.
Inspect Before Each Season
Before turning on your lights each year, check for:
- Frayed cords or cracked insulation.
- Loose or corroded fasteners.
- Burnt-out bulbs or flickering sockets.
Replace damaged parts immediately. A single frayed wire can be a fire hazard.
Clean Bulbs and Cords
Over time, dust, pollen, and bird droppings can dim the glow. Gently wipe bulbs with a dry cloth or a soft brush.
- For stubborn grime, use a damp cloth with mild soap—never submerge the cord.
- Let everything dry completely before turning on.
Store Lights Properly Off-Season
If you take your lights down in winter:
- Coil them loosely in a figure-eight pattern to prevent tangling.
- Store in a cool, dry place—avoid attics or garages with temperature swings.
- Use a storage bag or box to protect from dust and pests.
I keep mine in a breathable fabric bag labeled “Outdoor Lights” in my basement. No more tangled mess every spring.
Protect from the Elements
Even “weatherproof” lights aren’t immune to extreme conditions.
- Use waterproof covers for outlets and connectors.
- For coastal areas, choose corrosion-resistant fixtures.
- During storms, turn off and unplug lights to prevent surges.
6. Troubleshooting Common Problems
Even with careful planning, issues can arise. Here’s how to fix them fast.
Sagging Lights
Cause: Too much distance between fasteners, or lights hung too tightly.
Fix: Add a center support (like a temporary pole or extra hook) or rehang with more sag.
Flickering or Dim Lights
Cause: Loose connections, damaged cords, or too many strands connected.
Fix: Disconnect and test one strand at a time. Tighten connections, replace damaged parts, and reduce the number of connected strands.
Fasteners Pulling Out
Cause: Weak anchors, poor installation, or heavy lights.
Fix: Use longer screws, switch to a sturdier fastener (like a toggle bolt for drywall), or reduce the number of bulbs per section.
Adhesive Hooks Falling Off
Cause: Poor surface prep, extreme temps, or too much weight.
Fix: Remove, clean the surface, wait 24 hours, and reapply. For heavy lights, switch to screws or stakes.
Wind Damage
Cause: Lights flapping in the wind, stressing cords and sockets.
Fix: Use a tighter sag pattern, add more fasteners, or install a windbreak (like a sheer curtain or lattice).
| Fastening Method | Best For | Weight Limit | Installation Time | Durability |
|---|---|---|---|---|
| Eye Screws | Wooden structures, pergolas | 10–15 lbs per screw | 10–15 mins per screw | 5+ years (with proper care) |
| Adhesive Hooks | Smooth surfaces, renters | 3–5 lbs per hook | 5 mins per hook | 1–3 years (varies by weather) |
| Zip Ties | Railings, trees, poles | 5–8 lbs per tie | 2 mins per tie | 1–2 years (UV-resistant) |
| Ground Stakes | Open yards, gardens | 15–20 lbs per stake | 5–10 mins per stake | 5+ years (galvanized steel) |
| Stainless Steel Cable | Long spans, modern look | 30+ lbs total | 30–60 mins | 10+ years |
Fastening outdoor string lights isn’t just about hanging them and calling it a day. It’s about creating a safe, beautiful, and lasting atmosphere that enhances your outdoor space. Whether you’re going for a rustic, romantic, or modern look, the right method makes all the difference.
Remember: start with a plan, choose the best fasteners for your space, install them carefully, and maintain them regularly. Don’t be afraid to experiment—try a mix of methods, like adhesive hooks for the dining area and eye screws for the pergola. And if something doesn’t work? That’s okay. Even the best of us have had a light strand come crashing down in a gust of wind. The key is to learn, adapt, and keep glowing.
Now, step outside, flip the switch, and enjoy that perfect, golden glow. You’ve earned it.
Frequently Asked Questions
How do I securely fasten outdoor string lights without damaging my house?
Use removable hooks, adhesive clips, or tension rods designed for outdoor use to avoid drilling holes. These methods provide a sturdy hold while protecting siding, gutters, or stucco surfaces. Always check weight limits to ensure safety.
What’s the best way to hang string lights on a patio or deck?
Anchor lights to existing structures like railings, pergolas, or poles using zip ties, carabiners, or eye screws. For open areas, install temporary poles or shepherd’s hooks to create a stable framework for your outdoor string lights.
Can I fasten outdoor string lights to trees without harming them?
Yes! Use flexible rubber-coated wire or nylon rope to loosely loop around branches or trunks. Avoid nails or tight cables, as these can damage bark and restrict growth over time.
How to fasten outdoor string lights on a sloped or uneven yard?
Adjustable tension cables or zip ties work well for uneven terrain. Install stakes or ground hooks at varying heights to maintain even spacing and prevent sagging.
Are there weatherproof clips for securing string lights to eaves or gutters?
Absolutely. Look for UV-resistant gutter clips or magnetic hooks rated for outdoor use. These clips grip metal gutters securely and won’t degrade in rain or sunlight.
How far apart should I space fasteners for outdoor string lights?
Place fasteners every 2–3 feet for standard bulbs or 4–5 feet for heavier commercial-grade lights. Closer spacing prevents sagging and ensures a polished, professional look.

