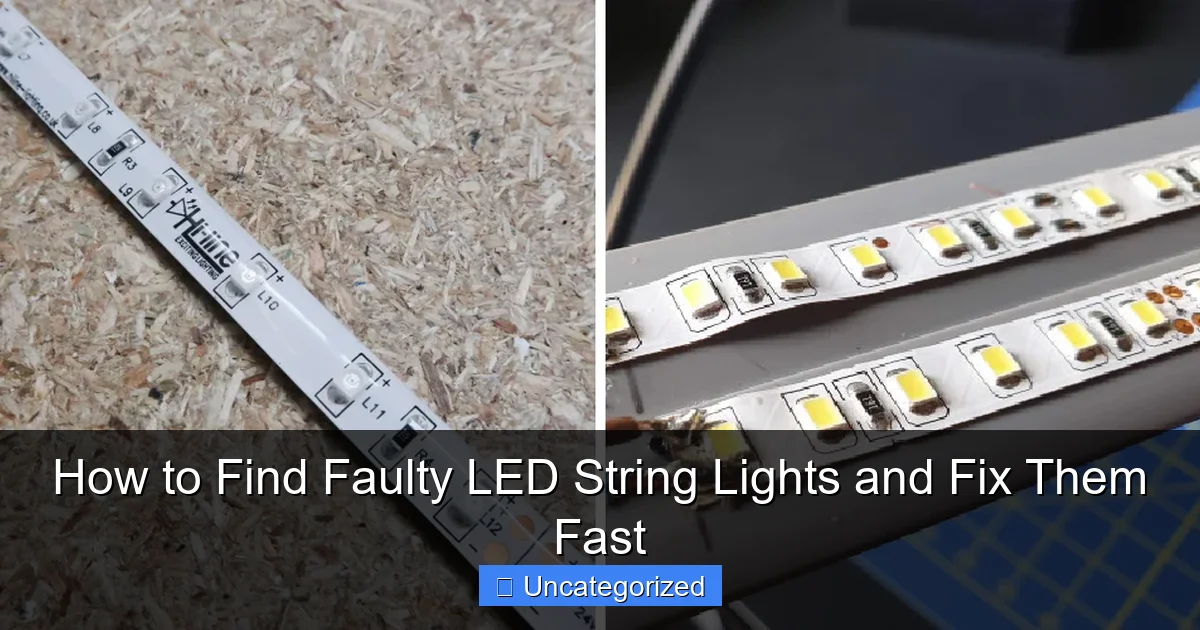
Featured image for how to find faulty led string lights
Image source: brightlighthub.com
To quickly find faulty LED string lights, start by visually inspecting for broken bulbs, frayed wires, or loose connections—these are the most common culprits. Plug the lights into a working outlet and test each section; if some LEDs don’t light up, use a bulb tester or replacement bulbs to isolate the problem. For hidden faults, a continuity tester can pinpoint breaks in the circuit without dismantling the entire strand.
“`html
How to Find Faulty LED String Lights and Fix Them Fast
Key Takeaways
- Inspect visually first: Look for broken bulbs, frayed wires, or loose connections.
- Test with a multimeter: Check voltage to pinpoint dead sections accurately.
- Swap bulbs to troubleshoot: Replace suspect bulbs with known-working ones.
- Check the fuse: A blown fuse in the plug often causes total failure.
- Look for corrosion: Clean corroded sockets or contacts with isopropyl alcohol.
- Use a LED tester: Quickly identify faulty bulbs without disassembling the string.
Why This Matters / Understanding the Problem
It’s the holiday season, your house is glowing with festive cheer, and then—poof—half the lights go dark. Or maybe you’re setting up a backyard party, and the LED string lights flicker like a haunted house. Frustrating, right?
Faulty LED string lights are more than just a nuisance. They ruin the mood, waste time, and can even be a fire hazard if left unchecked. The good news? Most LED light issues aren’t permanent. With the right approach, you can find faulty LED string lights and fix them fast—without needing an electrician or replacing the whole strand.
LEDs are energy-efficient and long-lasting, but they’re not indestructible. A single dead bulb, a loose wire, or a faulty connection can cause a domino effect. The key is knowing how to spot the real culprit and fix it quickly. This guide walks you through how to find faulty LED string lights and fix them fast, saving you money and stress.
What You Need
Before you start, gather these tools and materials. You likely already have most of them lying around.
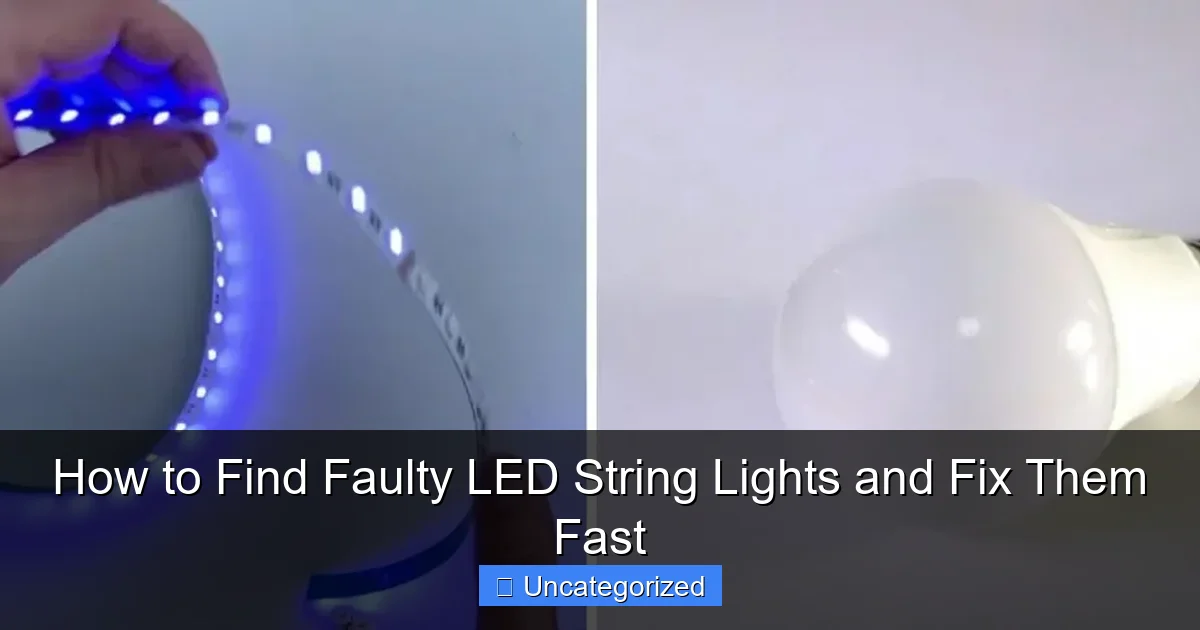
Visual guide about how to find faulty led string lights
Image source: lightenify.com
- LED light tester (non-contact voltage pen or LED bulb tester) – Essential for pinpointing dead bulbs or breaks.
- Replacement LED bulbs – Match the voltage, color, and socket type (e.g., 5mm, wide angle, E10).
- Screwdriver (small, flathead) – For opening sockets or checking wiring.
- Needle-nose pliers – Helpful for gripping small parts or bending wires.
- Electrical tape – For insulating exposed wires or securing loose connections.
- Multimeter (optional but helpful) – For advanced diagnostics like measuring voltage or continuity.
- Scissors or wire cutters – Only if you need to trim damaged sections.
- Flashlight – For inspecting dark or tight spaces.
Pro Tip: Always unplug the lights before working on them. Safety first—even low-voltage LEDs can give a mild shock or damage components if mishandled.
Step-by-Step Guide to How to Find Faulty LED String Lights and Fix Them Fast
Step 1: Inspect the Basics – Power Source and Plug
Start simple. A faulty power source is often the easiest fix—and the most overlooked.
- Unplug the lights and check the outlet. Try plugging in another device (like a phone charger) to confirm the outlet works.
- Inspect the plug for damage: bent prongs, frayed wires, or signs of burning. If the plug is hot or smells like burnt plastic, replace it immediately.
- Look at the fuse in the plug (if it has one). Many LED strings have a small fuse compartment. Open it with a screwdriver and check if the fuse is blown. Replace with the same amperage (usually 3A or 5A).
Warning: Never use a higher-amp fuse—it defeats the safety purpose and increases fire risk.
This step alone fixes 20–30% of LED issues. If the lights still don’t work, move to the next step. Remember: how to find faulty LED string lights and fix them fast often starts with the plug.
Step 2: Check for Physical Damage
Walk along the entire length of the string. Look closely for:
- Frayed or cut wires – Especially near the plug, connectors, or where the string bends.
- Damaged sockets – Cracks, moisture, or corrosion (white or green powder).
- Loose bulbs – Gently wiggle each bulb. If it moves, it might not be making contact.
- Overheating marks – Dark spots on the wire or socket indicate a short circuit.
Take photos or mark damaged areas with tape. If you find a cut wire, cut out the damaged section and splice the good ends with wire nuts and electrical tape. For minor frays, wrap with electrical tape.
Pro Tip: Moisture is a killer. If lights were used outdoors without proper sealing, dry them completely before testing. Use a hair dryer on low heat if needed.
Step 3: Test Each Bulb with a LED Tester
This is the heart of how to find faulty LED string lights and fix them fast. Most LED strings are “series” circuits—meaning if one bulb dies, it can break the circuit and turn off the whole section.
- Unplug the lights.
- Use a LED bulb tester (available at hardware stores for $10–$20). Insert the bulb into the tester. A working LED will light up; a dead one won’t.
- Test every bulb. Focus on areas where the lights are dark. A single dead bulb can kill a whole strand.
Alternatively, use a non-contact voltage pen:
- Plug in the lights.
- Run the pen near the base of each bulb. If the pen lights up, power is reaching the socket. If not, the issue is upstream.
Found a dead bulb? Remove it and replace it with a matching one. Don’t force it—LEDs have a polarity (positive/negative). If it doesn’t light, flip it 180 degrees.
Common Mistake: Assuming all bulbs in a dark section are bad. Usually, it’s just one or two. Test each one—don’t guess.
Step 4: Use the “Bulb Swap” Method for Hard-to-Find Faults
Sometimes, a bulb looks fine but is internally damaged. Or the socket is faulty. Here’s how to tell the difference:
- Take a known-working bulb from a lit section.
- Plug it into a socket in a dark section.
- If it lights, the socket is fine—the original bulb was bad.
- If it doesn’t light, the socket or wiring is the problem.
This method saves time. Instead of replacing every bulb, you isolate the real issue. It’s a key trick in how to find faulty LED string lights and fix them fast.
For socket issues:
- Clean corrosion with a cotton swab and rubbing alcohol.
- Straighten bent contacts with needle-nose pliers.
- If the socket is cracked or melted, cut out that section and splice in a new socket or wire directly.
Step 5: Test for Circuit Breaks with a Multimeter (Advanced)
If no bulbs are dead but the lights still don’t work, there might be a break in the wire.
- Set your multimeter to “continuity” mode (usually a sound wave icon).
- Unplug the lights.
- Touch one probe to the metal contact in the first socket, the other to the contact in the last socket.
- If the meter beeps, the circuit is complete. If not, there’s a break.
To find the break:
- Divide the string in half. Test each half.
- Keep narrowing down until you find the dead section.
- Cut out the broken wire and splice the good ends.
Pro Tip: Label the “hot” (positive) and “neutral” (negative) wires before cutting. LED strings need correct polarity to work.
This method is faster than testing every inch with a voltage pen. It’s a pro-level move for how to find faulty LED string lights and fix them fast.
Step 6: Check Connectors and End Caps
Many LED strings have connectors to join multiple strands. These are common failure points.
- Inspect each connector for looseness, corrosion, or damage.
- Wiggle the connector. If the lights flicker, it’s loose.
- Unplug and reinsert firmly. If it’s corroded, clean with alcohol.
- For end caps (the plug at the end of the string), ensure they’re sealed. Moisture here can short the circuit.
If a connector is damaged, cut it off and splice the wires directly (if the string doesn’t need to connect to others). Use heat-shrink tubing or electrical tape for insulation.
Warning: Never leave exposed wires. They can cause shorts or shocks.
Step 7: Test and Reassemble
After repairs, it’s time to test.
- Plug in the lights.
- Check every section. Look for flickering, dimming, or inconsistent colors.
- If everything works, reassemble the sockets and secure loose wires with zip ties or tape.
- For outdoor lights, use silicone sealant on connectors to prevent moisture damage.
If the lights still don’t work, double-check your splices and bulb orientations. A common mistake is reversing the polarity when splicing wires.
Still no luck? The issue might be the controller (for color-changing or flashing lights). Test the lights by bypassing the controller—plug the string directly into power. If they light, the controller is faulty.
Pro Tips & Common Mistakes to Avoid
Pro Tip #1: Use a bulb puller tool (or a paperclip) to remove stuck bulbs. Prying with a screwdriver can damage the socket.
Pro Tip #2: Label bulbs with tape when testing. It helps track which ones you’ve checked.
Pro Tip #3: Store lights in a dry, cool place. Wrap them around a cardboard tube or reel to prevent tangles and wire stress.
- Mistake: Replacing bulbs with wrong specs. Always match voltage, color, and socket type. A mismatched bulb can overload the circuit.
- Mistake: Overlooking the fuse. A blown fuse is a quick fix—don’t skip it.
- Mistake: Assuming the whole strand is dead. Most LED failures are isolated. Use the steps above to find the real issue.
- Mistake: Using duct tape on wires. It degrades and becomes sticky. Use electrical tape or heat-shrink tubing instead.
- Mistake: Working on wet lights. Moisture causes shorts. Dry lights completely before testing.
Remember: how to find faulty LED string lights and fix them fast isn’t about magic—it’s about methodical troubleshooting. Take your time, stay safe, and test often.
FAQs About How to Find Faulty LED String Lights and Fix Them Fast
Q1: Can I fix LED string lights with no tools?
Yes, for simple issues. If a bulb is loose, tighten it. If the plug is damaged, replace it (many stores sell universal plugs). But for dead bulbs or wire breaks, you’ll need at least a tester and replacement bulbs. The how to find faulty LED string lights and fix them fast method works best with basic tools.
Q2: Why do LED lights flicker or dim?
Flickering can mean a loose bulb, faulty socket, or low voltage. Dimming often happens when too many lights are connected to one outlet (overloading). Unplug other devices and test the strand alone. If it’s still dim, check for wire damage or a failing power supply.
Q3: Can I splice LED string lights?
Yes, but with caution. Cut out the damaged section, strip the wires, and twist them together (hot to hot, neutral to neutral). Secure with wire nuts and electrical tape. For outdoor use, use waterproof connectors or seal with silicone. Never splice in a way that reverses polarity.
Q4: How long do LED string lights last?
Quality LED strings last 25,000–50,000 hours (3–6 years with daily use). But damage from moisture, overheating, or physical stress can shorten this. Regular maintenance and proper storage extend their life. Fixing them when issues arise is part of how to find faulty LED string lights and fix them fast.
Q5: Are LED string lights safe to leave on overnight?
Generally yes—LEDs produce little heat and have low fire risk. But only if they’re in good condition. Never leave damaged, overheating, or frayed lights unattended. Use a timer to turn them off automatically.
Q6: What if my lights are color-changing and won’t cycle?
The controller is likely faulty. Test by bypassing it (plug the string directly into power). If the lights stay on one color, the controller is bad. Replacement controllers are cheap and easy to install.
Q7: Can I use regular bulbs in LED sockets?
No. LED sockets are designed for specific voltage and polarity. Regular bulbs may not fit, could overload the circuit, or damage the string. Always use LED-specific replacements.
Final Thoughts
Dealing with faulty LED string lights doesn’t have to mean tossing them out. With the right tools and a step-by-step approach, you can find faulty LED string lights and fix them fast—saving money, reducing waste, and keeping the glow alive.
Start with the basics: check the plug, inspect for damage, and test each bulb. Use the bulb swap method to isolate issues, and don’t fear a multimeter for deeper problems. Remember, most failures are isolated—fix one bulb, and the whole strand might come back to life.
Keep your tools handy, store lights properly, and address issues as soon as they appear. A little maintenance goes a long way. Now, go fix those lights—and enjoy a brighter, safer, more festive space.
Next time someone says, “My LED lights died,” you’ll know exactly what to do. Share this guide, and spread the light.
“`

