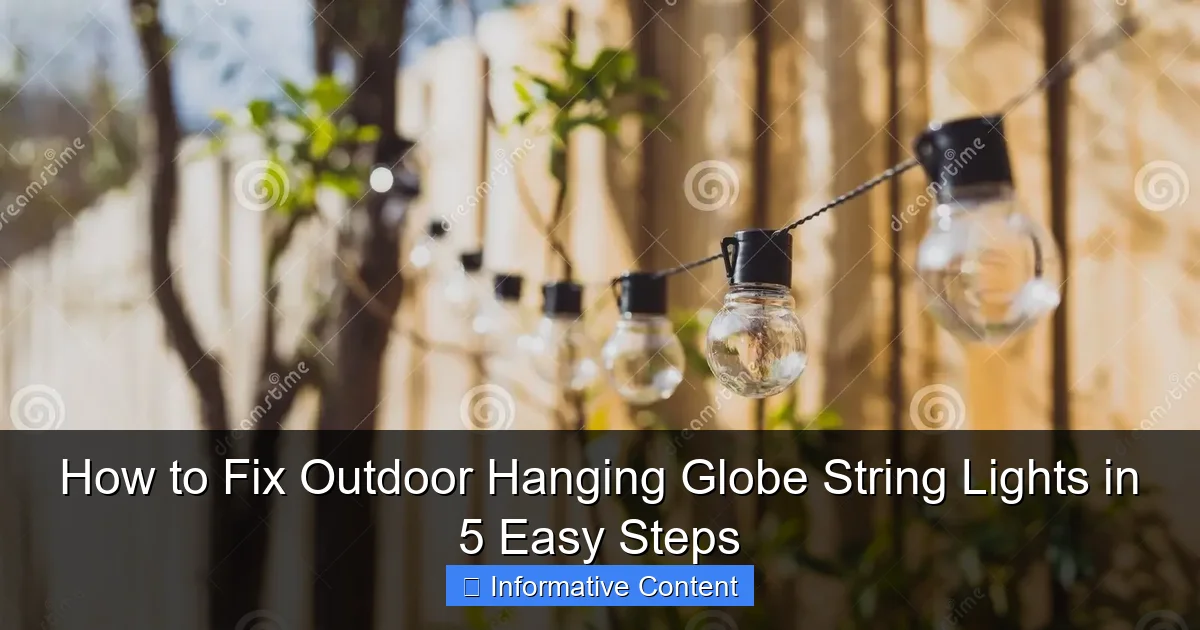
Featured image for how to fix outdoor hanging globe string lights
Image source: thumbs.dreamstime.com
Quickly restore your outdoor ambiance by identifying and replacing burnt-out bulbs or damaged sockets—most issues stem from these common culprits. With simple tools and a few minutes, you can troubleshoot, repair, and rehang your globe string lights to shine brightly again. Follow these five straightforward steps to ensure a safe, lasting fix and enjoy your illuminated outdoor space all season long.
Key Takeaways
- Inspect bulbs first: Check for burnt-out or loose bulbs before assuming wiring issues.
- Secure connections: Tighten all plugs and sockets to prevent flickering or power loss.
- Test the power source: Confirm the outlet works to rule out electrical supply problems.
- Replace faulty parts: Swap damaged bulbs, sockets, or fuses with compatible replacements.
- Use outdoor-rated tools: Ensure all components are weatherproof for long-term durability.
- Check for shorts: Examine wires for frays or breaks that disrupt the circuit.
📑 Table of Contents
- Why Your Outdoor Globe String Lights Aren’t Working (And Why That’s Okay)
- Step 1: Diagnose the Problem Like a Pro
- Step 2: Fix or Replace Faulty Bulbs and Sockets
- Step 3: Tackle Cord and Wire Damage
- Step 4: Address Weather-Related Issues
- Step 5: Test, Maintain, and Store for Longevity
- Quick Reference: Common Issues and Solutions
- Final Thoughts: Light Up Your Outdoors with Confidence
Why Your Outdoor Globe String Lights Aren’t Working (And Why That’s Okay)
Picture this: It’s a warm summer evening. You’ve just finished grilling, the kids are playing, and the sun is setting. You reach for the switch to turn on your outdoor hanging globe string lights, ready to set the perfect mood—only to find they’re not lighting up. Cue the frustration. We’ve all been there. Whether it’s a single dark globe or the entire strand refusing to cooperate, it’s enough to make you want to pack them up and call it a season.
The good news? Most issues with outdoor hanging globe string lights are surprisingly easy to fix. These lights are designed to be durable, but after months (or years) of exposure to sun, rain, wind, and temperature swings, even the toughest models can develop hiccups. The key is knowing where to look and what to do. And that’s exactly what this guide is for. Think of it as a friendly chat between two neighbors who’ve both wrestled with flickering bulbs and tangled cords. I’ve fixed my share of string lights—some with success, others with lessons learned the hard way. And I’m here to share those lessons so you can skip the trial and error.
Step 1: Diagnose the Problem Like a Pro
Before you start replacing bulbs or rewiring, take a breath. The first rule of fixing anything is: Don’t jump to conclusions. A lot of people assume the worst—like a fried circuit board or a dead transformer—when the real issue might be as simple as a loose connection. Let’s break this down into manageable parts.

Visual guide about how to fix outdoor hanging globe string lights
Image source: menterarchitects.com
Check the Power Source and Switch
Start with the obvious. Is the outlet working? Plug in another device (like a phone charger or lamp) to confirm. If that works, check the switch. Some outdoor hanging globe string lights have an inline switch near the plug. Make sure it’s in the “on” position. I once spent 20 minutes troubleshooting a strand before realizing the switch had been bumped to “off” during storage.
If the switch feels loose or unresponsive, it might be worn out. Gently wiggle it while the lights are plugged in. If the lights flicker on and off, the switch could be the culprit. Replacement switches are cheap and easy to install—more on that later.
Inspect the Plug and Cord
Look closely at the plug and the first few inches of the cord. Are there any visible cracks, fraying, or burn marks? Outdoor-rated cords are designed to resist moisture, but over time, UV exposure and physical stress can degrade the insulation. If you see exposed wires, unplug immediately and avoid touching them. This is a safety hazard and likely means the entire strand needs replacement.
Another common issue: a loose plug. If the plug doesn’t fit snugly into the outlet, it can cause intermittent power. Try plugging it into a different outlet. If that works, the original outlet might be faulty or loose.
Use a Multimeter for Deeper Testing
If everything looks fine visually, it’s time to bring out the multimeter. Set it to the continuity or voltage setting. Test the plug prongs to see if power is reaching the strand. No reading? The problem is upstream (outlet, switch, or internal wiring). If there’s power at the plug but not at the first bulb, the issue is likely inside the cord or socket.
Pro tip: If you don’t own a multimeter, borrow one or buy an inexpensive model. They’re worth every penny for DIY fixes. I keep one in my toolbox specifically for troubleshooting holiday lights and outdoor fixtures.
Step 2: Fix or Replace Faulty Bulbs and Sockets
Bulbs are the most common failure point in outdoor hanging globe string lights. But here’s the thing: Not all bulbs are created equal. Some are LED, some are incandescent. Some are screw-in (E26/E27), others are push-in (wedge base). Knowing your bulb type is half the battle.
Identify the Bulb Type
Check the label on the strand or the base of a working bulb. LED bulbs are usually labeled with wattage (e.g., 0.5W), color temperature (e.g., 2700K warm white), and base type. Incandescent bulbs often have a clear glass globe with a visible filament.
Why does this matter? Because you can’t mix and match. If your strand uses wedge-base LEDs, don’t try to replace them with screw-base incandescents. The socket won’t fit, and you risk damaging the wiring.
Test and Replace Dead Bulbs
Remove a bulb from a non-working section and test it in a working socket. If it lights up, the bulb is fine—the problem is elsewhere. If not, replace it. But here’s a trick: Before tossing the old bulb, check if the filament (for incandescents) or LED chip (for LEDs) is broken. Sometimes, a tiny crack in the bulb base prevents contact.
For LED strands, look for “shunted” sockets. These are designed to bypass a dead bulb so the rest of the strand stays lit. If your lights go dark when one bulb fails, the sockets aren’t shunted. In that case, you’ll need to replace the entire socket or the whole strand. (More on socket repair below.)
Clean and Tighten Sockets
Dirt, moisture, and corrosion can build up inside sockets, especially if your lights are exposed to rain or high humidity. Unplug the strand and use a cotton swab dipped in rubbing alcohol to clean the inside of each socket. Let it dry completely before reinserting bulbs.
Also, check if the socket contacts are bent. Use needle-nose pliers to gently straighten them. If a socket is cracked or loose, it’s best to replace it. Replacement sockets (available online or at hardware stores) come with pre-soldered wires. Just cut out the old socket, strip the wires, and twist the new one in place. Secure with wire nuts and electrical tape.
Step 3: Tackle Cord and Wire Damage
Even the best outdoor lights can suffer from cord damage. Wind can whip strands against sharp edges, pets might chew on them, or UV rays can degrade the insulation over time. Here’s how to handle it.
Locate the Damage
Run your hands along the entire length of the cord. Feel for bulges, soft spots, or exposed wires. Look for kinks, especially near the plug or bulb sockets. If you find a damaged section, mark it with tape so you don’t miss it during repairs.
For minor fraying (less than 1/4 inch), wrap the area tightly with electrical tape. Overlap the tape by at least 1 inch on either side of the damage. This is a temporary fix—plan to replace the strand soon.
Solder and Seal Major Damage
For larger cuts or exposed wires, you’ll need to cut out the damaged section and splice the cord. Here’s how:
- Cut the cord on both sides of the damage, removing a 2-3 inch section.
- Strip 1/2 inch of insulation from each cut end.
- Twist the matching wires (black to black, white to white, green to green) together.
- Solder the connections for a secure, long-lasting fix.
- Cover each splice with heat-shrink tubing or electrical tape.
Pro tip: Use heat-shrink tubing if you have a heat gun. It creates a waterproof seal. If not, wrap each splice with two layers of electrical tape, then cover the entire area with a layer of silicone sealant for extra weatherproofing.
Prevent Future Damage
Once repaired, take steps to protect the cord. Avoid running it over sharp edges (like gutters or tree branches). Use zip ties or cord clips to secure it along a smooth path. If possible, elevate the cord off the ground to reduce moisture exposure. And always unplug the lights during storms or high winds.
Step 4: Address Weather-Related Issues
Outdoor lights face a constant battle with the elements. Moisture is the biggest enemy—it can corrode connections, short circuits, and even create fire hazards. But with a few smart strategies, you can keep your lights shining for years.
Seal Sockets and Connections
Even if your lights are rated for outdoor use, the bulb sockets and wire connections can still be vulnerable. After cleaning or replacing bulbs, apply a small dab of dielectric grease to the socket contacts. This non-conductive grease prevents corrosion without interfering with the electrical connection.
For extra protection, use waterproof bulb covers or socket caps. These silicone or rubber caps slip over the bulb and socket, creating a tight seal. They’re especially helpful in areas with frequent rain or snow.
Manage Moisture in the Plug
The plug is another weak point. If water seeps into the plug housing, it can cause short circuits or damage the transformer. To prevent this:
- Use an outdoor-rated outlet with a weatherproof cover.
- Elevate the plug off the ground (e.g., hang it on a hook or place it on a shelf).
- Apply silicone sealant around the plug’s cord entry point.
I once left my plug sitting on a damp deck, and after a rainstorm, the entire strand failed. A simple plastic bag tied over the plug (with a small hole for the cord) would have saved me the hassle.
Check for UV Damage
Sunlight can fade and weaken plastic parts over time. Inspect the cord, sockets, and globe covers for brittleness or discoloration. If the plastic is cracked or turning yellow, it’s time to replace the strand. UV-resistant materials (like polycarbonate) last longer, so consider upgrading when it’s time to buy new lights.
Step 5: Test, Maintain, and Store for Longevity
You’ve fixed the issue—great! But don’t stop there. A little maintenance now can save you from repeat repairs later.
Conduct a Full Test
After any repair, plug in the lights and let them run for at least an hour. Watch for flickering, dimming, or hot spots (indicating a poor connection). If everything looks good, you’re set. If not, revisit the steps above to pinpoint the remaining issue.
For LED strands, check if all colors work (if they’re RGB). A faulty color channel often points to a damaged controller or loose wire in the plug.
Regular Maintenance Routine
Once a month during the off-season, do a quick inspection:
- Wipe down bulbs and globes with a damp cloth to remove dirt and bugs.
- Check for loose sockets or dangling bulbs.
- Inspect the cord for new damage.
I keep a small toolkit (pliers, electrical tape, spare bulbs) near my storage area so I can address minor issues on the spot.
Store Properly
When the season ends, avoid tossing the lights in a tangled heap. Instead:
- Unplug and let them cool completely.
- Remove all bulbs (store them in a labeled box).
- Coil the cord loosely around a cord reel or cardboard template to prevent kinks.
- Store in a dry, temperature-controlled place (like a closet or basement).
Bonus tip: Wrap the entire strand in a breathable cotton sheet to protect it from dust and pests. Plastic bags can trap moisture, leading to mold or corrosion.
Quick Reference: Common Issues and Solutions
Not sure where to start? Use this table to match symptoms with fixes. It’s based on real-world problems I’ve seen (and fixed) over the years.
| Symptom | Likely Cause | Solution |
|---|---|---|
| Entire strand is dark | No power, blown fuse, or dead transformer | Test outlet, check switch, replace fuse (if applicable), or replace transformer |
| One section is dark | Dead bulb, faulty socket, or broken wire | Replace bulb, clean socket, or splice damaged wire |
| Lights flicker intermittently | Loose bulb, corroded socket, or damaged cord | Tighten bulb, clean socket, or repair cord |
| Plug feels warm | Loose connection or overloaded circuit | Unplug, check connections, and avoid daisy-chaining too many strands |
| Lights dim or color shifts | Voltage drop or failing transformer | Shorten the run, use a higher-gauge extension cord, or replace transformer |
Final Thoughts: Light Up Your Outdoors with Confidence
Let’s be honest: There’s something magical about outdoor hanging globe string lights. They turn a simple backyard into a cozy retreat, a porch into a welcoming oasis. And when they’re working, there’s nothing better. But when they’re not, it’s easy to feel defeated. I’ve been there—staring at a dark strand, wondering if I’d need to buy new ones.
The truth is, most issues are fixable. With the right approach—diagnose first, act second—you can save time, money, and frustration. Whether it’s a loose bulb, a frayed cord, or a corroded socket, there’s a solution. And now, you’ve got the tools to find it.
So the next time your lights go dark, don’t panic. Grab your multimeter, a few spare bulbs, and this guide. Take it step by step. And when that first globe lights up again? You’ll know it was worth the effort. After all, the best lights aren’t the ones that work perfectly—they’re the ones that keep shining, year after year, because you took the time to care for them. Happy lighting!
Frequently Asked Questions
How do I troubleshoot outdoor hanging globe string lights that won’t turn on?
First, check the power source and ensure the outlet is working. Inspect the fuse in the plug (if applicable) and replace it if blown—this is a common fix for outdoor hanging globe string lights with no power.
Why are some bulbs on my globe string lights flickering or dim?
Loose bulbs or faulty sockets often cause flickering. Tighten bulbs by hand and clean socket contacts with a cotton swab. If the issue persists, replace damaged bulbs or sockets.
Can I repair a cut or damaged wire on my outdoor string lights?
Yes, but only if the damage is minor. Cut out the damaged section, strip the wires, and reconnect them with a waterproof wire connector. For extensive damage, consider replacing the entire strand.
How do I prevent my outdoor hanging globe string lights from tangling?
Use zip ties or light clips to secure the strand along its path, leaving minimal slack. Always unplug and gently unwind lights before use—never pull or yank tangled cords.
Are there weatherproofing tips to extend the life of my globe string lights?
Use outdoor-rated extension cords and seal plug connections with electrical tape or silicone. Store lights in a dry place during off-seasons to avoid moisture damage.
What’s the safest way to replace a shattered globe on my string lights?
Wear gloves and gently twist the broken base counterclockwise to remove it. Insert a new bulb of the same voltage and wattage, then twist clockwise until snug. Avoid over-tightening.

