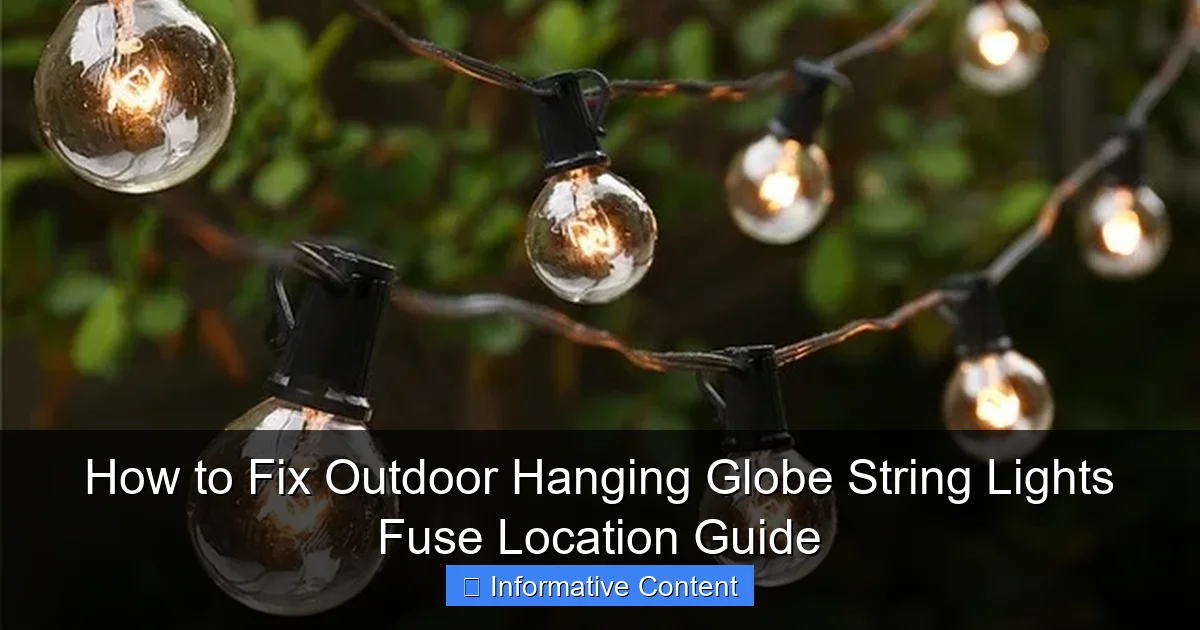
Featured image for how to fix outdoor hanging globe string lights fuse location
Image source: menterarchitects.com
Locate the fuse quickly—it’s typically found in the plug’s small sliding compartment or a built-in fuse holder on the string’s power cord. To fix outdoor hanging globe string lights, always unplug the lights first, then open the compartment, inspect the fuse for damage, and replace it with one of the same amperage to restore function safely and efficiently.
Key Takeaways
- Locate the fuse: Check the male plug end for a small sliding panel or screw-on cap.
- Use correct fuses: Replace blown fuses with same amperage and size to avoid damage.
- Unplug before fixing: Always disconnect lights from power to ensure safety during repairs.
- Inspect for damage: Look for frayed wires or corrosion near the fuse housing area.
- Test after replacement: Reconnect power and verify lights function before final installation.
- Prevent future issues: Use weatherproof covers and inspect fuses seasonally for longevity.
📑 Table of Contents
- Understanding the Basics of Outdoor Hanging Globe String Lights
- Locating the Fuse in Your Outdoor Globe String Lights
- How to Test and Replace the Fuse Safely
- Preventing Future Fuse Issues: Maintenance and Best Practices
- Advanced Troubleshooting: When It’s Not Just the Fuse
- Conclusion: Keep Your Outdoor Glow Alive
Understanding the Basics of Outdoor Hanging Globe String Lights
Outdoor hanging globe string lights add a magical touch to any backyard, patio, or garden. Whether you’re hosting a summer barbecue or enjoying a quiet evening under the stars, these lights create an inviting ambiance. But what happens when they suddenly stop working? More often than not, the culprit is a blown fuse—a small, easily overlooked component that can cause big frustrations. The good news? Fixing a fuse in your globe string lights is simpler than you might think.
Many people assume that a non-working string light means the entire set needs replacement. But in most cases, especially with quality globe lights, the issue lies in the fuse. These fuses are designed to protect the circuit from power surges, much like a circuit breaker in your home. When the fuse blows, it cuts off the power to prevent damage. The key to fixing your lights is knowing where the fuse is located and how to replace it safely. This guide will walk you through the entire process, step by step, with practical tips and real-life examples to help you restore your outdoor glow in no time.
Why Fuses Are Important in Outdoor String Lights
Fuses in outdoor globe string lights act as a safety net. They’re typically located in the plug housing and are designed to break the circuit if there’s an electrical overload or short. This prevents damage to the bulbs, wiring, and even potential fire hazards. Think of them as the “sacrificial lamb” of your lighting system—they take the hit so the rest of the setup stays safe.
Outdoor conditions like rain, wind, and temperature changes can stress the wiring. Over time, this may cause a fuse to blow. For example, if you accidentally leave your lights on during a thunderstorm, a power surge could trigger the fuse. Or, if the plug gets wet and causes a short, the fuse will blow to protect the system. Understanding this helps you appreciate why fuses exist and why replacing them is a smarter (and cheaper) solution than buying a new set.
Signs Your Fuse Might Be Blown
How do you know it’s the fuse and not the bulbs? Here are a few telltale signs:
- No lights at all: If the entire strand is dark and no bulbs are lit, it’s likely a fuse issue.
- Flickering or partial lighting: Sometimes, a failing fuse causes intermittent power, leading to flickering.
- Burning smell near the plug: A faint odor near the plug housing could indicate a blown fuse due to overload.
- Tripped circuit breaker: If your home breaker trips when plugging in the lights, the fuse may be the first line of defense.
One time, my neighbor’s globe lights suddenly went out during a dinner party. We tested the bulbs—all were fine. But when we opened the plug, we found a blackened fuse. A quick swap, and the lights were back on in minutes. That’s the power of knowing where the fuse is and how to fix it!
Locating the Fuse in Your Outdoor Globe String Lights
Finding the fuse is the first step to fixing your outdoor globe string lights. Most manufacturers design the fuse to be easily accessible, usually within the plug housing. But the exact location can vary depending on the brand and model. The good news is that most outdoor globe lights use a standard two-prong or three-prong plug with an integrated fuse compartment.
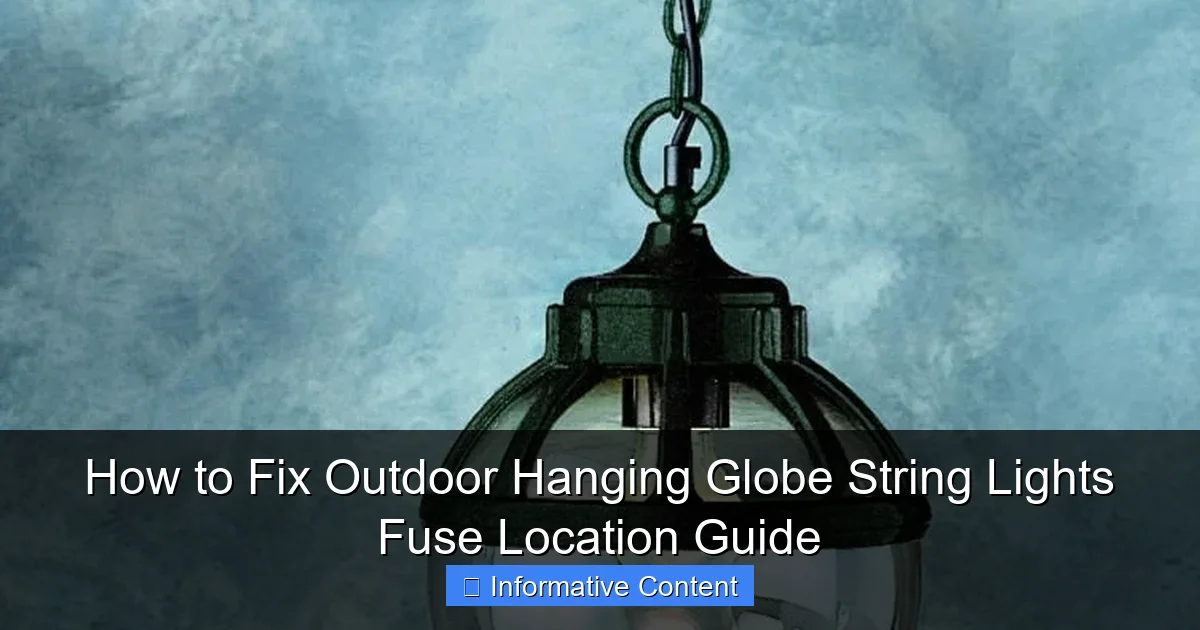
Visual guide about how to fix outdoor hanging globe string lights fuse location
Image source: menterarchitects.com
Identifying the Plug Type
Start by examining the plug. There are two common types:
- Two-prong plug with a removable fuse cover: This is the most common. Look for a small sliding door or screw-on cap on the side or back of the plug.
- Three-prong grounded plug with internal fuse: Found on heavier-duty lights. The fuse may be accessed by unscrewing the entire plug casing.
For example, popular brands like Brightown and Twinkle Star use a slide-open fuse compartment on the side of a two-prong plug. In contrast, industrial-grade lights from Malibu often have a screw-on back panel. Always check the user manual if available—it will show you exactly where the fuse is located.
Step-by-Step Guide to Accessing the Fuse
Here’s how to safely locate and access the fuse:
- Unplug the lights: Safety first! Never work on live electrical devices.
- Inspect the plug: Look for a small rectangular or square panel on the side or back. It may have a tiny arrow or “FUSE” label.
- Use a flathead screwdriver or fingernail: Gently slide or pry open the fuse cover. On some models, you’ll need to unscrew a small cap.
- Remove the fuse: It’s usually a small glass or ceramic cylinder, about the size of a grain of rice.
Pro tip: Take a photo of the fuse before removing it. This helps you remember the type (e.g., 3A, 5A) and orientation when replacing it. I once lost the original fuse and had to guess the amperage—ended up using a 10A fuse, which was too high and caused overheating. Always match the amperage!
Common Fuse Locations by Brand (Examples)
| Brand | Plug Type | Fuse Location | Access Method |
|---|---|---|---|
| Brightown | Two-prong | Side of plug | Slide-open cover |
| Twinkle Star | Two-prong | Back of plug | Small screw cap |
| Malibu | Three-prong | Inside plug housing | Unscrew entire back panel |
| Philips | Two-prong | Side of plug | Push-in tab |
| Sunlite | Two-prong | Front of plug | Snap-off cover |
This table gives you a quick reference, but always verify with your specific model. When in doubt, search for your brand and model number online—many users share photos and videos of fuse locations.
How to Test and Replace the Fuse Safely
Once you’ve located the fuse, the next step is to test it and replace it if needed. You don’t want to assume it’s blown—sometimes the issue is elsewhere. Testing ensures you’re not wasting time on a non-issue.
Tools You’ll Need
Here’s a simple toolkit for fuse testing and replacement:
- Multimeter (or continuity tester)
- Replacement fuses (match amperage and voltage)
- Small flathead screwdriver
- Needle-nose pliers (optional, for tight spaces)
- Flashlight (to see inside the plug)
You don’t need to be an electrician. A basic multimeter from a hardware store works perfectly. I keep a $15 multimeter in my toolbox—it’s saved me countless times with holiday lights and outdoor decor.
Step-by-Step Fuse Testing
Follow these steps to test your fuse:
- Set the multimeter to continuity mode: Look for the symbol that looks like a sound wave or diode.
- Touch the probes to each end of the fuse: Place the red probe on one metal end and the black probe on the other.
- Check the reading:
- If the meter beeps or shows “OL” (open loop), the fuse is blown.
- If it shows a low resistance (e.g., 0.1–0.5 ohms), the fuse is good.
- Visual inspection: Look inside the glass. A blown fuse often has a broken wire or blackened interior.
Real-life example: Last winter, my outdoor globe lights wouldn’t turn on. I tested the fuse—no continuity. But when I replaced it, the lights still didn’t work. That’s when I realized the issue was a loose wire inside the plug. So, testing the fuse is just the beginning—it helps narrow down the problem.
Replacing the Fuse Correctly
Once you confirm the fuse is blown, here’s how to replace it:
- Get the right fuse: Match the amperage (e.g., 3A, 5A) and voltage (usually 125V for US lights). The specs are printed on the old fuse.
- Insert the new fuse: Place it in the same orientation as the old one. Most fuses are symmetrical, but some have polarity.
- Close the compartment: Slide or screw the cover back in place. Make sure it’s snug to prevent water ingress.
- Test the lights: Plug them in and see if they work.
Tip: Buy a pack of spare fuses when you purchase the lights. They’re cheap (usually under $5 for 10) and can save you in emergencies. I keep a small bag of 3A and 5A fuses in my garage—perfect for quick fixes during holiday seasons.
Preventing Future Fuse Issues: Maintenance and Best Practices
Fixing a fuse is great, but preventing it is even better. With a few simple habits, you can extend the life of your outdoor globe string lights and reduce the risk of blown fuses.
Proper Installation and Placement
Where and how you hang your lights matters. Follow these tips:
- Use outdoor-rated lights: Ensure they’re labeled “wet-rated” or “damp-rated” for outdoor use.
- Elevate the plug: Don’t let the plug sit on the ground or in a puddle. Use a weatherproof outlet box or hang it off the ground.
- Avoid overloading circuits: Don’t connect too many light strands to one outlet. Most outdoor circuits can handle 10–15 amps. Check your fuse rating—if it’s 3A, the strand draws about 360 watts (3A x 120V).
- Use surge protectors: Plug your lights into a surge-protected outdoor outlet. This guards against power spikes during storms.
One mistake I made was daisy-chaining five strands of globe lights on a single outlet. The circuit tripped, and two fuses blew. Lesson learned: always calculate the total wattage and stay within safe limits.
Weatherproofing Your Lights
Outdoor conditions are tough on electrical components. Here’s how to protect your lights:
- Seal connections: Use silicone sealant or electrical tape around plug joints to keep moisture out.
- Store during off-seasons: Take down lights during winter or prolonged rain. Store them in a dry, cool place.
- Inspect before use: Each season, check for frayed wires, cracked bulbs, or loose connections.
- Use GFCI outlets: Ground Fault Circuit Interrupter outlets cut power if they detect a short, protecting both you and your lights.
For example, my neighbor leaves his globe lights up year-round. Last year, a squirrel chewed through the wire, causing a short and blowing the fuse. Now, he uses conduit tubing to protect the wires and stores the lights in fall.
Regular Maintenance Checklist
Set a reminder to inspect your lights every few months. Here’s a simple checklist:
- Check for loose or corroded connections
- Test the fuse (even if lights work)
- Replace any cracked or flickering bulbs
- Clean dust and debris from the plug
- Ensure the fuse compartment is dry and sealed
This routine takes 10 minutes and can prevent major issues. Think of it like changing the batteries in your smoke detector—small effort, big payoff.
Advanced Troubleshooting: When It’s Not Just the Fuse
Sometimes, even after replacing the fuse, your lights still don’t work. That means the issue might be deeper—like a short circuit, damaged wire, or faulty socket. Don’t worry; these are fixable with a bit of patience.
Identifying Short Circuits
A short circuit occurs when two wires touch, creating a direct path for electricity. This often blows the fuse immediately. Signs include:
- Fuse blows as soon as you plug it in
- Burning smell or discoloration on the plug
- Lights flicker or turn off suddenly
To find the short, unplug the lights and inspect the wiring. Look for:
- Frayed or exposed wires
- Loose connections in bulb sockets
- Water damage or corrosion
Use a multimeter to test continuity between the hot and neutral wires. If there’s continuity (a beep), there’s a short. Isolate the problem by testing each section of the strand.
Repairing Damaged Wires or Sockets
If you find a damaged wire, here’s how to fix it:
- Cut out the damaged section: Use wire cutters to remove the frayed part.
- Strip the ends: Remove about 1/2 inch of insulation from each end.
- Splice the wires: Use a waterproof wire connector (e.g., Wago lever nuts or heat-shrink connectors).
- Seal the connection: Wrap with electrical tape or use a heat-shrink tube.
For loose sockets, tighten the connections inside. If the socket is cracked, replace the bulb section. Many globe lights have modular bulbs that can be unscrewed and replaced individually.
When to Call a Professional
Some issues are beyond DIY fixes. Consider professional help if:
- You smell burning plastic or see sparks
- The entire strand is damaged or corroded
- You’re uncomfortable working with electricity
- The plug housing is cracked or melted
I once tried to repair a water-damaged plug and ended up making it worse. A local electrician fixed it in 15 minutes. Sometimes, it’s worth the cost to avoid a fire hazard.
Conclusion: Keep Your Outdoor Glow Alive
Fixing the fuse in your outdoor hanging globe string lights is a simple yet powerful skill. It saves money, reduces waste, and keeps your outdoor space looking magical. By knowing where the fuse is located, how to test it, and how to prevent future issues, you can enjoy reliable lighting year after year.
Remember, the key steps are: unplug first, locate the fuse, test it, replace it with the right specs, and protect your lights from the elements. With regular maintenance and a bit of caution, your globe lights will shine bright for many seasons to come.
Next time your lights go out, don’t panic or rush to buy a new set. Grab your multimeter, open the plug, and give that little fuse a second chance. You might just surprise yourself with how easy it is to bring the light back—literally.
Frequently Asked Questions
Where is the fuse located on outdoor hanging globe string lights?
The fuse is typically found in the plug housing or near the power cord’s connection point. For most globe string lights, you’ll need to open the plug’s back cover or slide open a small panel to access the fuse compartment.
How do I fix a blown fuse in my outdoor hanging globe string lights?
First, unplug the lights and locate the fuse compartment (usually in the plug). Remove the old fuse, replace it with one of the same rating (check the manufacturer’s label), and reassemble the plug. Always test the lights after replacement.
Why do my outdoor hanging globe string lights keep blowing fuses?
Frequent fuse issues may indicate a short circuit, damaged wiring, or using an incorrect fuse rating. Inspect the cord for fraying, ensure connections are secure, and confirm the replacement fuse matches the original’s specifications.
Can I use any fuse for my globe string lights, or does it need to be specific?
Always use the fuse type and rating specified by the manufacturer (e.g., 3A, 5A). Using an incorrect fuse can lead to repeated failures or even create a fire hazard. Check the plug label or manual for details.
How do I know if the fuse is the problem with my outdoor string lights?
If the lights don’t turn on, use a multimeter to test the fuse for continuity. A blown fuse will show no continuity. Alternatively, try replacing the fuse with a known-working one of the same rating to see if the lights function.
Is it safe to replace the fuse in my outdoor hanging globe string lights myself?
Yes, as long as you unplug the lights first and use the correct fuse. Avoid touching internal wiring beyond the fuse compartment. If the problem persists after replacement, consult a professional to avoid electrical hazards.

